How Adam Kirtland Uses Tulip Deadheading To Put Energy Back Into The Bulb


Adam is an experienced Garden Writer from Birmingham, who runs his own weekly podcast titled 'Tales From The Potting Bench'. Adam is regularly invited to speak at flower shows and garden clubs across the UK – including RHS Malvern and RHS Wisley Flower Show. He is also a full member of the Garden Media Guild.
Reviewed By DAN ORI

Dan has over 27 years’ under his belt caring for plants and gardens. Working as a Horticultural Instructor and Consultant, he draws on a diverse range of experience that includes working as a Head Gardener, Tree Surgeon, Garden Centre Trouble Shooter, and writer of academic papers. Dan has a Level 3 Diploma in Horticulture and is currently a candidate for the RHS’s most prestigious award – The Master of Horticulture.
IN THIS GUIDE
Tulips are a wide range of flowering bulbs that bloom at the very height of spring after being planted out in autumn.
Loved for their range of colours and forms, these are a real staple of any spring display.
Unlike other spring bulbs, tulips aren’t known to perform as well in subsequent years after their first showing, but deadheading can give them a good chance to come back.

Thankfully, it couldn’t be a simpler task:
- Locate the blooms that are ready to be deadheaded.
- Using clean secateurs or snips, cut off the spent flower head.
- Cuttings can be added to compost bins or to your green garden waste.
- Leave the foliage in place to fade & remove once yellow.
We share the entire process (with a visual demonstration) below.
| Difficulty | Easy |
| Equipment Required | Secateurs or snips |
| When To Deadhead | Throughout April and May |
When To Deadhead Tulips
Depending on the varieties you have in your green space, tulips will begin to wilt any time between April and (as late as) June in some parts of the UK, but the standard time to deadhead is usually in May.
You can begin deadheading as soon as you see the first blooms fade.

To make it an easier job, it is often better to deadhead as you see each flower go.
If you don’t deadhead your tulips, the plant will put all its energy into producing seed rather than back into the bulb in an effort to come back the following year.
1) Find Tulips To Deadhead
Spent tulips can be slightly camouflaged if grown in a full border or in dense pots, but you’ll usually be able to spot the dropped petals before you notice the empty stem.
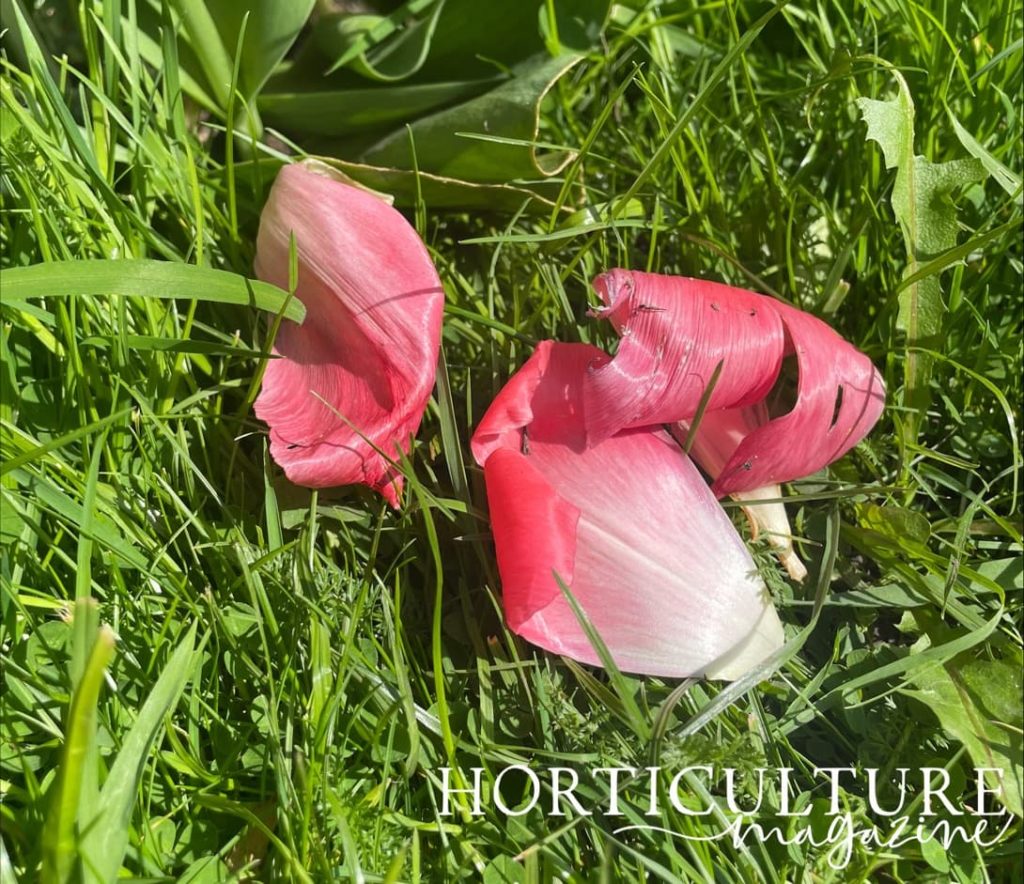
You can wait for this to happen and then hunt for tulips that have lost part of the full petal set.
A spent tulip flower is simply the stem of the plant, with the stamen showing after these petals have dropped off.

2) The Deadheading Process
Once you’ve located your tulips to deadhead, you can either cut off the top of the stem or simply snap it off with your fingers, making sure to take the growing seed pod along with you.

Ideally, you’ll be leaving as much of the foliage on the plant as possible to soak up the sunlight and provide energy back into the bulb.
3) Compost Your Cuttings
Any material you’ve cut off the tulip can go straight into your composting system or into your green waste bin to be collected.
4) Let The Foliage Fade
When you’ve deadheaded your tulips, the foliage will begin to turn yellow and fade.
This helps indicate that your plant’s current season is complete and you can remove this foliage.

Take care not to remove any foliage until it is fully yellow, as you’ll want to allow it maximum time to absorb energy for the bulb.
When the foliage is yellow, this too can be cut right back to the base of the plant and composted.
“I grow many of my tulips in pots that can be moved after flowering,” shares Horticultural Consultant Dan Ori.
“I also plant tulips in pots that can be sunk in the ground and lifted after flowering to prevent having to look at yellowing leaves for weeks.”
No other care is required for these tulips and they’ll hopefully be back next year to flower again.