The Signs To Know When Your Plums Are Ready To Harvest (And How To Protect Them)


Reviewed By COLIN SKELLY

Colin is a Horticulturist and Horticultural Consultant with experience in a range of practical and managerial roles across heritage, commercial and public horticulture. He holds the Royal Horticultural Society’s Master of Horticulture award and has a particular interest in horticultural ecology and naturalistic planting for habitat and climate resilience.
Contributions From EMILY CUPIT

Emily is a Gardening Writer, Photographer and Videographer from Derbyshire, UK. She is the Founder of Emily's Green Diary - a community of more than 75,000 people who share in her gardening journey.
IN THIS GUIDE
Plums may well be the sweetest, juiciest, most luscious of fruits to bite into and delight in.
Unfortunately, many people would not agree with that assessment – and the reason is that all they’ve ever eaten are mass-produced store-bought plums that have been transported over long distances!
But if you have a plum tree or two in your front yard, you may well agree with our opinion.
And you’ll agree with it even more if you harvest your plums correctly and methodically.
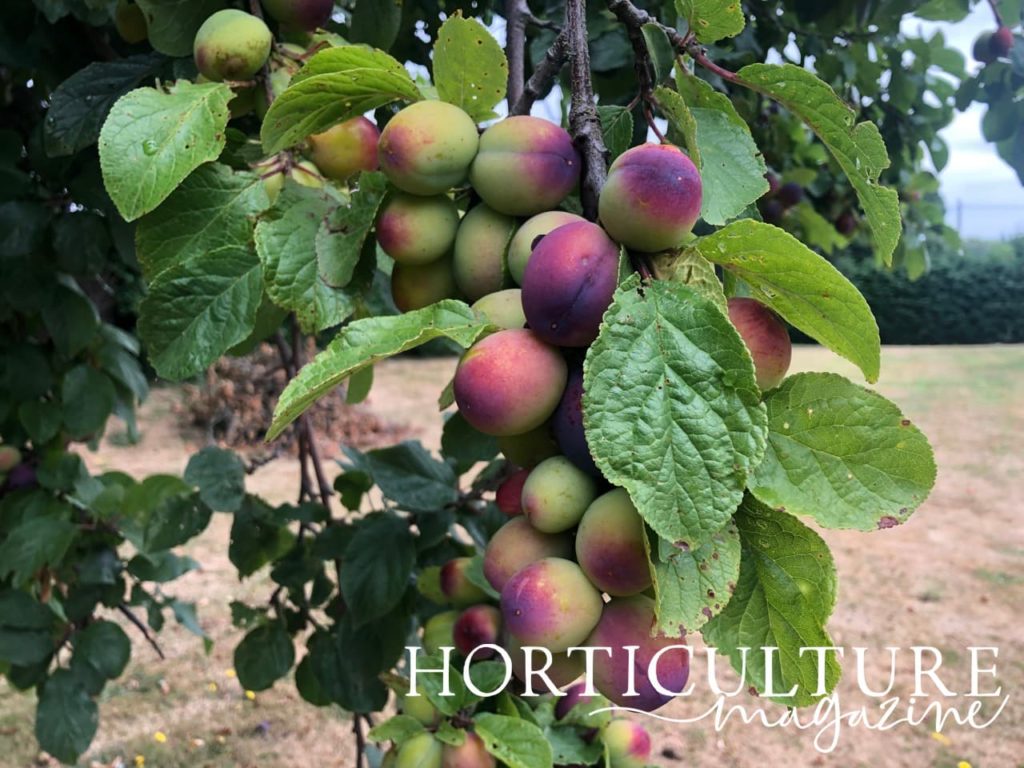
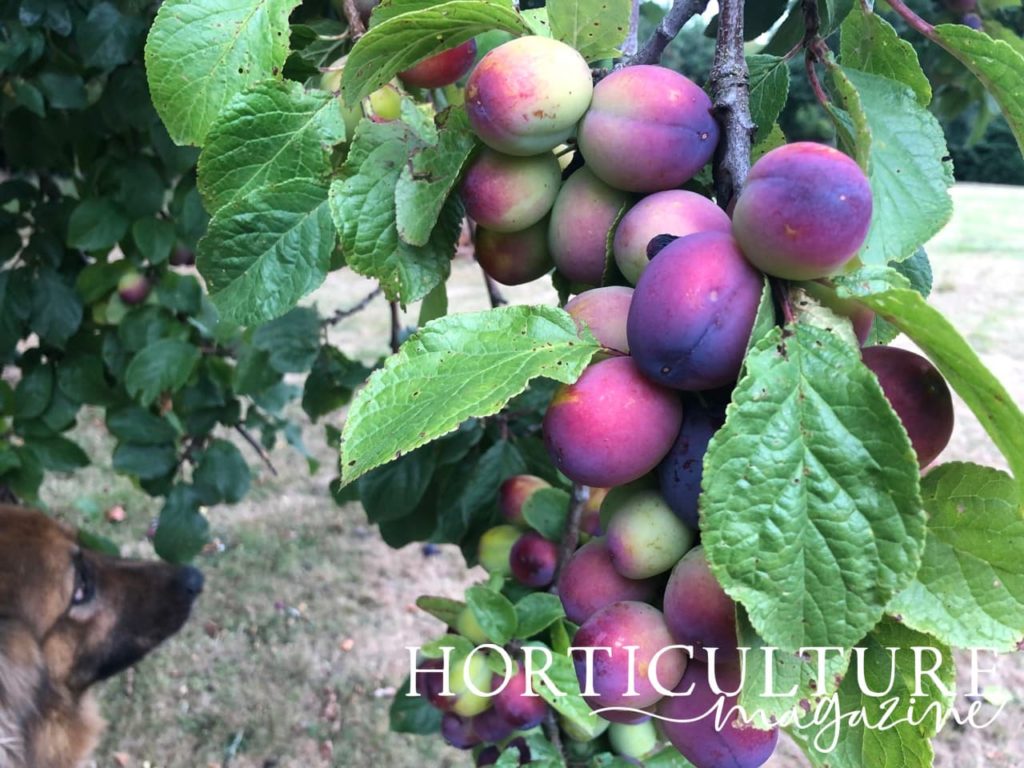
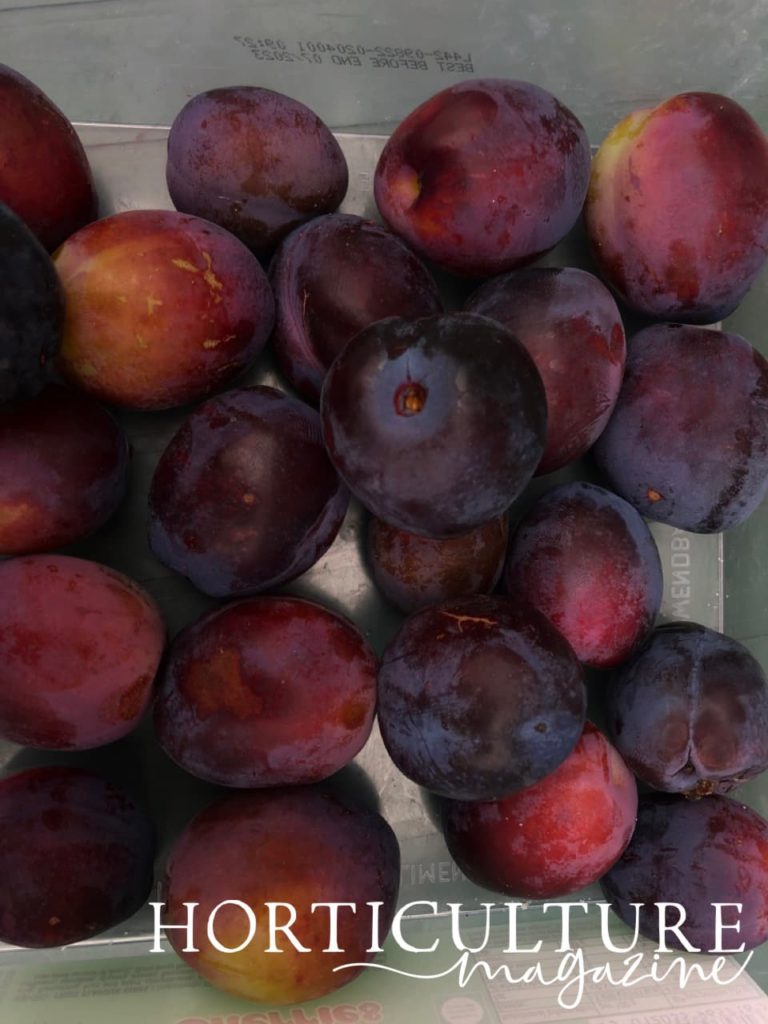
As a plum grower, you know that colour is one indicator of ripeness and harvest-readiness.
And you would also know that plum varieties’ colours vary – red, maroon, burgundy, purple, and even green.
However, there are other indicators of harvest-readiness as well as a few do’s and don’ts.
| Difficulty | Medium |
| Equipment Required | Gardening gloves, mini-secateurs or scissors; a helper may be useful |
| When To Harvest | July – September |
Underneath we take you through the ins and outs of plum harvesting so that you may reap the most ‘fruitful’ harvest:
- Protect your incipient harvest from frosts and birds
- Thin out branches for a healthy crop
- Test your plums for readiness
- Pick the fruit when it’s ready
This process is explained in more depth below –
1) Protect Your Incipient Harvest
Plums are susceptible to two threats: early frosts when the blossoms are on show and birds when the fruits are forming.
(These are the two most common and major threats to plums but are far from the only ones.)
So you need to take care of your harvest right from spring when it is not even formed.
If you anticipate a late spring frost you will need to keep buds and flowers snug with fleece or similar protection lest they get zapped.
As for birds, mesh netting is difficult to set up and ugly to look at but it is a very effective method to frustrate birds; other methods are also available.
Increase the amount of water during the height of summer when the fruit is developing and maturing.
Increasing the amount of water is critical during hot, dry spells.
Wear gardening gloves when it’s your turn to thin the fruit after Mother Nature has taken her turn.
2) Thin The Crop
Plum trees are very generous – indeed, they’re generous to a fault.
They crop so heavily that they cannot possibly bring all the fruit to ripeness, and overburdened branches sometimes even break.
This fault is partially compensated for by Mother Nature and should be partially compensated by you.
Mother Nature does her part through ‘June Drop’ when some number of immature plums fall off the tree. This fruit fall is normal.
Actually, this June Drop is a marvellous signal for you to play your part.
Immediately after this automatic thinning is over, you should thin the forming fruit, though how much depends on your cultivar and on how much your tree is overloaded.
Branches should not be under obvious strain.
Simply snip off a conservative number of fruits; use mini-secateurs or even scissors for this purpose.
Choose under-developed, mis-shapen, and damaged fruit for thinning.
“When thinning plums, I use the RHS guidance for thinning, which is to leave a plum every 5-8cm or a pair of plums every 15cm,” shares Master Horticulturist Colin Skelly.
“This works well for me, leaving a crop of good-sized plums that are plentiful but without overloading the branches.”
Though plums can be ripened after picking, they taste best when tree-ripened.
Therefore, it is important to pick these fruits at just the right stage.
3) Test For Readiness
Depending on your cultivar, plums will be ready to be picked sometime between July and September.
All plums on a tree will not ripen at the same time.
Your harvesting will consist of several go-throughs, at each of which you would pick some fruit – a little or a lot.
But when do you know that the fruit is tree-ripened and should be picked?
Here’s a checklist:–
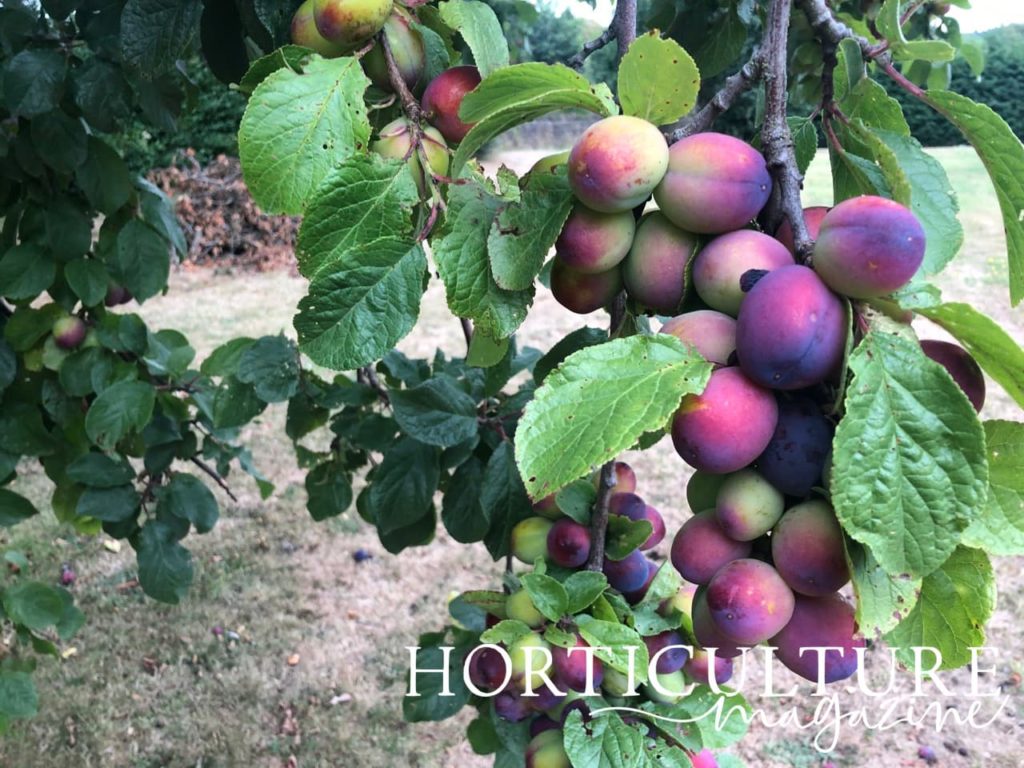
- No matter what the colour of your cultivar’s plums, except for a few marginal plum types like cherry plums, ready-to-pick ripe plums will have a chalky glaze.
- While unripe plums will be very firm, ripe plums will have a bit of ‘give’ or some softness if gently squeezed between finger and thumb.
- Ripe plums exude a mild sweetish scent that unripe plums usually don’t.
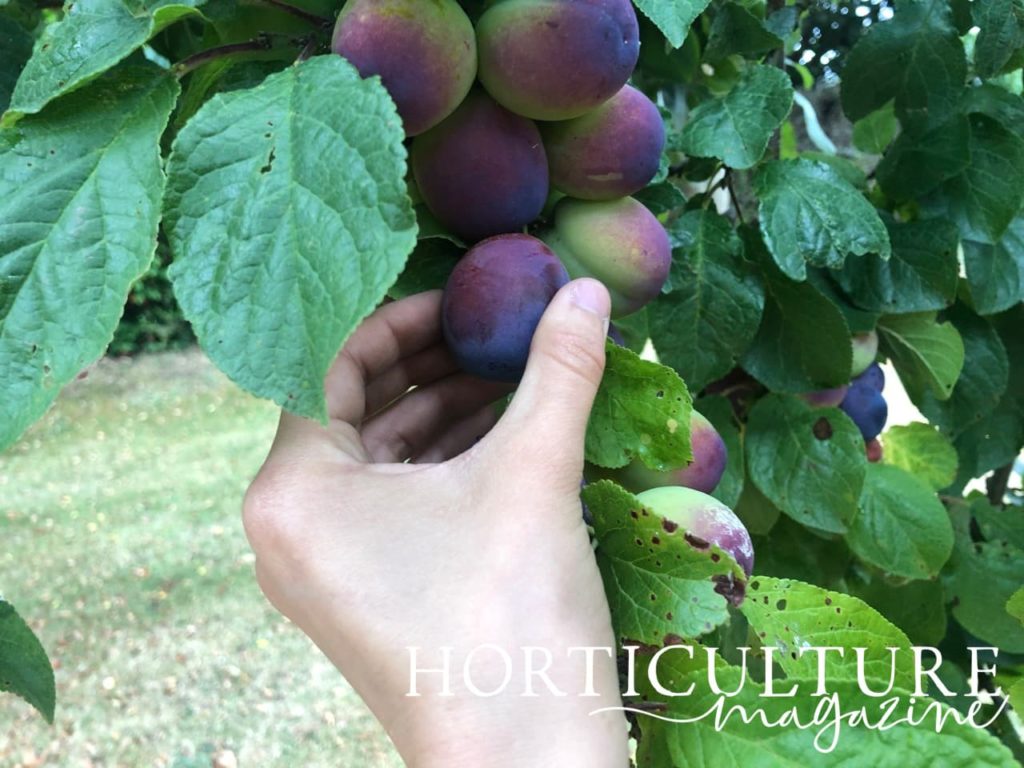
- Ready-to-pick plums will come away fairly easily from the branch; all they need is a gentle pull using only finger strength with a bend or twist, with only a touch of support, if any, to the branch.
- If the branch moves to more than a very small degree when you pull a plum, the plum is not ripe.
- Pick a plum that you think is ripe, wash it if necessary, and bite into it. You’ll know for sure if other plums like it are ready or not!
4) Pick The Fruit
Support the branch – you may have to hold back on a cluster of plums – with one hand while you pick a plum with the other.
However, there is an acquired technique to picking fruit like plums with a single hand (and you’ll be glad if you acquire this technique if you haven’t already done so).
Hold up or push back the branch (or cluster) with your thumb while plucking with two fingers pressed against the palm, using a quick bend or twist.
No matter how you detach a plum, if one or more other plums in that cluster are well-ripened or have a weak stem then the resultant recoil or jarring may result in such fruits falling to the ground! If the ground is muddy, those fruits will get dirty; if it is hard, they’ll get bruised.
To guard against this you may want to hold a basket underneath the plum you are picking; even better if you have a helper to hold the basket.
Remember you won’t harvest your entire crop in one go; only those plums that are ready.
You’ll need to make a few passes during the harvesting season to collect your full harvest.