Basil Propagation – ‘Check That The Cutting Has Between Two And Four Pairs Of Leaves’

Reviewed By PETER LICKORISH

Peter is a Horticulture Lecturer and self-employed Horticulturist, with a passion for diverse areas of the industry - from garden design to the science behind plant growth and propagation. He has completed the Royal Horticultural Society’s Master of Horticulture (MHort) Award and lectures on RHS courses at Bedford College.
Contributions From EMILY CUPIT

Emily is a Gardening Writer, Photographer and Videographer from Derbyshire, UK. She is the Founder of Emily's Green Diary - a community of more than 75,000 people who share in her gardening journey.
IN THIS GUIDE
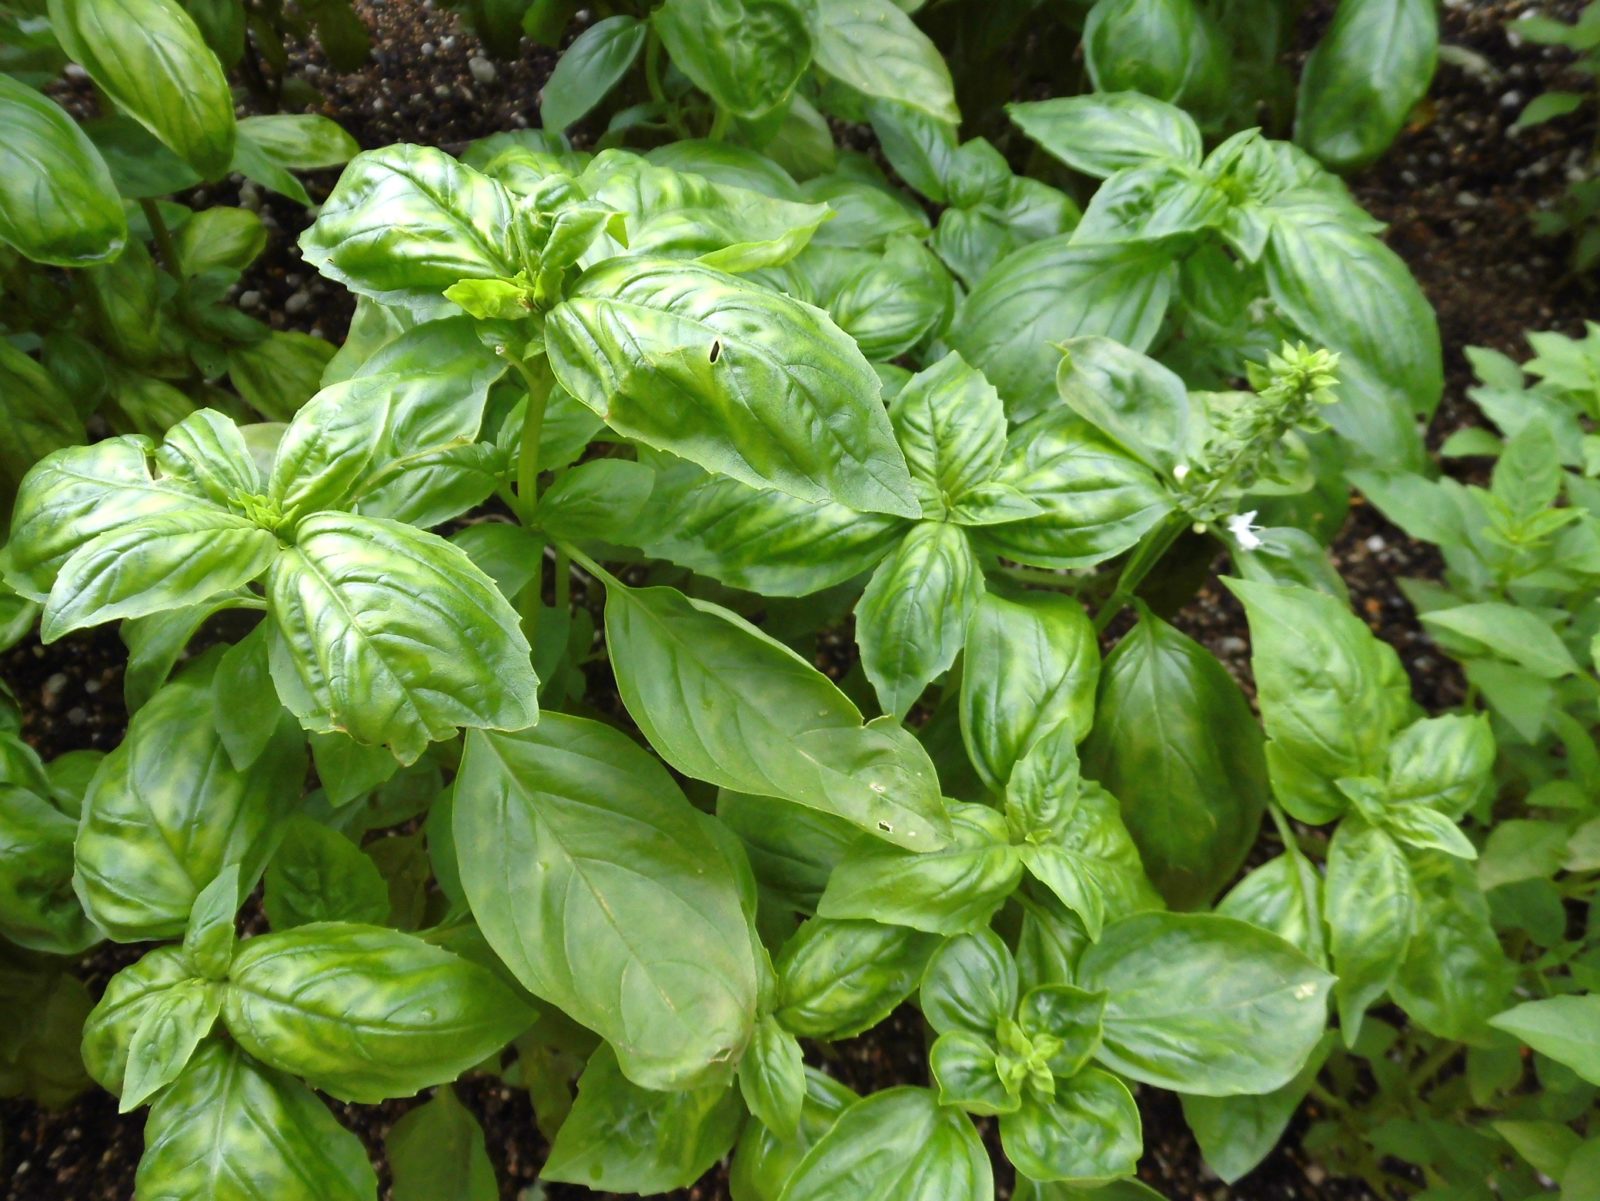
Basil is extremely simple to grow and propagate, which means even the most novice horticulturists can cultivate it with ease.
That’s a far better alternative to buying basil from the supermarket every week, since your basil will invariably be fresher, cheaper and more easily accessible.
You can even use a store-bought plant to take cuttings from and propagate your own!
Just follow these simple steps and you can’t go far wrong:
- Select your mother plant
- Take your cuttings
- Prepare your cuttings with a prune and trim
- Place cuttings in water
- Allow them time to root
- Transplant your cuttings into pots
- Take care of your newly propagated plants
If those instructions sound a little daunting to you, don’t worry.
| Difficulty | Easy |
| Equipment Required | Pruning scissors, mason jar, pots, potting compost |
| When To Take Cuttings | May (if planning to plant outdoors), anytime if growing indoors |
We’ve explained each step in greater detail to make things as straightforward and free from stress as possible below:
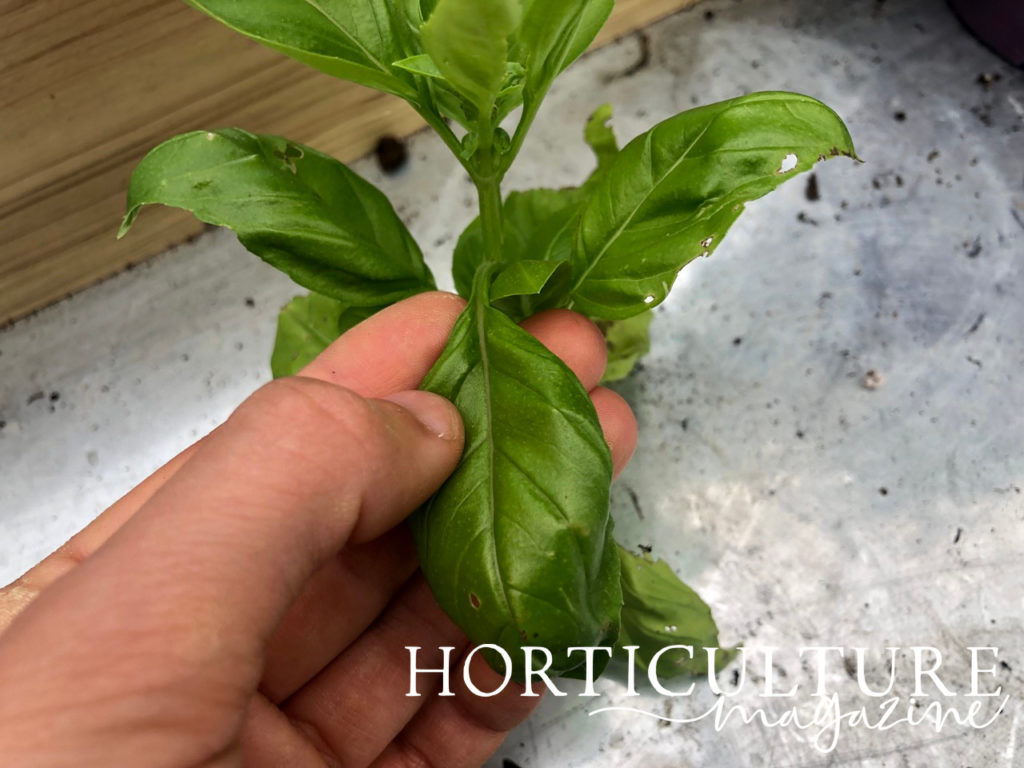
1) Select Your Mother Plant
The health and maturity of the plant from which you take your cuttings is all-important in ensuring that they not only survive, but thrive.
Avoid any plant which has wilting or drooping leaves, holes in the foliage or any sort of discolouration on any part of the plant.
You also want a plant that’s mature enough to withstand pruning, but not too mature that it’s already begun flowering.
Select one which has at least four sets of leaves per stem.
It’s irrelevant whether this is a plant you have cultivated yourself (perhaps from previous cuttings) or a store-bought one from a garden centre or supermarket.
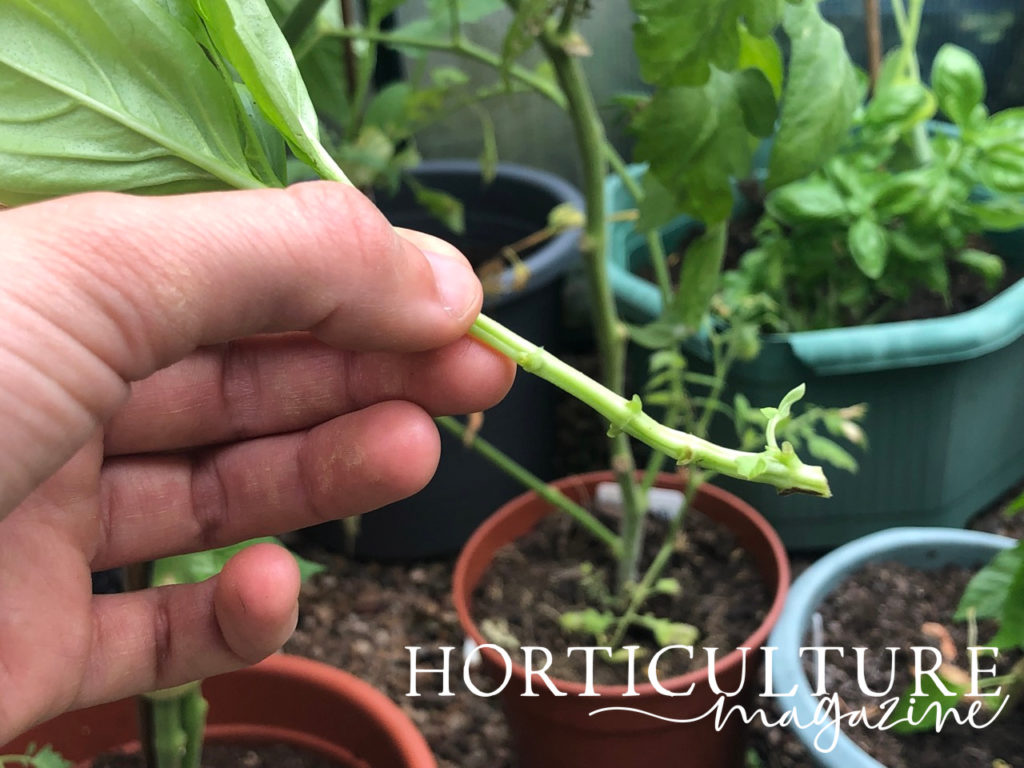
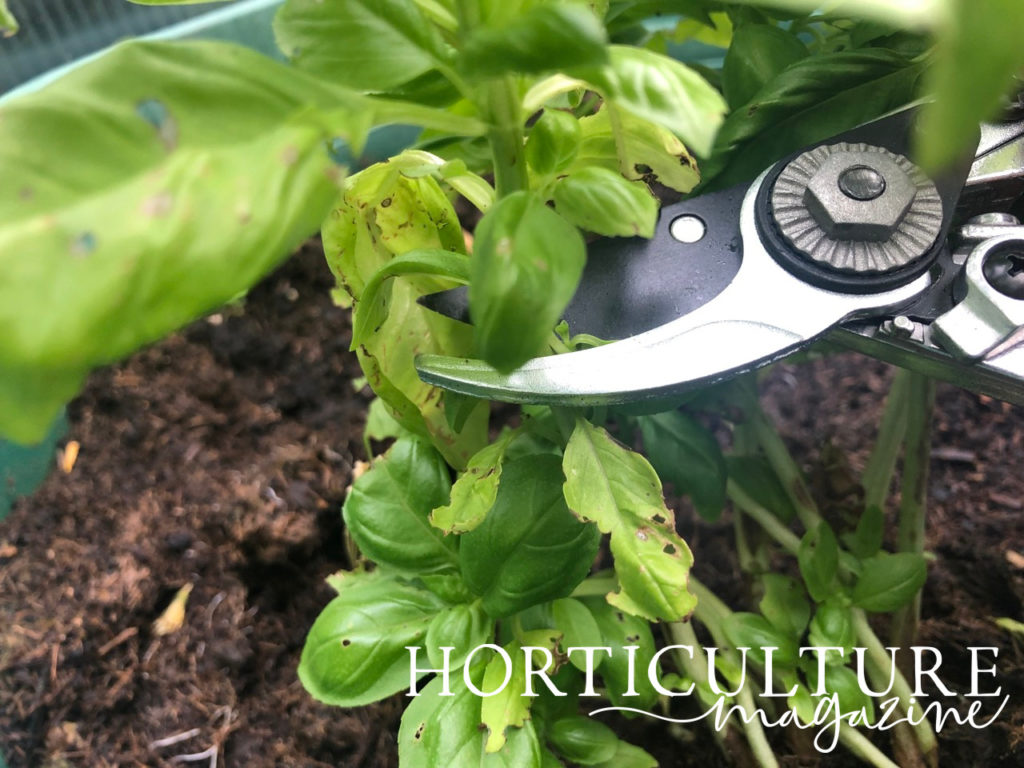
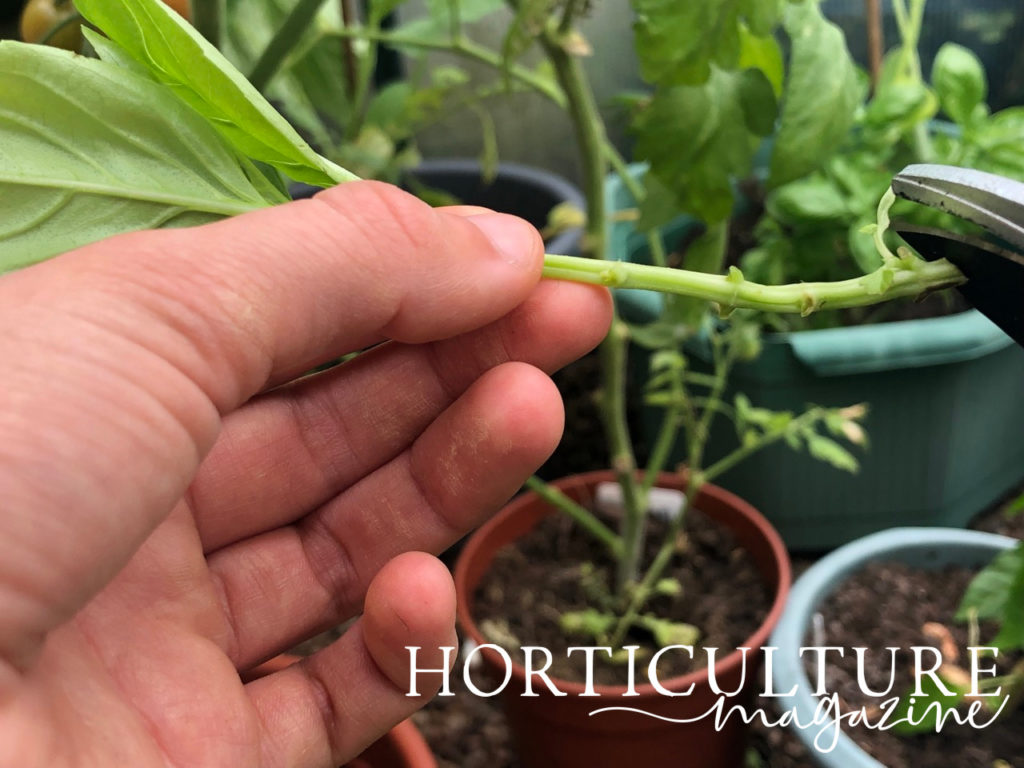
2) Take Your Cuttings
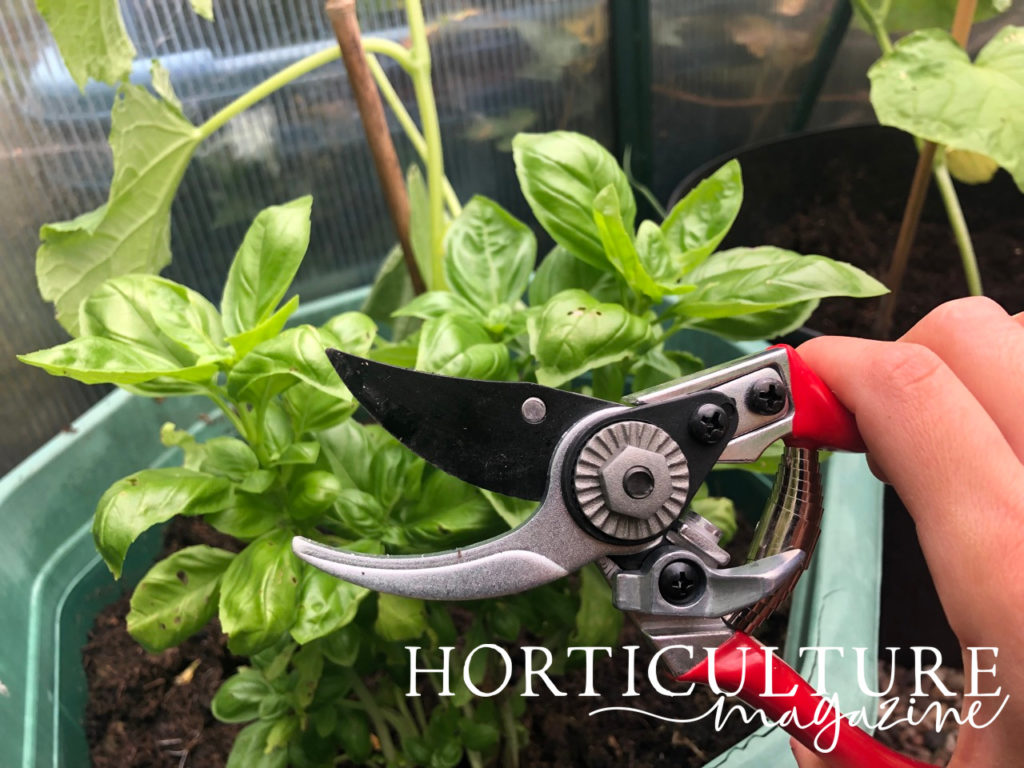
When taking your cutting, follow the stem all the way down to the lowest leaf node on it, then make an angled cut with pruning scissors or secateurs just above that point.
Don’t be fearful of trimming the mother plant, since regular pruning is actually beneficial to its health.
This is because it prevents it from becoming leggy and overgrown.
Depending on the size and age of your mother plant, you should be able to obtain multiple cuttings from the same plant.
Indeed, in the healthiest specimens, it’s possible to take upwards of ten cuttings from your mother plant.
3) Prune And Trim
Before moving on to the next stage of the process, you must prepare the cutting for rooting.
“First, check that the cutting has between two and four pairs of leaves – long stems can be cut into two cuttings,” shares Peter Lickorish, a Horticulture Lecturer.
Then thin the foliage on the cutting, especially at the bottom.
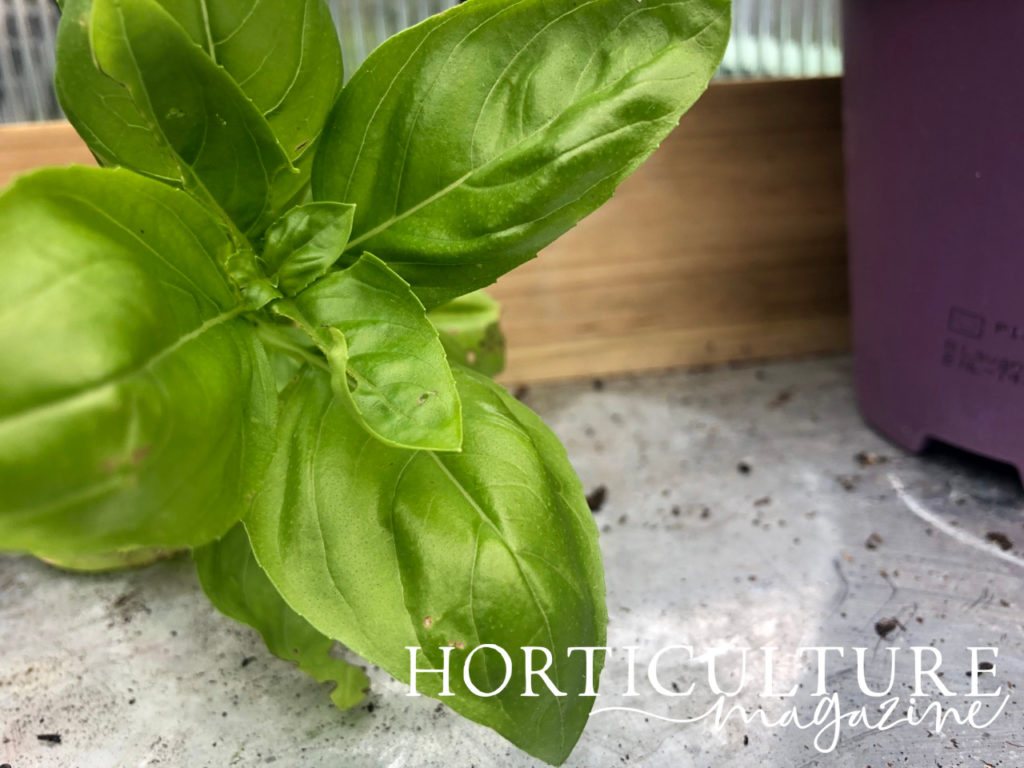
Strip away all of the lower leaves to halfway up the stem, since being submerged in the water will hamper the growth and development of the cutting.
Having said that, you do not want to prune away all of the leaves.
Those at the top of the plant must remain to allow the plant to continue to photosynthesise.
One optional step is to dip the cut end of the stem into a rooting hormone or honey to give it the best chance of flourishing – but this is not strictly necessary.
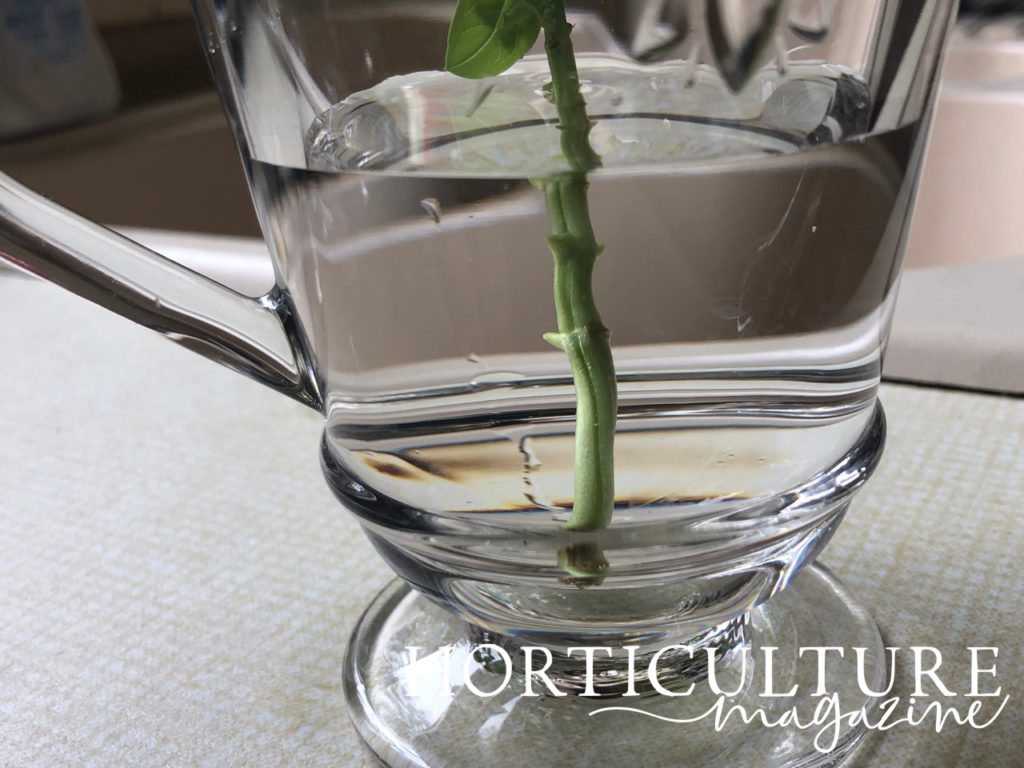
4) Place In Water
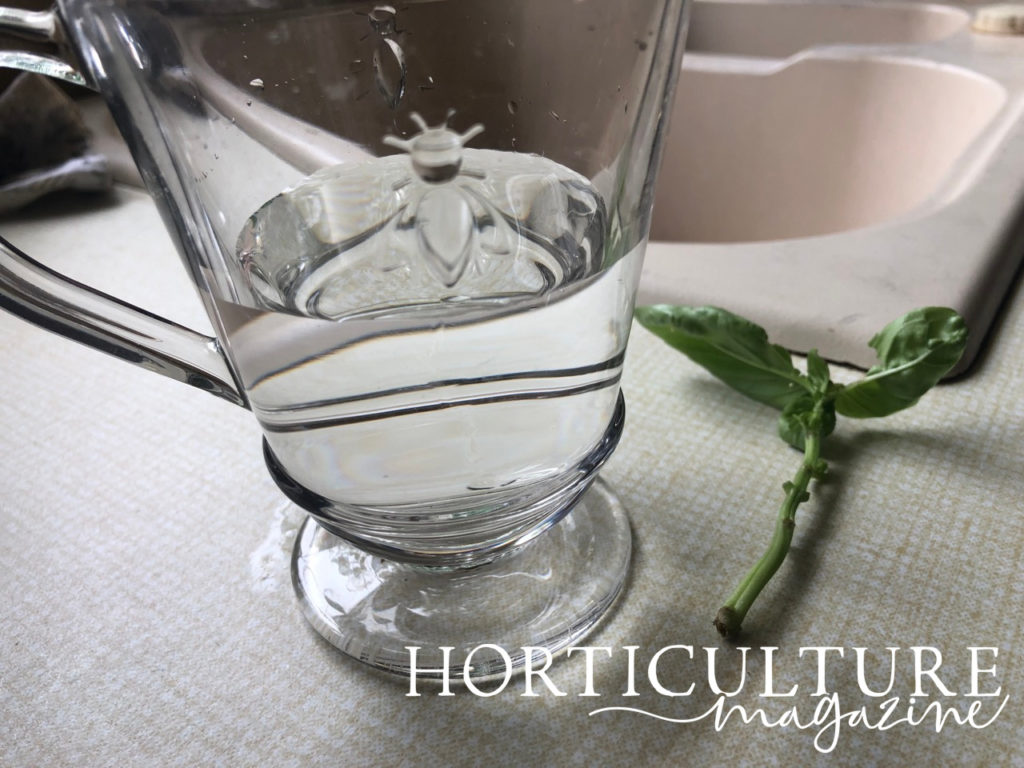
Now it’s time to place your cutting or cuttings in water.
The best receptacle for this job is a glass vessel, such as a mason jar.
This will allow you to see how clean the water is – since maintaining cleanliness is key to preventing bacteria from taking hold and keeping your cuttings as healthy as possible.1Hygiene In Plant Propagation. (2004, December). Nursery & Garden Industry in Australia. Retrieved April 17, 2023, from https://www.greenlifeindustry.com.au/static/uploads/files/np-2004-11-wfrlrsunfssp.pdf
It’s also advisable to use dechlorinated water.
You can do this by boiling tap water and then allowing it to cool.
Although not absolutely necessary, it’s another way of ensuring the cuttings have the best chance possible.
“Being quick is good with cuttings!” says Peter.
“Think of them as a fish out of water. If you have lots to trim and prepare, keep them in a damp freezer bag so they don’t dry out before it’s their turn to get placed in water.”
Place them in the water so that the upper foliage rests on the lip of the jar.
5) Allow To Root
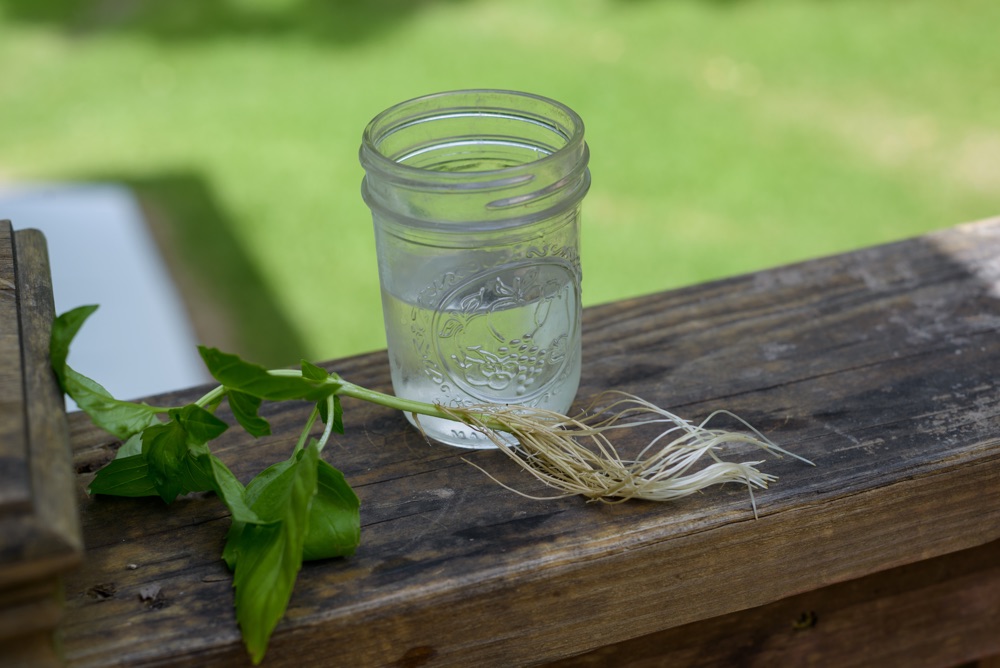
Place the receptacle in a location that receives plenty of morning sunshine, such as an eastern-facing windowsill.
Indirect sunlight in the afternoon is preferable since, although basil does love sunlight, too much of a good thing can end up scorching the leaves and hindering its growth.
The exact time it takes for roots to appear may vary from plant to plant, though generally speaking you should expect to see some growth within the first couple of weeks.
However, you should wait until the roots have reached 5-8cm in length before transplanting, which normally occurs after around a month.
6) Transplant Into Pots
At this point, you can now move your cuttings into compost, as Peter explains:
“Make sure you crumble the compost up to make it nice and fine.
“It will come as a shock to find hard lumpy compost, having had only water around the roots.
“seed compost is especially fine.”
Prepare pots by filling them around half full with potting compost, ensuring that they have good drainage at the bottom.
You can plant more than one cutting in a single pot, especially if roots have become intertwined in the same jar, but generally speaking, you want to separate them.
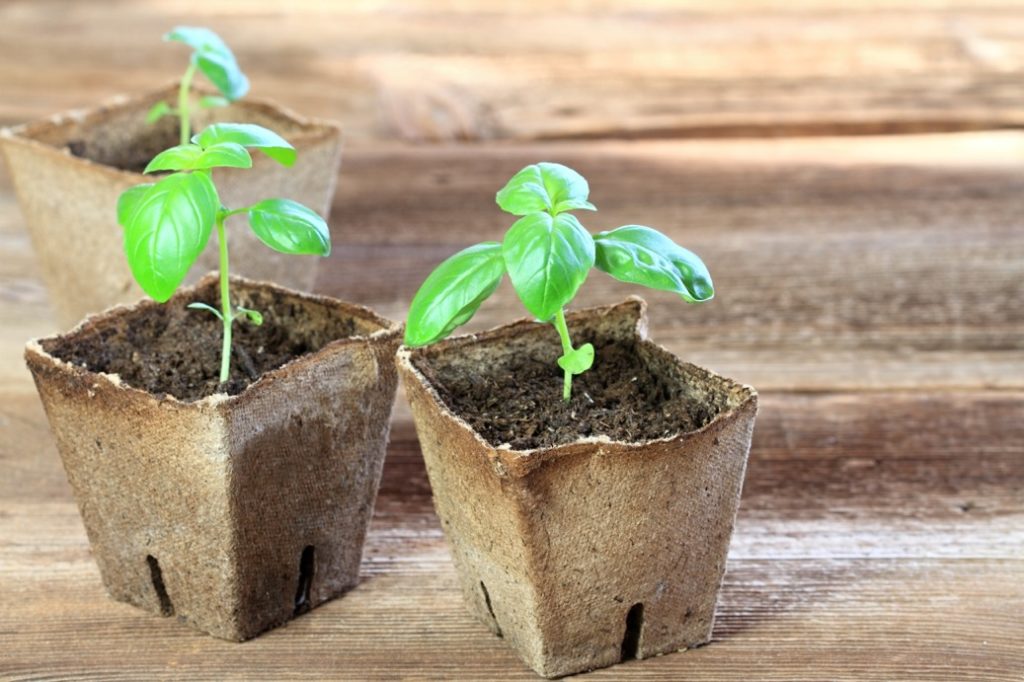
Place the cutting (or cuttings) onto the compost and gently splay the roots as widely as possible.
Then layer more potting compost onto them and tamp it down around the stem to keep it upright.
While it is possible to plant your basil cuttings outdoors, it’s much more challenging (especially in the UK climate), so we recommend keeping them potted and moving outdoors only during summer.
“They will need a degree of weaning before they’re ready for life outdoors,” says Peter.
7) Aftercare
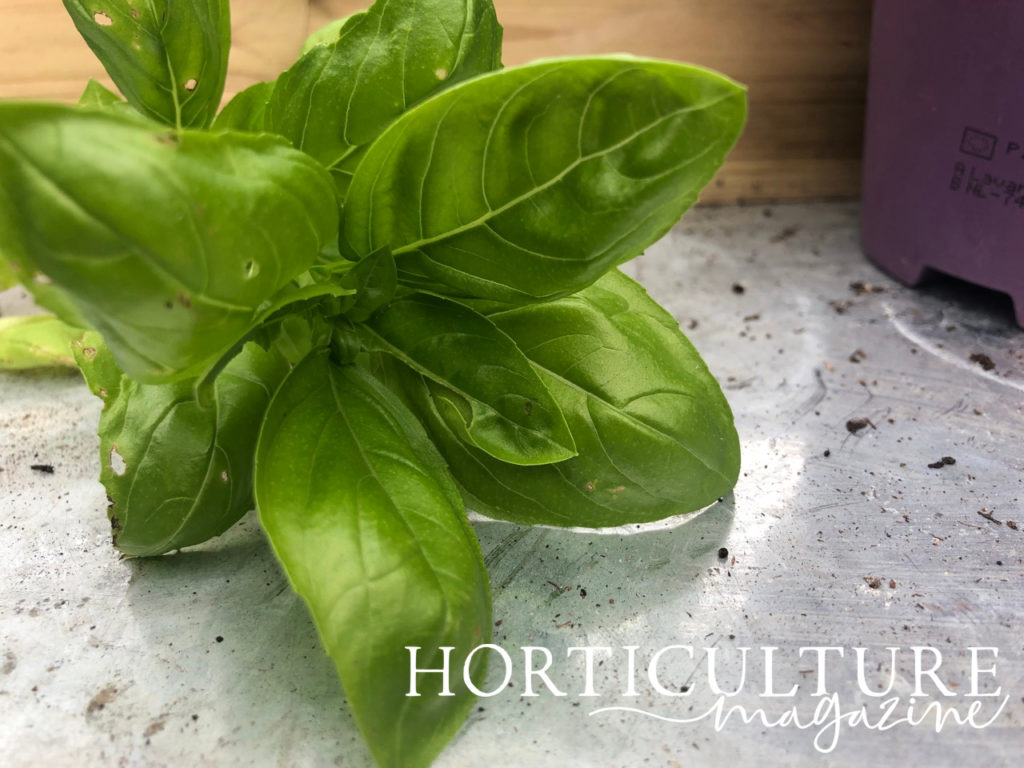
Water the compost of your potted cuttings to ensure that it is damp but not sodden – you don’t want to drown your fledgling plants!
You should also observe a regular watering schedule thereafter, irrigating your plants whenever the top centimetre of the soil is dry.
With the cuttings now fully potted and watered, you can give yourself a pat on the back as you’ll have created potential new mother plants for the future.
Remember to harvest the leaves frequently to encourage further growth and to ensure that you always have enough basil around the kitchen to satisfy you and your family’s cravings for this delectable herb!
Happy propagating.