Seed-Sown Phlox Are Typically Annual Types – Grow Yours Using These Steps

Reviewed By COLIN SKELLY

Colin is a Horticulturist and Horticultural Consultant with experience in a range of practical and managerial roles across heritage, commercial and public horticulture. He holds the Royal Horticultural Society’s Master of Horticulture award and has a particular interest in horticultural ecology and naturalistic planting for habitat and climate resilience.
IN THIS GUIDE
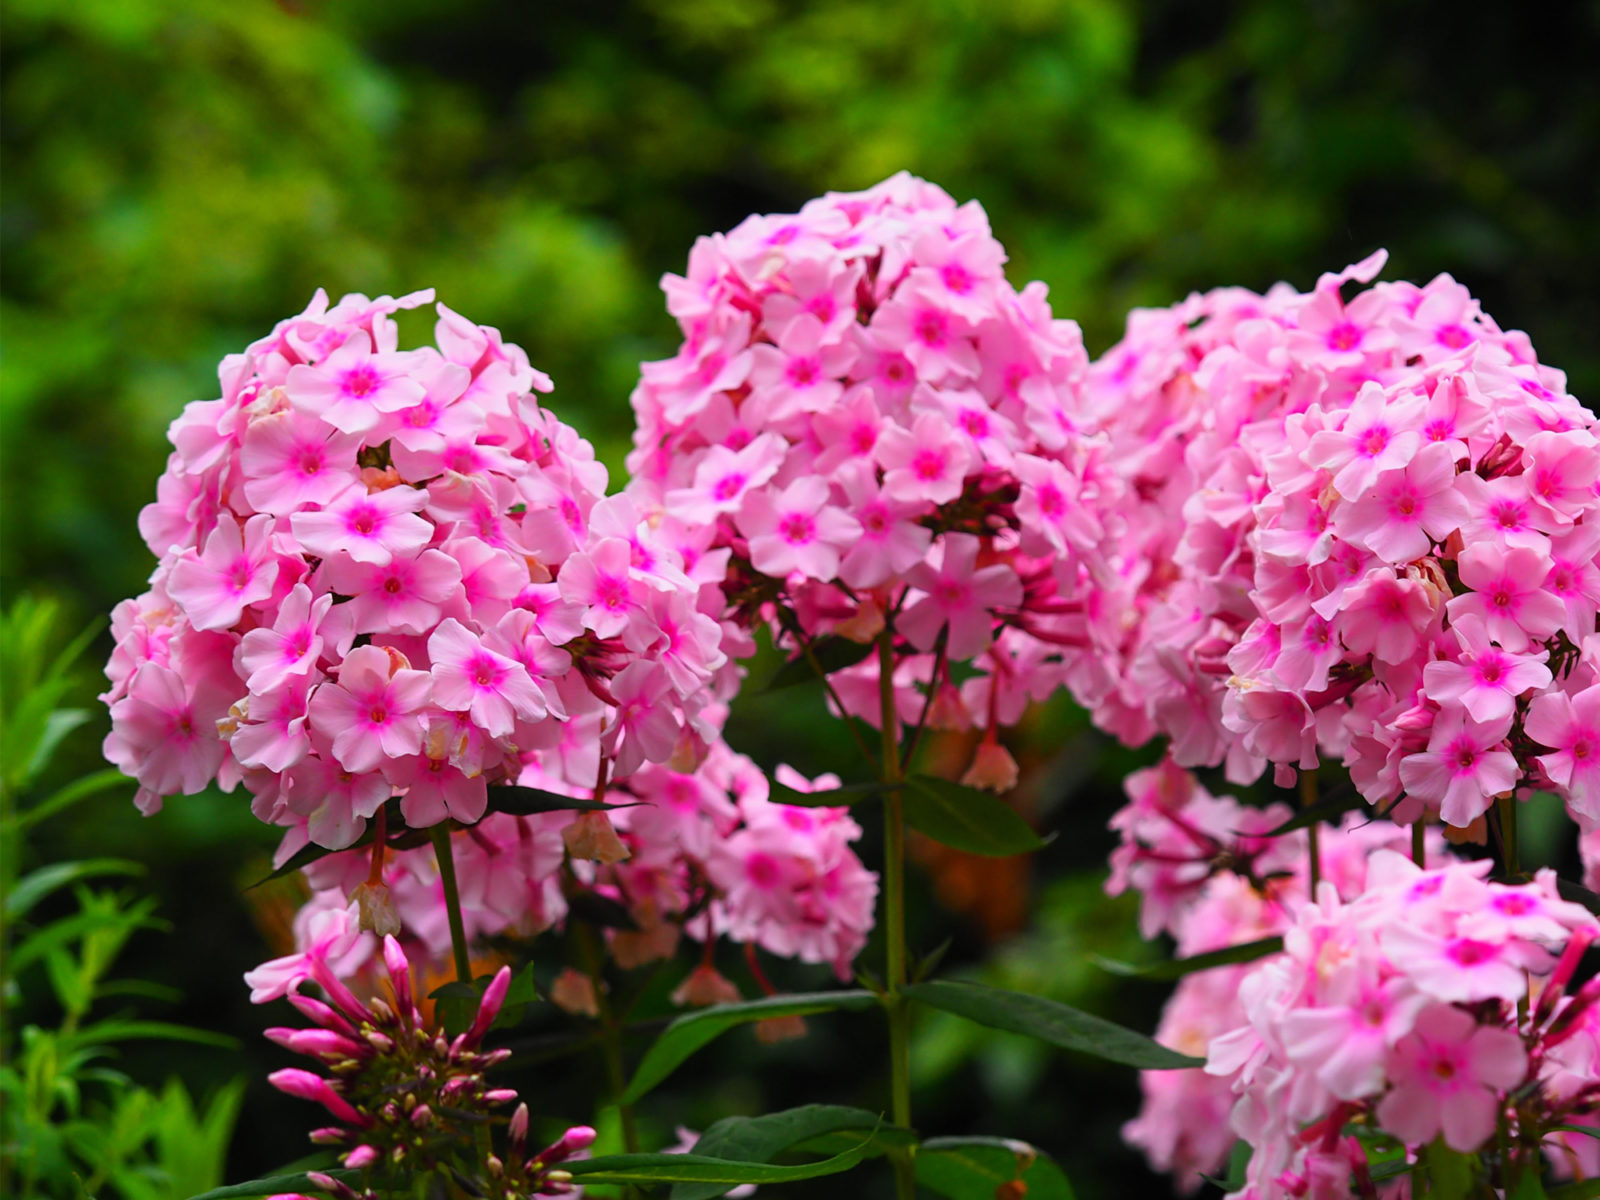
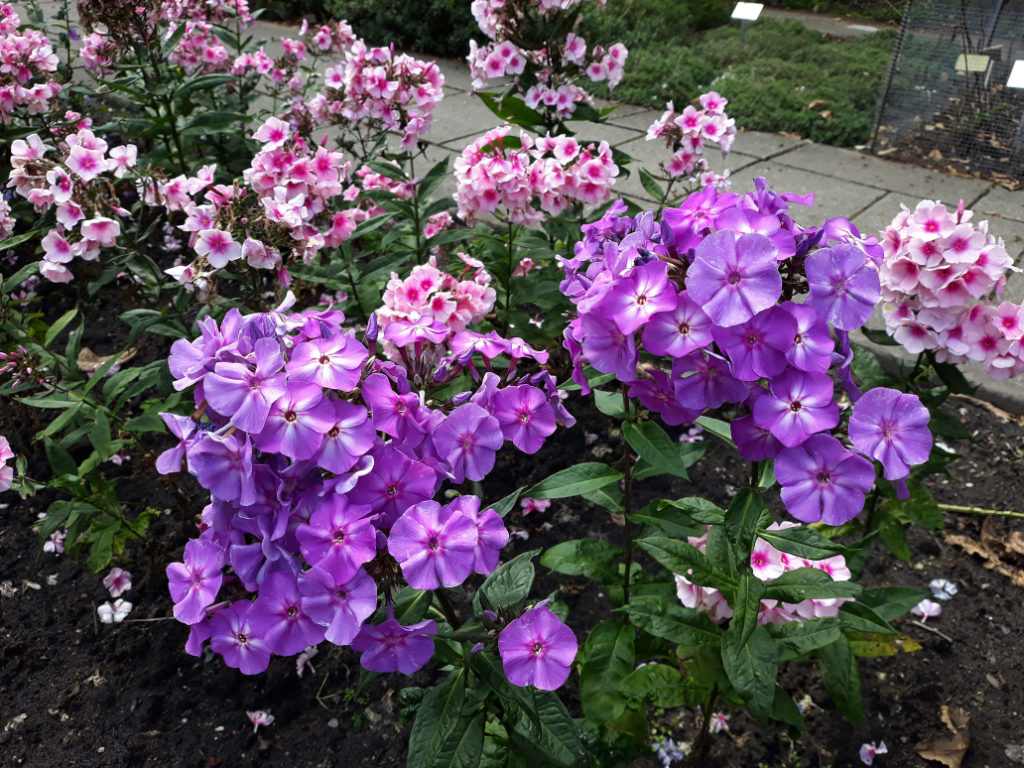
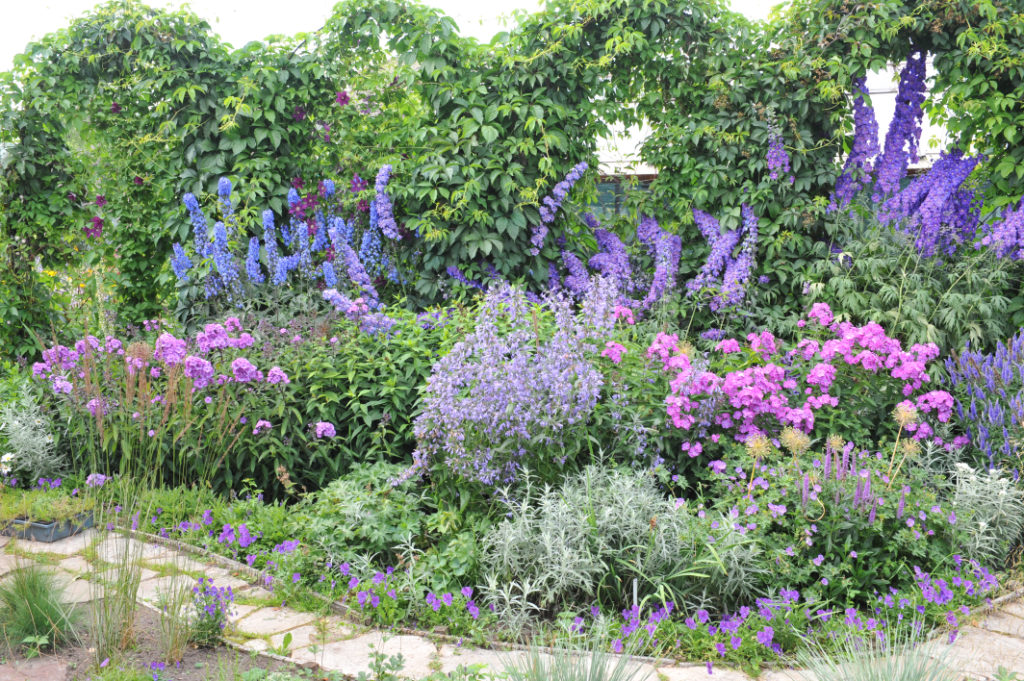
With their herbaceous build, cheerful blossoms and easy-going nature, phlox are dependable and delightful additions to any border or bed.
Blessed with an abundance of aromatic flowers (in a variety of colours) come summertime, they’re sure to brighten up your display.
Aside from their aesthetic charms, phlox’s other strong suit is their low-maintenance requirements and their relative hardiness to the Great British elements.
“Perennial Phlox are so easy to propagate from stem or root cuttings, so seed-sown Phlox would typically be annual Phlox, typically grown for containers, bedding or cut flowers,” says Colin Skelly, Master Horticulturist.
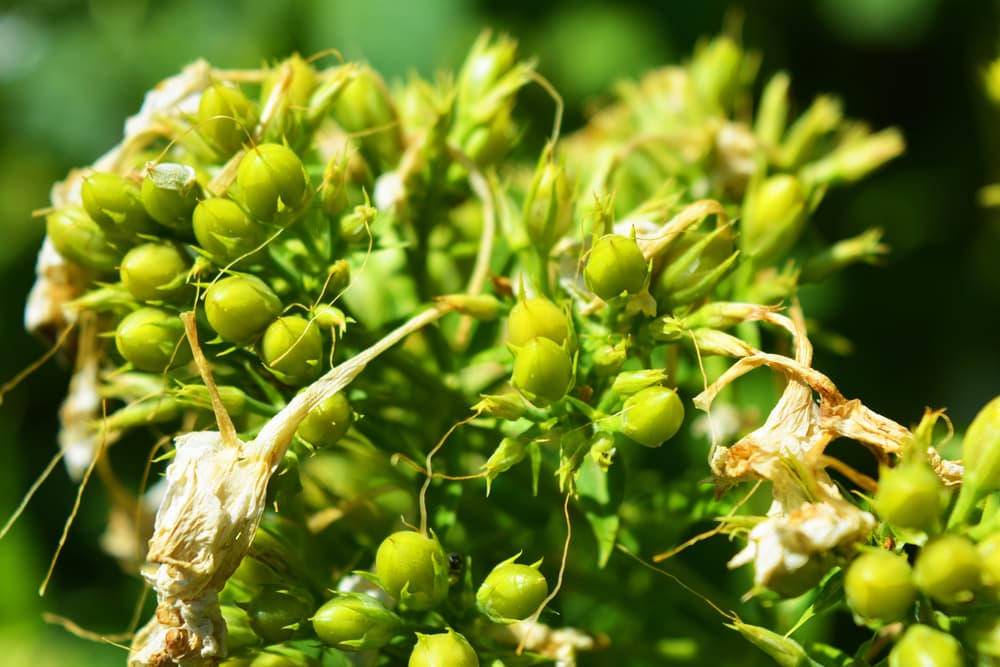
Best of all, you can coax them to life from seeds fairly easily, as long as you make sure you stick to the following steps:
- Sow phlox in seed trays indoors or under glass – usually around mid-April
- Prepare their outdoor location for transplanting
- Plant out in your desired location
- Care for your new plants to help them establish themselves
For those who require a little more guidance at each stage of the process, we’ve gone into further detail for all of them below.
| Difficulty | Easy |
| Equipment Required | Seed trays, compost, small trowel, border fork, organic matter/peat moss, general-purpose fertiliser |
| When To Sow | April |
| When To Plant Out | June |
When To Sow Phlox
While it is possible to sow phlox seeds straight into the ground outdoors, the intemperate climate in many parts of the UK means it’s a risky business.
For that reason, we recommend planting in a greenhouse, conservatory or another indoor setting to allow the seeds to germinate.
If doing so, it’s best to sow the seeds in mid-April, since this will afford them plenty of time to develop.
If you’d rather go straight outdoors, it’s imperative you wait until after the last frost has passed.
Anytime in June should be fine.
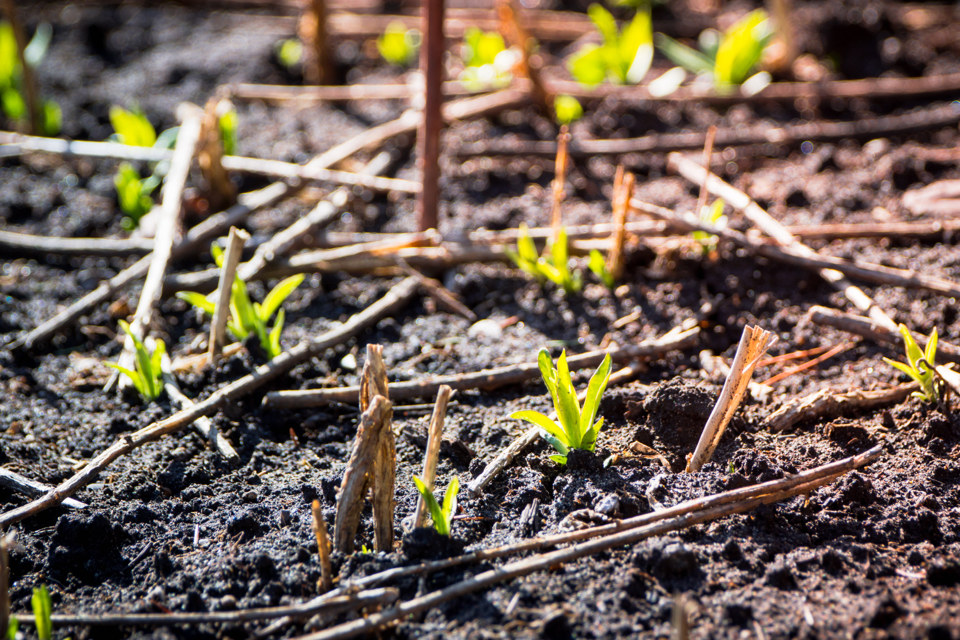
1) Sow In Seed Trays Indoors
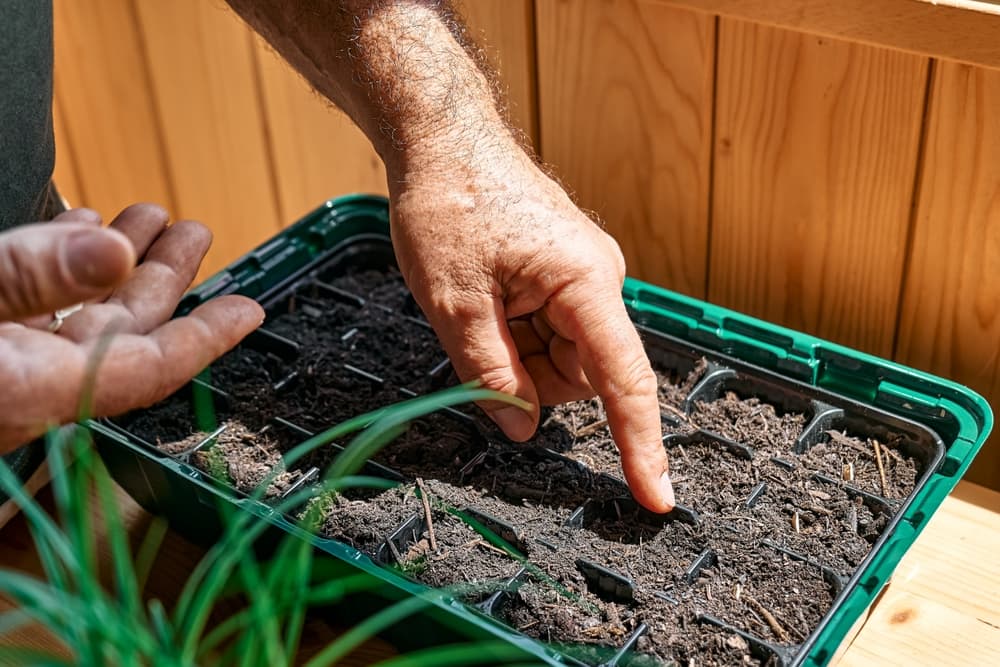
Prepare a seed tray with good quality compost that allows for excellent drainage, since the seed must remain moist but not waterlogged in order to germinate properly.
Plant your phlox seeds at a depth of around a third of a centimetre since they still require sunlight to germinate.
Place the container in a sunny spot, free from cold and keep moist for six to eight weeks until the seeds have sprouted.
2) Choose An Outdoor Location
Phlox love the sun, so a spot which enjoys full exposure is ideal.
A partially shaded area may suffice at a push, but phlox which are deprived of sun too much may be scrawny and produce less impressive blooms.
Depending on the cultivar selected, phlox grows to between 45cm all the way to well over 1.5m so select the location based on that.
For most smaller varieties, the front of a border is perfect.
Leave about 25cm between each plant.
3) Plant Out Seedlings
Once your seeds have sprouted and the final frost of the year has passed, it’s time to move your phlox outdoors.
Dig a hole using the trowel and work the soil thoroughly with a border fork to ensure good drainage, adding organic matter if necessary.
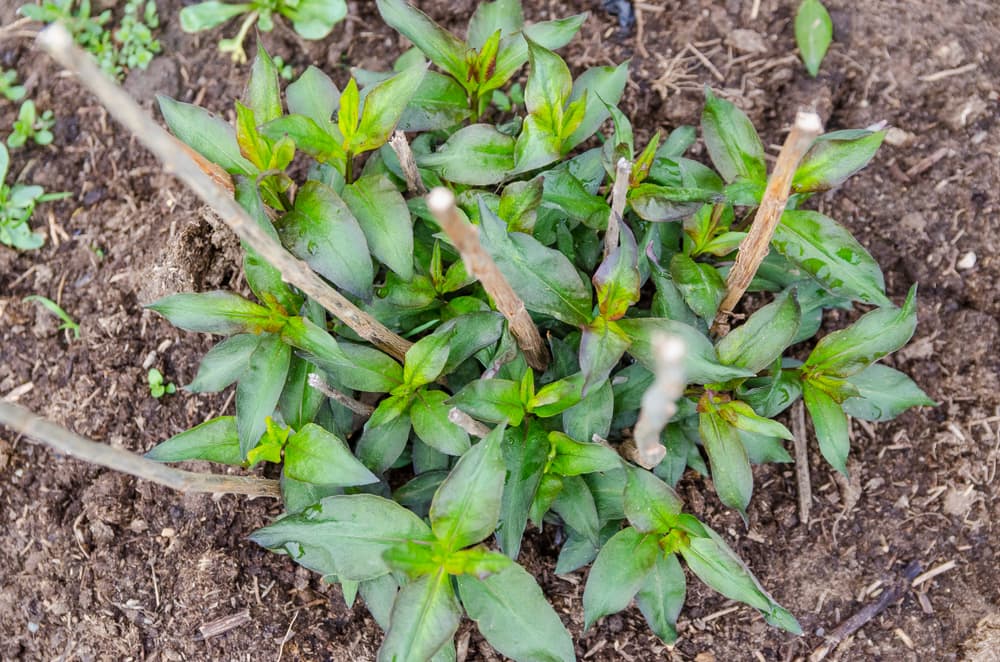
Place the phlox seedling in the hole, making sure its roots are completely covered, then gently firm the soil down around it.
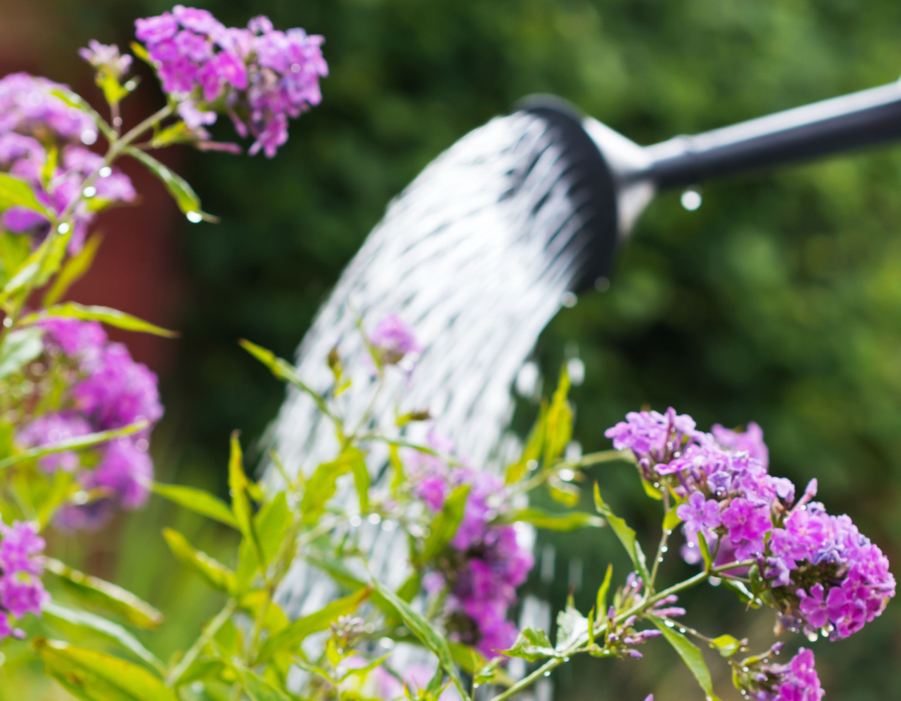
Scatter more organic mulch over the top to give it the best chance of establishment and water thoroughly.
4) Aftercare
Although resilient little creatures, newly planted phlox don’t tolerate drought well, so continue to water them in times of dry and hot weather.
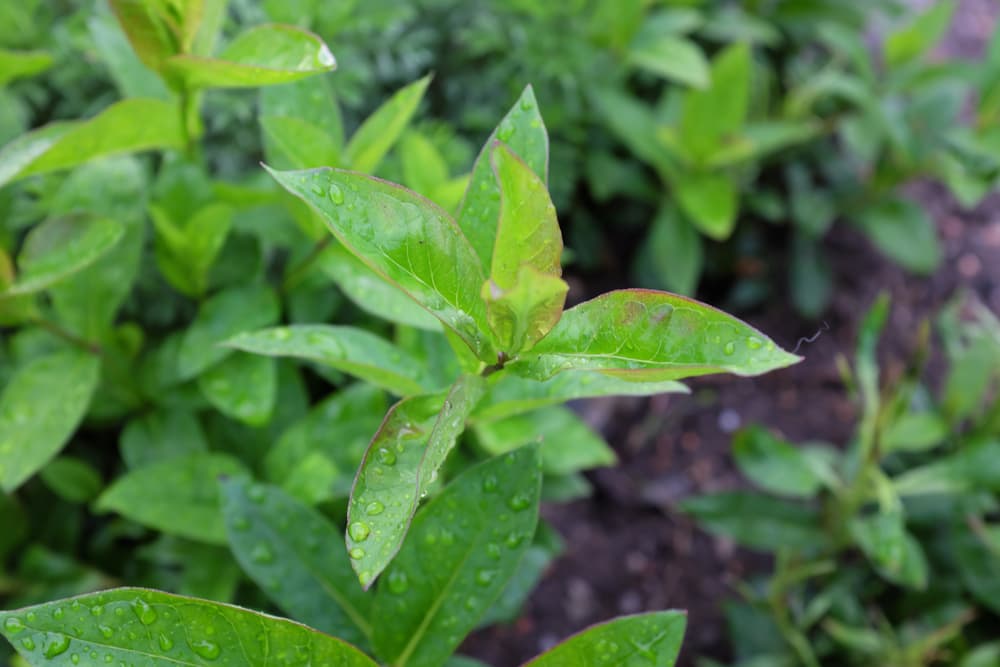
Otherwise, natural precipitation should suffice.
You can give them a boost by administering a weekly feed of general-purpose fertiliser, while regularly deadheading throughout the flowering season should prolong their blooms.
Enjoy!