Some Gardeners Choose To Propagate Osteospermum Cuttings Instead Of Overwintering


Reviewed By PETER LICKORISH

Peter is a Horticulture Lecturer and self-employed Horticulturist, with a passion for diverse areas of the industry - from garden design to the science behind plant growth and propagation. He has completed the Royal Horticultural Society’s Master of Horticulture (MHort) Award and lectures on RHS courses at Bedford College.
IN THIS GUIDE
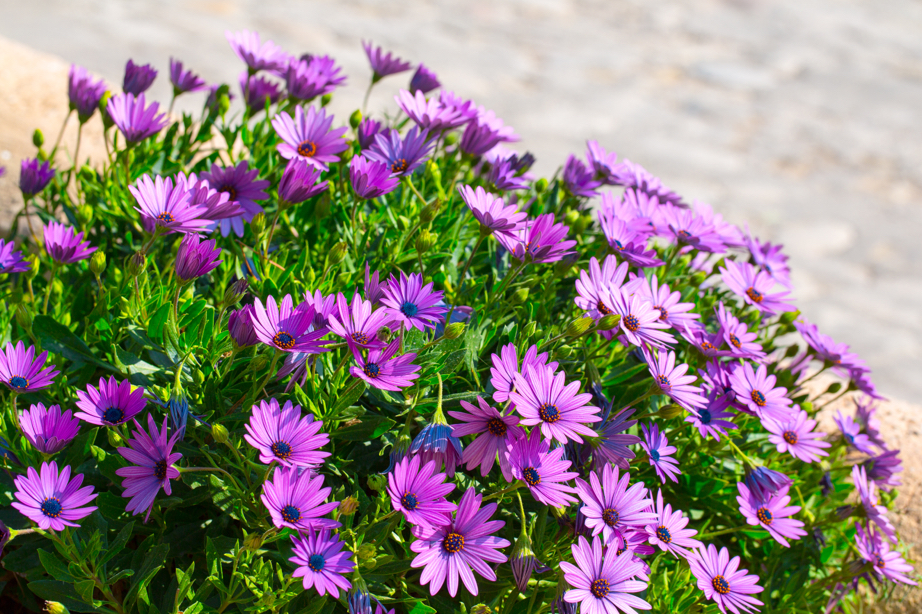
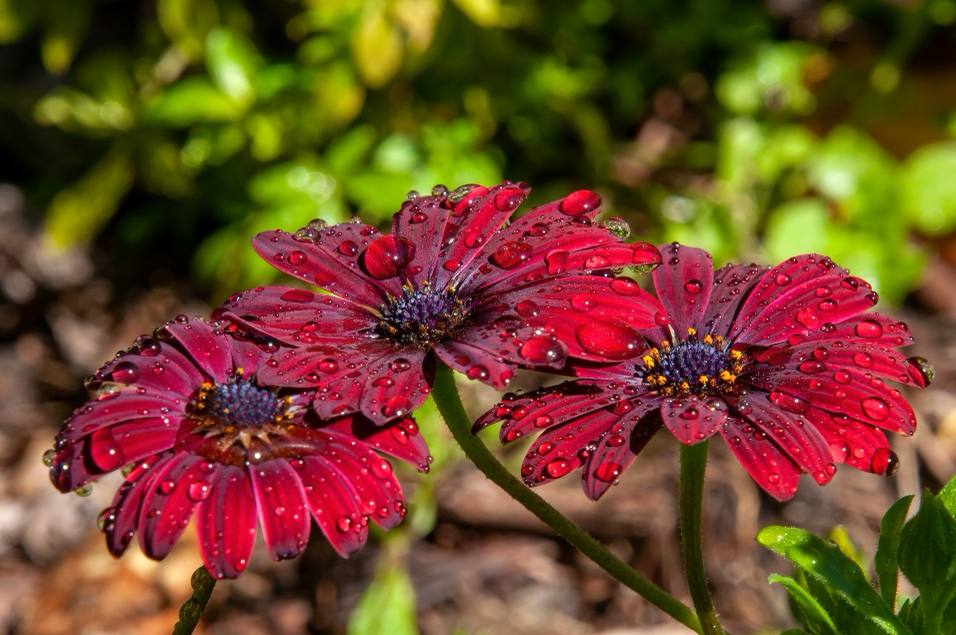
Osteospermums are sometimes known as African daisies – and it’s not difficult to see why.
Their disc-like blossoms are reminiscent of daisies in shape and structure, while the spectrum of colours they are available in is more in keeping with the flamboyance and vibrancy of the African continent.
One other characteristic influenced by their native land is the semi-hardiness of osteospermum.
Although more resilient than some other specimens, they will often die if the mercury drops below -5°C.
In the UK, that’s a fairly regular occurrence, meaning it may make more sense to take cuttings and replant them the following year, rather than trying to overwinter your specimens.
The good news is that propagating osteospermum from cuttings is a straightforward process that shouldn’t present too many difficulties.
Simply follow these instructions and you won’t go far wrong:
- Take your cuttings using secateurs or a sharp implement.
- Prepare your module tray.
- Plant the cuttings in compost.
- Cultivate growth (wait!).
- Prepare for transplantation.
- Transplant outdoors.
- Ongoing plant care.
If you’re still feeling unsure about how to approach the propagation of osteospermum from cuttings, don’t worry.
We’ll cover each step in more detail below.
| Difficulty | Easy |
| Equipment Required | Spade or fork, knife, cuttings compost mix, hormone rooting powder, module tray, pot |
| When To Take Cuttings | Summer |
1) Take Your Cuttings
Although it’s possible to take your cuttings at other times of the year, doing so in summer will ensure that the plant is in its best possible state of health.
It will also give you plenty of time to root the cuttings and prepare them for transplantation outside the following year.
“Harvesting cuttings first thing in the morning is a good idea, as plants usually have their moisture levels topped up overnight,” says Master Horticulturist Peter Lickorish.

Choose non-flowering shoots and slice off a 5cm length of the stem from the tip downwards.
Repeat as many times as desired.
“Place harvested cuttings in a moistened plastic bag to keep them humid until you’re ready to prepare them, but don’t delay too long,” Peter adds.
“They will still lose precious moisture every moment between being taken away from their parent plant and being placed in damp compost.”
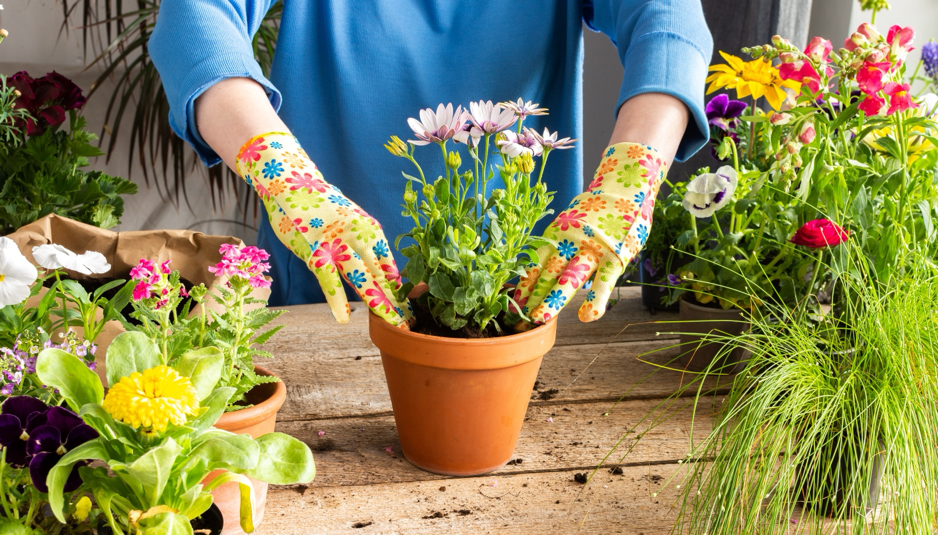
2) Prepare Your Module Tray
Whether using segmented trays or planting the cuttings directly into a shared pot, you should plan to give one enough space (at least 2-3cm2 and preferably more) for it to develop.
You should experience decent results with any cuttings compost mix, but you can enhance the chances of your cuttings taking root by grit, perlite or sand (for drainage) into the mix.
3) Plant The Cuttings
When it comes time to plant the cuttings, prepare each one by stripping off its lower leaves, keeping at least two, and making a small incision in the stem with a sharp knife just below a leaf node.
This forms the base of the cutting.
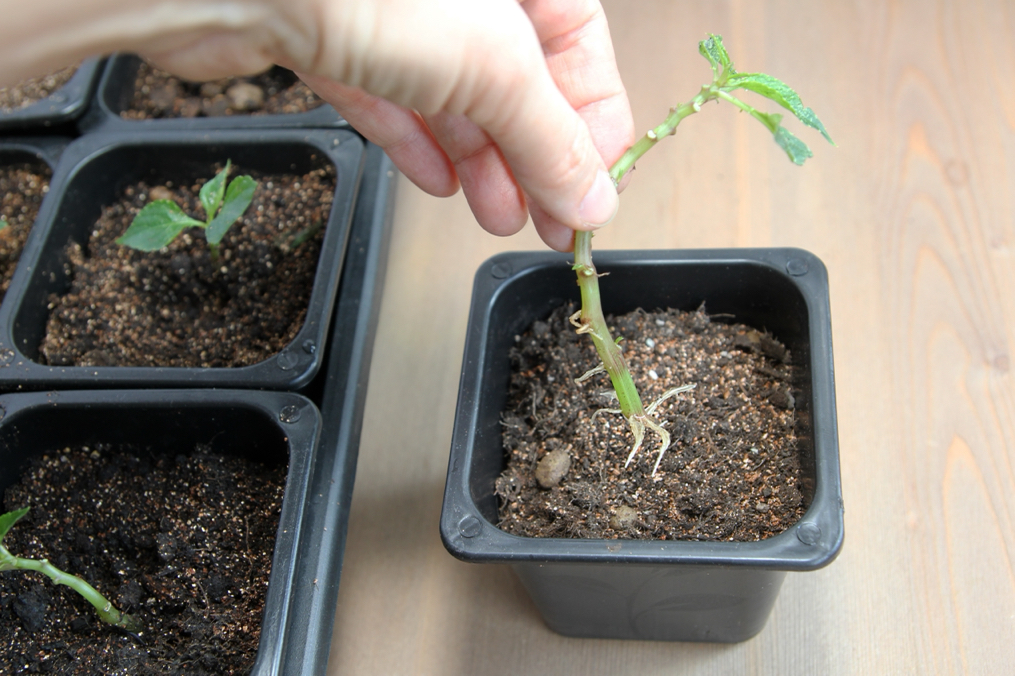
Then, dip this base of the cutting in hormone rooting powder and position it in the module tray.
Firm the soil around its base down gently and water thoroughly, labelling each specimen as you go.
4) Cultivate Growth
Care for your cuttings by keeping them moist, warm and well-ventilated.
You can do this by placing perforated clingfilm over the top of the soil, though this step is not strictly necessary.
You should, however, guarantee that the ambient temperature of the room or greenhouse in which the cutting is located does not drop below 15°C.
Water your cuttings regularly but sparingly, keeping them moist but not waterlogged.
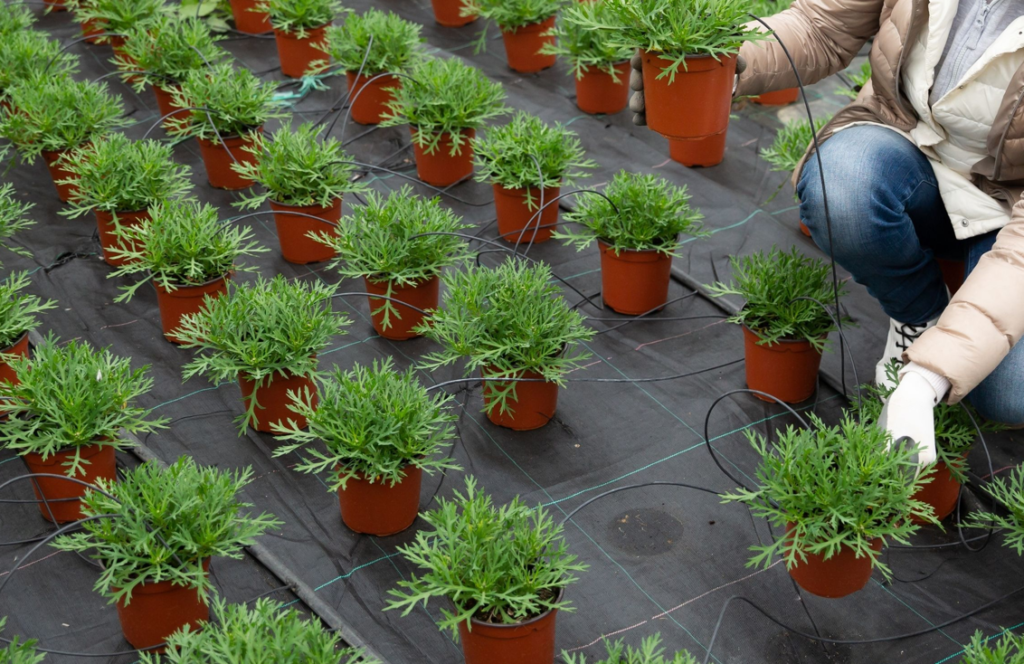
5) Prepare For Transplantation
Around 2-3 weeks before you plan to move your specimens outdoors, you should prepare them for the drop in temperature by hardening the cuttings.
You can do this by opening a window nearby or moving them outdoors for an hour at a time.
“This is also a good time to move the cuttings into bigger or individual containers if you have not already done so,” shares Peter.
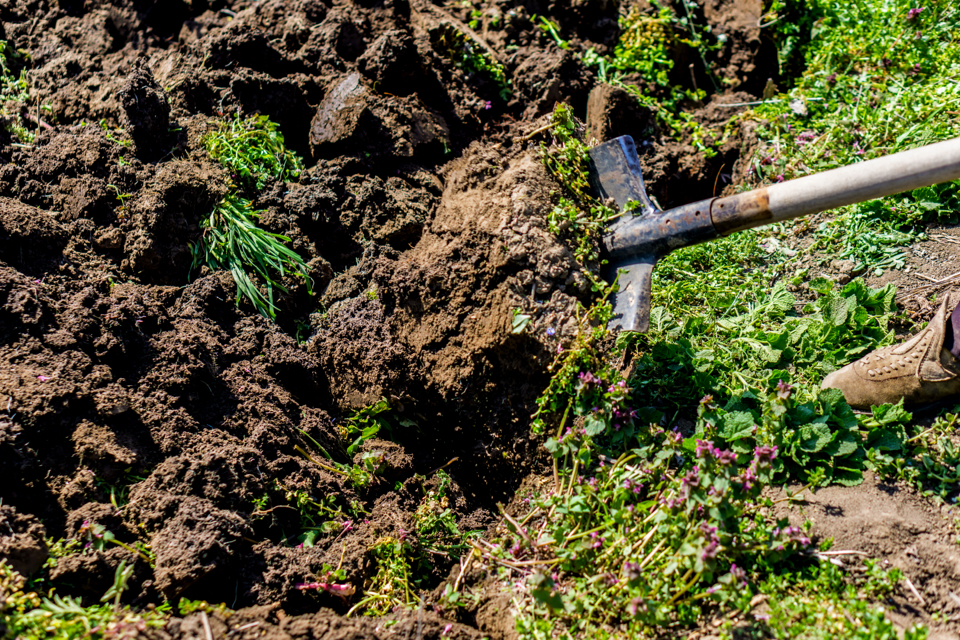
Meanwhile, you should also prepare the outdoor terrain in which you will plant them.
Work it over thoroughly using a trowel, being careful to choose a spot which enjoys plentiful sunshine, good drainage and at least some shelter from the elements.
6) Transplant Outdoors
By now, your osteospermum cuttings should have established themselves well and shown decent foliage growth.
This means that they are ready to be moved outdoors – though you shouldn’t do so before the last frost of winter has passed.
Plant your cuttings at 20-25cm intervals so as to allow plenty of room for their roots to grow.
Pinch off the top of the stem within 2-3 days of transplantation to encourage lateral growth and achieve a bushy plant.
7) Plant Aftercare
In normal conditions, your osteospermum plants shouldn’t require too much watering after they have taken root in the outdoor soil.
You don’t want them to become waterlogged or the roots will die, but neither do you want them to become parched – so keep an eye on rainfall and water in times of drought.
You can fertilise the plant every 3 weeks or so with a mineral-based mixture, as well as mulching around the base to prevent weeds from inhibiting their growth.
Prune the plant as necessary to achieve the desired shape and prolong blooming.