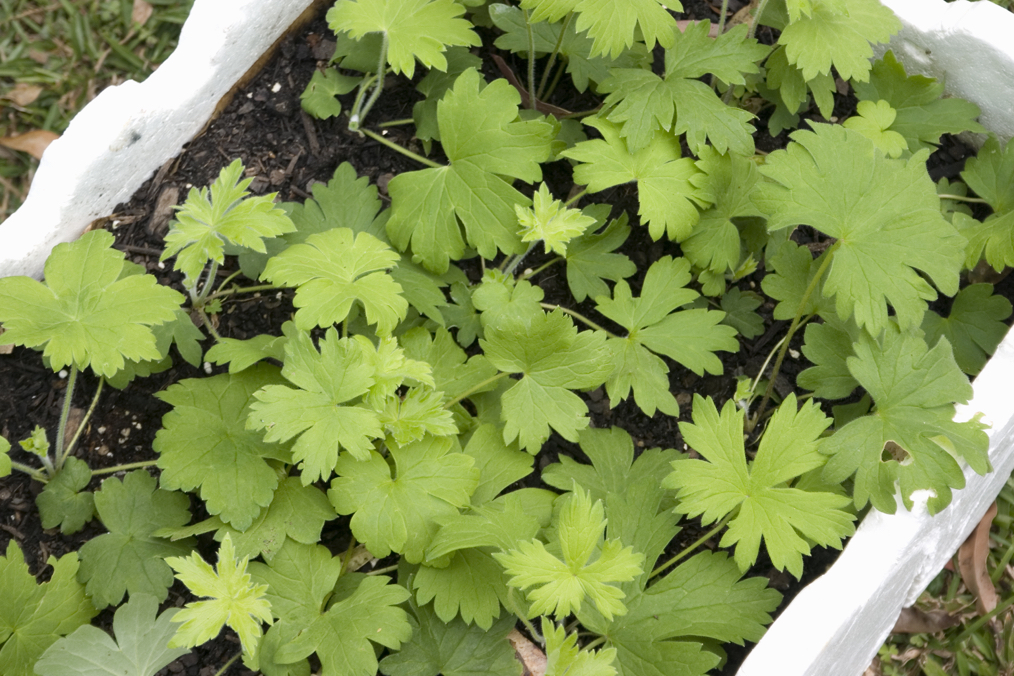
Propagate Larkspurs From Basal Cuttings When You See Fresh Shoots (In Early Spring)

Reviewed By DAN ORI

Dan has over 27 years’ under his belt caring for plants and gardens. Working as a Horticultural Instructor and Consultant, he draws on a diverse range of experience that includes working as a Head Gardener, Tree Surgeon, Garden Centre Trouble Shooter, and writer of academic papers. Dan has a Level 3 Diploma in Horticulture and is currently a candidate for the RHS’s most prestigious award – The Master of Horticulture.
IN THIS GUIDE
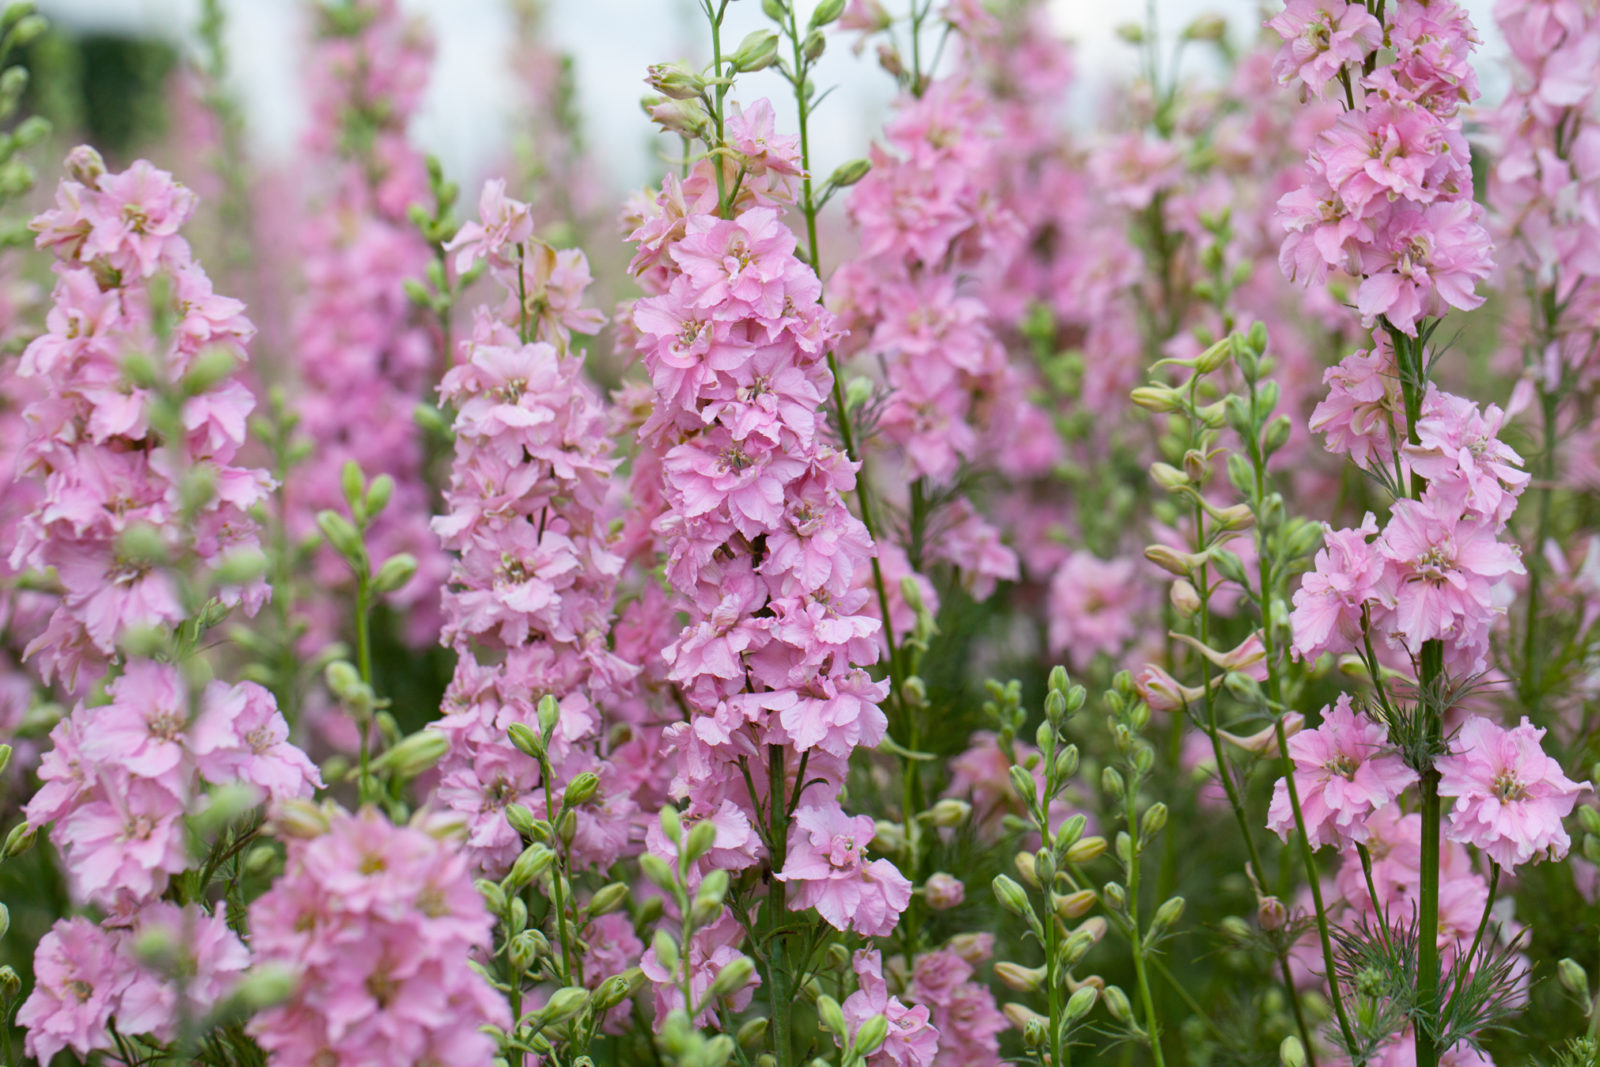
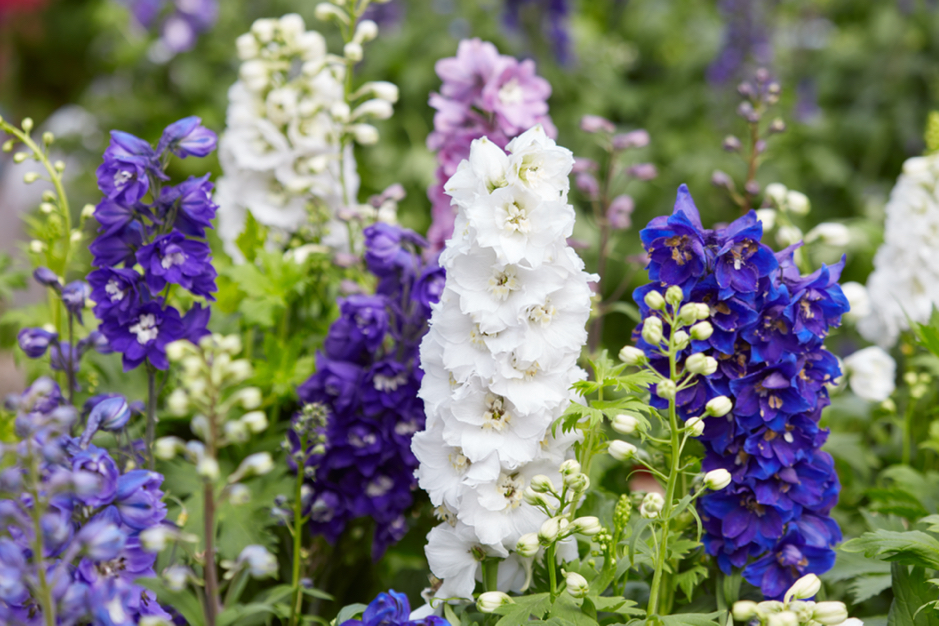
Delphiniums bring a few special charms to beds and borders.
These plants are stately and elegant in form, they feature lobed palmate foliage as if cut out by scissors, and for a glorious month or two in summer produce spikes or racemes richly laden with delightful cup-shaped flowers.
Depending on the hue and shade, they impart grace, radiance, or drama to your garden.
Usually grown from seed or acquired as potted plants, it is not difficult to propagate these plants from cuttings.
Specifically, they can be propagated from basal cuttings in spring.
This method is great if you are enamoured with a particular plant and would like to ‘duplicate’ it.
You can propagate Larkspurs from basal cuttings by following these steps when you see fresh shoots at the base of the plant in March or April.
We explain the process in 8 simple steps below.
| Difficulty | Medium |
| Equipment Required | Gardening gloves, a sharp knife, scissors, a propagator or a clear plastic bag, a rooting hormone or raw honey and cinnamon powder |
| When To Take Cuttings | March-April (depending on your location in the UK) |
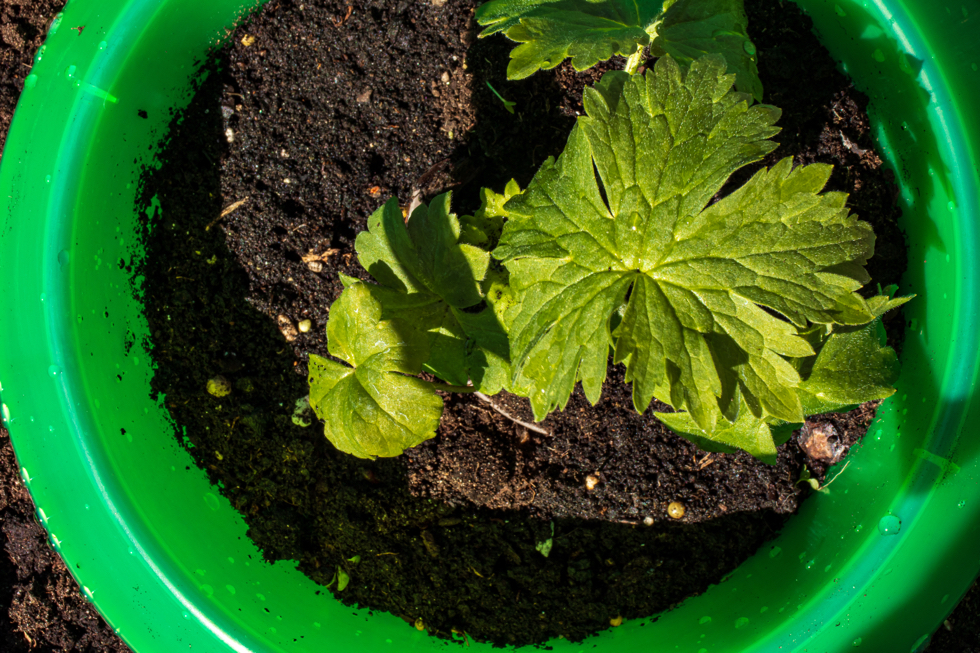
1) Prepare The Pot & Soil
Take a small 9cm terra-cotta (but not ceramic or plastic) pot which has drainage holes.
Prepare a soil of multi-purpose compost and perlite, grit or sharp sand in a 2:1 ratio.
Fill the pot about two-thirds of the way, leaving the rest of the soil aside.
Make a shallow pencil-sized hole where you will insert the cutting.
2) Obtain The Cutting
At the base of the plant, choose a strong shoot that is 7-9cm in height and about the diameter of a pencil, and is forming and unfolding leaves.
Remove 1cm or so of soil below this shoot.

The sub-soil greyish-brown tissue-like portion of the shoot will become visible.
Cut through this part of the shoot with a gardening knife or secateurs with a single clean cut.
3) Trim The Cutting
Remove the lower leaves from their attachment to the shoot and retain 2-3 fresh leaves toward the top of the cutting.
Also, cut off any side shoots.
Most of the cutting should be bare and only the top quarter should have young leaves.
4) Prepare The Cutting
Dip the base of the cutting in rooting hormone, otherwise use the time-honoured technique of dipping in honey and cinnamon.1Study the effect of honey and cinnamon on stimulating rooting process for some plants and compare them with the rooting hormone. (2021, February 9). Journal of Pure & Applied Sciences. https://doi.org/10.51984/jopas.v20i1.990
Dip the cutting to about a quarter of its length in cinnamon powder, then dip in raw honey, and dip once again in the cinnamon.
“I have never used cinnamon and honey for rooting cuttings, but there are studies that support it over not using any rooting aids,” shares Master Horticulturist Dan Ori.
“I do use rooting hormone and most trials support that it is more effective than other solutions.”2Khalid, W., & Ahmed, A. (2024). Study of some Natural Substances in Rooting of two Fig Varieties. International Journal of Agricultural and Statistical Sciences, 18(1), 183–188.
5) Plant And Water
Insert the cutting into the pot you have prepared.
Fill the pot with the prepared soil such that 25-30% of the cutting is in the soil.
Pat down the soil but do not tightly pack it.
Water in moderation so that the soil becomes moist all through.
6) Cover The Pot
If you have a propagator, put the pot in it, otherwise cover the pot with a clear plastic bag in which you have made several small perforations.
Tie the opening of the bag to the rim of the pot and ensure that the bag does not cling to the cutting.
The perforated plastic bag will conserve moisture but will allow the cutting to breathe.
7) Move To A Suitable Location
Place the propagator or the pot in a cool place where it gets indirect or filtered sunlight for a prolonged period.
Do not put under direct sunlight.
Though the ambient temperature should not be warm, the soil temperature should be.
If the cutting is in a propagator, turn on bottom heat at 20-24°C.
If it is in a pot, put the pot on a heating pad.
8) Keep The Soil Moist
Keep watering the cutting sparingly but frequently so that the soil stays moist throughout.
When you water the plant, remove the plastic bag and put it back on after 10-15 minutes.
Cuttings will root in 15-30 days.
Shortly after the cutting has rooted, the pot should be removed from the propagator or the plastic bag should be removed from over the young plant.
After the plant has grown, harden it and pot on.