Campanula Are Impressively Tough And Can Be Easily Lifted And Divided – Here’s How

Reviewed By COLIN SKELLY

Colin is a Horticulturist and Horticultural Consultant with experience in a range of practical and managerial roles across heritage, commercial and public horticulture. He holds the Royal Horticultural Society’s Master of Horticulture award and has a particular interest in horticultural ecology and naturalistic planting for habitat and climate resilience.
IN THIS GUIDE
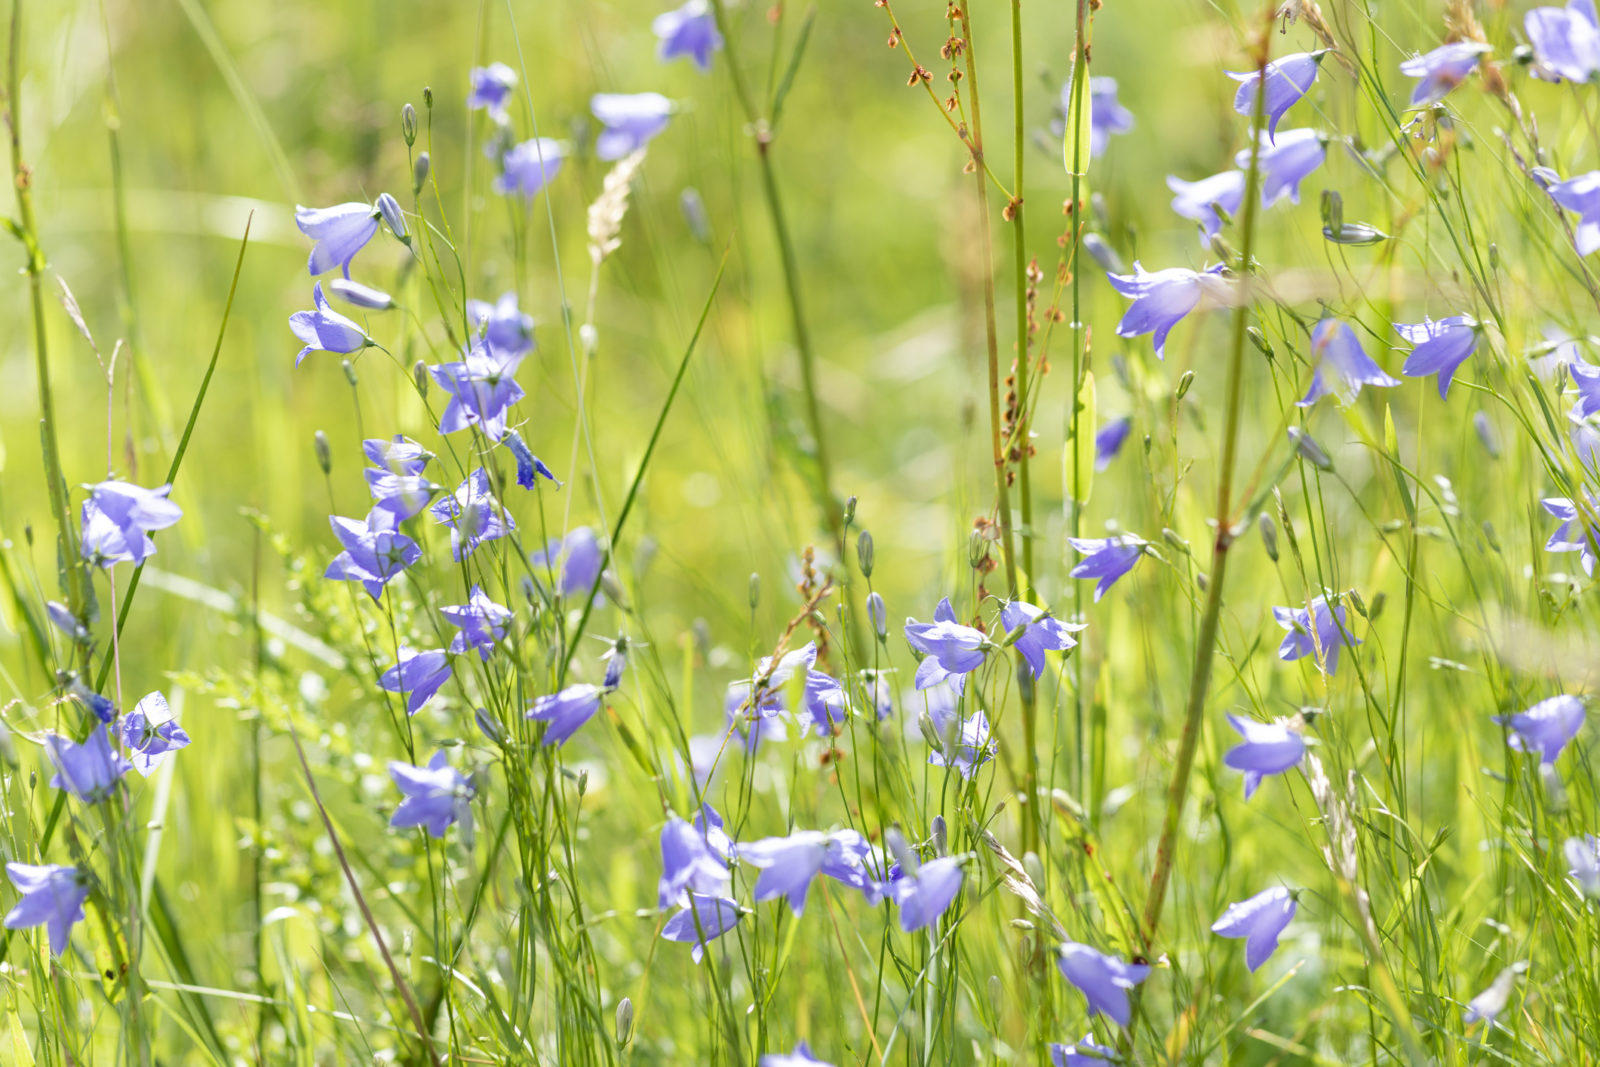
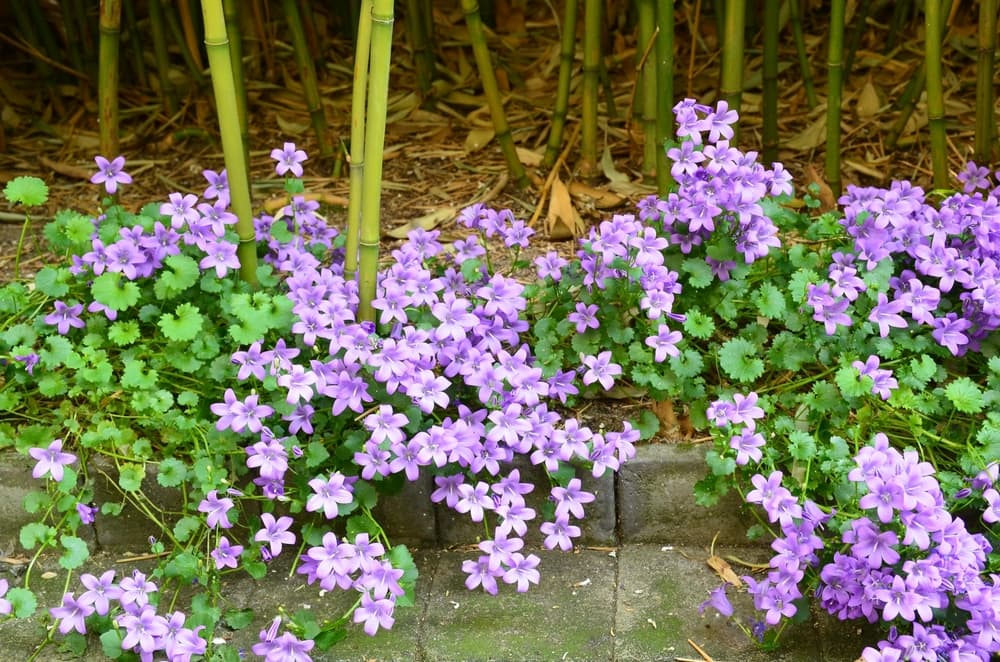
Campanulas are cottage garden classics, whether the variety shows perky, upright star-shaped flowers or bears demure, drooping bells, which give rise to the plant’s colloquial name – bellflower.
Although these plants might not look it, they are also impressively tough and can easily be lifted and divided.
Lift and divide campanulas by following these steps:
- Prep the ground around the plant and also prepare the new planting area.
- Cut into the ground all around the plant and prise it up from a good depth.
- Lift up the plant, roots – soil and all.
- Vertically divide the plant into smaller clumps.
- Replant the divided clumps, then water and fertilise.
This process is explained in more depth below:
| Difficulty | Medium |
| Equipment Required | Gardening gloves, small hand pick, garden mattock or garden fork, hand spade or gardening trowel, watering can or hosepipe |
| When To Divide | April-May |
When To Divide Campanula
Lift and divide campanulas on a late spring morning a few weeks after the last frost of the season, as Horticultural Consultant Colin Skelly explains:
“The rule of thumb with dividing perennials is to divide summer flowering plants in spring and spring flowering plants in summer.
“However, I tend to divide in autumn because of the increased prevalence of hot, dry weather in spring making establishment more problematic.
“I find that the warmer but wet autumns are good for establishing clumps of perennials prior to the next growing season.”
Before dividing, make sure that the soil is workable.
1) Prepare The Ground & New Planting Area

Water the ground around the plant to be lifted with a watering can or hosepipe as you jab at the ground with a small hand pick, garden mattock, or garden fork to prep and loosen it.
I’d recommend wearing gardening gloves for this task.
In the replanting area, dig holes, cultivate the soil, pre-water the ground, and do whatever other tasks are necessary at the spot you have selected for the dividing campanulas.
2) Cut Into The Ground
Drive a spade or fork into the ground all around the plant you want to divide, staying a good 15-20cm away from it.
The cut you make into the ground should be about 30cm deep.
3) Lift The Campanula
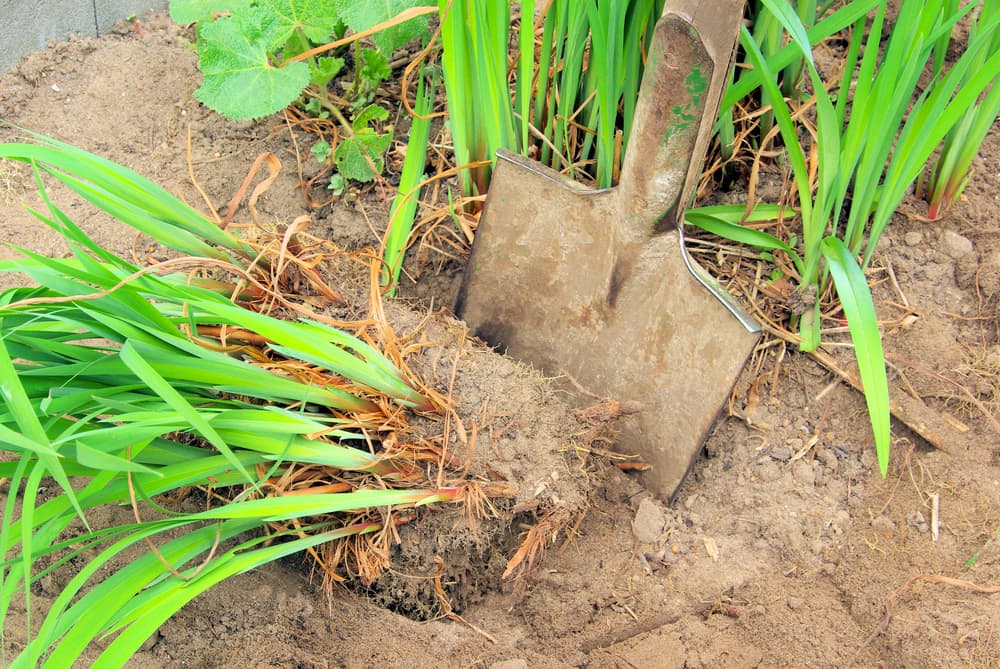
Pushing down and pivoting up the spade or fork as you go around the plant, slowly prise up the clump of ground to bring up the campanula, roots and soil, and lift it all out together.
4) Divide Clumps
Use your gloved hands, or the edge of a hand spade or a gardening trowel, to divide the plant vertically from the foliage down to the roots.
Try to pull and divide or cut through cleanly but it’s okay if some roots seem to tear along the vertical as you divide.
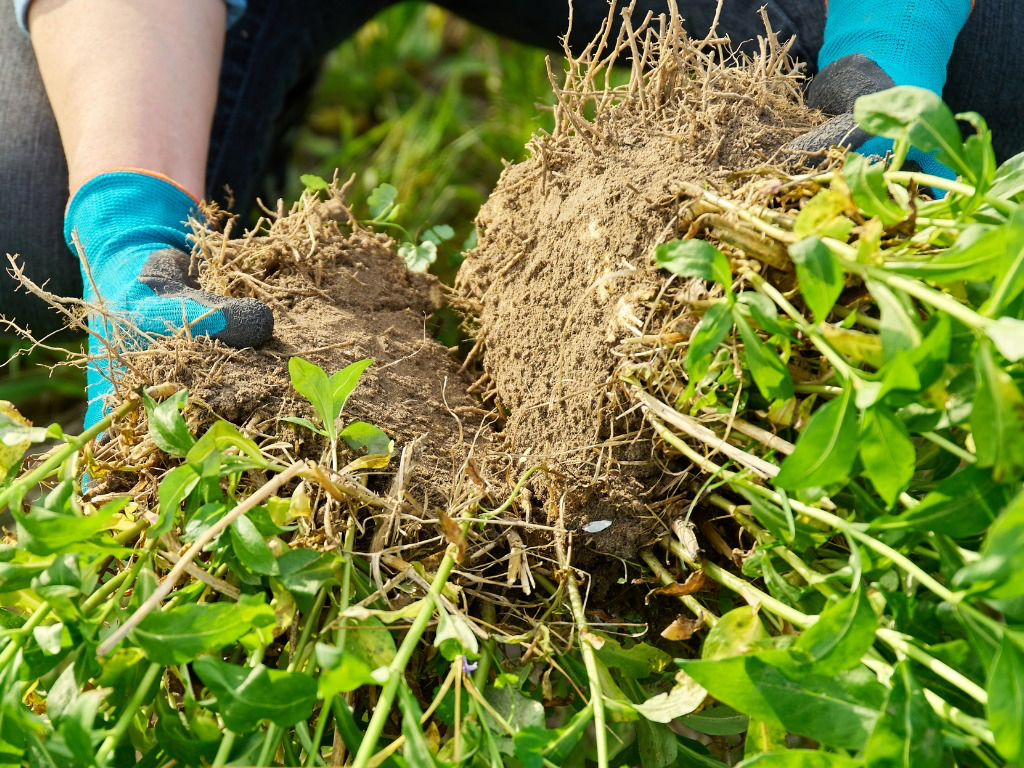
Just make sure to divide into viable clumps that have enough foliage and roots.
I’d say about 15-20cm across will be more than enough for a clump.
5) Re-Plant The Divisions & Treat Them
Re-plant the divided clumps in the holes you had dug and backfill as necessary.
Make sure that the soil level is at or, preferably, a bit below what it originally was on the stems of the plants.
Water the divided plants very moderately.
Treat them to a conservative quantity of slow-release fertiliser or liquid fertiliser.
Dilute as required and keep the fertiliser away from the root crowns, then water again generously.