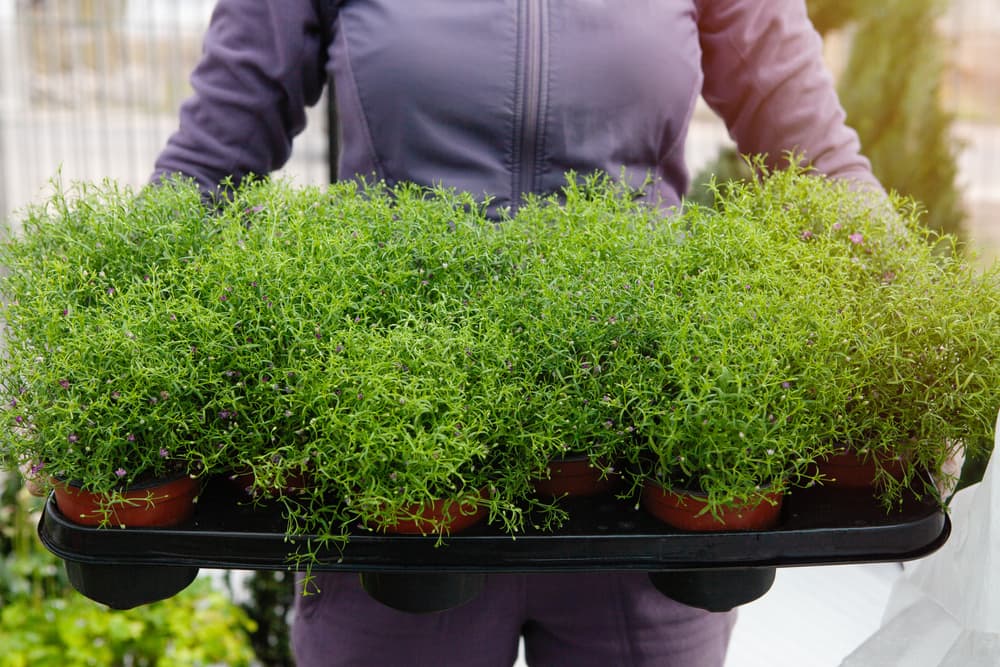
You Can Propagate Campanula From Basal Cuttings In Early-To-Mid Spring


Reviewed By COLIN SKELLY

Colin is a Horticulturist and Horticultural Consultant with experience in a range of practical and managerial roles across heritage, commercial and public horticulture. He holds the Royal Horticultural Society’s Master of Horticulture award and has a particular interest in horticultural ecology and naturalistic planting for habitat and climate resilience.
IN THIS GUIDE
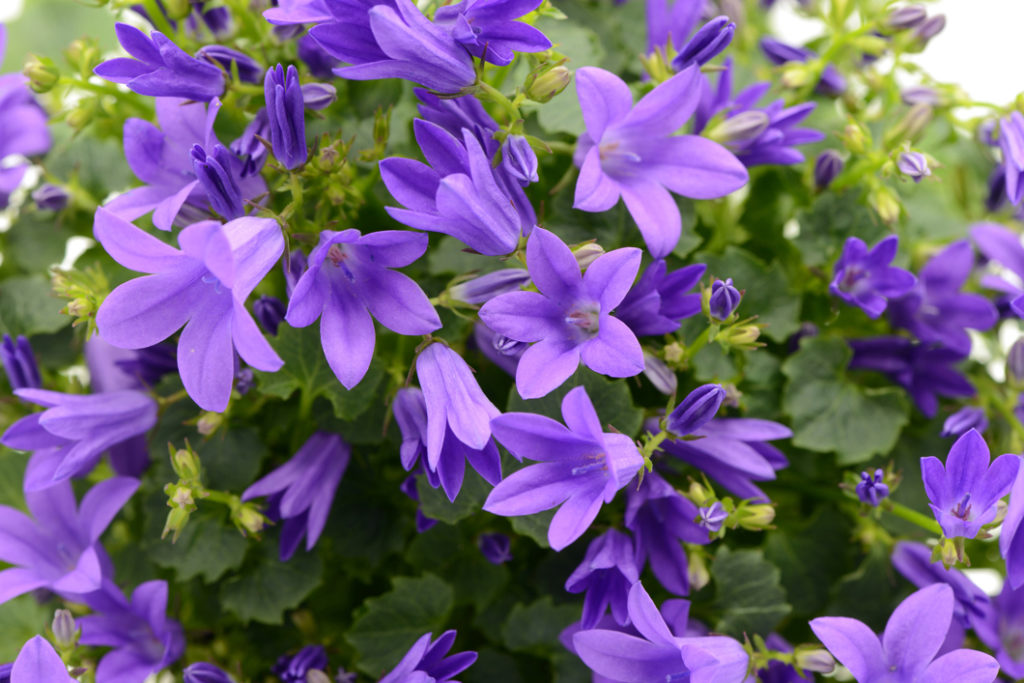
Effective methods of propagating campanulas vary by species.
Among the methods are growing from seed, greenwood cuttings, basal cuttings, and plant division.
In this guide, we explain how to propagate campanula from basal cuttings.
The process is outlined here:
- Prepare the potting materials.
- Obtain your campanula cutting from an existing plant.
- Trim the cutting down to size.
- Plant the cutting in your pre-prepared pot.
- Set up a clear plastic bag around the cutting to trap humidity.
- Care for your newly propagated campanula with regular watering and eventually planting out.
This process is explained in more depth below.
| Difficulty | Medium |
| Equipment Required | Gardening gloves, sharp knife, scissors, clear plastic bag |
When To Propagate
The time to attempt this type of propagation is indicated by the plant itself.
In early-to-mid spring soon after the last frost, you will notice new green shoots emerging around the plant.
It is one of these that will give you a new campanula.
1) Prepare The Pot
Prepare a small 9cm terra-cotta (not plastic or ceramic) pot with multi-purpose compost and dampen the compost.
Do not use a potting mix or a seed starter.
The pots should have drainage holes.
2) Obtain The Cutting
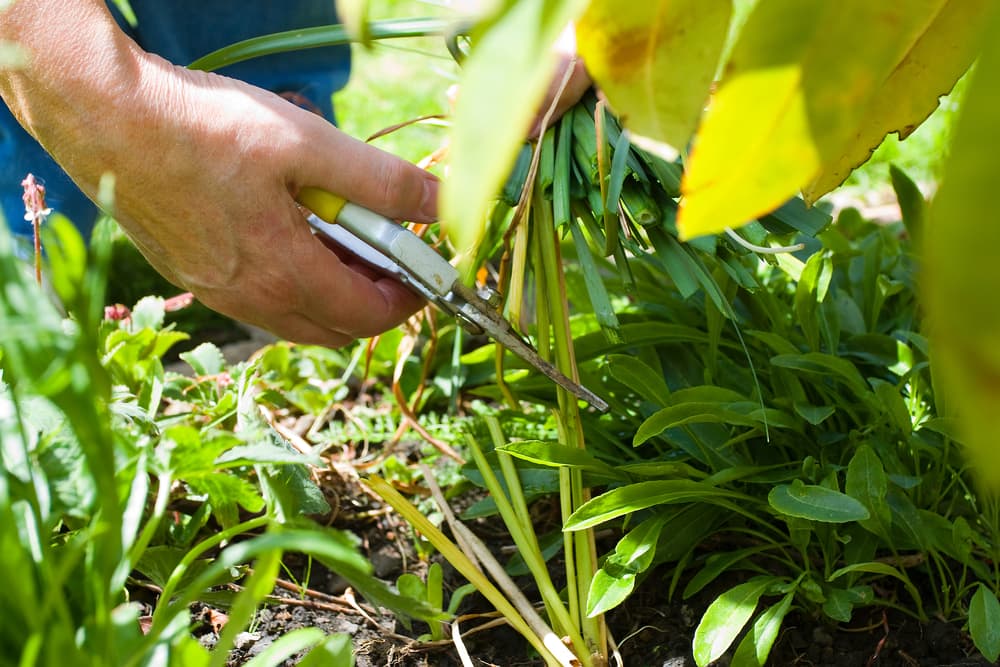
Choose a new green shoot emerging beside the original plant that has several leaflets.
Brush away just a little soil at the base to expose the greyish-brownish section of stem beneath the green.
Using the sterilised, sharp knife, slice through it at the point in between the root and the above soil shoot with a single clean cut.
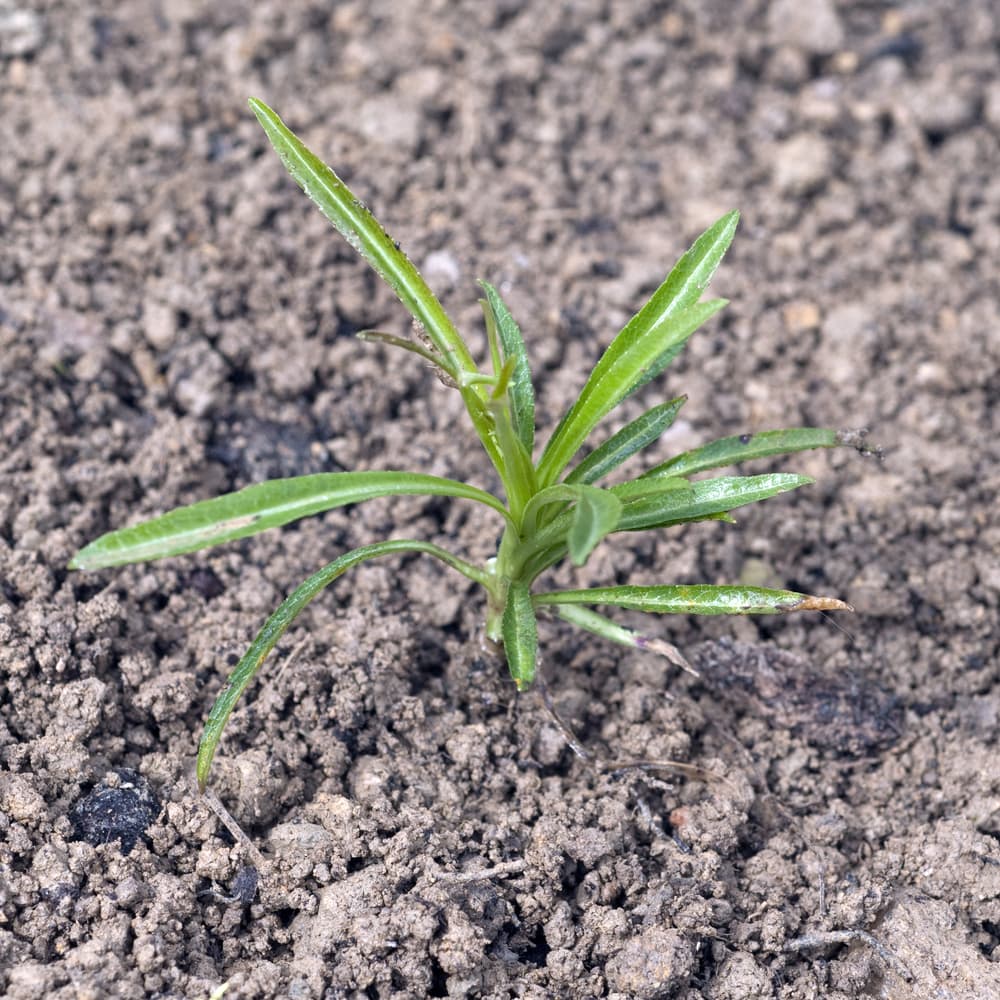
3) Trim The Cutting
Using a pair of table scissors, cut the leaflets laterally into about half their lengths.
4) Plant Into Compost
Plant the cutting into the compost, firming up the compost all round.
Give it a good watering.
5) Setting Up
Cover the cutting with a clear plastic bag that is not too large but still big enough not to stifle or touch the cutting.
The bag will trap humidity which the cutting needs early on.
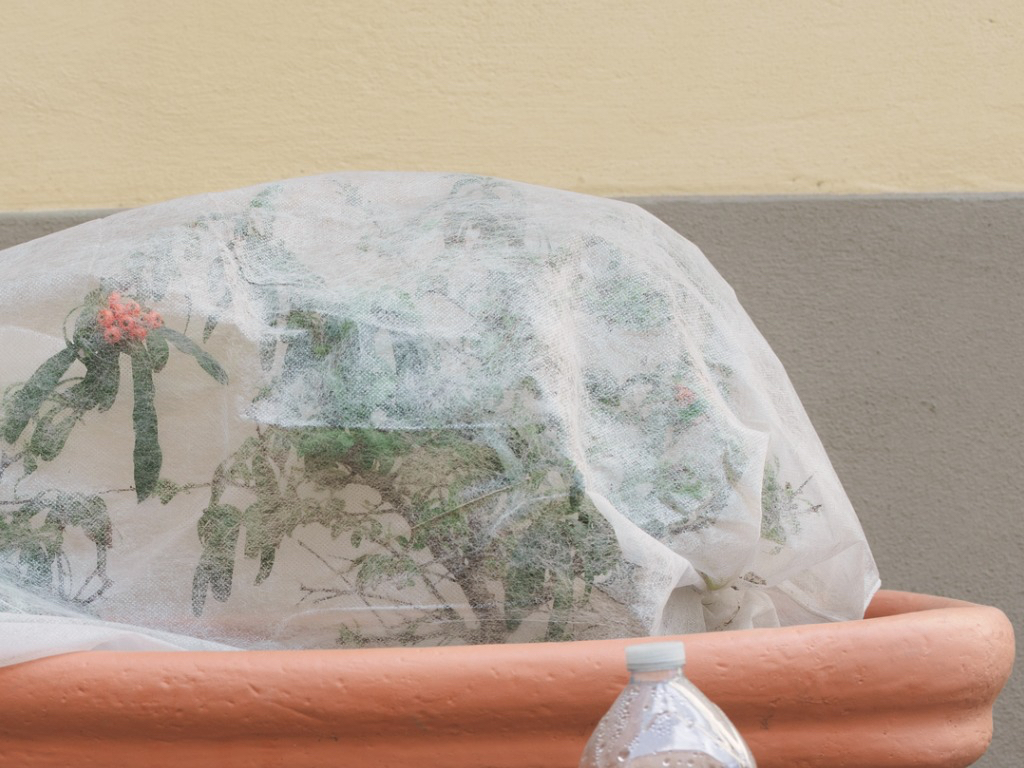
Tie the edge of the bag around the rim of the pot and then make some tiny holes in the bag with a pin.
Keep the pot in a place where the cutting will get several hours of indirect sunlight.
Do not worry if the cutting’s existing leaflets droop and wilt initially; this usually happens even as a cutting is developing roots and putting out fresh foliage.
6) Cutting Aftercare
Continue to water the cutting such that the soil stays moist.
Remove the plastic bag for an hour or so before watering, and put it back on 10-15 minutes after watering.
As you see the cutting develop several fresh leaves, gradually increase its exposure to sunlight and remove the plastic bag.
After a few more weeks, pot it on or plant it in open ground.
You can maximise your chances of getting new campanulas if you take and root multiple basal cuttings, so long as it does not injure or stress the original plant.
“Basal cuttings are relatively easy-to-establish for many perennials, being a section of root and stem and of young growth,” shares Colin Skelly, a Horticulturist who has previously worked at The Eden Project.
“These usually take and grow on quite quickly in favourable conditions, providing a plantable result within a few months.
“I use this type of cutting to bulk up perennial stocks early in the season and follow up with division in late summer if needed.”