Perennial Erysimum Can Be Propagated Very Easily From Cuttings – Here’s How


Elizabeth is a Permaculture Garden Designer, Sustainability Consultant and Professional Writer, working as an advocate for positive change. She graduated from the University of St. Andrews with an MA in English and Philosophy and obtained a Diploma in Applied Permaculture Design from the Permaculture Association.
Reviewed By COLIN SKELLY

Colin is a Horticulturist and Horticultural Consultant with experience in a range of practical and managerial roles across heritage, commercial and public horticulture. He holds the Royal Horticultural Society’s Master of Horticulture award and has a particular interest in horticultural ecology and naturalistic planting for habitat and climate resilience.
IN THIS GUIDE
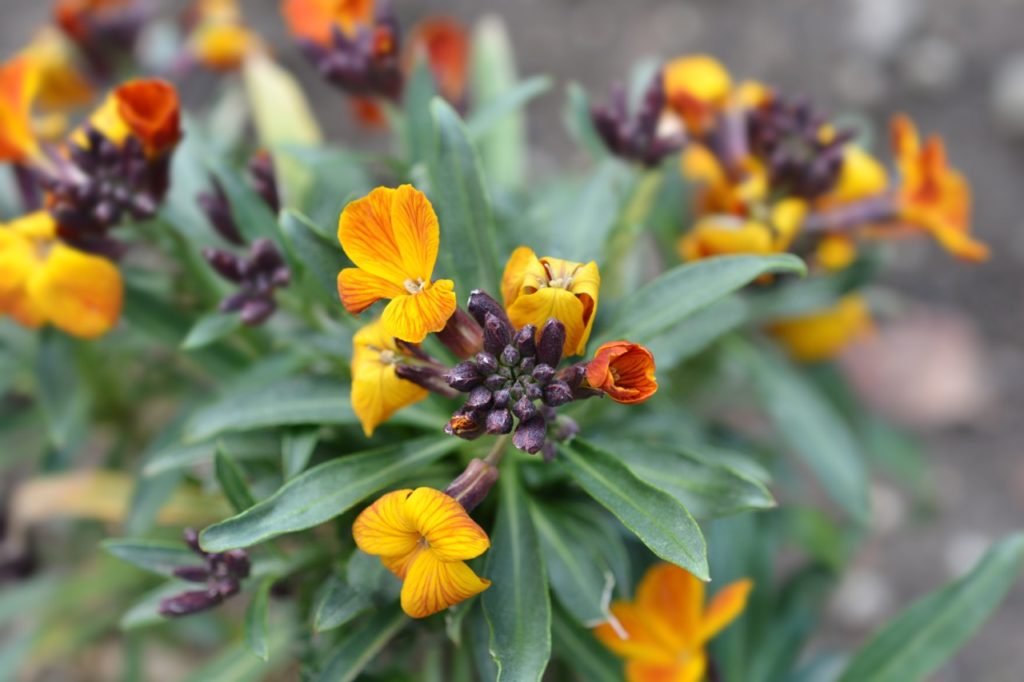
Erysimum, also known as a wallflower, can be perennial, biennial or annual, and, as a varied genus, these flowers can work well in many different settings.
They are typically fairly hardy, preferring well-drained soil and full sun, though they can cope with partial shade.
The good news for those who wish to grow perennial Erysimum is that they can be propagated very easily from cuttings.
Cuttings should be taken in the spring, ideally in May or June.
Here is the process to follow if you wish to undertake this simple garden job:
- Select a healthy non-flowering shoot.
- Take cuttings of your perennial Erysimum.
- Remove all lower leaves from your cuttings.
- Dip the end of the cutting in rooting hormone (optional).
- Pot up your cuttings and wait for rooting to occur.
- Grow on your cuttings in individual pots.
- Plant out when well established.
This process is explained in a little more detail below.
| Difficulty | Easy |
| Equipment Required | Gardening knife, cuttings, compost mix, pots, rooting powder (optional) |
| When To Take Cuttings | May-June |
1) Select Shoots
Select an existing perennial Erysimum from which you would like to take your cuttings.
Take a good look at the plant and select some healthy, non-flowering shoots to use.
2) Take Cuttings
Cuttings of around 10cm in length should be taken from each of the healthy, non-flowering shoots that you have selected.
It is best to always take a few cuttings so that you have a better chance of success.

Rather than simply cutting off the shoots, it can be beneficial to pull the cuttings off so that they break off just below a node, or the point where the leaves meet the stem, leaving a small heel.
A heel cutting is a cutting with a small sliver of stem attached at the base.
They often stand a better chance of rooting successfully.
3) Remove Lower Leaves
Next, take your cuttings and carefully remove all of the lower leaves from each stem, leaving just 3-4 leaves on each one.
Usually, the bottom half of each cutting should be left free from foliage.
4) Use Hormone Rooting Powder
While you can certainly get Erysimum cuttings to root successfully without this step, you can, if you wish, dip the ends of your cuttings into a hormone rooting powder.
This is a substance which stimulates root growth and can increase the chances of success.
“Hormone rooting powders are generally not required if your cuttings are of good quality, taken at an optimum time of year, struck into a suitable growing medium, and placed into a warm, moist, bright location and covered with clear plastic,” shares Horticultural Consultant Colin Skelly.
“Often one or more of these factors might be less than ideal, so rooting powders can help to balance the odds in your favour.
“I use hormone-rooting powder for cuttings that aren’t quite textbook in quality, age or health.”
5) Pot Up Cuttings
Take your Erysimum cuttings and place them around the edges of a small pot or pots.
Insert the cuttings into a moist yet free-draining medium, with sufficient organic content, so that the lowest of the remaining leaves are just above the surface of the medium.
Make sure that you space the cuttings so that none of the leaves touches one another.
Place the pot or pots into a propagator, or cover them with a plastic bottle or bag, then move them somewhere reasonably warm and bright, but out of direct sunlight.
Then, wait for rooting to occur.
6) Grow Cuttings In Individual Pots
You will be able to tell when the cuttings have rooted because when you give each one a very gentle pull, it will be held firm in the growing medium.
New growth should soon be visible.
Once the cuttings have rooted, pot them up into their own individual containers, and grow them on until they reach sufficient size to be planted out.
Perennial Erysimum can be planted out at any time throughout the year, but it is best to do so in late spring before the weather grows too warm and dry.
7) Plant Out
Once your young Erysimum are ready to plant out, you should choose and prepare a suitable spot in your garden.
Of course, a sunny and reasonably free-draining spot is best.
However, when choosing a spot to plant out your Erysimum, you should be sure to make reference to the specific type that you are growing, as environmental needs can differ somewhat depending on which specific variety you are dealing with.