Take Oleander Cuttings After It Has Started Putting Out Fresh Growth (Before Flowering)


Reviewed By COLIN SKELLY

Colin is a Horticulturist and Horticultural Consultant with experience in a range of practical and managerial roles across heritage, commercial and public horticulture. He holds the Royal Horticultural Society’s Master of Horticulture award and has a particular interest in horticultural ecology and naturalistic planting for habitat and climate resilience.
IN THIS GUIDE
Oleander can be propagated from cuttings very easily and just as reliably, provided you do it right.
This is a versatile plant that can be used for a range of different things in your garden, from hedging to ground cover.
This is how you can grow oleander from cuttings:
- Prepare the pot in which you will place your cuttings.
- Take the plant cutting from an existing oleander in your garden or home.
- Prepare the cutting with a rooting hormone or homemade alternative (optional).
- Cover the pot and allow time to propagate.
- Care for the cutting correctly.
- Watch the cutting to make sure it is developing as it should.
This process is explained in more detail in the six steps below.
| Difficulty | Easy |
| Equipment Required | Secateurs and gardening gloves |
| When To Propagate | May-June |
When To Take Oleander Cuttings

The best season to take oleander cuttings is after the plant has started putting out fresh growth but just before it starts flowering.
This is usually around May or June.
Cuttings should be taken in the morning or mid-morning.
1) Prepare The Pot
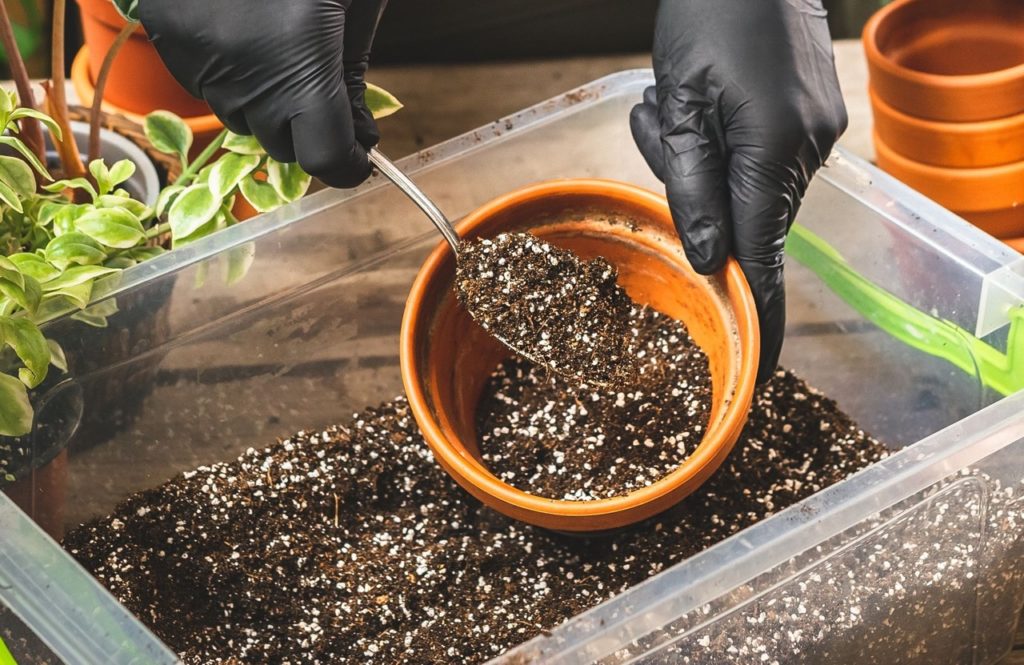
Prepare a small terracotta pot that has drainage holes.
Fill the pot up to about 2cm from the top with sterile potting mix and sand.
I like layering the media in which to root cuttings.
A lower layer of pebbles and grit, a thicker intermediate layer of organic compost and sand, and a top layer (in which the cutting will initially root) of sterile potting mix and sand will work great.
“The layered compost approach mimics the conditions a plant might root into in its native habitat,” shares Horticultural Consultant Colin Skelly.
“Loose and friable at the surface, a more moist mid-layer and a free draining sub-soil. It also minimises soil disturbance that might disrupt root development.”
This technique allows you to keep the cutting in the original pot until it becomes a thriving little plant.
Dampen the medium well.
2) Take Your Cutting
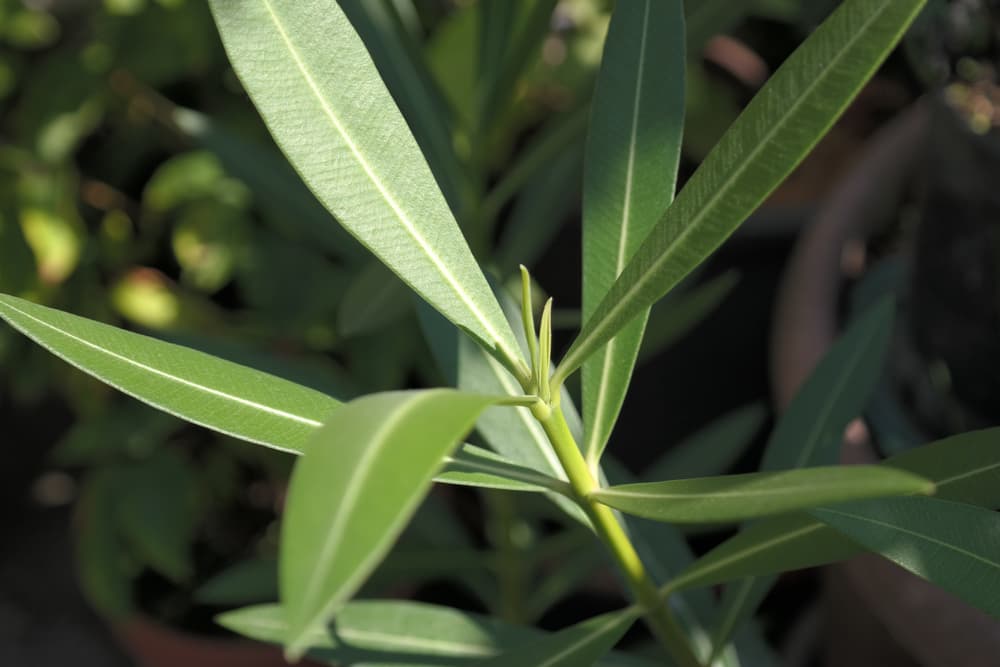
On the parent bush, choose a well-grown branch from the current season’s growth – take a cutting from a mature greenwood stem.
It may well be grey or brownish-green at the attachment but fully green at the tip.
It should be at least 20cm long and not have any flowering buds.
Using your secateurs, cut a length of 18-20cm off this branch, making the cut just under a leaf node.
Retain the 3 uppermost leaves and snip off the rest along the cutting.
3) Prepare The Cuttings
Dip the base of the cutting to about a quarter of its length in rooting hormone powder.
If you don’t have any, I can vouch for the old-fashioned method of dipping cuttings in cinnamon powder and (herbal or clover) honey – it does the trick.
Make a narrow hole with a twig or pencil in the pot’s medium and insert the cutting to about a third of its length.
Pack in the medium around the cutting and water it in well.
4) Cover Well
Cover the cutting with a large, clear perforated polythene bag or sheet to trap humidity.
Tie or clip the bag’s opening or edges to the rim of the pot.
The polythene should not touch the cutting, so you may need to insert 1-2 sticks in the pot to keep the polythene off the cutting.
5) Care For Your Nerium Cutting
Put the pot indoors where it will get several hours of bright but indirect sunlight.
A spot under a sunny window covered by a gauzy curtain is ideal.
The cutting should not be subjected to cold temperature or undue heat, but normal room temperature is fine.
Water daily but in strict moderation so that the medium is kept continuously moist.
Every 2 days remove the polythene bag or sheet for about an hour, and you can remove it entirely after about 10 days.
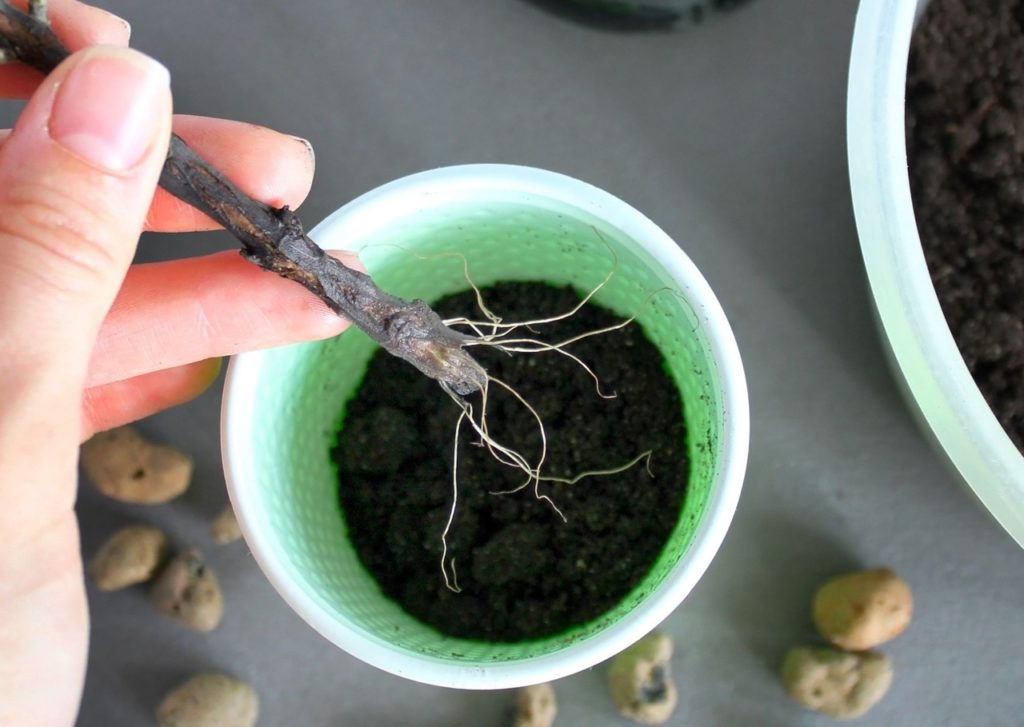
6) Watch For Plants Taking Root

The cutting will take up to 4 weeks or more before it shows external signs of having taken root.
Your indicator as to whether or not all is well is from the original leaves, so if they do not wilt or wither, this is usually a good sign.
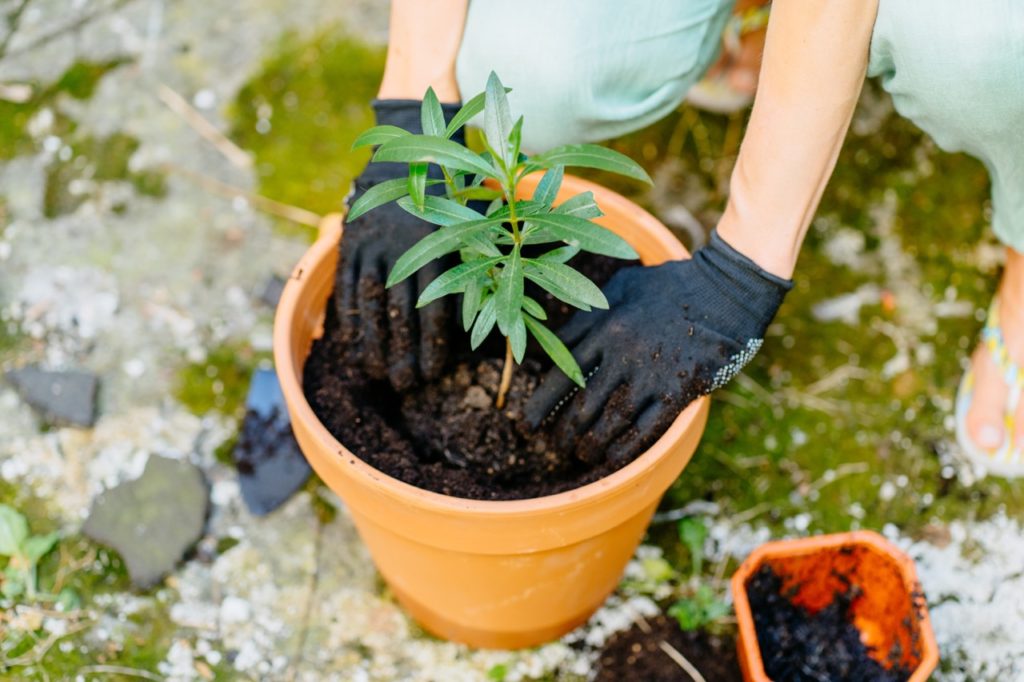
Soon after you observe emerging foliage buds, very gradually decrease the frequency and quantity of water and start to expose the incipient plant to increasing periods of morning sunlight.

Allow the little plant to grow and put out a few sets of full-grown leaves before you pot on.