Don’t Discard Your Amaryllis After Flowering – Repotting Can Bring Them Back To Life


Elizabeth is a Permaculture Garden Designer, Sustainability Consultant and Professional Writer, working as an advocate for positive change. She graduated from the University of St. Andrews with an MA in English and Philosophy and obtained a Diploma in Applied Permaculture Design from the Permaculture Association.
Reviewed By COLIN SKELLY

Colin is a Horticulturist and Horticultural Consultant with experience in a range of practical and managerial roles across heritage, commercial and public horticulture. He holds the Royal Horticultural Society’s Master of Horticulture award and has a particular interest in horticultural ecology and naturalistic planting for habitat and climate resilience.
Many people will purchase Amaryllis (Hippeastrum) in a pot for the festive season and then discard it once it finishes flowering.
However, with a little work, you can keep one of these plants over many years, repotting as required into a new container.
| Difficulty | Easy |
| Equipment Required | Pots, growing medium, trowel |
| When To Prune | Late summer or early autumn |
When To Repot Amaryllis
Some people will repot an amaryllis with a new growing medium each year, replanting bulbs after the period of dormancy that they require in the late summer or early autumn.

Others, however, keep the bulbs in their pots, replacing only the top layer of growing medium annually and only completely repotting every 2-3 years.
If your amaryllis has been grown from seed, the young plants are typically repotted a number of times before they reach maturity, being placed into a slightly bigger pot whenever the roots fill the existing one well.
Key Considerations
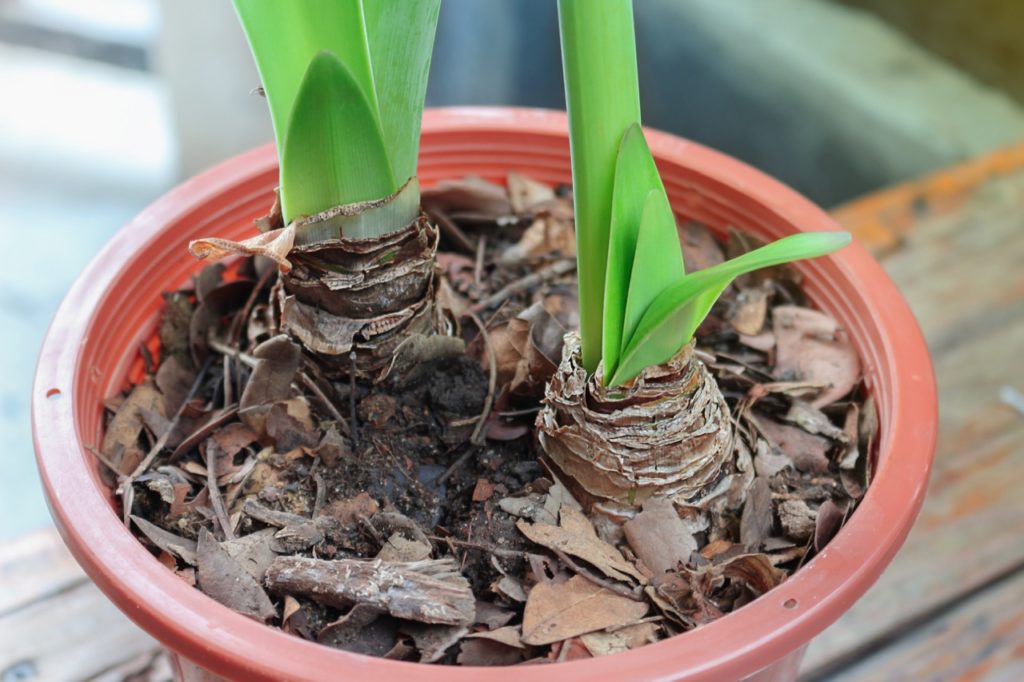
One of the main things to remember when repotting amaryllis is that these are plants that thrive when their roots are somewhat restricted.
It is therefore important not to repot in too large a pot and to avoid repotting when the roots do not entirely fill the existing pot.
“The type of pot can also make a difference,” explains Master Horticulturist Colin Skelly.
“Plastic pots, which are waterproof, are great for moisture-loving plants but I prefer terracotta pots for bulbs like Amaryllis that don’t like to sit in compost that is wet.
“Terracotta pots are porous, allowing evaporation through the pot, and can help to prevent over wet conditions.”
Too much root-free compost around the roots can cause issues with waterlogging, and this can lead to the bulb rotting or cause other issues.
Avoiding waterlogged conditions is one of the key considerations when growing these plants, which need reasonably free-draining conditions.
Problems with amaryllis, like a failure to flower or fungal disease, are far more likely to be related to environmental problems than they are to be related to a plant that has outgrown its pot.
However, as mentioned above, mature amaryllis is likely to require repotting into a new growing medium every 2-3 years to keep it in optimal health.
How To Re-Pot Amaryllis
The actual repotting process is very simple:
- Choose a new container and prepare your growing medium.
- Gently ease the plant from its existing pot.
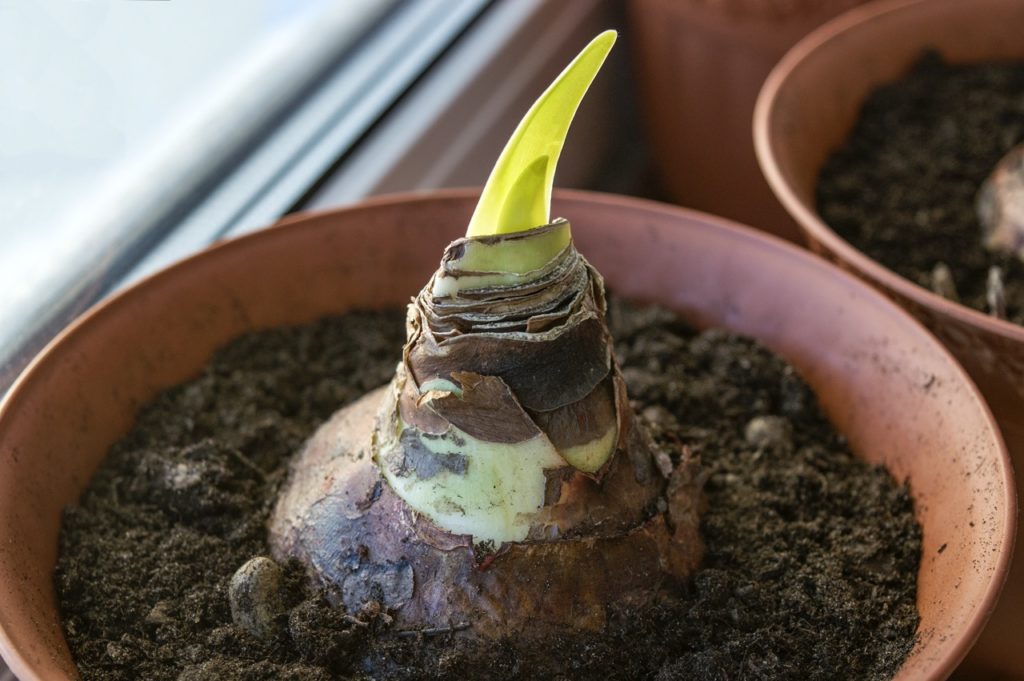
- Place the plant into its new pot, remembering that it should sit at the same level as it was previously, with around two-thirds of the bulb above the surface of the growing medium.
- Ease some of your growing medium around the edges of the pot, firming it gently into place.
- Water the plant to settle it into its new container.
Make sure that you place the pot back in a suitable location, indoors over the winter or outdoors in your garden throughout the summer months.
Care for your amaryllis correctly throughout each year, repotting as required, and it will reward you with its beautiful flowers each winter or early spring over many years to come.