Collecting Snowdrop Pods: ‘Sowing The Freshest Seed Will Give The Best Results’


Reviewed By PETER LICKORISH

Peter is a Horticulture Lecturer and self-employed Horticulturist, with a passion for diverse areas of the industry - from garden design to the science behind plant growth and propagation. He has completed the Royal Horticultural Society’s Master of Horticulture (MHort) Award and lectures on RHS courses at Bedford College.
Contributions From JANE ROWLINSON

Jane is the Owner of Morlas Plants, an online plant nursery that specialises in Galanthus and other bulbous plants. Jane has been growing snowdrops for over 25 years. Her nursery is home to over 500 different varieties of Galanthus.
IN THIS GUIDE
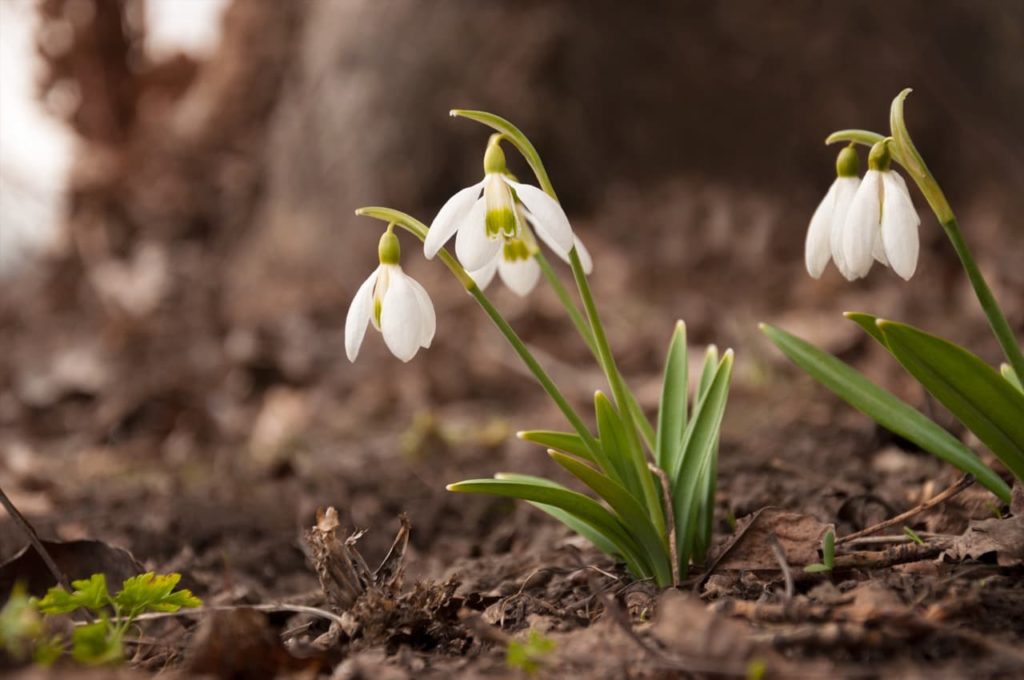
You don’t have to wait for the usual spring bulbs to awaken to be able to welcome in spring, as many snowdrop varieties flower from February!
These tiny charmers average around 15cm in height with similar spreads, bearing bell-shaped flowers that are pure white and are often marked or edged in tones of green.
Although these stunning flowers are usually grown from bulbs, you can also grow snowdrops from seed, but be warned – it’s quite tricky!
Luckily, I’m able to talk you through it; you can grow snowdrops from seed by following these steps:
- Prepare the pots for sowing – special seed-sowing compost is preferred.
- Sow the snowdrop seeds taken from the pods of existing plants or acquired from a local provider.
- Wait for germination to occur – Galanthus will typically look like blades of grass in the early stages.
- Keep the seedlings moist, then feed regularly in their second year.
- Pot on the young plants when they are large enough, then plant out when ready.
This process is explained in more depth below.
| Difficulty | Hard |
| Equipment Required | Gardening gloves, hand shovel, trowel, labels |
| When To Sow | October |
1) Prepare Pots

Prepare 9cm pots with seed compost or seed starting mix.
John Innes seed-sowing compost from a reputable maker is a very good option.
Give it a good water, making sure that the growing medium is moist.
2) Sow Galanthus Seeds
“I grow a lot of Snowdrops from seed each year, so I am always hoping that I will discover an exciting new seedling in flower for the first time,” says Jane Rawlinson, Owner of Morlas Plants.
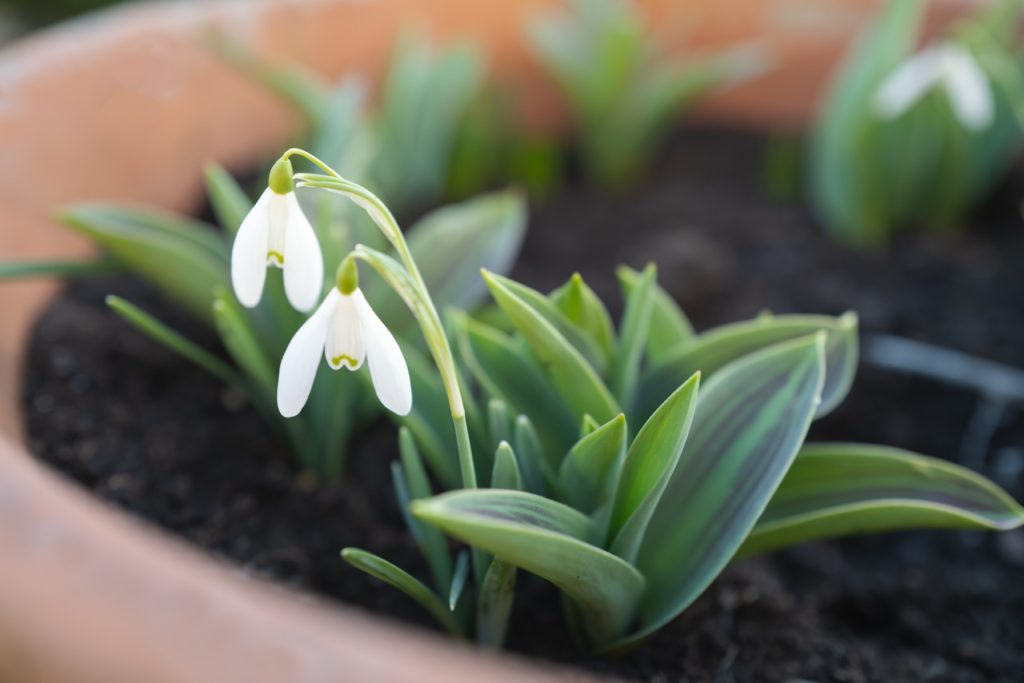
You can either collect seeds from the pods of existing plants in spring or acquire them from your local (or online) plant nursery.
“Sowing the freshest seed will result in the best results,” explains Jane.
“Look for a seed pod that is turning yellow and almost splitting open, then either place the pod directly into the ground with a label or put it into a pot.
“You can also take the seeds out of the pods and thinly sow them into the ground or pot.”

Sow seeds thinly by gently nudging them into the medium and cover with a 1cm sprinkling of coarse sand or grit.
Four seeds per one 9cm pot is a good sowing rate.
“They don’t need to be buried deeply and are best covered with a fine layer of grit,” adds Jane.
Dampen the medium. Though you may use a sprayer, a watering can with a rose will work very well.
“To avoid dislodging seeds, pots can be placed in a tray of water for half an hour to soak up the moisture they need,” shares Peter Lickorish, a Horticultural Consultant.
3) Wait For Germination
Place the pots outdoors in a cold frame located in a sheltered spot where it should receive some sun.
As winter departs, snowdrop seedlings should emerge.
The seedlings will look more like blades of grass than anything else.
Now is when the real work starts, as you will have to keep the incipient plant going until it becomes a viable bulb, which can take up to 4 years.
“Sowing snowdrops requires patience and labels!” jokes Peter.
“As the seedlings will be dormant for the majority of the year, make sure you label your sowings with a plant name and date of sowing. Otherwise, you could mistake them for an empty pot.
“Your labels will need to last. I’ve tried all sorts of labelling methods and generally recommend pencil, because it has proven the least likely to fade.
“Plastic labels are a good option because, unlike wooden lollipop sticks or similar, they don’t rot. Pencil markings can simply be rubbed off and the label re-used many times over.”
4) Keep Seedlings Moist
Keep moderately watering the seedlings so that the soil stays continuously moist.
This also includes watering during summer and autumn dormancy when the foliage has died back and all you have are empty pots.
“If growing in pots, make sure the compost is free draining and that it doesn’t get too wet as the seed will rot, but also do not allow the seeds to dry out at any point,” says Jane.
From the second year, start to feed the little plants once a month with a diluted liquid all-purpose fertiliser.
5) Pot-On In Individual Containers
In the plants’ third year, pot them on into individual containers.
You should use a suitable 9cm or 13cm pot that has been filled with moist, peat-free, manure-based compost.
I’d recommend that you pot on in March or April when you see the foliage yellowing and withering.
The leaves will allow you to trace down the bulbs, no matter how tiny they may be and wherever they may be located.
Using the foliage as a guide, you can re-plant the bulbs to the same soil depth that they were at before.
Once repotted, cover the bulbs, pat down the soil and water them in.
Continue as before, making sure that the soil stays moist so that the tiny bulbs do not dry out.
After 1-2 years the bulbs will have matured and will be good to go in open ground.