You Can Propagate Bleeding Heart Plants By Dividing Their Clumps: Experts Share How

Ed is a horticultural therapist, professional gardener and writer. Ed has a BSc in Occupational Therapy from Coventry University and a Diploma in Social and Therapeutic Horticulture (DipSTH) via Thive, the RHS and Pershore College. Ed runs a community kitchen garden in West Sussex, where he leads horticultural therapy sessions.
Reviewed By COLIN SKELLY

Colin is a Horticulturist and Horticultural Consultant with experience in a range of practical and managerial roles across heritage, commercial and public horticulture. He holds the Royal Horticultural Society’s Master of Horticulture award and has a particular interest in horticultural ecology and naturalistic planting for habitat and climate resilience.
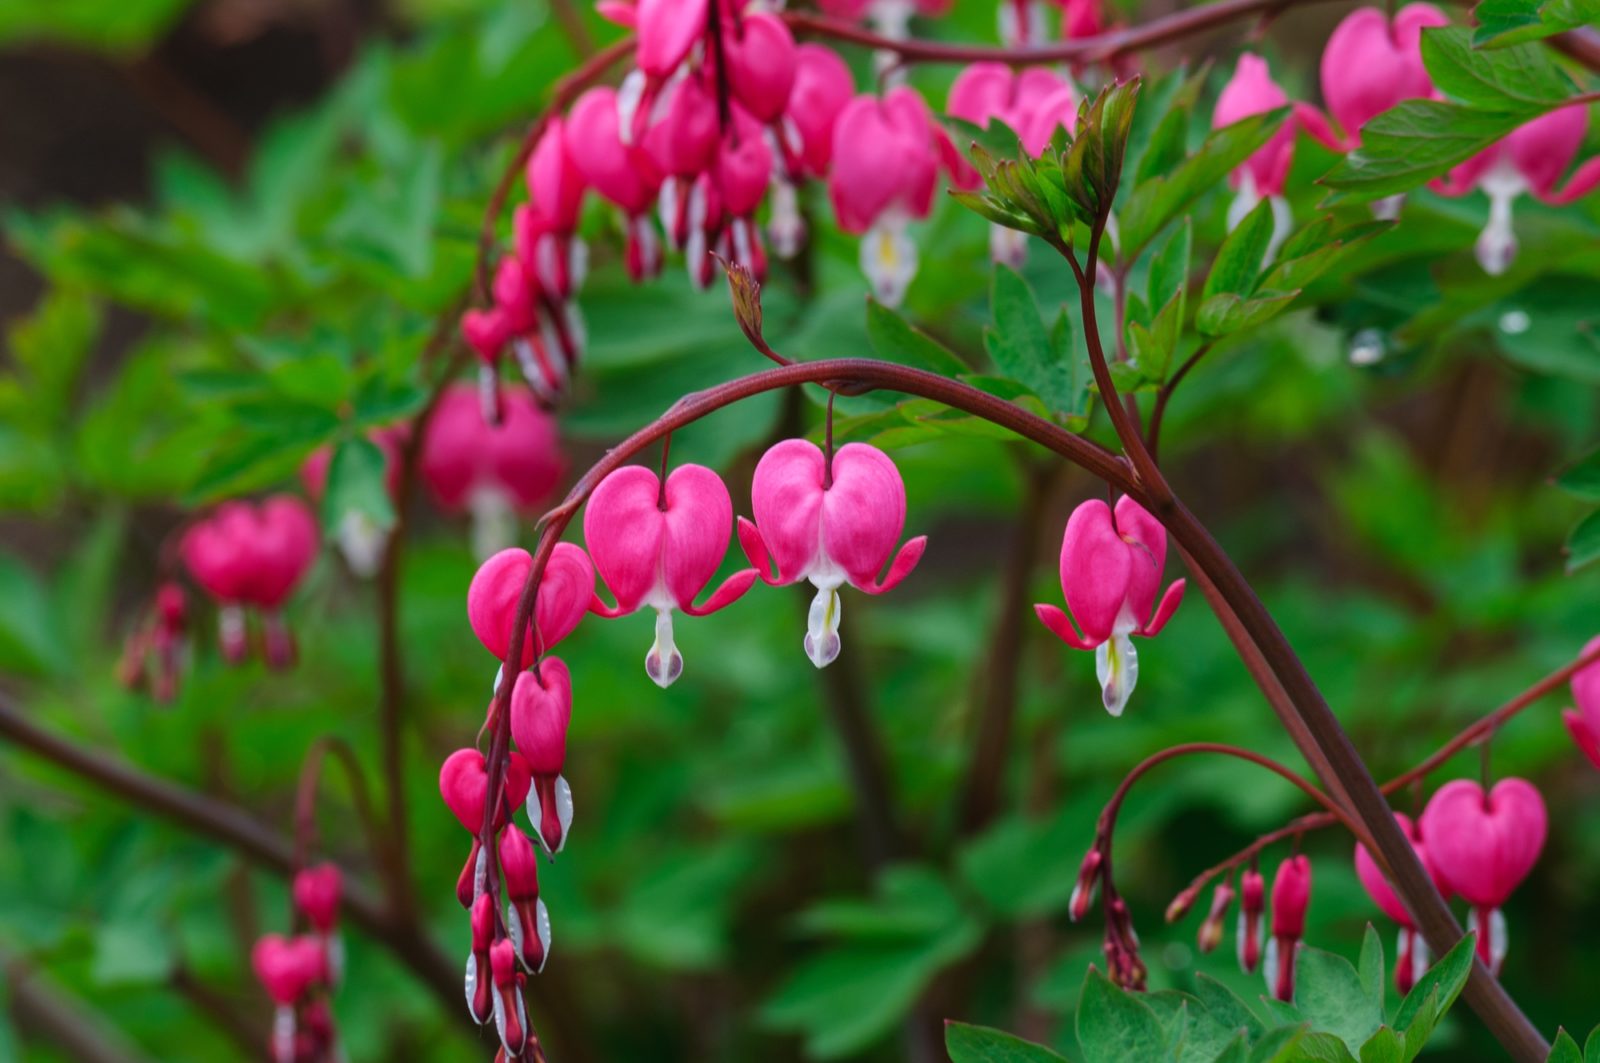
Bleeding Heart, or Lamprocapnos spectabilis, as they have recently been reclassified botanically, is a stunning, shade-loving perennial that flowers from late spring into early summer.
With heart-shaped flowers in red, pink or white that dangle from arching stems, they make an elegant addition to any garden and are particularly suited to informal and cottage garden schemes.
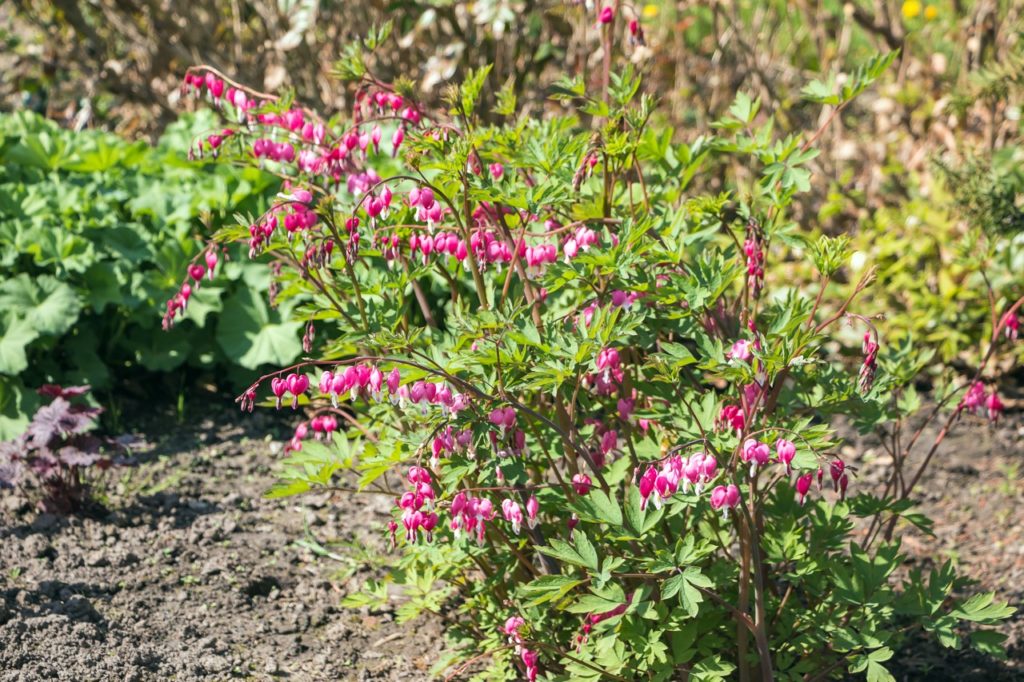
As a clump-forming perennial, bleeding hearts can become prone to congestion and should generally be divided every 4-5 years to retain their vigour and encourage blooms.
You can lift and divide bleeding heart plants by following these steps:
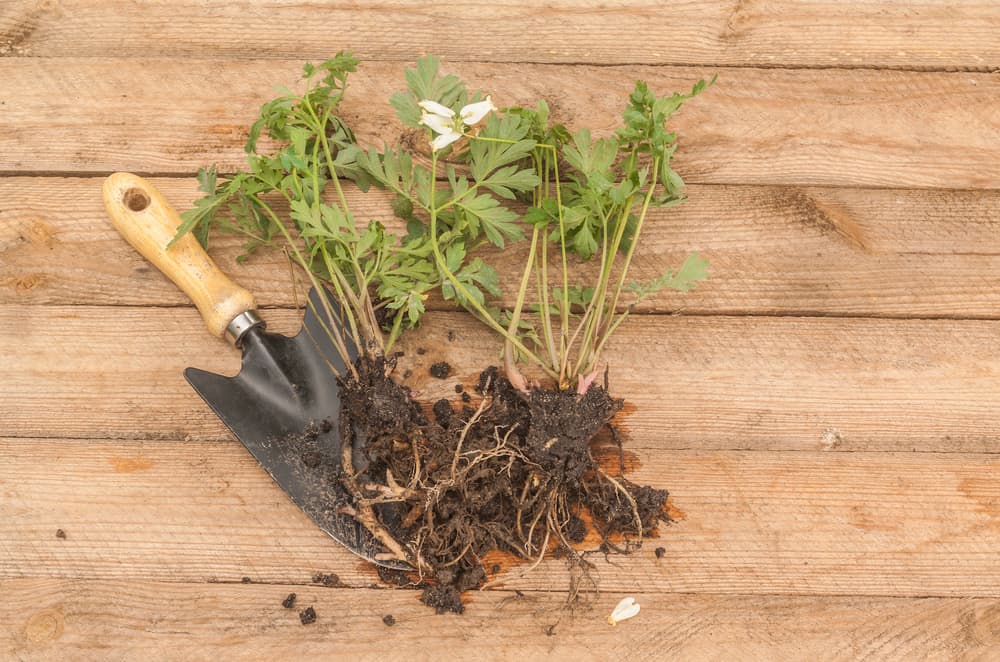
- Lift the dicentra using a shovel or garden spade.
- Knock off any excess soil.
- Carefully divide the crown of the dicentra using a sharp knife.
- Plant out or pot up your bleeding heart plant.
This process is explained in more depth below.
| Difficulty | Easy |
| Equipment Required | Spade, knife, secateurs, gloves, pots, compost |
| When To Divide | February to March |
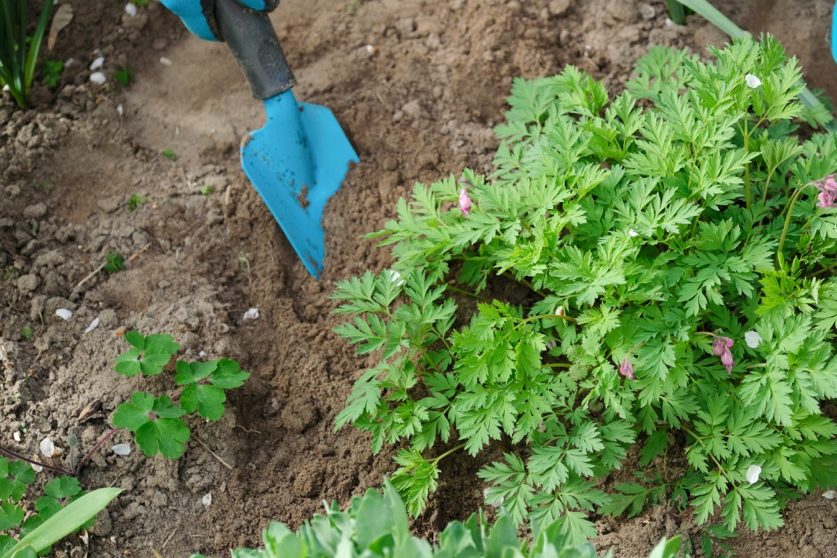
1) Lift The Plants
Bleeding heart plants can be divided in either spring or autumn.
However, they are best divided in spring, just as new growth is appearing, to give the new divisions plenty of time to establish before the colder winter weather sets in.
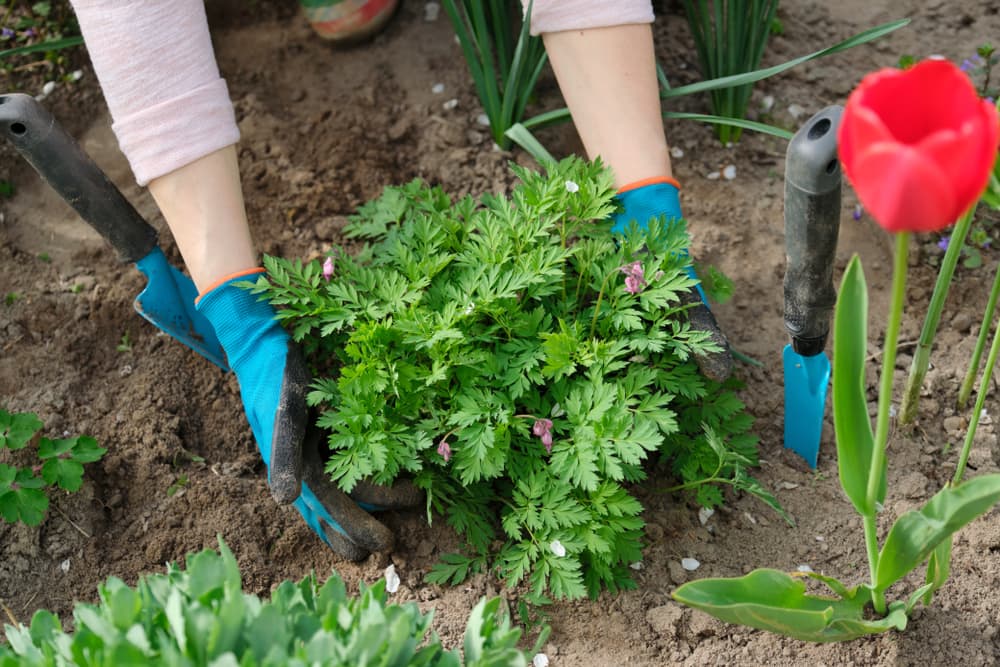
When lifting bleeding hearts, try and choose a dry day when the soil is not frozen or waterlogged.
Using a clean and sharp spade, dig around the plant and gently lift it from the ground, trying to keep as much of the roots intact as possible.
2) Remove Any Excess Soil
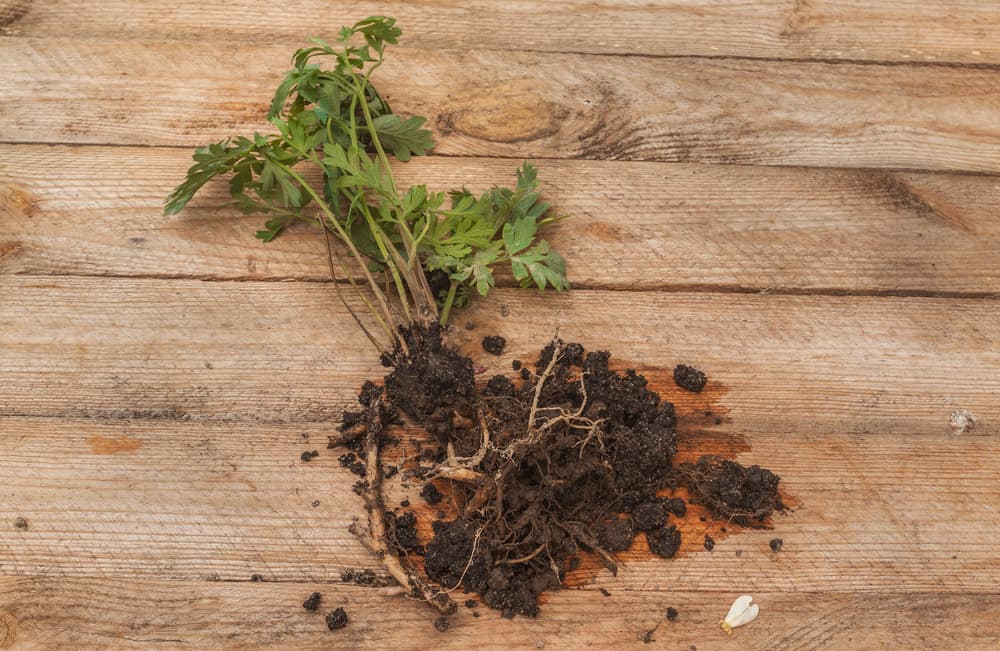
Once lifted, set aside on a tarpaulin or tray and try and remove any excess soil from around the roots, to help create a clear view when it comes to dividing the plant.
3) Divide The Crown
Once the soil has been removed from the roots, the plant is ready for dividing.
A sharp and clean knife, garden spade or trowel can be used to slice the existing clump into 2-3 equal sections or more depending on the size of the original plant.
If a knife is not sufficient, a saw or spade can be used to divide the sections, and an old bread knife set aside solely for this purpose can prove surprisingly effective.
In order to give the new divisions the best chance possible of developing into a strong and healthy plant, each new section needs to have a decent section of roots attached and a new bud or two showing in the crown.
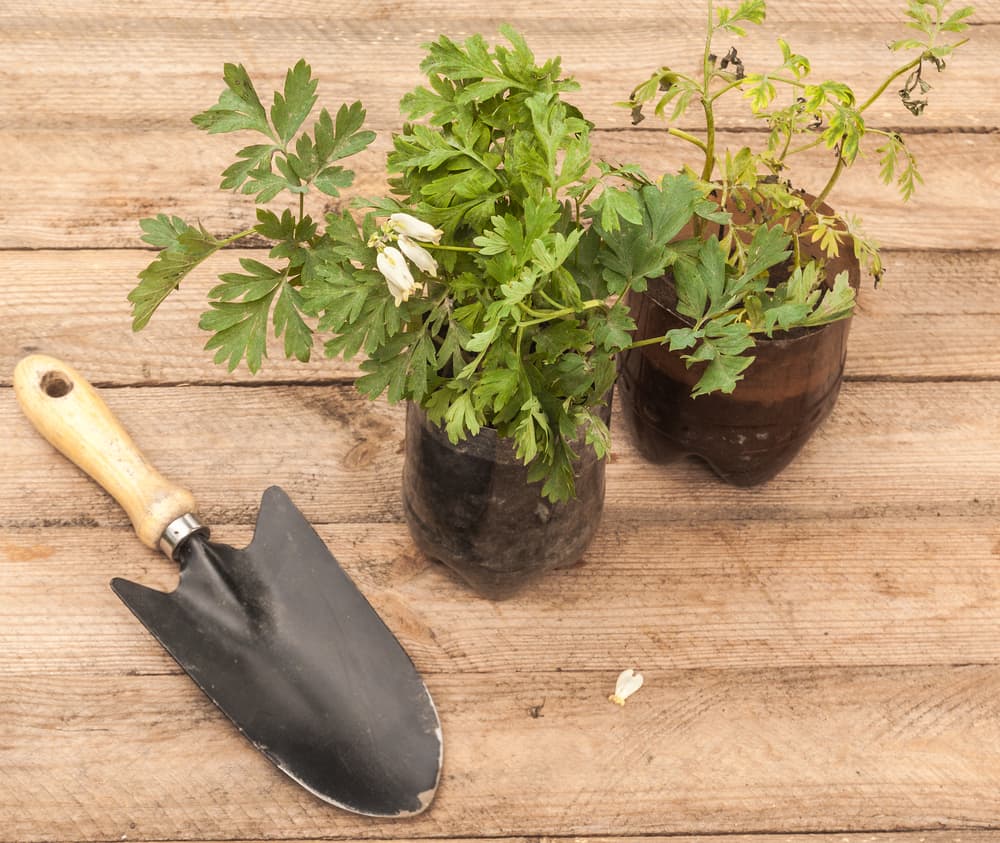
4) Pot Up / Plant Out
Once the divisions have been made, they are ready to be planted out or potted up into containers.
If you wish, a division can be planted back in the position it previously was in or a piece of the original clump can be left in the ground to carry on.
To pot up into a container, choose a size slightly deeper and wider than the roots and fill up to one-third of it with a potting mix or general-purpose, peat-free compost.
“Divisions are a great way to increase the size of a clump by replacing one large plant with a larger clump of 3-5 plants,” explains Colin Skelly, a Horticultural Consultant.
“Alternatively, new plantings can be established or plants established in plants for future use or for gifting or charity plant sales.”
Place the division into the pot at the same depth it was previously planted at and backfill with soil, gently firming the soil down as you go to try and eliminate any air pockets.
If the roots are slightly too big for the pot or are sticking out, they can be trimmed judiciously using a clean and sharp pair of secateurs.
Water well on planting, protect from any harsh weather and keep the soil moist until established.
If planting out directly into a bed or border, the same advice as above follows.
However, it is advisable to work in some organic matter before planting to give it a boost and to add mulch afterwards to help conserve moisture as it establishes.