Rooting Plantlets From Stolons – Here’s How To Propagate Spider Plants Effectively

Reviewed By DAN ORI

Dan has over 27 years’ under his belt caring for plants and gardens. Working as a Horticultural Instructor and Consultant, he draws on a diverse range of experience that includes working as a Head Gardener, Tree Surgeon, Garden Centre Trouble Shooter, and writer of academic papers. Dan has a Level 3 Diploma in Horticulture and is currently a candidate for the RHS’s most prestigious award – The Master of Horticulture.
IN THIS GUIDE
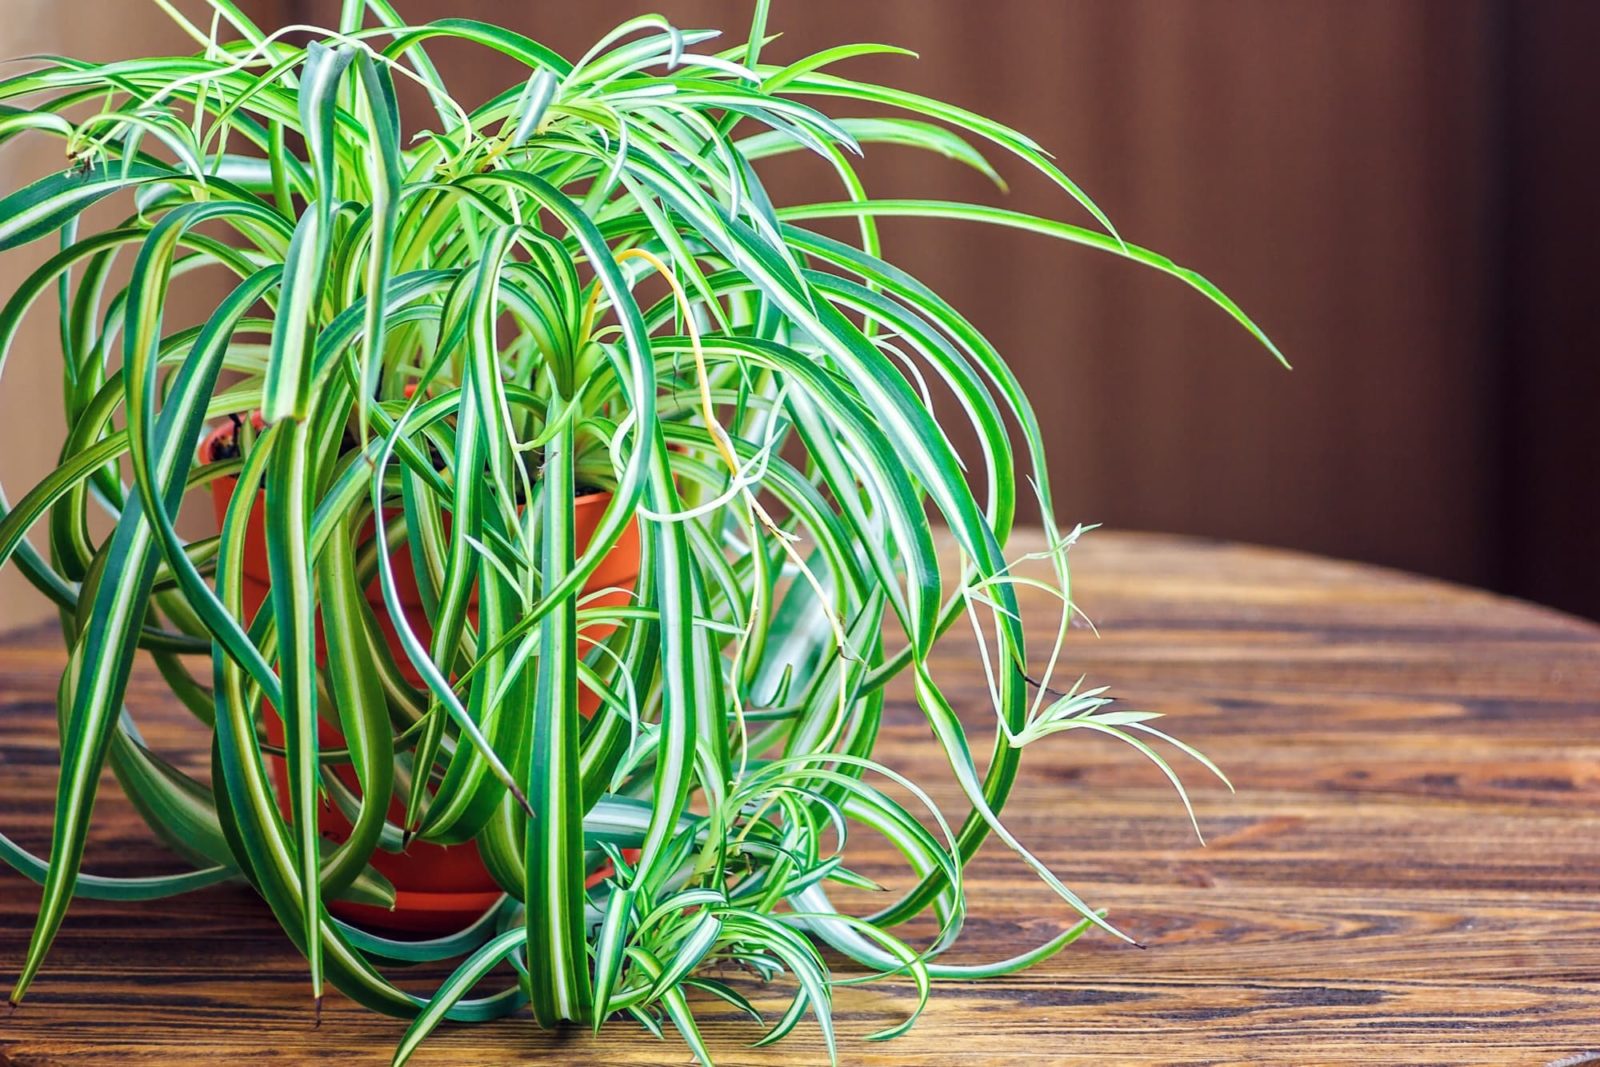
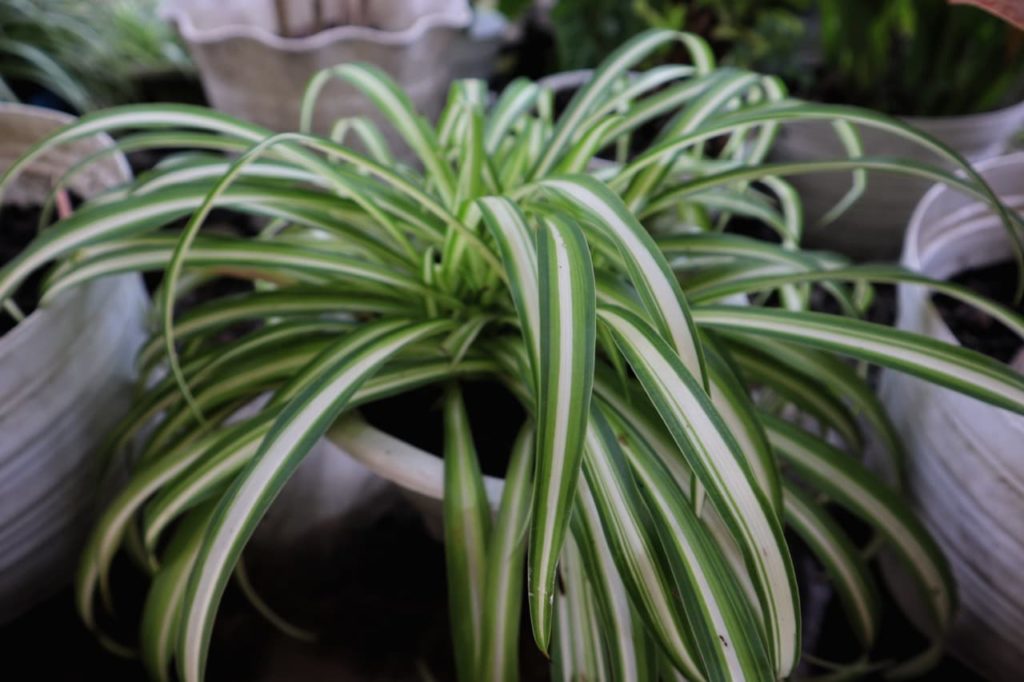
If there is an indoor plant that can be described as stylish, it is the spider plant – with its ribbony foliage, slim lines and cool tones.
If you have a spider plant in your home and would like one for your office or vice versa, these cooperative plants make that very convenient for you.
Propagating spider plants from the stolons they produce, which are the long, cord-like runners that can be seen hanging off these plants, can be done in two ways.
These two methods, described underneath, are the ones I would recommend and are arguably the most straightforward ways to propagate spider plants.
However, two additional methods are also described, to make four possible ways to propagate Chlorophytum:
- Rooting plantlets from stolons – detaching spiderettes from runners emerging from the pot.
- Layering – taking runners from an existing plant and growing spiderettes in a pot alongside the mother Chlorophytum.
- Dividing – splitting the rhizome of a congested plant into multiple separate plants.
- Growing from seed – starting from scratch by sowing collected or store-bought seeds.
Each of these methods is explained comprehensively underneath.
| Difficulty | Easy |
| Equipment Required | Gardening gloves, mini secateurs |
| When To Propagate | Anytime (so long as the conditions are met) |
What Are Stolons?
As potted spider plants mature and grow, they become root bound.
After the roots grow into the pot and touch its inner sides, they start to curl and curve round inside the pot.
After a spider plant becomes root bound in this way, it will start developing runners, also known as stolons.
Stolons are long tendrils on which the plant will initially grow short-lived but pretty little flowers.

These white, six-petalled flowers have a star-like shape.
After the flowers are gone, closer to the ends of the stolons, baby spider plants, plantlets or spiderettes will form that are miniature replicas of the parent plant.
It is these spiderettes that can be rooted so as to form a brand-new spider plant.
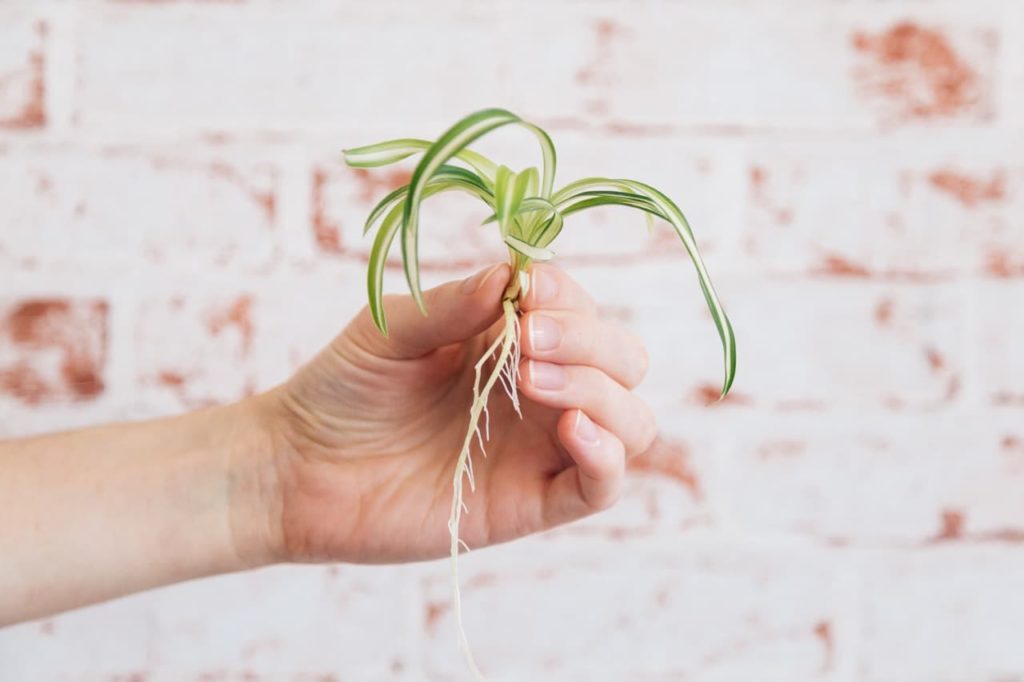
Sometimes spiderettes start to develop air roots, which, though they may be quite small, are very distinct.
These rootlets make propagation even more of a breeze.
1) Rooting Plantlets From Stolons
When you choose the plantlet that you wish to detach and root, keep in mind that the bigger they are, the greater the chances that they will survive.
Choose the ones that look vigorous and well-coloured and reject those that are lax and appear washed out.
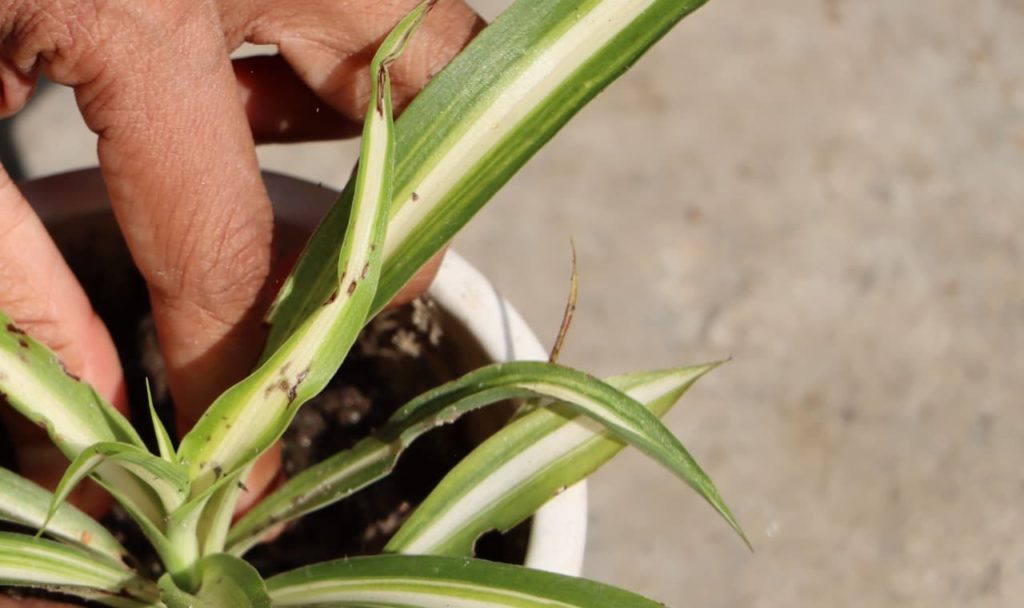
With a pair of sanitised mini-secateurs, detach a spiderette from the stolon.

Cut the spiderette right where it is attached to the stolon at its base, where a knotty nub or bud will be visible, making sure that you do not cut into the plantlet.
You can cut off as many spiderettes as you like.
If the stolon is undamaged, it will likely produce new plantlets, though for aesthetic reasons, you may wish to prune it.
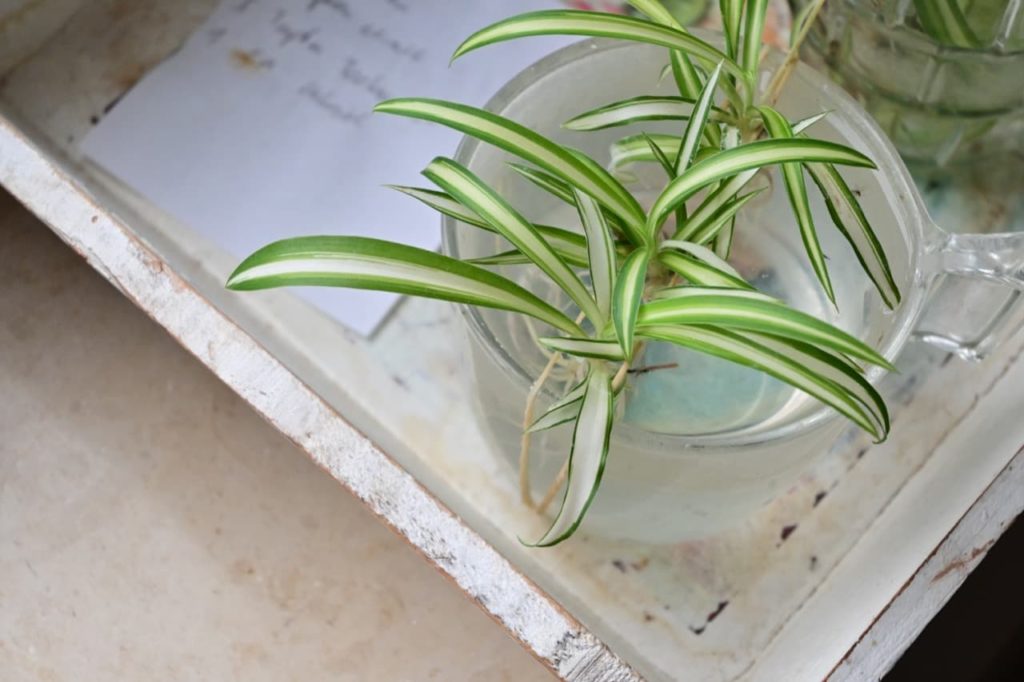
Rooting In Water
These plantlets can then be rooted and thrive in a container of water.
Even though spider plants are not aquatic plants as such, they will give a very good imitation of being one!
Take a small jar with a narrow neck.
If you try to use a regular jar, the plantlet’s foliage will likely flop back in it.
You will need rainwater, chlorine-free bottled water or distilled water and should avoid using tap water.
Fill the jar or flask with a small volume of water initially.
Place the spiderette in the jar or flask so that it is partially supported by its foliage draping over the neck of the jar and support it as you continue to pour water from near the side.
Do not get the foliage wet.
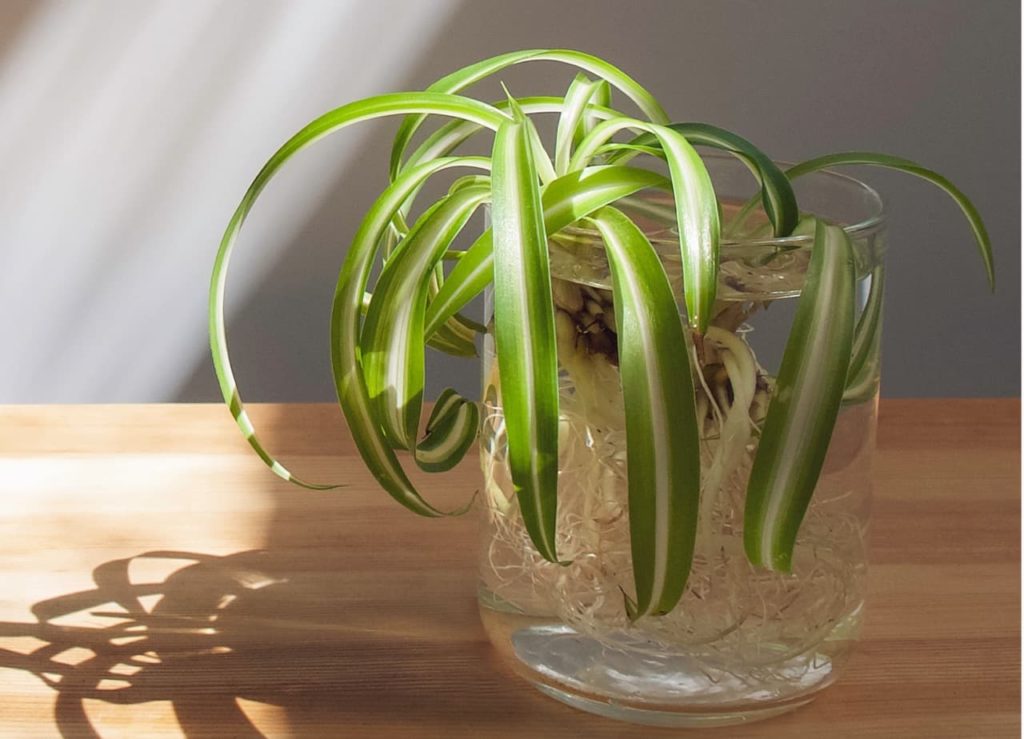
The trick is to submerge the whitish base of the spiderette and, of course, the roots (if there are any) while leaving the foliage entirely above the water.
Place the container in a warm spot where it gets ample indirect sunlight.
An hour or so of filtered sunlight is fine, but direct sunlight should be avoided.
Change the water about once a week or earlier if it appears less than clear.
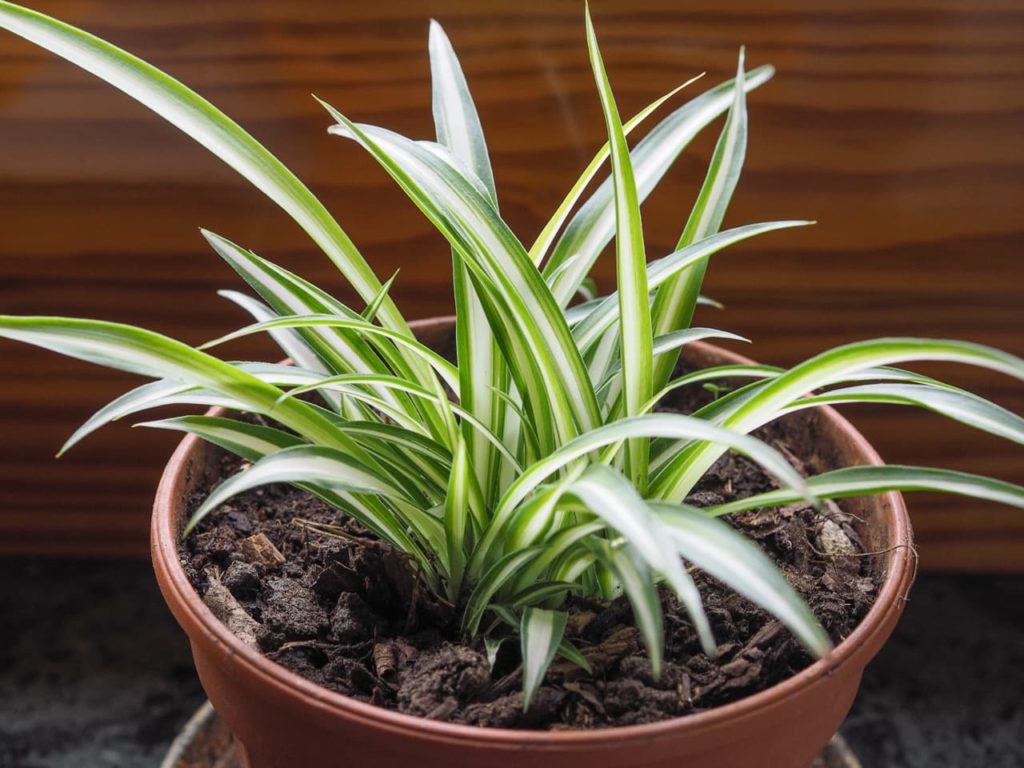
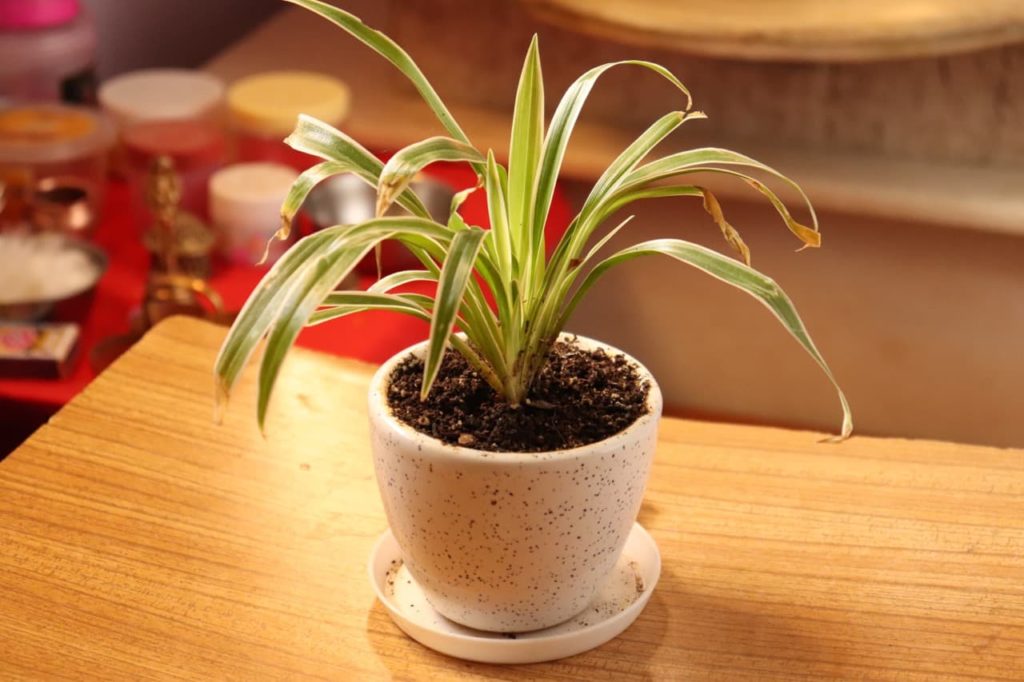
Rooting In A Pot
Take a 9cm pot or a 13cm one that has drainage holes.
The smaller size is more suitable, but the plant will soon outgrow that pot.
Likewise, you can use either a seed-starting or regular potting mix to root spider plant plantlets.
If the spiderette has no rootlets, simply make a shallow and narrow hole in the medium with a dibbler or your gloved finger.
The depth of the hole should correspond with the size of the white base of the plantlet.
If the spiderette has rootlets, scoop up a little bit of the medium to make a hole in which the rootlets can nestle.
Set the plantlet in the medium, keeping the green foliage entirely above the soil.
Gently firm up the medium all around the spiderette.
You may have to dampen and mound it around the plantlet to ensure it stays upright.
Place the pot in a warm spot where it gets ample indirect sunlight and water the new plant regularly so as to keep the medium moist.
2) Layering
Layering is nature’s way of propagating spider plants and it too has to do with spiderettes.
When there are multiple spiderettes hanging off a stolon and you want to layer more than one, it can be quite fiddly.
The advantages of this method include a higher success rate and strongly-rooted new plants.
To layer plantlets, use a pot or planter of the appropriate size that has drainage holes at the base.

Prepare the appropriate number of pots or the planter with a potting mix.
Dampen the medium, then make shallow holes in the pots or planter.
The depth and width of the holes should correspond to the size of the nub and white base of each plantlet and any rootlets it may have.
Place the pots or planter by the side of the mother plant.
Stretching out the stolon as necessary, gently push each plantlet into a hole and firm up the damp soil around it so that only its whitish base and any rootlets are in the soil.
You may need to mound the soil around the base of one or another plantlet and provide support if necessary.
Water the new plants regularly.
After a couple of weeks, the stolon can be cut off with sterilised mini-secateurs.
Snip it close to each new plant but do not risk cutting into the plant.
Let a couple of centimetres of the stolon stay attached to each plant on either or both sides.
3) Dividing
As spider plants are rhizomatous, clump-forming perennials, they are amenable to propagation by division.
However, division is not typically undertaken as a method of propagation, but rather, if and when a spider plant gets congested, it is divided to clean it up.
Propagation then becomes a happy side-effect!
If a spider plant has visible clumps and is becoming congested, prepare the appropriate number of pots with potting soil and dampen it.
Water the plant well and then prise up the soil ball from the pot.
Allow the soil to fall off and gently brush it away to partially expose the roots.
Separate the different clumps and disentangle what you can, starting from the crown.
Next, from the midpoint between every two clumps, cleanly slice downward through the roots with a sharp knife.
Whatever cannot be disentangled may cleanly be sliced through, but do not pull it apart.
Re-pot the clumps without undue delay into the prepared pots and water in the new plants.
4) Growing From Seed
Spider plants can be grown from seed, which is a less commonly-used method for propagating these indoor charmers.
Seeds may be collected or store-bought, but either way, they should be sown within a couple of months, as they do not remain viable for very long.
They may be sown any time of the year provided that the pots are kept in a warm spot indoors where they get ample indirect light.
It is advisable for the pots to have drainage holes and you can use seed-starting or potting mix.
Nudge seeds into a depth of 1-1.5cm, cover loosely with the medium and then dampen.
Thereafter, keep the medium constantly moist, but not soaked.
Seeds should germinate in approximately a fortnight.
Plant expert Dan Ori gives us one last tip for a healthy young plant:
“Although not critically needed, I like to keep the humidity up with young Chlorophytum for the best leaf quality. I grow them in my shower room as it gets lots of non-direct light, but you could grow them in any warm light room and mist them with water once a day for the same effect.”