Yarrow Is Very Easy To Propagate Says Master Horticulturist Colin Skelly


Elizabeth is a Permaculture Garden Designer, Sustainability Consultant and Professional Writer, working as an advocate for positive change. She graduated from the University of St. Andrews with an MA in English and Philosophy and obtained a Diploma in Applied Permaculture Design from the Permaculture Association.
Reviewed By DAN ORI

Dan has over 27 years’ under his belt caring for plants and gardens. Working as a Horticultural Instructor and Consultant, he draws on a diverse range of experience that includes working as a Head Gardener, Tree Surgeon, Garden Centre Trouble Shooter, and writer of academic papers. Dan has a Level 3 Diploma in Horticulture and is currently a candidate for the RHS’s most prestigious award – The Master of Horticulture.
IN THIS GUIDE
Achilleas, commonly known as yarrows, are incredibly easy to grow and are pretty easy to propagate too.
Depending on which type of yarrow you decide to grow, you may even find that the plants spread on their own through self-seeding.
However, taking matters into your own hands will usually yield positive results and is something even novice gardeners should be able to do.
There are three main ways to propagate yarrows:
- Growing from seed.
- Taking cuttings.
- Dividing mature plants.
We’ll walk you through each of these methods below.
| Difficulty | Easy |
| Equipment Required | Seeds and cuttings, pots or seed trays, potting mix, rooting hormone (not essential), a garden fork or trowel |
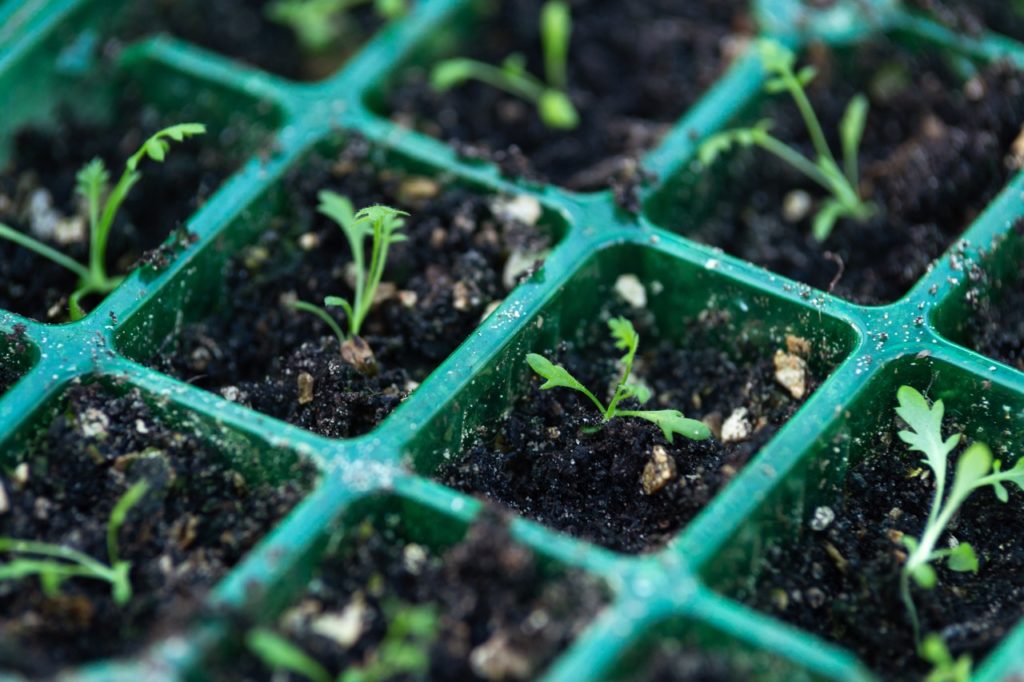
1) Growing From Seed
Yarrow can be grown from seed, sown either in autumn (indoors or under cover) or in spring, either in containers to be planted out later, or directly where they are to grow.
Germination will usually take place within 2-3 weeks.
Wherever the seeds are sown, keep the soil moist, but also ensure that it is not waterlogged and that the medium is draining freely.
Excess water can increase the likelihood of dampness and other fungal issues.
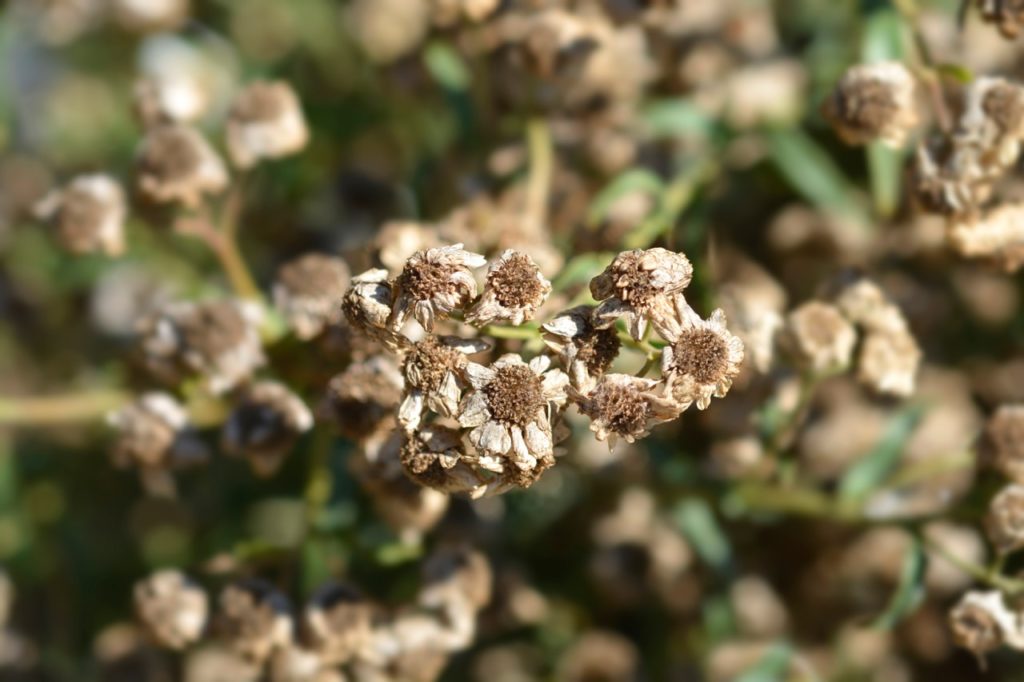
One thing to note, however, is that if you are growing one of the many cultivars available, many are hybrids and will not come true from seed.
In other words, the plant which grows from the seed may not resemble the plant which it came from, so flower colour and other characteristics may not be retained.
To create plants identical to their parent, this is the only method which you should avoid.
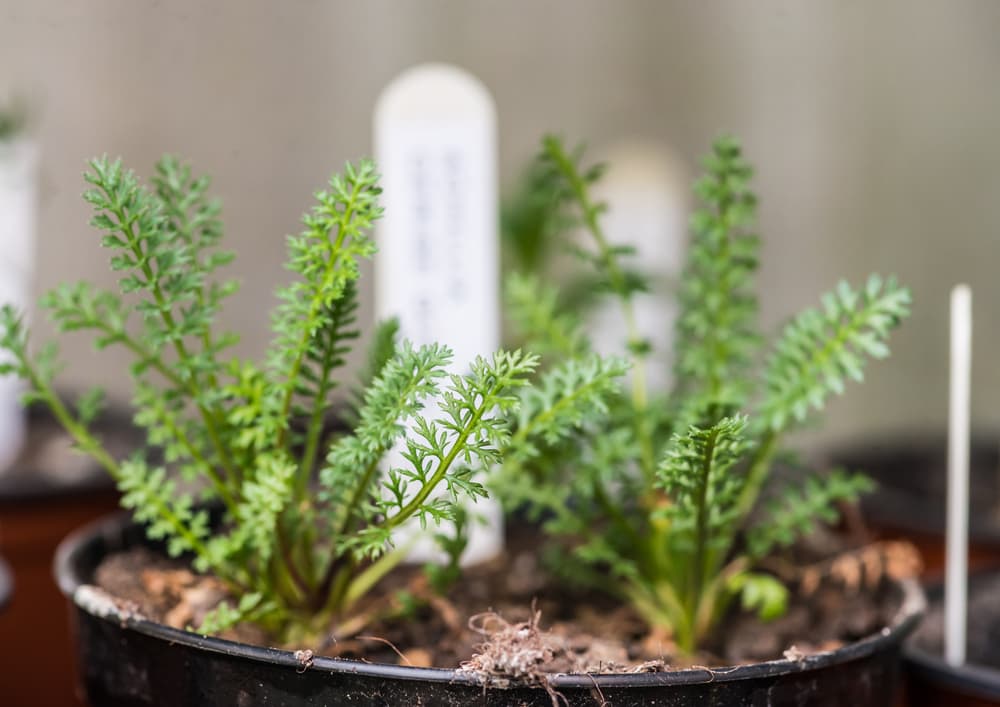
2) Taking Cuttings
Achillea cuttings are best taken in early spring.
Softwood cuttings should be taken by pulling away new shoots from the plant with a heel at the base.

These cuttings should be placed into a moist yet free-draining potting mix with added sand for drainage.
Place them around the edges of a small container.
You can dip the ends of the shoots into rooting hormone to improve success rates, but this is not usually required.
Leave the cuttings in a cool bright place out of direct sunlight and they should form their own roots within a few weeks.
After this, they can be potted on into individual pots to grow on until they are planted out into the garden once well established.
3) Dividing
If you have a mature Achillea in your garden, the best and easiest way to increase your plant stock is to divide the plant.
The division is best undertaken in spring.
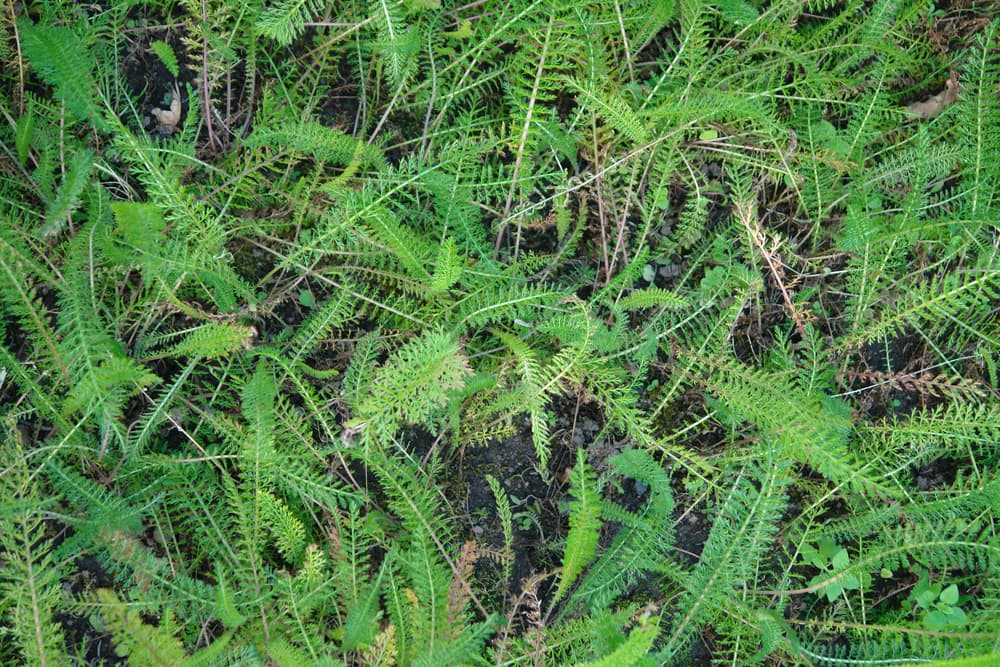
“Whether grown from seed or bought as a plant,” says qualified Horticulturist Colin Skelly, “once you have the Achillea of your choice it is very easy to propagate more through dividing established plants.”
“Towards the end of the summer, select a healthy plant and lift it with a garden spade or fork.
“You will notice that the plant is actually a collection of plantlets that can be pulled apart from the parent plant.
“Ensure that each plantlet removed has some root attached and then plant into a pot or another spot in the garden.
Each division should have roots and some above-ground growth.
Larger divisions (where the parent is simply divided in two, for example) can be planted into the growing positions in the garden straight away.
Smaller divisions can be potted up and grown on until well established, and transplanted a little later into the garden.
“Water well and then leave to establish – they should form healthy new plants for the following summer.
“This is also a way to keep achilleas persisting in the garden as they can be short-lived when not divided.”