Asters Looking Less Impressive Over Time? It’s Time To Divide And Transplant

Reviewed By DAN ORI

Dan has over 27 years’ under his belt caring for plants and gardens. Working as a Horticultural Instructor and Consultant, he draws on a diverse range of experience that includes working as a Head Gardener, Tree Surgeon, Garden Centre Trouble Shooter, and writer of academic papers. Dan has a Level 3 Diploma in Horticulture and is currently a candidate for the RHS’s most prestigious award – The Master of Horticulture.
IN THIS GUIDE
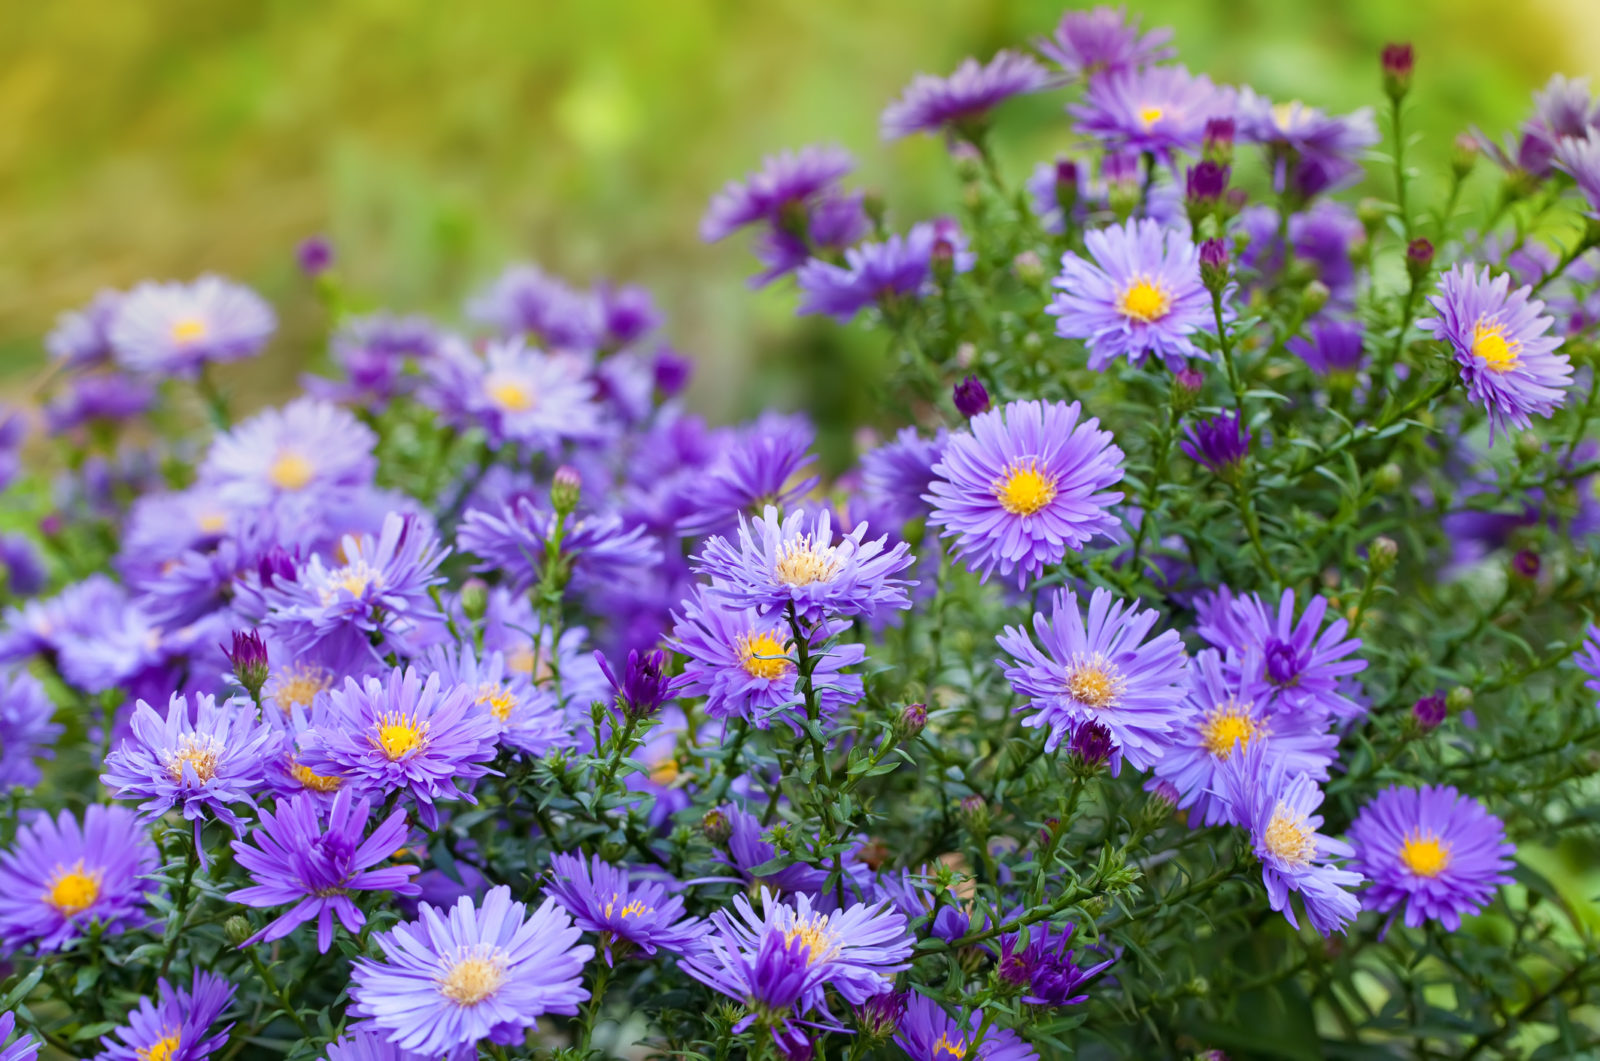
Asters bring vibrant bursts of colour each autumn but have a tendency to become leggy and produce less impressive blooms over time.
If that happens, it’s time to divide and transplant.
They prefer a spot which receives 6-8 hours of direct sunlight per day, with well-drained soil and a sheltered aspect.
However, it’s not the most demanding perennial you’ll encounter and can be easily transplanted if you follow these steps:
- Dig up your Aster plant in springtime.
- Divide its roots using a sharp tool.
- Prepare the new spot for planting.
- Plant the newly created divisions.
- Care for each of your plants as they re-establish themselves.
Each of those steps is discussed in more detail below to make the process as simple and as straightforward as possible.
| Difficulty | Easy |
| Equipment Required | Spade, soil saw, all-purpose fertiliser, organic mulch |
| Preferred Aspect | Full sunlight, sheltered |
1) Dig Up Your Aster
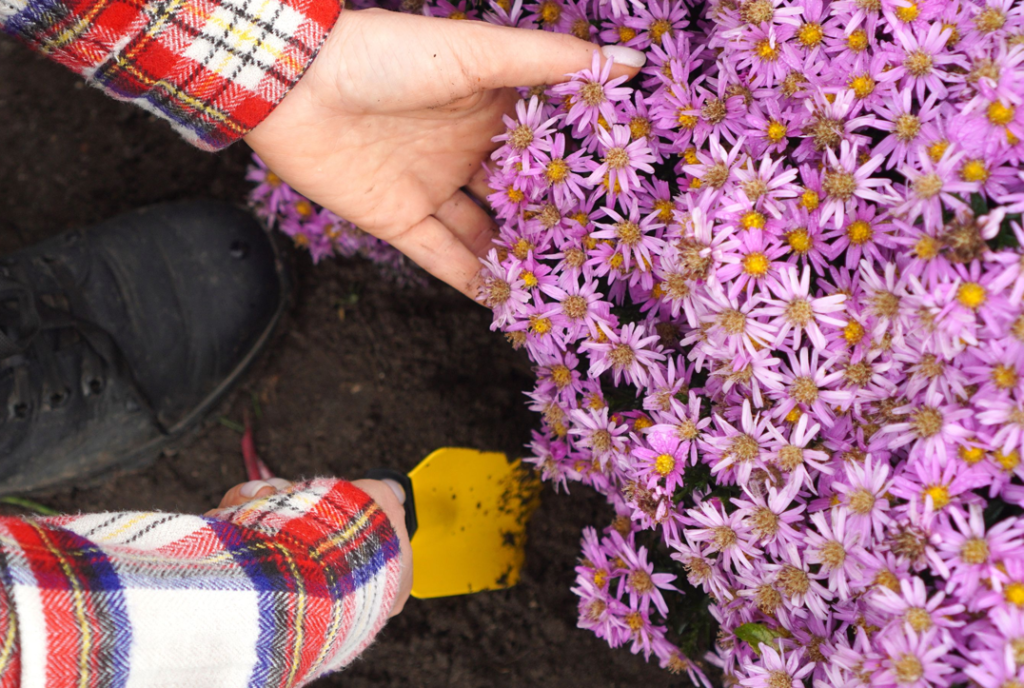
The best time to propagate your Aster plant is in spring after the worst of the cold has passed.
That’s because young, newly divided plants are particularly susceptible to frost.
Carefully dig up the entire plant, taking care to excavate as much of the root system as you can without damaging it.
If you do need to cut the roots, take care to keep the incisions clean and distanced from the main root ball.
2) Divide The Roots
With the root ball excavated, if you wish you can now likely split it into 3-4 different segments.
It’s advisable to use a soil saw or the sharp end of your spade for this since you want the cuts to be as clean as possible.
Once you have separated out your original Aster into offshoot plants, gently shake excess dirt from the separated specimens.
3) Prepare The New Spot
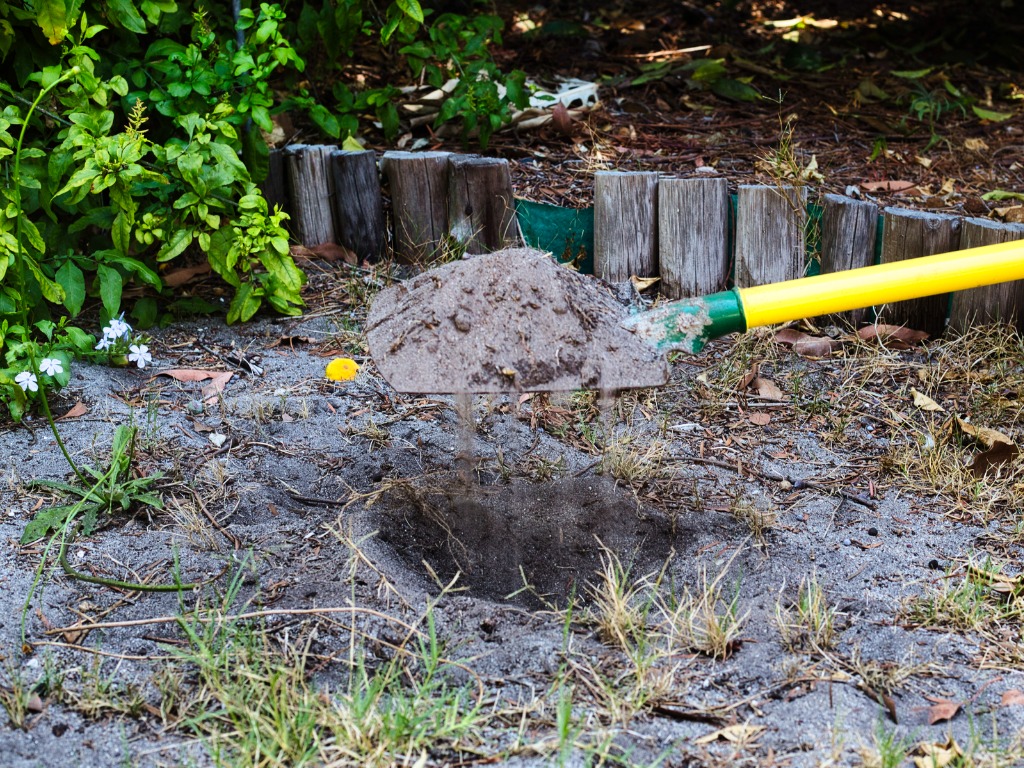
While your Aster might survive in the shade, it will produce better blooms in full sunlight.
Select a location which receives plenty of sun and dig a separate hole that is the same size as the original one for each division, turning the soil to ensure aeration and drainage.
You may wish to mix in compost, animal manure or super phosphate with the soil.
This can give the plant the best chance of flourishing but is not strictly necessary.
4) Plant The Divisions
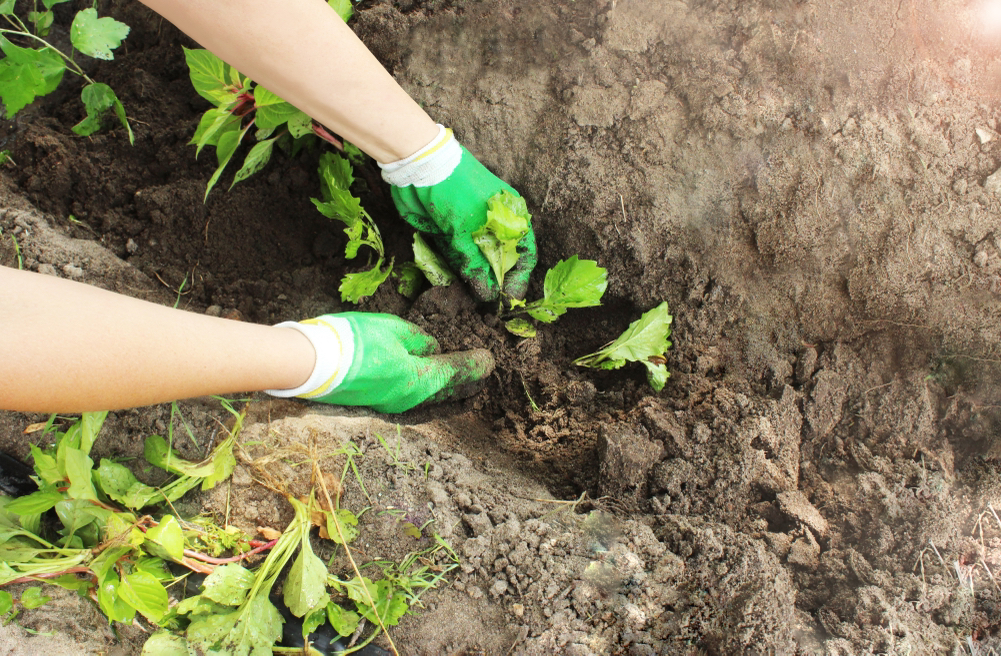
Carefully place the divisions in their respective holes, gently filling the area around them with soil.
They should stand upright but not be packed in too tightly.
When selecting a location for the new divisions, make sure that you give adequate space between them for their roots to develop.
Around 15-20cm is advisable for smaller Asters and up to 30cm for giant-sized specimens.
5) Ongoing Care
Administer a dose of all-purpose fertiliser to the divisions to help them bed in, topping off with organic mulch to insulate the plants from bugs and other pests.
You should also water them thoroughly upon planting, with enough water to make the soil moist but not drenched.
Once the Aster has become established, there is no need to water them except in times of drought.
However, a second application of fertiliser a month after transplanting will help their development, but don’t expect flowers to appear for a year or two.