Late Autumn Is A Good Time To Re-Pot Blueberry Shrubs In Their Dormancy

Reviewed By COLIN SKELLY

Colin is a Horticulturist and Horticultural Consultant with experience in a range of practical and managerial roles across heritage, commercial and public horticulture. He holds the Royal Horticultural Society’s Master of Horticulture award and has a particular interest in horticultural ecology and naturalistic planting for habitat and climate resilience.
IN THIS GUIDE
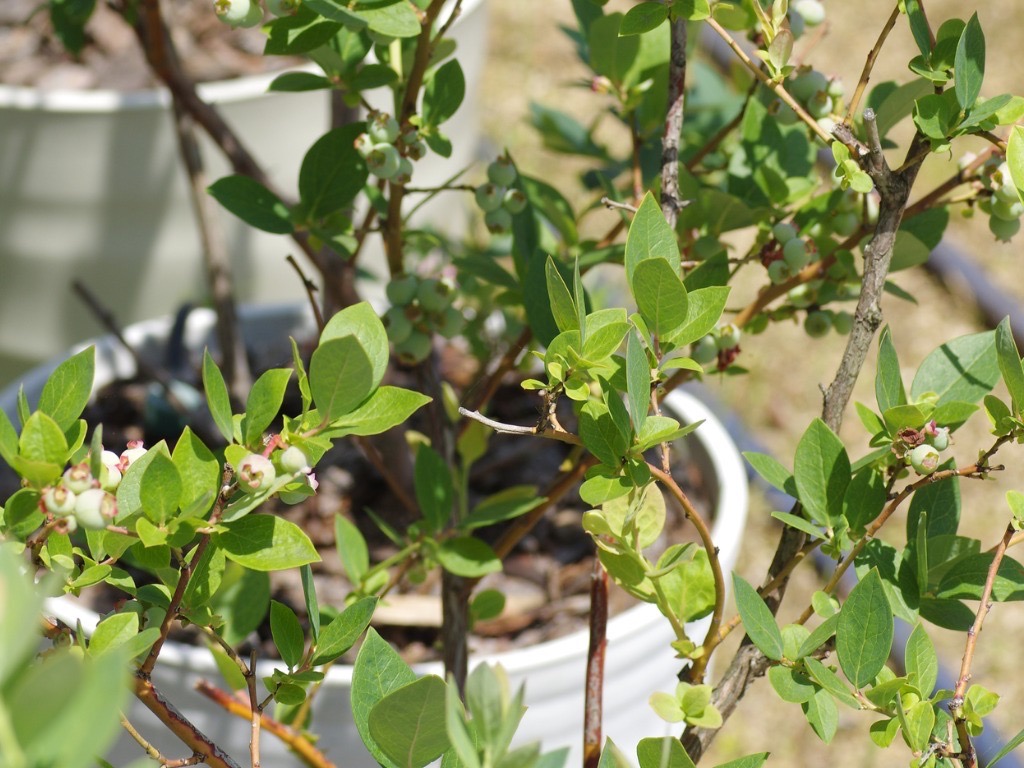
Blueberry plants are sold in pots and soon outgrow them, making it important to understand how and when they need to be potted on.
When a potted blueberry bush outgrows its home or exhausts its soil, you have a choice: either transplant it in open ground or pot it up.
If you re-pot a blueberry bush, one of the ways to ensure that the bush continues to flourish in its new container is to ensure that the soil pH remains acidic.
We cover this issue of soil pH level and other key points in our guide below.
Potting on your blueberry bush will be a smooth task with a successful outcome if you follow these steps:
- Choose a new suitable container for your blueberry plant.
- Prepare the new soil – ensuring you match conditions with those preferred by blueberries.
- Remove the plant from its existing container.
- Repot the plant into its new pot or location.
- Water regularly and feed when necessary.
This process is explained in more depth below.
| Difficulty | Medium |
| Equipment Required | Gardening gloves, trowel, gardening shovel, goggles |
| When To Repot | November-March |
When To Repot Blueberry Shrubs
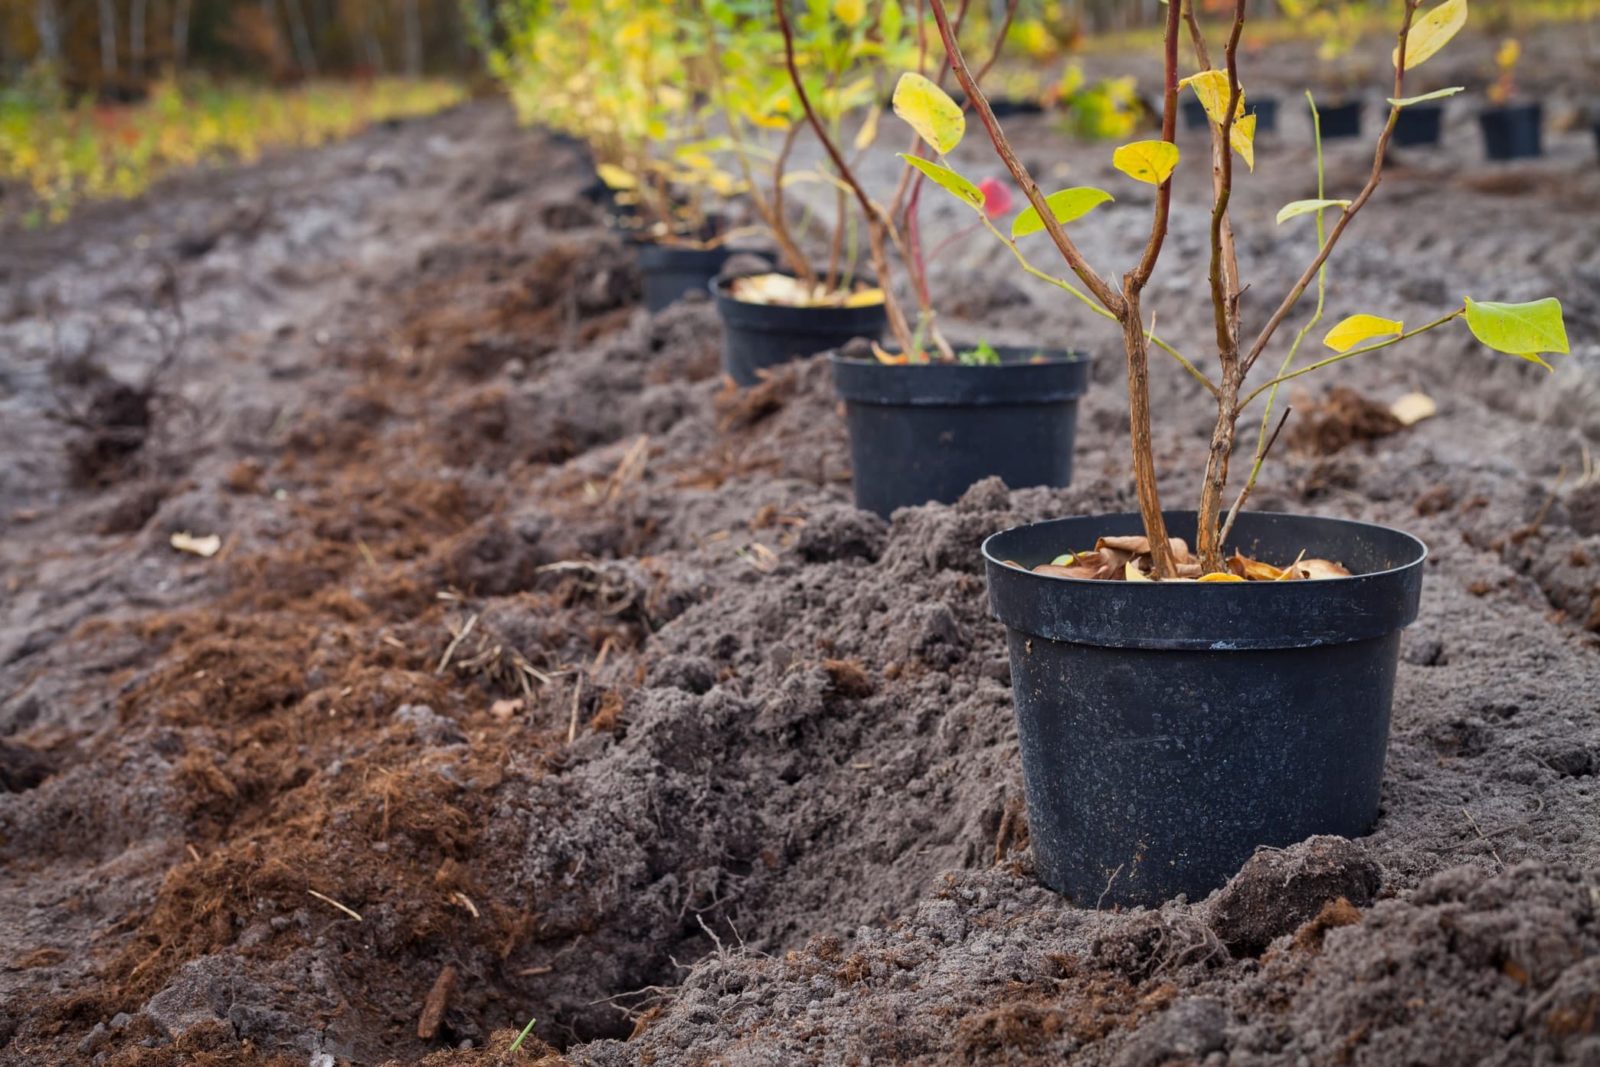
Blueberry bushes should be repotted during dormancy, when the plant is not growing, which is anytime from late autumn to early spring.
1) Choose A Container
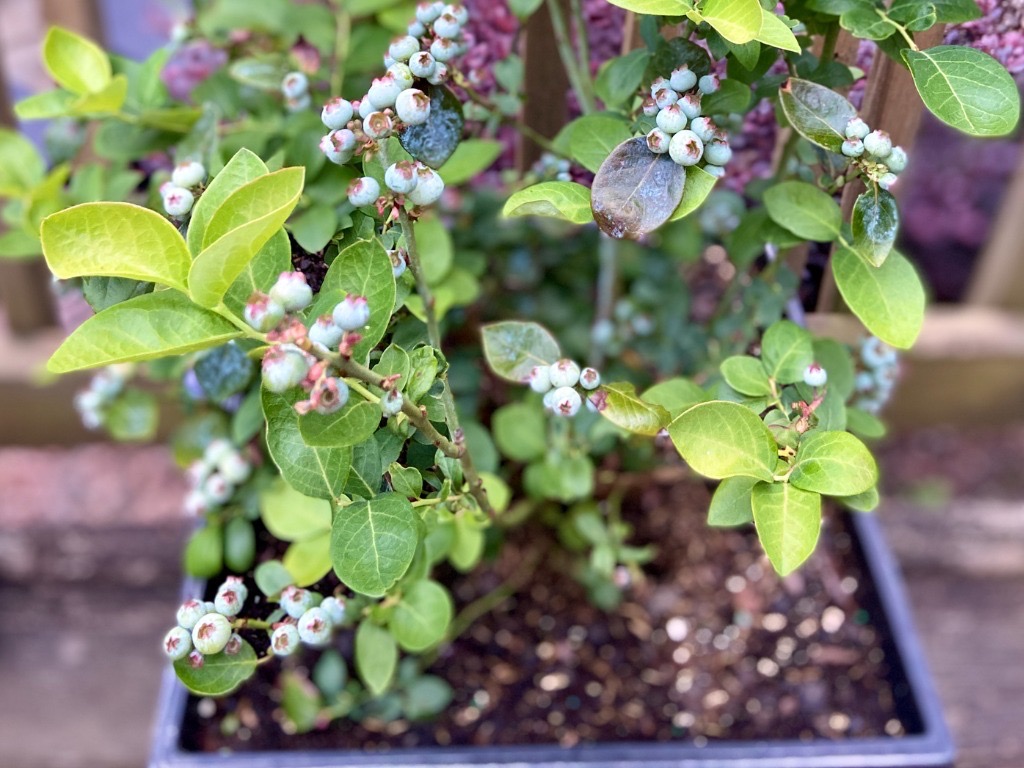
Blueberry bushes are available in quite a range of sizes, from dwarf varieties to large shrubs.
To figure out which pot size you should re-pot the bush to, you need to consider the growth rate of your plant and its ultimate height and spread.
If the rate of growth of your bush is fast, then I’d recommend choosing a pot that is 2 sizes up from its current container.
However, if the plant is close to its ultimate height, choose a pot that is only 1 size up.
No matter what size of pot you chose, make sure that is has adequate draining holes at the base.
2) Prepare The Soil
Blueberry bushes are acid-loving plants and require a soil pH level between 5.1-5.5, so an ericaceous compost should be used, as Master Horticulturist Colin Skelly advises:
“I use a peat-free ericaceous plant for growing blueberries in containers.
“These peat-free mixes can be more prone to symptoms of chlorosis (yellowing of leaves), which can be overcome with chelated iron applied in a liquid feed.
“I find that when this starts to happen, it is time to repot with fresh peat-free ericaceous compost.
“Peat does produce an ideal ingredient for ericaceous composts but at the cost of depleting threatened and carbon dioxide storing peat bogs.”
If you prepare your own manure-based soil mix, you can do so with well-rotted chicken manure (but not horse or cattle manure).
In either case, the soil you choose should drain well.
Fill the new container to about halfway with this compost or soil, and dampen it.
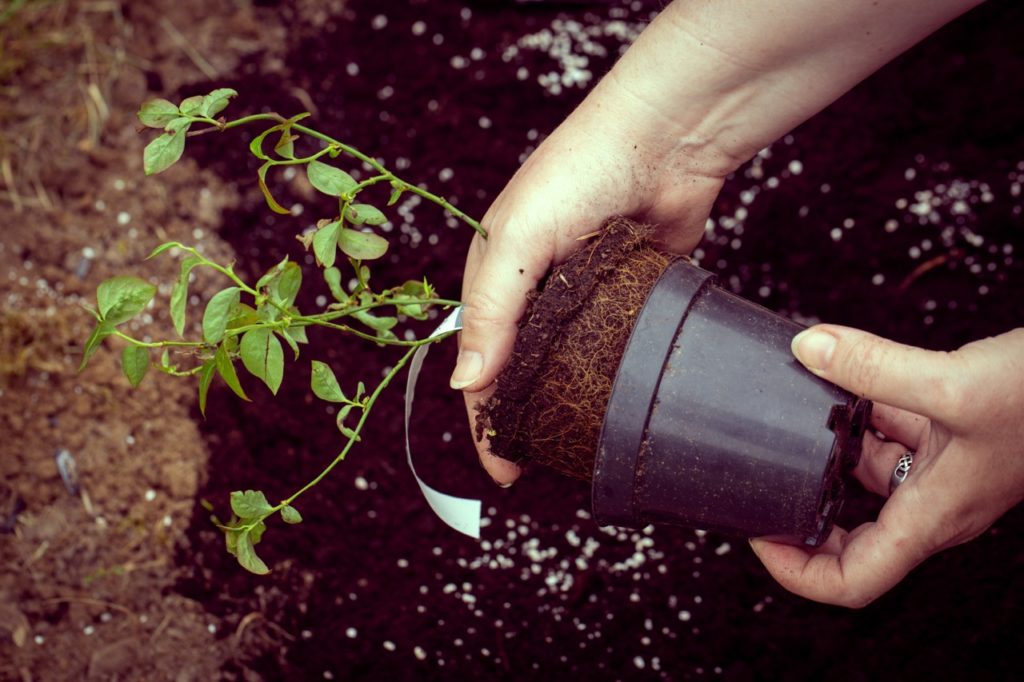
3) Remove The Plant From Existing Container
Water the potted plant so that the soil becomes damp all through.
Insert a trowel into the side of the pot and move it around to separate the soil from the pot.
Tilt the pot, and push it upward from the drainage holes whilst knocking on the pot to loosen the soil.
Try to prise up the packed soil with the trowel to remove the plant from the pot.
If you cannot pull up the plant without difficulty, it is easier and safer to just break the pot.
Remove the plant and gently shake out some of the soil so that the roots are visible.
If the roots are compacted or root-bound, carefully tease open and separate them.
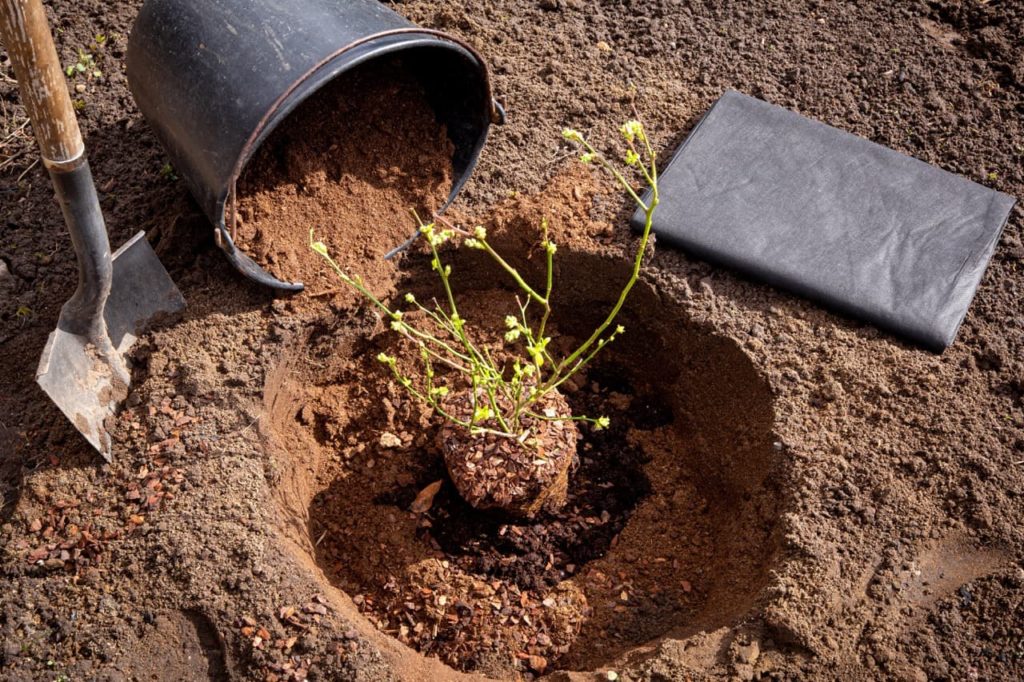
4) Repot In A New Container
Promptly set the plant in the new container with the roots spread out.
Using a gardening shovel, start filling the container with the selected compost or soil.
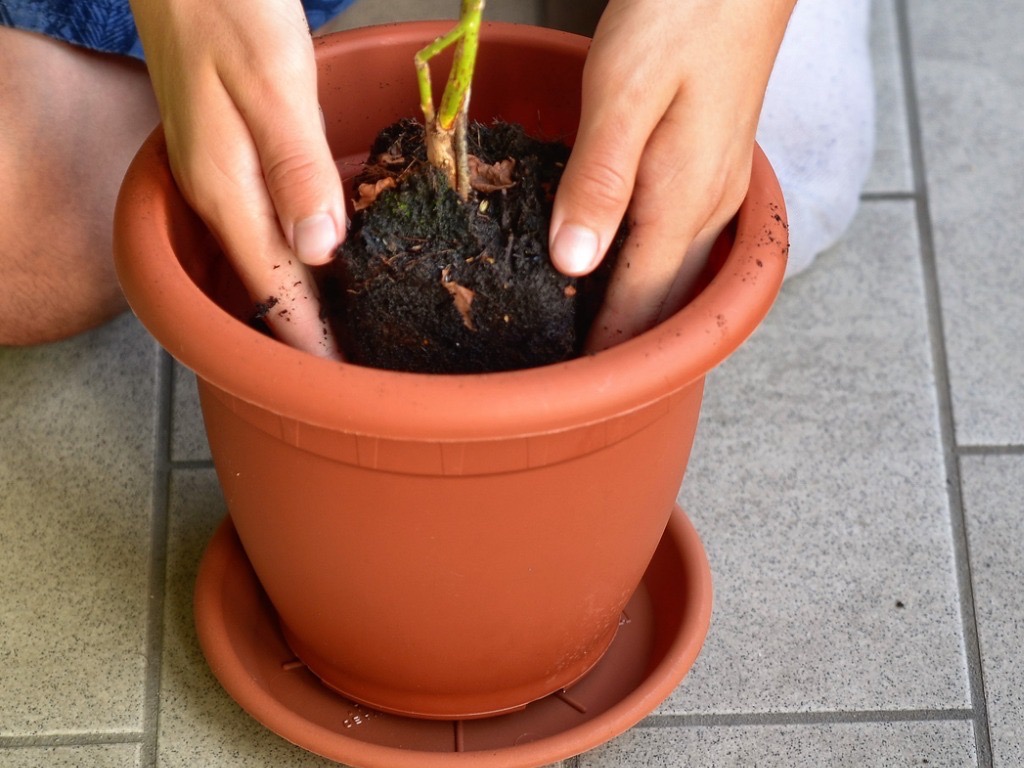
As you do so, make sure that the plant will be set at the same soil level in the new container as it was in the old one.
Fill the container with the medium up to the point that the soil line of the plant is the same as it was in the old plant.
Firm up the soil all around.
5) Water Regularly
Water in the plant; soak the soil through.
Even though the plant is dormant at the time you have re-potted it, it needs to be kept hydrated to recover from transplant shock.
Thereafter, following re-potting, water the plant regularly.
Water twice a week initially and then once a week.
The soil should be moist but it should not be soggy or soaked.