Propagating Buddleja: Grow New Plants From Either Softwood Or Hardwood Cuttings


Reviewed By PETER LICKORISH

Peter is a Horticulture Lecturer and self-employed Horticulturist, with a passion for diverse areas of the industry - from garden design to the science behind plant growth and propagation. He has completed the Royal Horticultural Society’s Master of Horticulture (MHort) Award and lectures on RHS courses at Bedford College.
Contributions From EMILY CUPIT

Emily is a Gardening Writer, Photographer and Videographer from Derbyshire, UK. She is the Founder of Emily's Green Diary - a community of more than 75,000 people who share in her gardening journey.
IN THIS GUIDE
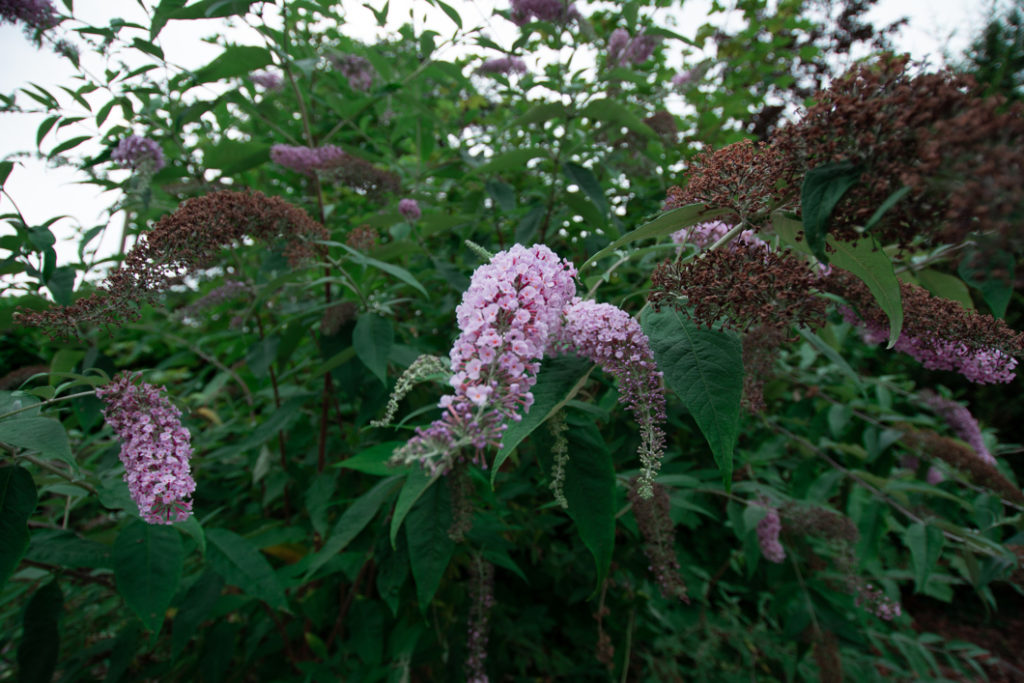
Buddleja is among the most floriferous plants you can find, producing oodles of those tiny flowers in dense spires and thick panicles which attract butterflies by the score.
Another great thing about buddlejas is that they are among the easiest plants to grow from cuttings.
It must be said though, that while the vast majority of species and cultivars are easy to grow from cuttings, a few are not quite as easy.
You can rely on Buddleja davidii and its cultivars – the most common and popular ones – to reward your efforts.
| Difficulty | Easy |
| Equipment Required | Gardening gloves, pruning shears |
| When To Take Cuttings | July and August |
You can grow buddleja from cuttings by following the steps outlined below.
When To Propagate
April through May is the best time to propagate buddleja from softwood cuttings, while during July and August propagation should be done from semi-hardwood cuttings.
However, virtually all buddleja varieties can be propagated from semi-hardwood cuttings while only some can be propagated from softwood cuttings.
Therefore, our focus is on the former method.
Whichever method you choose, buddlejas are not only floriferous, but they are also long-blooming, flowering from summer into autumn.
1) Prepare The Plant & Tools
Before you begin, disinfect your secateurs’ blades with diluted rubbing alcohol or diluted bleach, or even with hand sanitiser.
Start by generously watering the donor plant early in the morning on a bright, clear day in July or August.
Take a small pot that has drainage holes and fill it with 50% perlite, grit and sand, and 50% peat-free cuttings compost.
Water it all through.
2) Take The Cutting
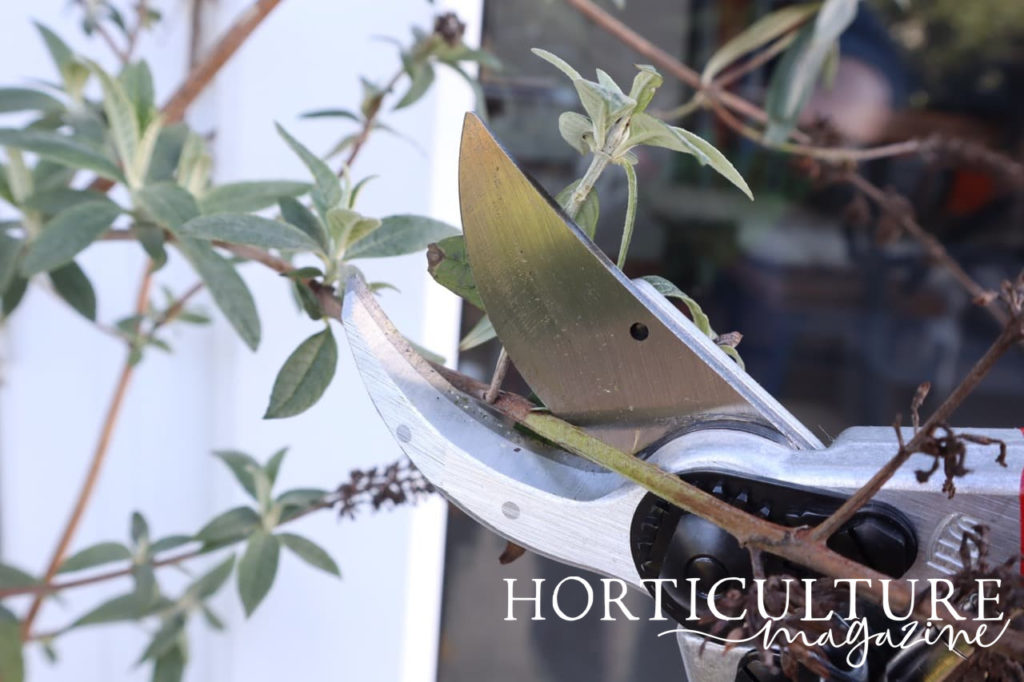
Locate a branch from the current year’s growth with a stem that is green and turning greyish or brownish along its lower part and is at least 15cm long.
Using secateurs, cut off this branch as if pruning it.
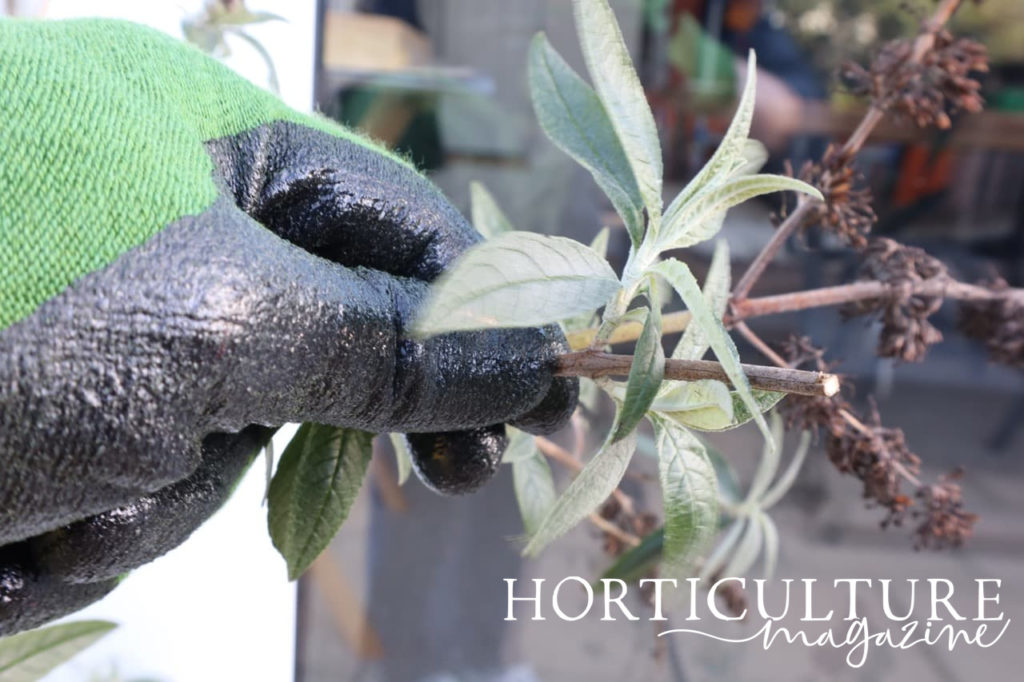
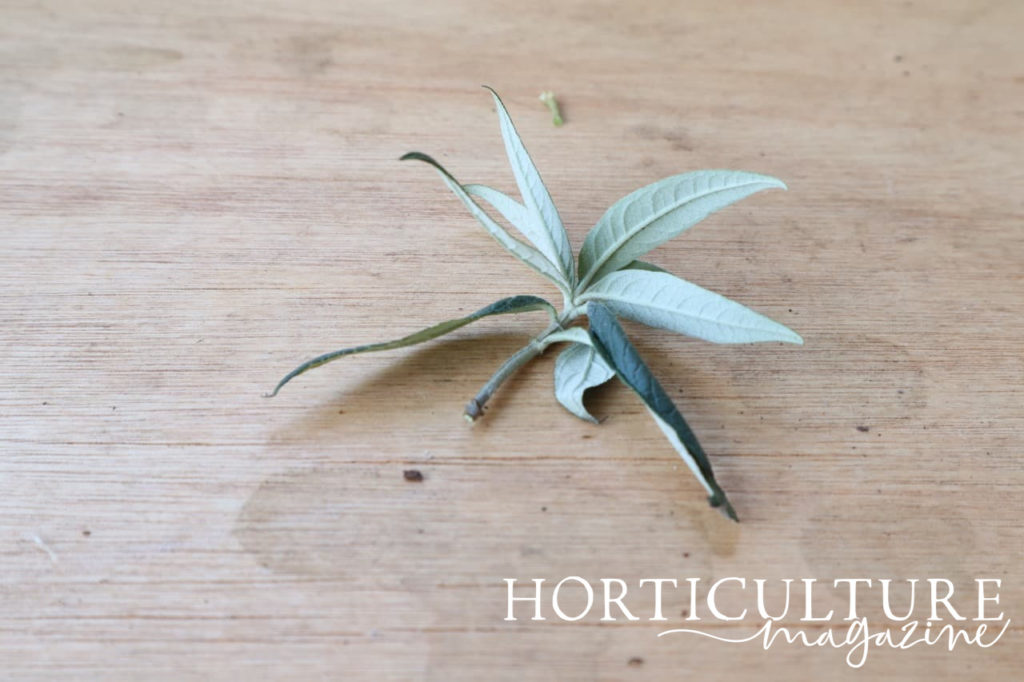
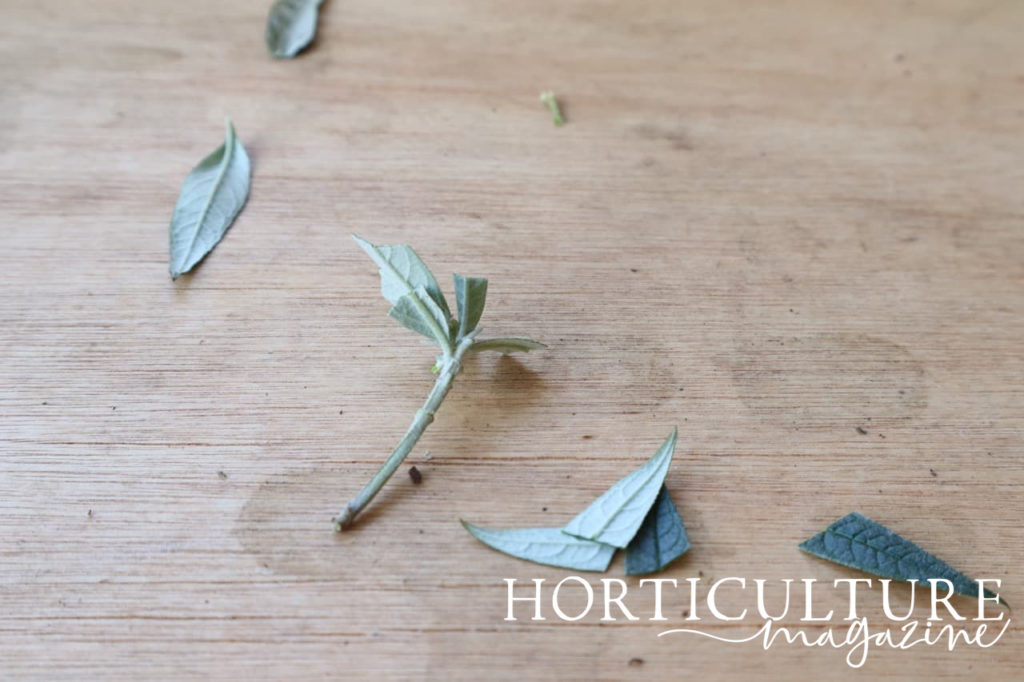
Trim this cutting from the bottom so that it is about 12cm long.
What’s important is to cut it just below a node as that is where roots will emerge from.
Trim off the leaves starting from the base and leave behind the top 3 leaves.
“Another technique to try is hardwood cuttings, which can be taken when you would normally prune the plant, around February or March,” explains Peter Lickorish, a Horticultural Lecturer and Gardening Technician.
“Taking a section of straight stem that is 30cm in length, trim it so there is a bud or node at the bottom of the cutting and one at the top.
“Discard any leaves that are clinging on and insert it between half and two-thirds deep in a tall pot of compost or moist, but free-draining soil.
“You could add sand if extra drainage is important and cuttings should root within 2-3 months and can be transplanted in the autumn. “
3) Plant The Cutting
Though buddleja cuttings root very readily, it won’t hurt if you dip the bottom of the cutting in rooting hormone powder or in cinnamon powder and honey.
Use a pencil or dibbler to make a hole in the planting medium in the pot, and insert the cutting to one-third of its length into the hole.
Gently firm up the medium all around the cutting so that it is well-supported and stable.
Water it so that the soil is wet all through.
4) Cuttings Care
Place the pot near a window or in a shaded spot outdoors.
As a general rule, cuttings should get several hours of indirect or filtered sunlight but not any direct sunlight, however, such niceties are not strictly necessary for buddleja cuttings.
If indirect or filtered sunlight would be a hassle, then direct morning sunlight will be fine.
Push 3 canes around the edges of the pot, then put a polythene bag with a few tiny holes over the pot and tie or tape it to the outer edge of the pot.
This will simulate the humid conditions needed for the cutting to germinate.
Water every morning so that the medium stays damp.
Also, remove the polythene bag on alternate days for 20-30 minutes.
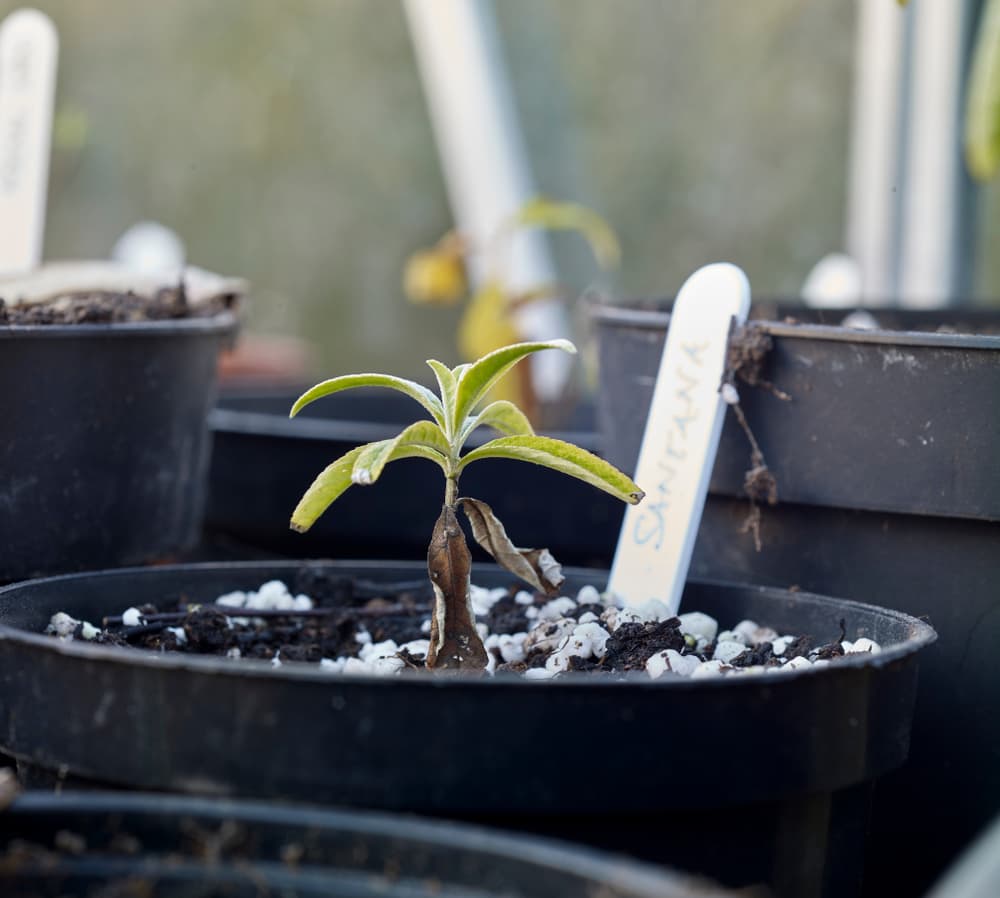
The cutting may start to bend, but as long as it has not shrivelled, there is no reason to worry.
5) Change The Regimen
After about 4 weeks, the cutting will have developed roots, but do not make any changes until you see foliage forming on the cutting.
When you see tiny leaves emerging, it’s time to make a few changes.
At this point, take off the plastic bag.
Slowly decrease the frequency of watering and then gradually decrease the amount of water.
At the same time, start giving the new little plant a little direct sunlight and keep increasing its exposure to sunlight but, again, buddlejas don’t really need much TLC in this area.
You could just shift the pot directly to a location in partial shade.
6) Pot On Or Transplant Outdoors
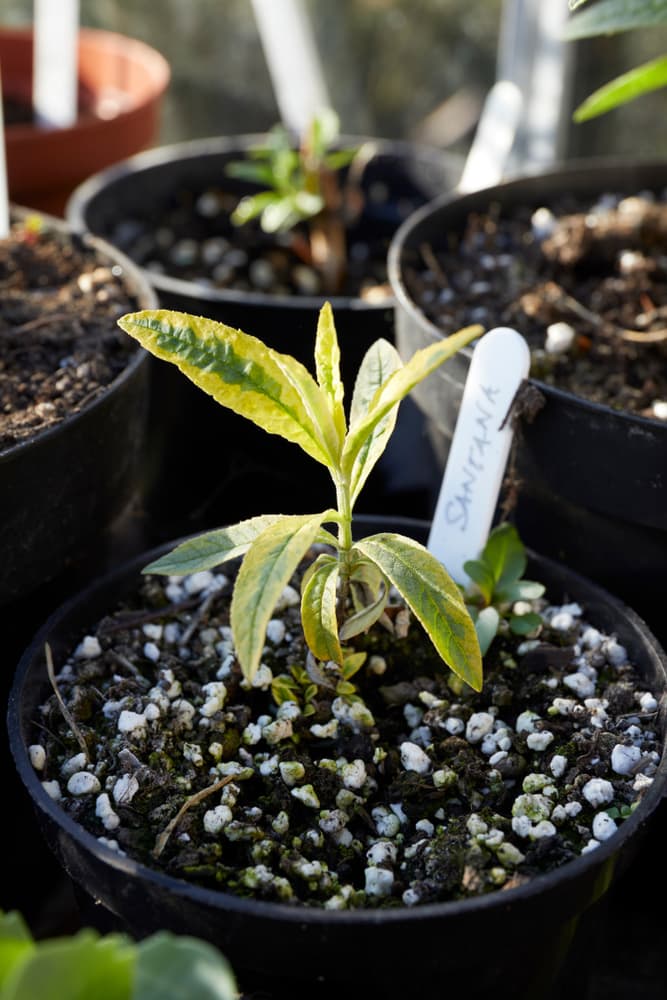
After about 6 weeks, the plant should be potted on into a suitably sized pot or be transplanted into the garden.
Be aware that buddlejas grow dramatically in size, so if you pot on, choose a pot that the plant won’t quickly outgrow.
Equally, it may sit too wet in a pot more than double the size of what it has come from.