How To Prepare And Sow Buddleja Seeds For New Plants (They Should Grow Very Fast)

Reviewed By PETER LICKORISH

Peter is a Horticulture Lecturer and self-employed Horticulturist, with a passion for diverse areas of the industry - from garden design to the science behind plant growth and propagation. He has completed the Royal Horticultural Society’s Master of Horticulture (MHort) Award and lectures on RHS courses at Bedford College.
Contributions From EMILY CUPIT

Emily is a Gardening Writer, Photographer and Videographer from Derbyshire, UK. She is the Founder of Emily's Green Diary - a community of more than 75,000 people who share in her gardening journey.
IN THIS GUIDE
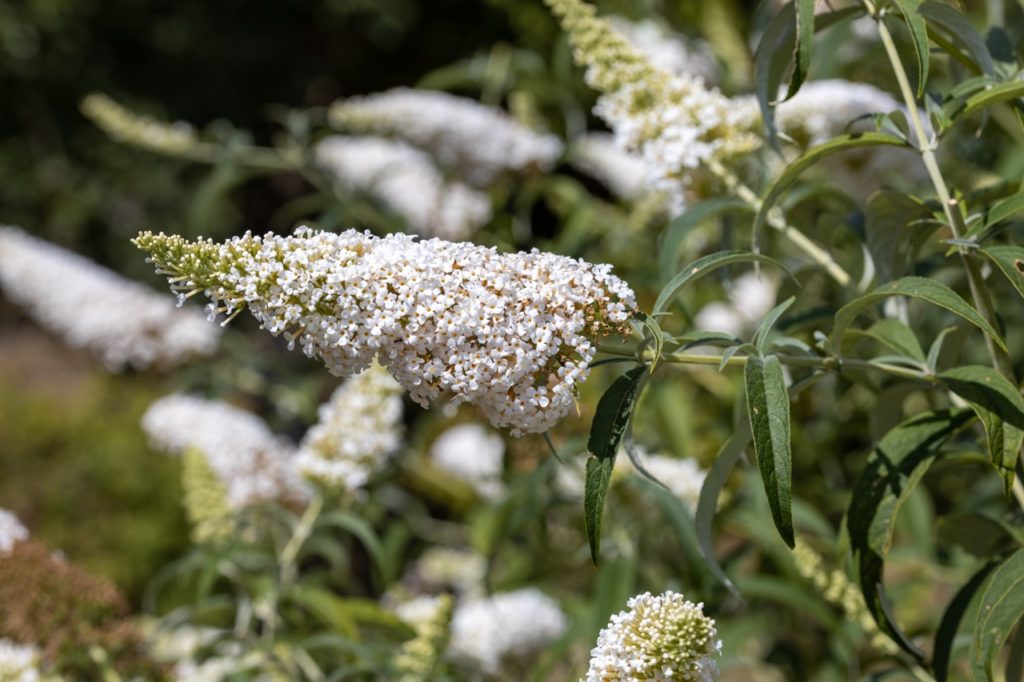
Buddlejas are renowned for the brilliant little flowers that they produce in profusion all summer long, often on conical spikes or panicles.
Buddlejas are long-lived perennials, with most varieties being deciduous.
As such, once you have grown a young plant, you are sure to enjoy many years of pleasure from it.
If you’re wondering how to obtain a young buddleja shrub, then this is the guide for you – simply follow these steps:
- Prepare the buddleja seeds before sowing, ensuring they have spent an adequate amount of time below freezing point.
- Sow the seeds in a tray with modules filled with a damp growing medium.
- Place the tray in a suitable location – a propagator can be useful for providing the right growing conditions.
- Regularly water the buddleja seeds.
- Pot on and care for the seedlings, especially in the early stages of growth.
- Provide the right aftercare for your buddleja, guarding against frost before transplanting into open ground.
This process is explained in more depth below.
| Difficulty | Medium |
| Equipment Required | Gardening gloves, sprayer, small watering can, hand trowel |
| When To Sow | April |
1) Prepare The Seeds
Buddleja seeds need to be prepped before they can be sown, as Horticultural Lecturer Peter Lickorish explains:
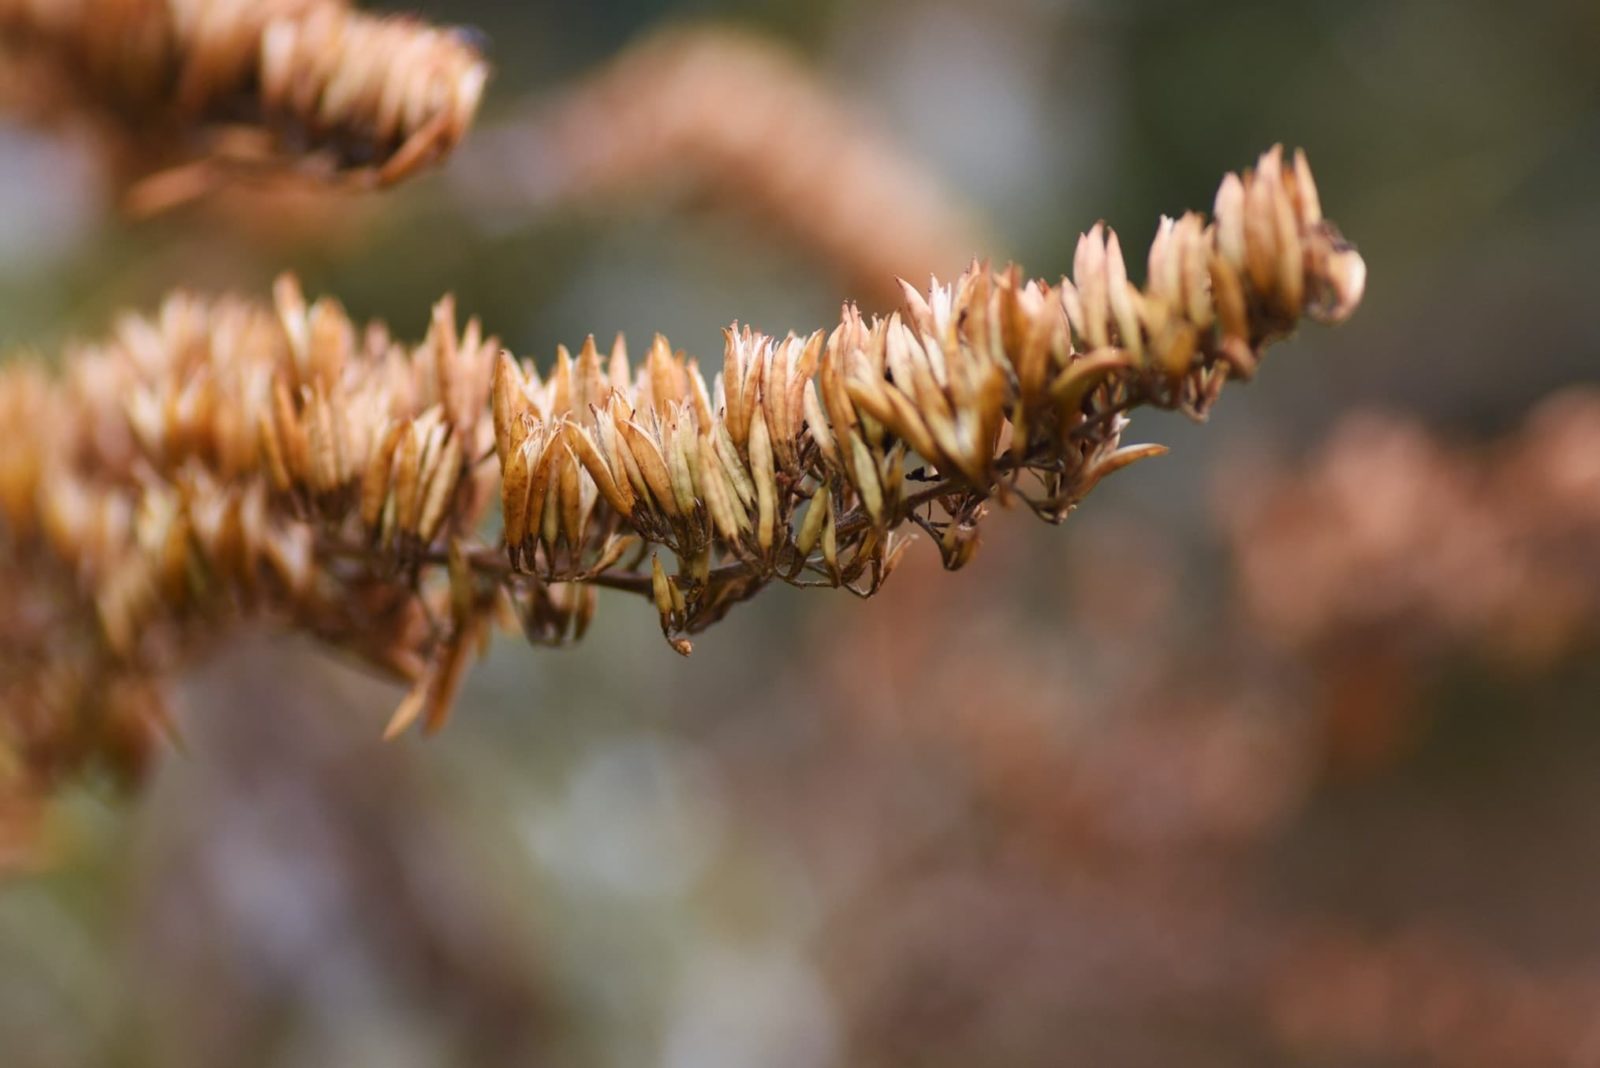
“Harvest spent flower stems in the autumn and place these in paper bags, or even better hang them, to let seeds to drop out.”
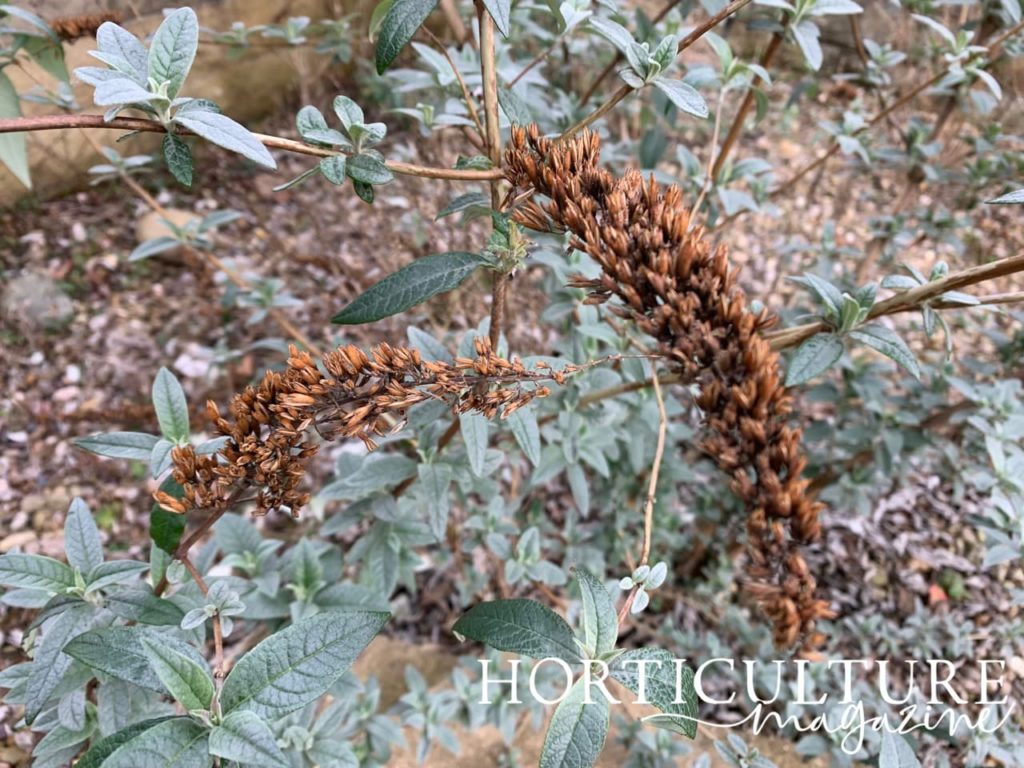
In the winter, place the seeds in a seed packet or envelope if they are loose, then place them in a plastic bag.
This should be kept in the freezer for 4-5 weeks.
Two months before the last expected frost, remove the plastic bag and keep it in a cool place.
2) Sow Your Buddleja Seeds
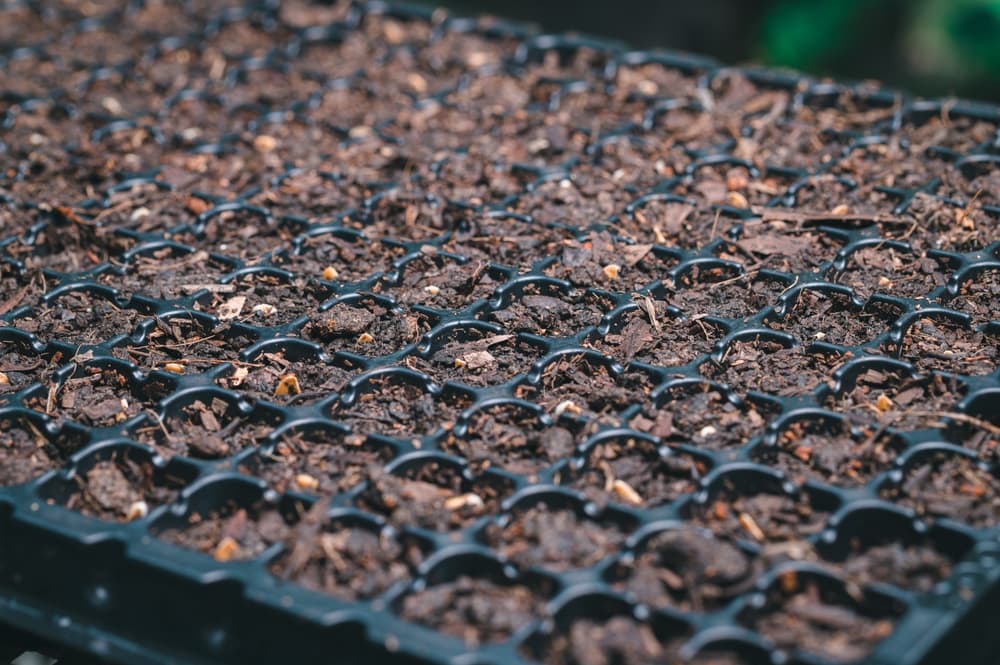
About 2 weeks before the last expected frost, take a modular seed tray with compartments and prepare it with a seed starter compost mix.
Water so that the medium is damp, but take care not to overwater.

Buddleja seeds have excellent germination rates, so only sow 1-2 per compartment.
These seeds need light, consistent moisture and humid conditions to germinate.
However, they are very small and lightweight, so watering might move them about.
Therefore, to sow, gently nudge the seeds into the medium, but do not cover them.
Thoroughly dampen the medium using a sprayer, or alternatively, water with a small watering can.
3) Place In A Suitable Spot
Place the tray near a window where it will receive ample filtered, but not direct, sunlight.
The ambient temperature should be around 21°C.
What will be lacking in UK conditions is sufficient humidity to ensure germination at high rates.
To simulate these humid conditions, improvise a low-rise tent or propagator lid over the seed tray.
With the support of pencil stubs placed at the 4 corners of the seed tray, put a piece of cling film or a clear plastic sheet over and around the tray.
4) Water Seedlings Regularly
Water the tray so that the medium is kept consistently moist.
Watering may be done by heavily misting with a spray bottle or sprinkling over water with a small watering can, making sure to keep the rose close to the tray.
“Watering young seedlings without dislodging them can be tricky,” shares Peter.
“I find it easiest to place a tray or pot saucer underneath and part-fill this with water, allowing the seed tray to soak up the water it needs for a couple of hours.

“Then, lift it from the water, allow it to drain, and finally return it to its original position.”
The seeds should germinate in about 20 days.
Once they do, remove the cling film.
As the seedlings grow, start to expose them to morning sunlight.
5) Pot On Into Larger Containers
After the seedlings have put out 4 true leaves, they are ready to be moved into individual pots.
Prepare the appropriate number of small pots with any potting mix, prise out each little plant’s module with its soil ball from the tray and repot into a container with drainage holes.
“If you have to handle the plant, hold only the leaf and not the stem, as damaging the stem could be fatal,” warns Peter.
At this early stage, keep the plant where it is sheltered from winds and in partial shade.
“It is important to gradually wean plants off from indoor conditions to the harsher weather outside,” Peter shares.
Keep watering the young plant every other day.
Gradually decrease the amount and frequency of water and start to increase the plant’s exposure to sunlight.
6) Care For Establishing Plants
When autumn comes around, be sure to guard against frosts and wind.
Although the vast majority of varieties are hardy to H6, even mature plants should not be kept in an unsheltered spot or exposed to hard frosts.

Most buddleja varieties are incredibly fast growers.
The very next year, in spring or summer, you will need to pot on the plant or transplant it in open ground.
A mature buddleja plant needs to be kept well-pruned and most varieties do best in a full-sun location.