Sowing Camellia Seeds Requires Lots Of Patience – Here’s 6 Steps If You Want To Give It A Go


Elizabeth is a Permaculture Garden Designer, Sustainability Consultant and Professional Writer, working as an advocate for positive change. She graduated from the University of St. Andrews with an MA in English and Philosophy and obtained a Diploma in Applied Permaculture Design from the Permaculture Association.
Reviewed By COLIN SKELLY

Colin is a Horticulturist and Horticultural Consultant with experience in a range of practical and managerial roles across heritage, commercial and public horticulture. He holds the Royal Horticultural Society’s Master of Horticulture award and has a particular interest in horticultural ecology and naturalistic planting for habitat and climate resilience.
IN THIS GUIDE
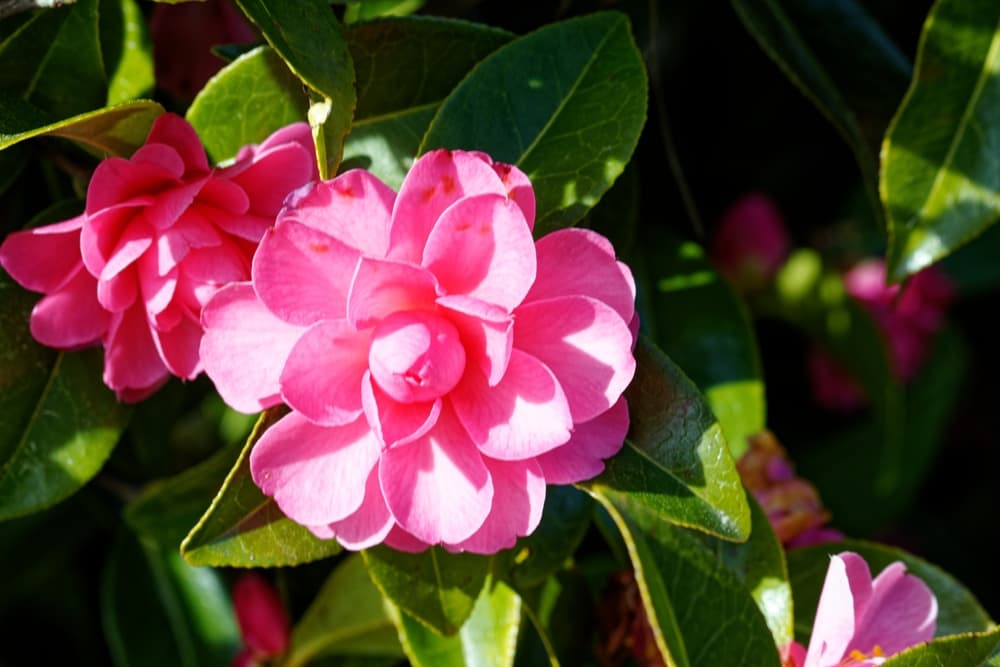
Camellias are not the easiest plant to grow from seed, mainly due to the fact that this is a process that requires a great deal of patience.
If you want to propagate new plants for your garden that look like the parent plant, you are best propagating these shrubs by taking either semi-ripe or hardwood cuttings.
You can also try layering or grafting if you are a more experienced horticulturalist.
However, should you wish to experiment with growing your own camellias from seed, here is the process to follow:
- Collect the seeds from an existing camellia.
- Soak the seeds overnight to increase the chances of success.
- Sow your camellia seeds in a seed tray or container, covering them with a light layer of compost.
- Water them in, then wait for germination to take place (this step requires patience as it can take months).
- Cut any long taproot to encourage bushier roots.
- Wait for your camellia seedlings to finish growing.
We explore each step below.
| Difficulty | Medium |
| Equipment Required | Seeds, seed tray, seed-starting compost |
| When To Sow | Spring or autumn |
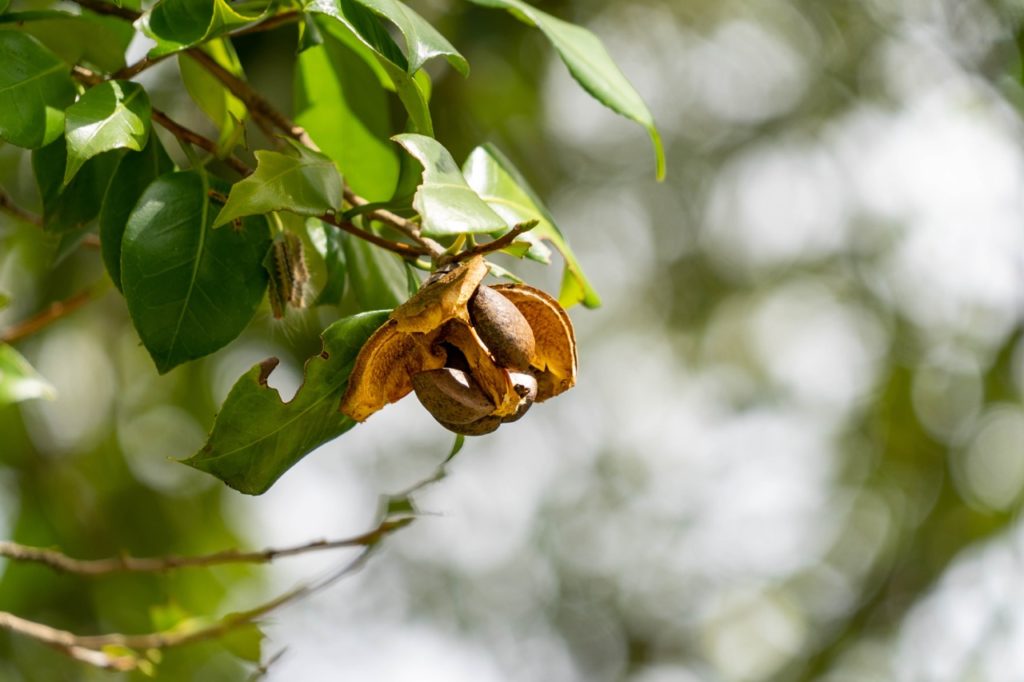
1) Collect Seed Pods
The first part of the process is to collect seeds from an existing camellia.
“The seed will be the result of two parents and therefore a mixture of the characteristics of both of them,” explains Master Horticulturist Colin Skelly.
“Therefore, your new camellia will be a unique seedling.
The chances of it being a show stopper are not high, as professionals regularly scan thousands of new deliberately crossed seedlings for new introductions.
“However, having your own seedling has a charm of its own.”

It may be necessary to tie a bag around a stem to collect these, though you may be able to collect them from the ground around an existing shrub.
These are weighty seeds and shouldn’t be too difficult to recognise.
2) Soak Seeds Overnight
The seeds that are collected should be sown as soon as possible.
Many gardeners find that there is a better chance of successful germination if the seeds are soaked overnight in tepid water to break down the coating around the seeds before they are sown.
3) Sow Camellia Seeds
Choose a seed tray, pot or another container, fill these with a seed starting potting mix and sow your camellia seeds.

Press your camellia seeds into the surface of the compost with the eye facing downwards or to the side.
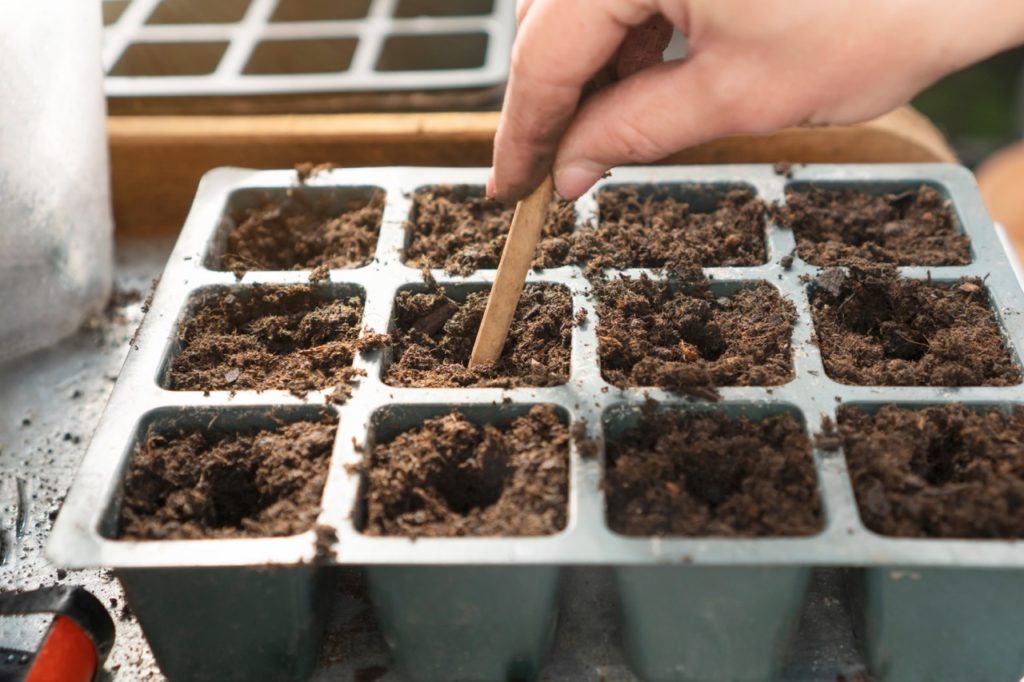
Afterwards, cover them over lightly with the compost mix and water them in, allowing excess water to drain away.
4) Wait For Germination
Be patient, as camellia seeds can take several months to germinate and will likely do so the following spring.
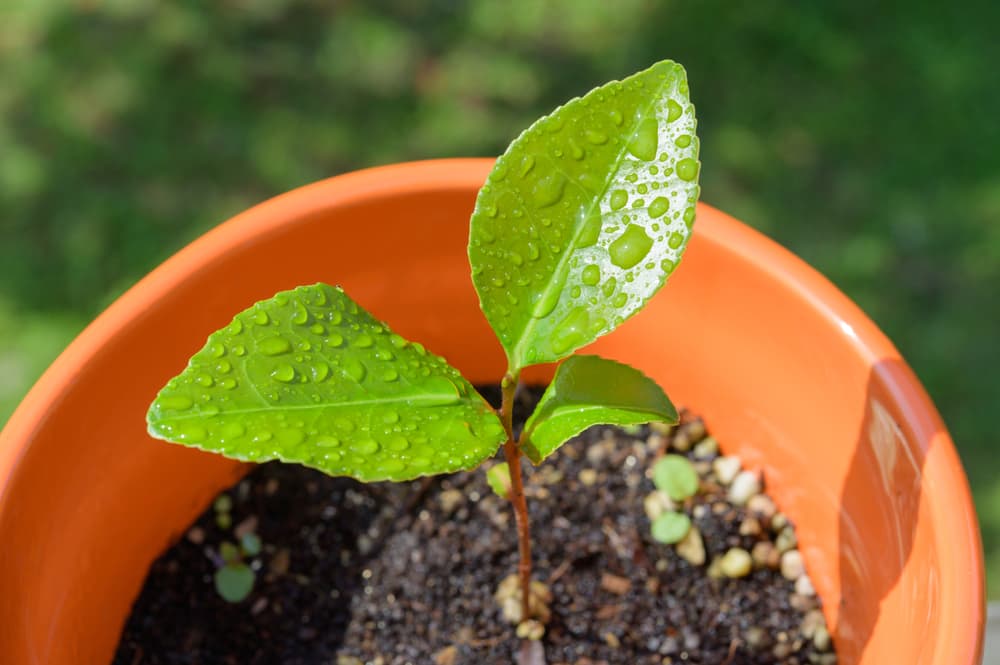
Take good care of them over the winter months.
5) Trim The Taproot
Once the seedling has developed shoots above the surface of the growing medium, it is a good idea to cut the long taproot that grows straight down to encourage bushier roots.
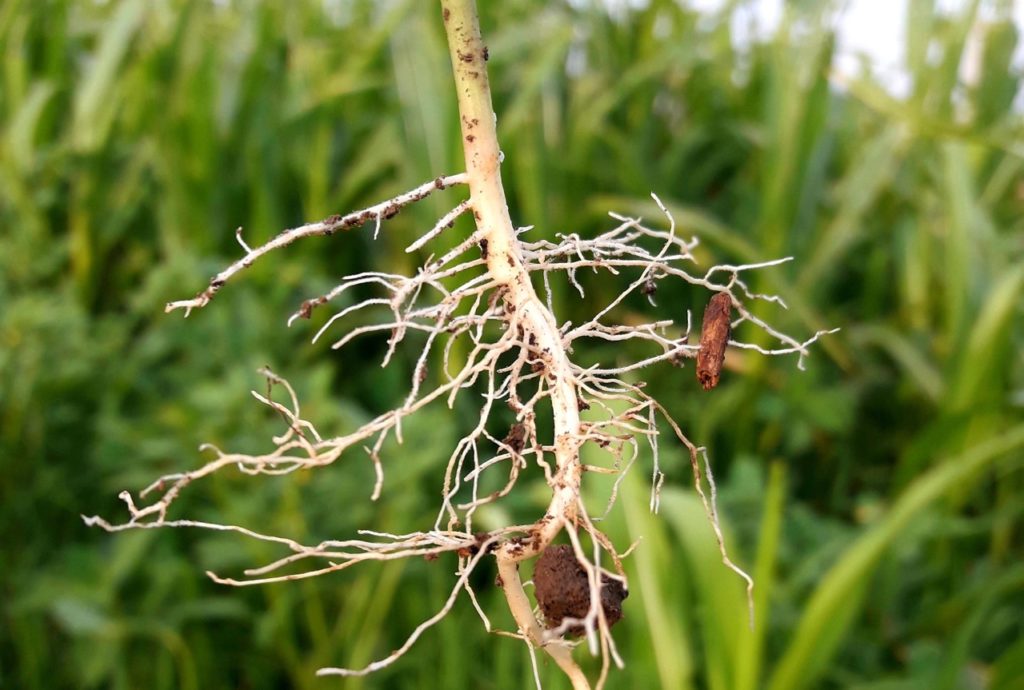
This will also make sure that the plant remains as comfortable as possible in its container.
Pot on your young camellia when required as it grows.
6) Patiently Wait For Flowering
Remember, it will take around 5-7 years before your camellias will begin to flower, and when they do, they may not flower in the same way as their parent plant.
So, you will need to wait a long time to see the results and discover whether your efforts were worthwhile.