Sowing Campanula Seeds Under Cover In 7 Simple Steps With Jonathan Sweet

Reviewed By COLIN SKELLY

Colin is a Horticulturist and Horticultural Consultant with experience in a range of practical and managerial roles across heritage, commercial and public horticulture. He holds the Royal Horticultural Society’s Master of Horticulture award and has a particular interest in horticultural ecology and naturalistic planting for habitat and climate resilience.
Contributions From EMILY CUPIT

Emily is a Gardening Writer, Photographer and Videographer from Derbyshire, UK. She is the Founder of Emily's Green Diary - a community of more than 75,000 people who share in her gardening journey.
IN THIS GUIDE
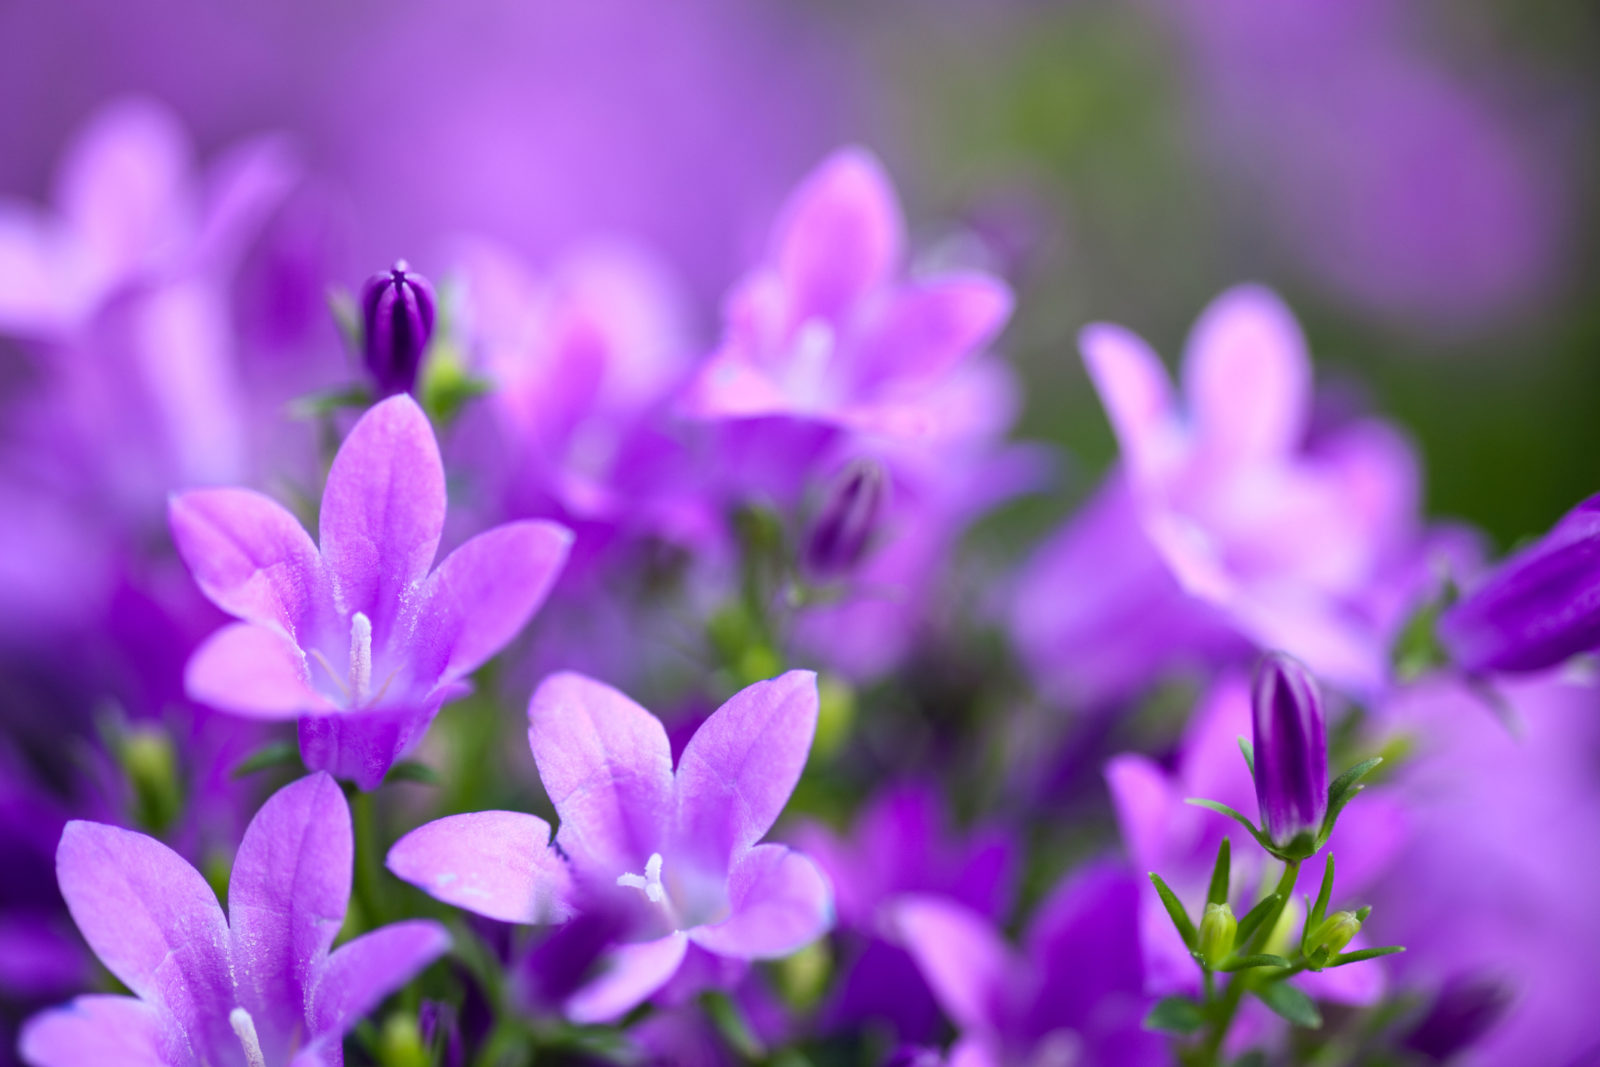
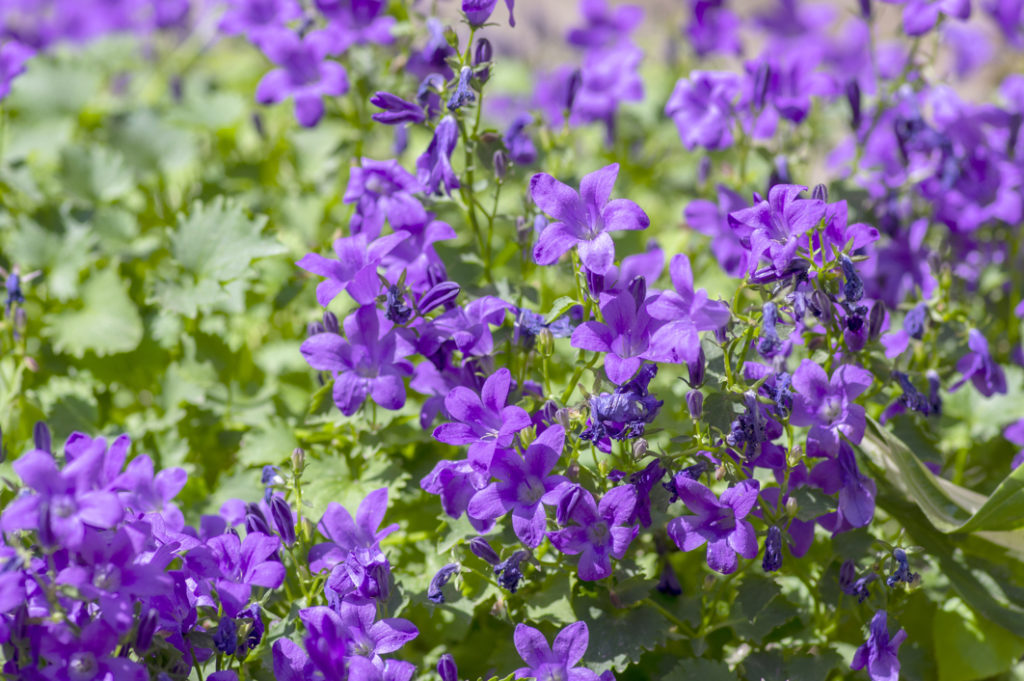
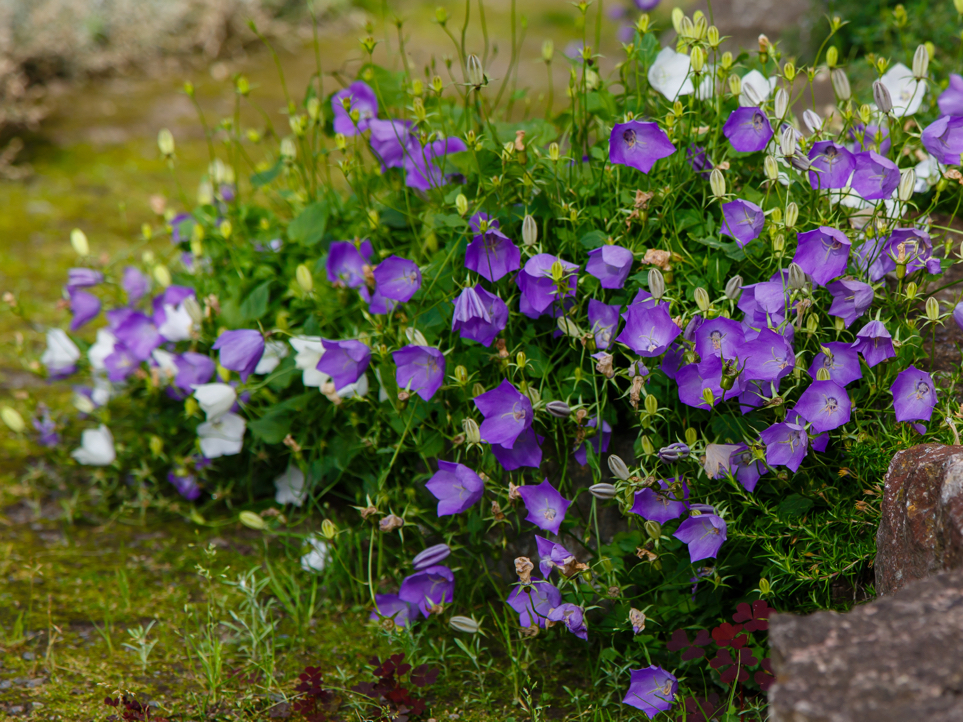
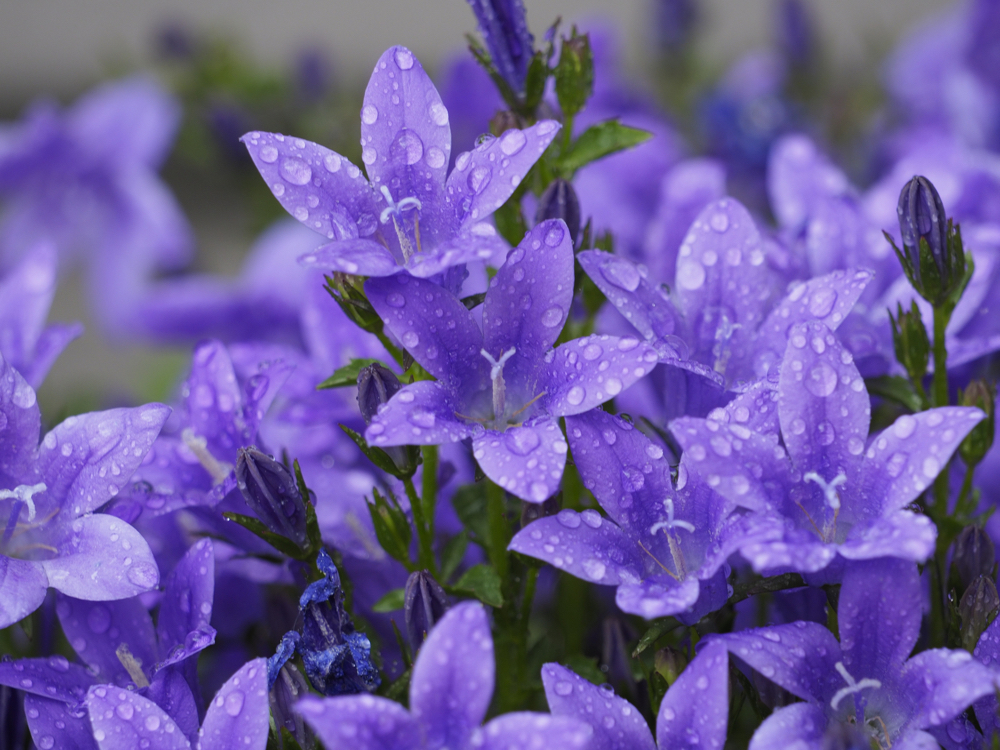
As their common name suggests, most varieties of campanula are immediately recognisable from their distinctive bell-shaped flowerheads.
As a vibrant perennial, they make a great addition to any border or bed, especially as part of a classic cottage aesthetic.
As resilient and resourceful plants, bellflowers present far fewer problems than many of their counterparts when growing from seed.
It’s possible to plant them directly in the ground outside, though this can render them susceptible to the British climate.
As such, we recommend first planting them in indoor trays, and then later transplanting them to their final location.
This will give them the best chance to flourish, though the choice is entirely yours.
The following steps cater for both options, so you can proceed in whichever manner you see fit:
- Prepare your growing medium / seed tray.
- Sprinkle your seeds liberally on the surface of your growing medium.
- Allow germination to take place.
- Transplant seedlings into individual pots.
- Prepare your outdoor location.
- Transplant to the final planting location.
- Care for your new plants.
And that’s it!
For those who require a little more guidance, here’s a rundown of those steps in greater detail:
| Difficulty | Easy |
| Equipment Required | Seed tray, individual pots (10cm diameter), a small trowel and border fork, compost/potting mix/peat |
| When To Sow | Autumn to spring, depending on location |
| When To Plant Out | Spring (after last frost has passed) |
When To Sow Campanula
The best time to sow campanula seeds depends on where you plan to plant them.
Those grown directly outdoors should be sown in springtime after the last frost of the previous winter has passed.
On the other hand, campanulas grown indoors can be sown anytime between autumn and spring.
Seeds planted earlier can flower as quickly as April, while those sown later are likely to bloom in late summer.
1) Prepare The Growing Medium
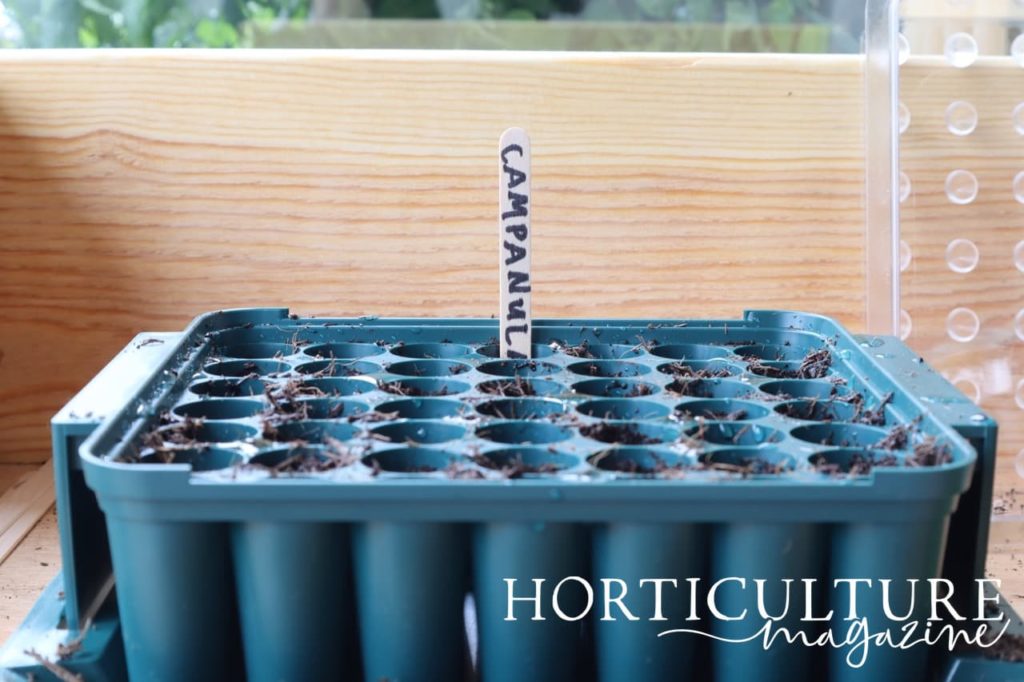
Regardless of whether you’re planting indoors or outdoors, it’s essential that you prepare the soil to ensure that it has all the appropriate characteristics for your plants to thrive.
This means ensuring good drainage by working the terrain over, as well as enhancing it with a thin layer of compost or organic mulch.
If using a seed tray, opt for potting mix or compost to achieve the best results.
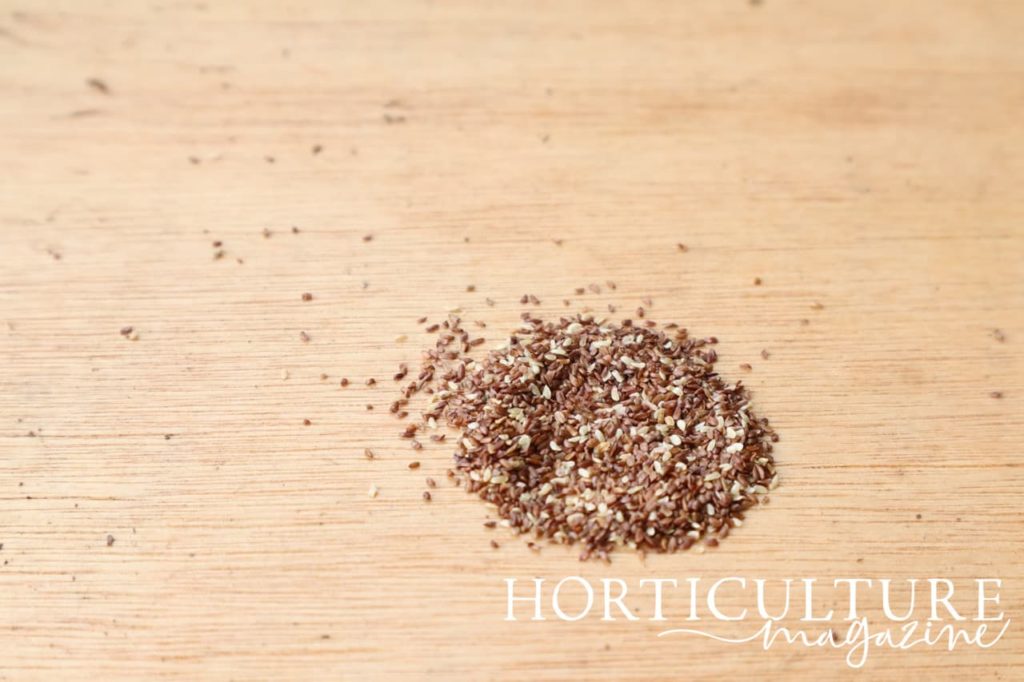
2) Sprinkle Your Seeds

Bellflower seeds don’t need to be planted at all, since they require sunlight to help with the germination process.
Instead, simply sprinkle a handful of seeds over the surface of your prepared soil and gently press them down into its surface.
Don’t worry about the placement of the seeds too much at this point.
3) Allow Germination To Take Place
While the seeds are in the process of germination, it’s essential that you keep them warm and moist.
Place them on a sunny windowsill if growing outdoors and mist them regularly but lightly.
If growing outdoors, keep an eye on the weather to see if you need to irrigate in addition to Mother Nature’s offerings.
Sprouts should begin to appear within 2-3 weeks.
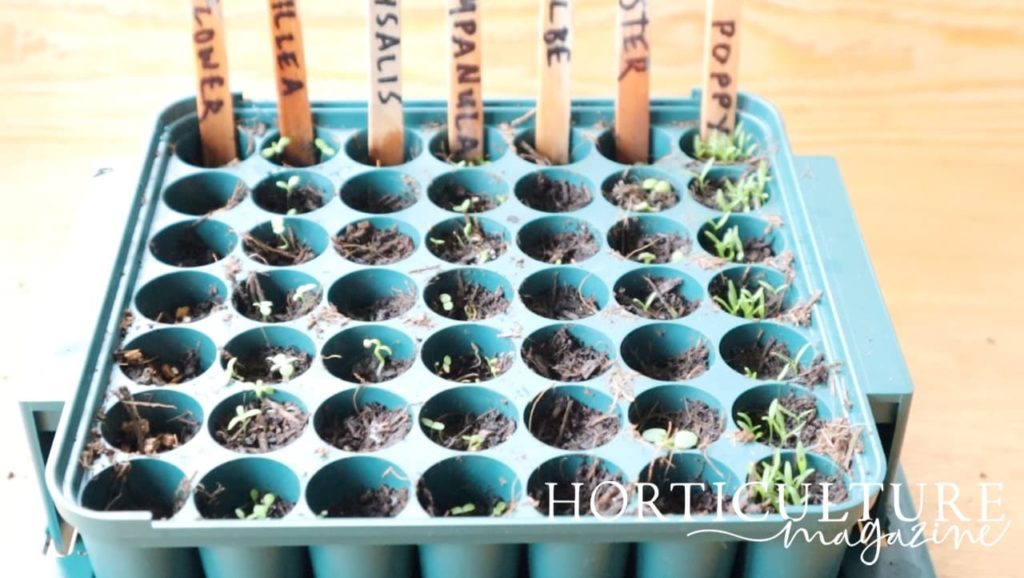
4) Transplant Into Individual Pots
Once seedlings have begun to emerge and have grown large enough to handle, it’s time to thin them out and transplant them into individual pots.
Dig them up and carefully untangle each seedling from its neighbours if necessary.
Plant each individual seedling into a pot that is of sufficient size (around 10cm in diameter) to allow its roots to develop.
Position them in a cold frame.
5) Prepare Outdoor Holes
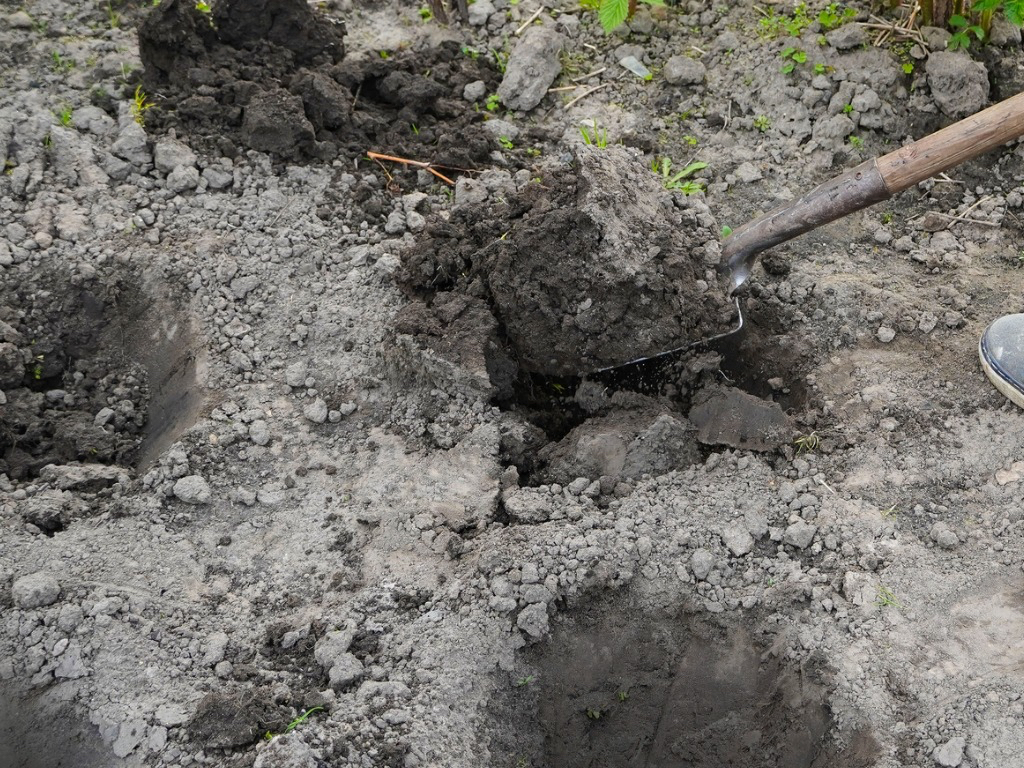
Campanulas do best when given access to full sunlight and well-draining soil beneath their feet.
The composition of the terrain isn’t as important as ensuring it retains moisture without becoming waterlogged.
When planting more than one campanula plant at a time, make sure the holes are 30-40cm apart.
Don’t make the hole too deep – the top of the roots should remain flush with the ground.
6) Transplant to Final Location
If you have been cultivating your campanulas indoors at this point, make sure that the last frost (and a minimum of two months since the initial sowing) has passed before transplanting.
“Plants raised under glass should ideally be hardened off before planting,” says Colin Skelly, a Master Horticulturist.
“This means adjusting the plant from a controlled life in a greenhouse to the more variable conditions outdoors.
“Typically, this involves moving plants from the greenhouse to a ventilated cold frame or south facing wall.”
Carefully remove your plants from their individual pots and place them in the holes you have already dug.
Fill in the spaces around them with soil and press it down gently.
7) Aftercare
Water the newly planted campanula specimens thoroughly at the outset, keeping up regular irrigation for the first weeks after planting.
Once established, your bellflower shouldn’t require any special care or attention unless you experience a period of prolonged heat and drought.
Deadhead during the blooming season to extend it long into the autumn if desired.