Plant Chives Using Starts Or By Dividing Established Clumps (They’re Slow From Seed)

Reviewed By COLIN SKELLY

Colin is a Horticulturist and Horticultural Consultant with experience in a range of practical and managerial roles across heritage, commercial and public horticulture. He holds the Royal Horticultural Society’s Master of Horticulture award and has a particular interest in horticultural ecology and naturalistic planting for habitat and climate resilience.
Contributions From EMILY CUPIT

Emily is a Gardening Writer, Photographer and Videographer from Derbyshire, UK. She is the Founder of Emily's Green Diary - a community of more than 75,000 people who share in her gardening journey.
IN THIS GUIDE
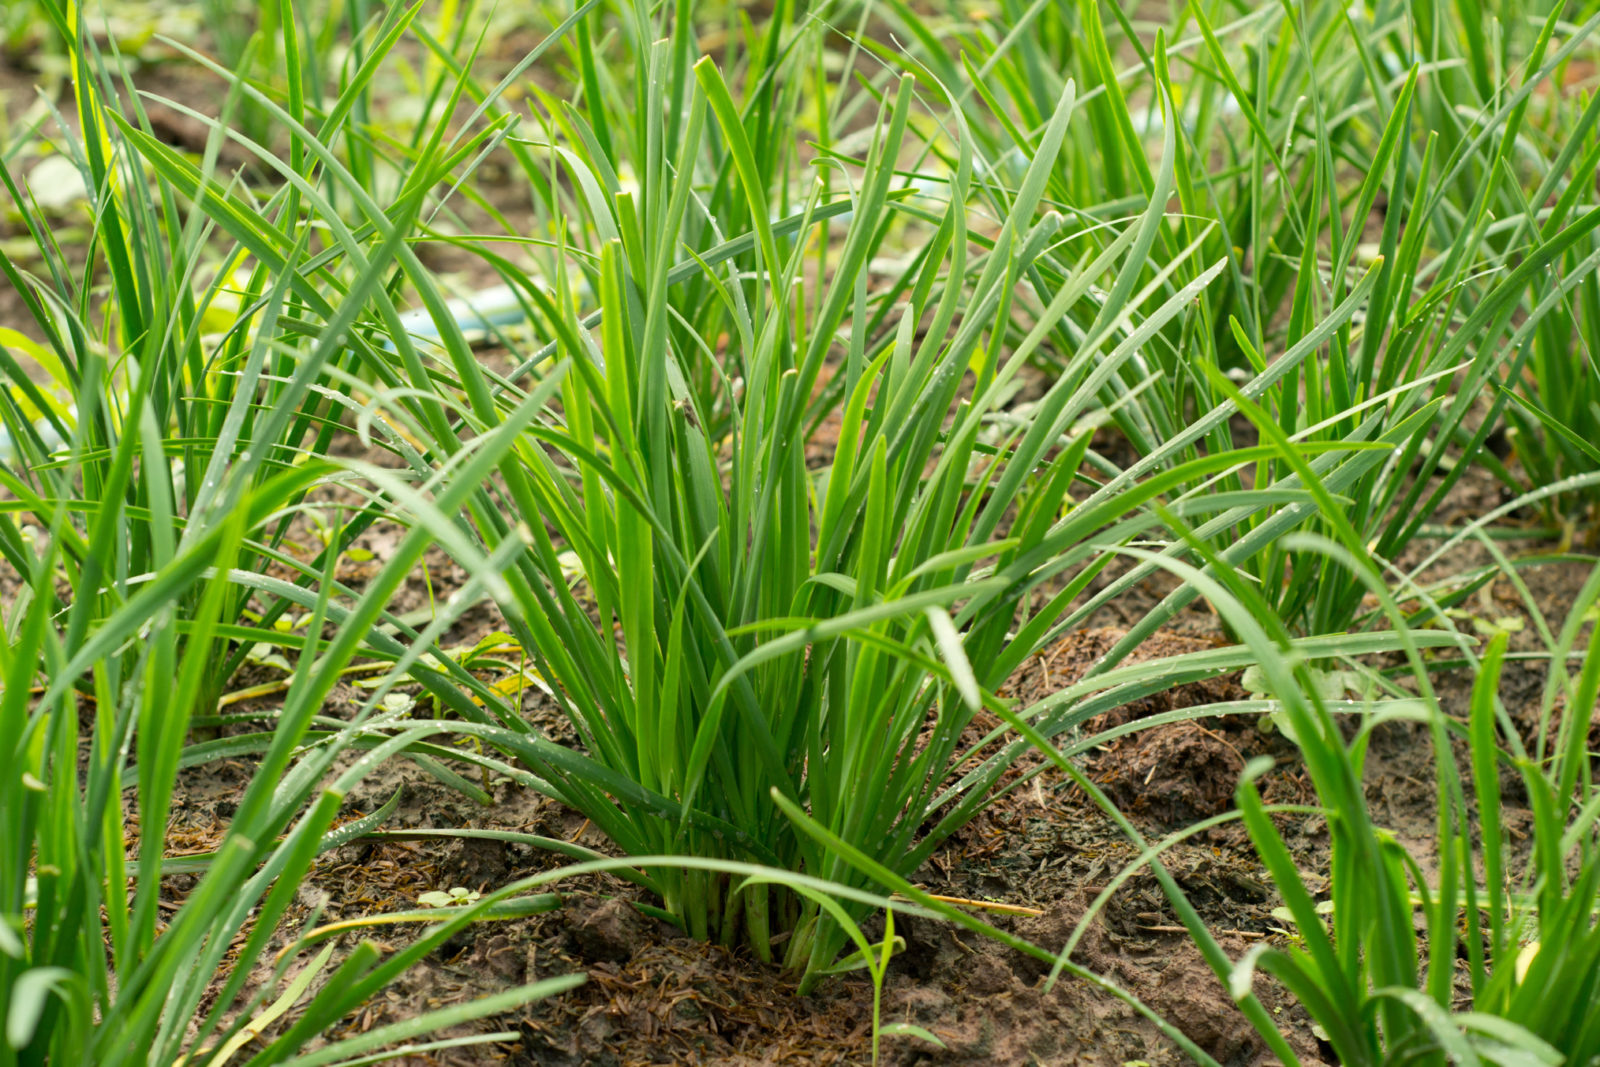
Few plants are as multi-dimensional as chives.
They are hardy, robust perennial herbs with no positional requirements, pretty grass-like foliage and cute pom-pom flowers – whilst also being pest-resistant and disease-free.
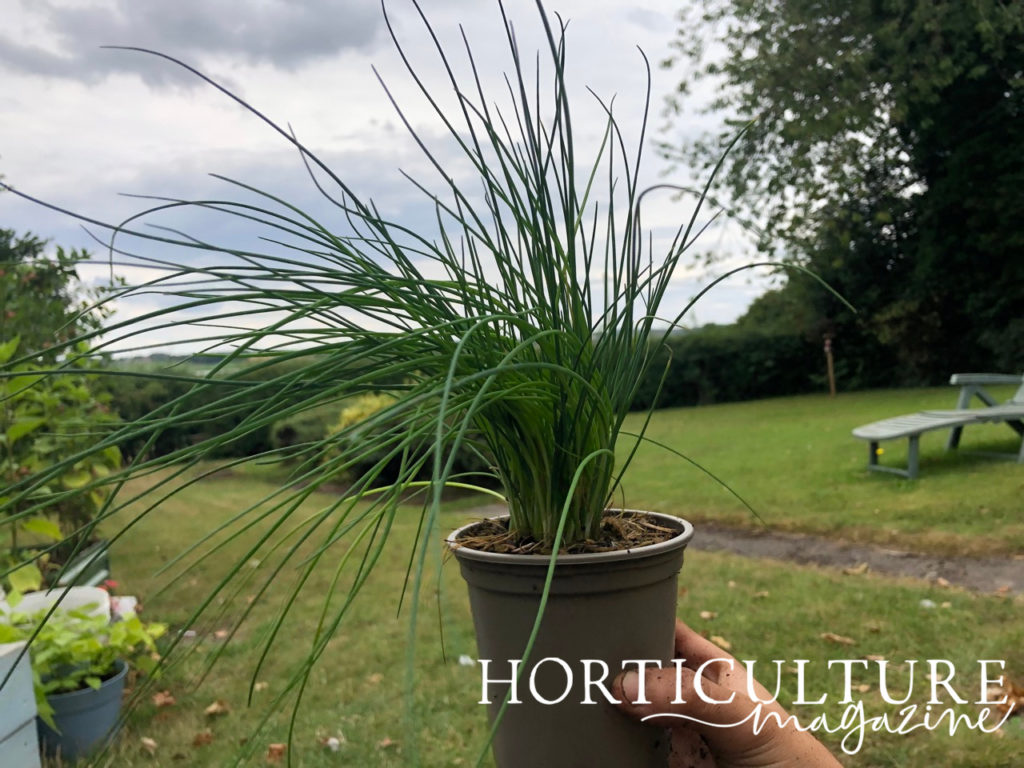
Because chives are very slow to grow from seed, this herb is usually planted from small potted plants known as starts.
“If you already have an established clump it is easy to divide a section and replant by following the instructions below,” shares Master Horticulturist Colin Skelly.
“If it is a small division then pot up first before planting, and if it’s a large clump then it can be replanted straight away in April and May.”
Chive starts are readily sourced from brick-and-mortar garden centres and online nurseries.
You can plant chives by following these steps:
- Ready the planting site.
- Prepare for transplanting.
- Remove the plant from its existing pot.
- Transplant into the ground.
- Water and feed once planted.
This process is explained in more depth below.
| Difficulty | Medium |
| Equipment Required | Gardening gloves, spade, gardening fork, flat trowel |
| When To Plant | April-May |
1) Prepare The Planting Site
This unfussy plant can be planted in any spot so long as it is not in full shade and is not north-facing, whilst full sun is preferred but not necessary.
Chives will be perfectly content in virtually any kind of soil so long as it is not too heavy or clayey and drains well, so preparing the type of soil is not strictly necessary.
However, if you want to get the most out of your chive plants, here’s what to do.
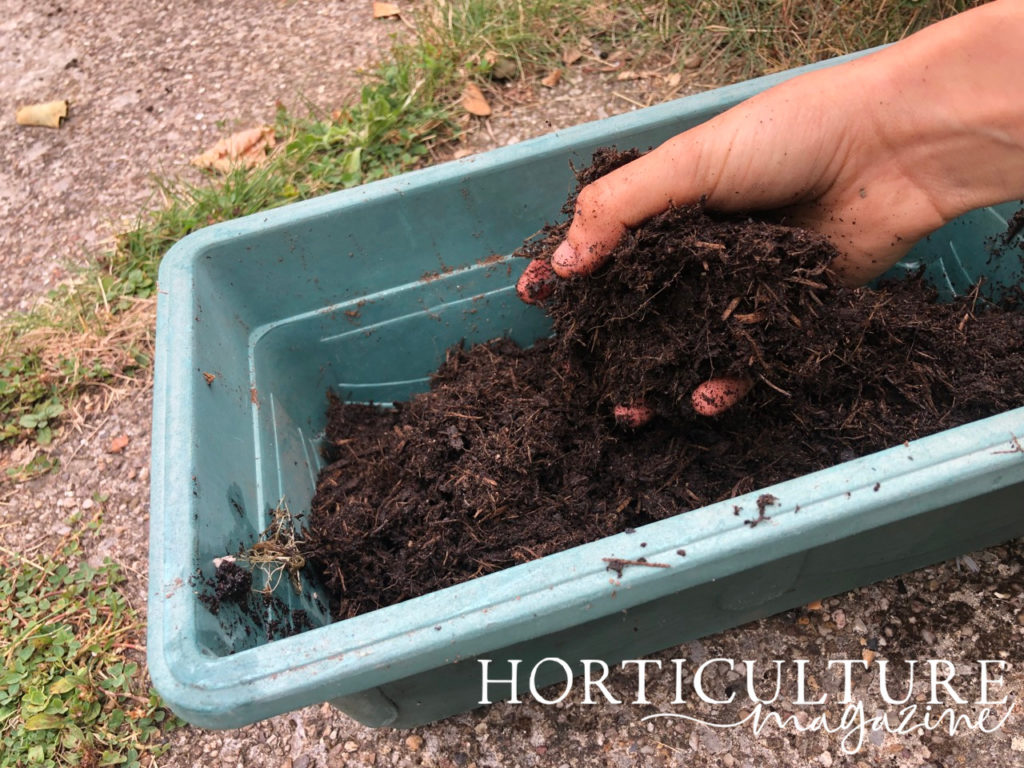
Ensure that the soil drains well and, if necessary, amend the soil with some organic compost, anything from 10-50% of the volume of the soil, and ensure the soil pH is slightly acidic to neutral.
2) Prepare For Transplanting
Once you have obtained a couple of small potted chives, you can transplant them outside anytime in April or May when they are 8-12cm in height.
Water the potted plant, then dig a hole in the planting area that is about as deep as the pot the chives are in and about 1.5 times as wide.
Lightly water the planting spot.
3) Remove The Potted Plant
Insert a flat trowel into the interstice of the soil and pot and run it around the edge of the pot.
With the pot sideways, push out and up from the drainage hole while prising out the soil ball with the trowel.
If the plant and the soil ball do not come out easily, simply break the pot.
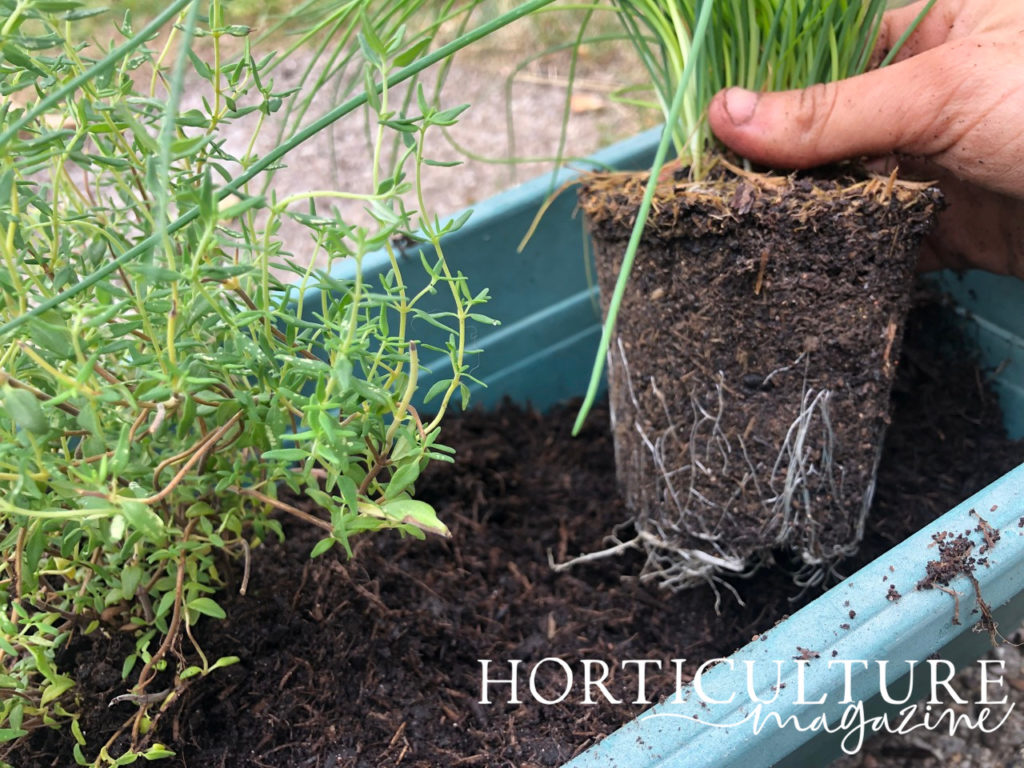
If you obtained the plant from a reputable seller and it is being transplanted within a couple of weeks of purchase, you can simply transplant it without further ado, soil ball and all.
But if the young plant is overgrown or if the soil is heavy or densely packed, then pull away the soil and try to spread out the little roots that grow from the bulb gently.
4) Transplant Into The Hole
Place the plant in the hole and start to backfill the hole.
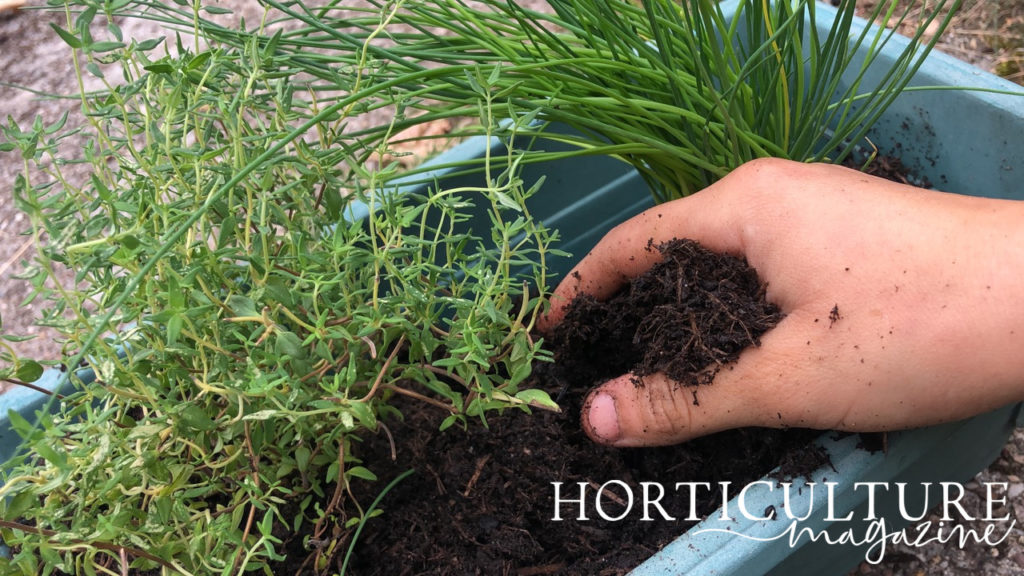
Ensure that the soil will come up to the same level at the stem as it was in the pot and no higher, adjusting as necessary.

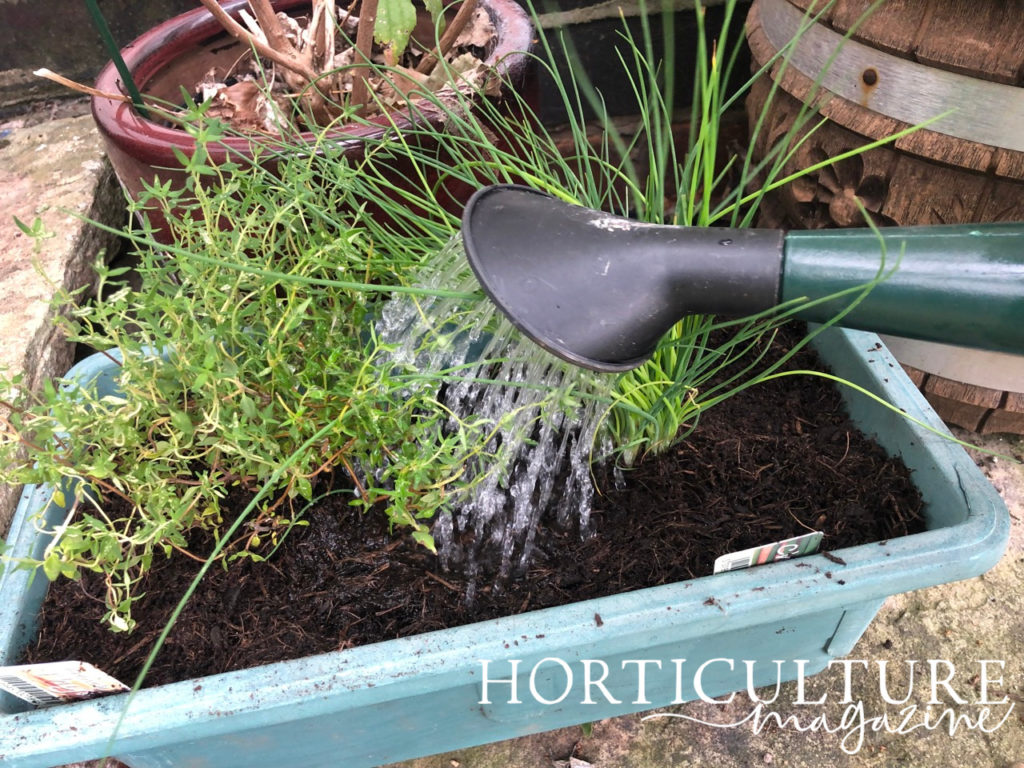
Pat down the soil around the plant and give it a good watering.
5) Water & Feed Your Chives
Chives need adequate water, especially young plants.
Accounting for rain, half an inch of water twice a week for these shallow-rooted plants will work well.
Chives are not heavy feeders, so if your soil is nutrient-rich and if you have amended it with compost, you may not need to fertilise at all.
Otherwise, apply a very small quantity of slow-release granular 10-5-5 fertiliser, or better yet, organic 10-5-5 fertiliser, at the height of spring and once again in midsummer.
Work it into the soil some distance from the centre of the plant.