Do You Need To Dig Up Gladiolus Corms For Winter? It Depends, Say Gardeners
BULBS > GLADIOLUS > OVERWINTERING
Reviewed By COLIN SKELLY

Colin is a Horticulturist and Horticultural Consultant with experience in a range of practical and managerial roles across heritage, commercial and public horticulture. He holds the Royal Horticultural Society’s Master of Horticulture award and has a particular interest in horticultural ecology and naturalistic planting for habitat and climate resilience.
GLADIOLUS GUIDES
Container Growing
Growing From Seed
Overwintering
Planting
Pruning
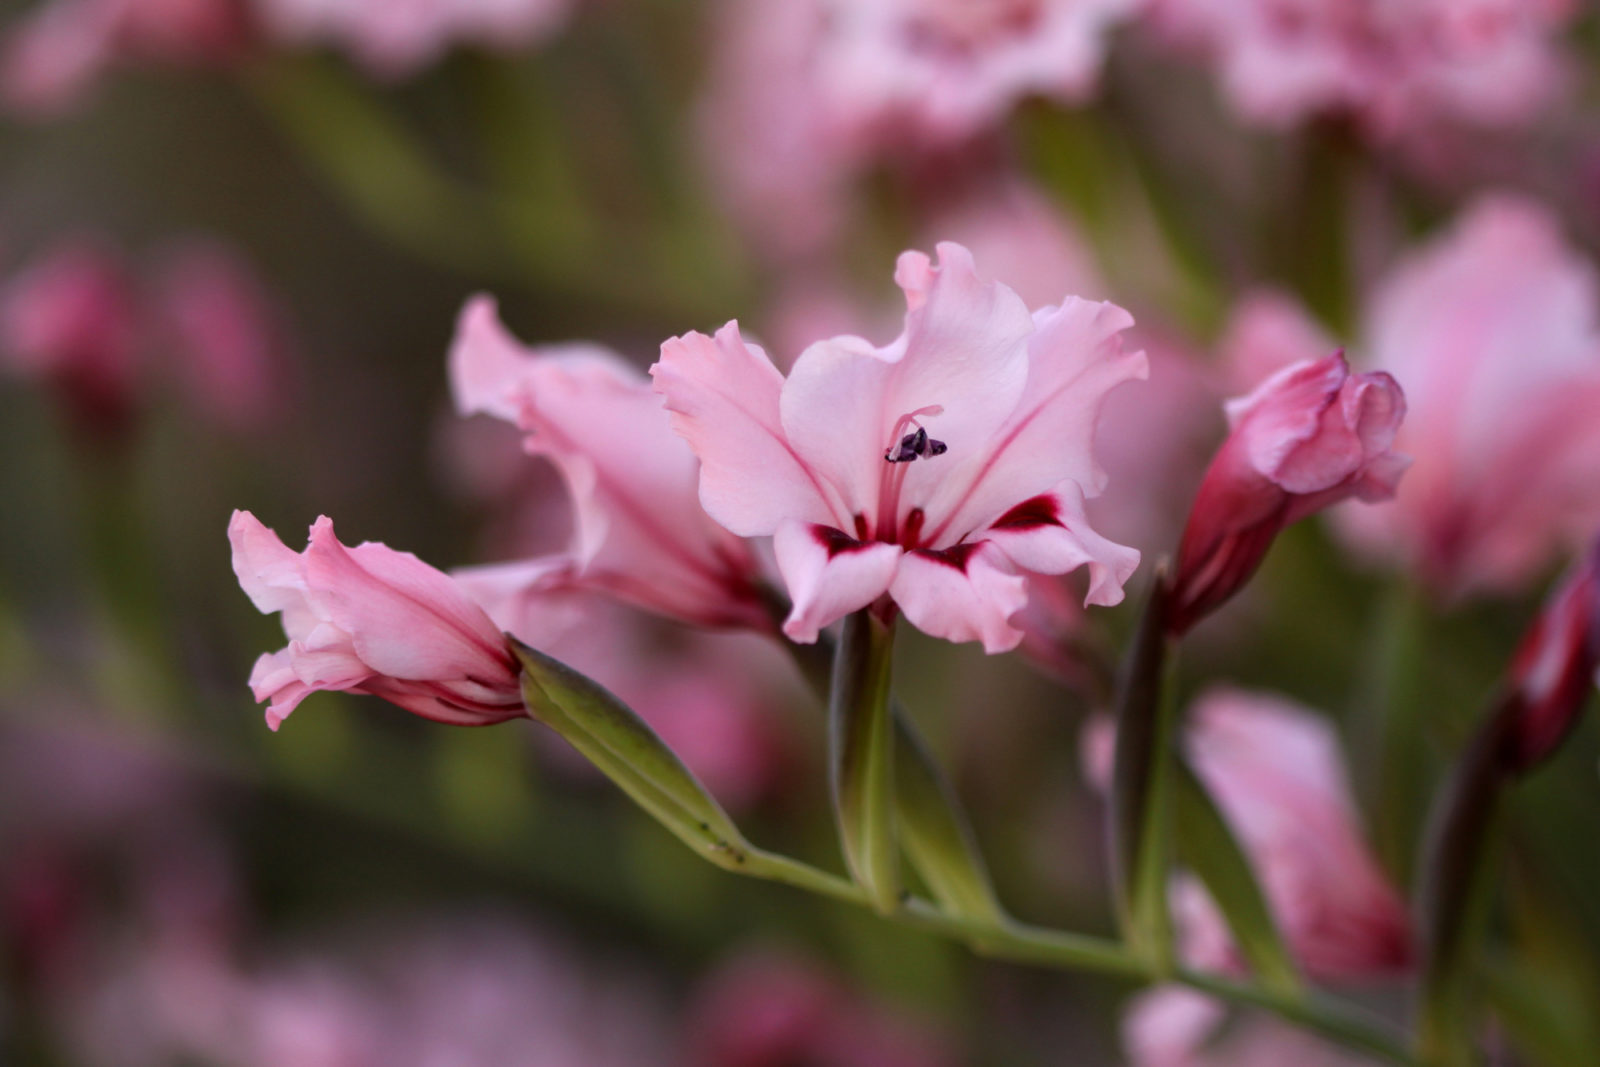
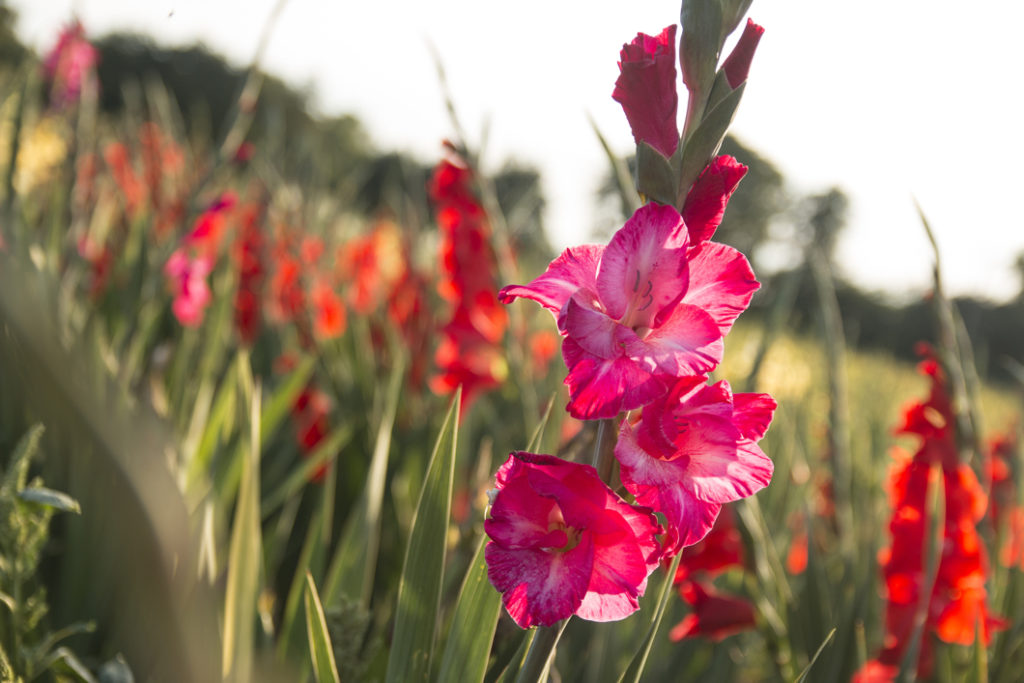
Featuring brilliant columns of funnel-shaped flowers on upright flower stalks, gladioli are among summer’s most ravishing blooms.
They occur in innumerable shades, often with very appealing splashes, tongues, bordering, and other types of colourations and markings.
Barring a handful of exceptions, they are hardy to H3 and H4.
What this boils down to is that gladiolus corms need winter care one way or the other.
“An H4 hardiness rating means that plants are hardy down to -10°C, whilst H3 means that they are hardy to -5°C,” explains Horticultural Consultant Colin Skelly.
“A hard frost could therefore cause your corms to die off, although a good layer of mulch in autumn (if in the ground) would give some insulation.”
Be aware that even if your varieties’ corms are hardy enough to stay in the ground during winter, you should still dig them up every few years to separate the new corm from the old, dead, mother corm, and also to separate cormlets.
You can care for gladioli over winter by following these steps:
- Dig up the existing plant.
- Cut the stems from each corm.
- Detach and separate the corms from each other.
- Store in a cool spot over winter.
This process is explained in more depth below.
| Difficulty | Hard |
| Equipment Required | Gardening gloves, gardening fork, a gardening trowel or hand spade, brown-paper bags, mesh bags, or newspapers |
1) Dig Up The Corms
Start the process a few days before the first expected hard frost of the year.
Most likely, you will already have cut off the foliage by this point, but if not, do this before you attempt this first step.
Using the gardening fork and trowel, loosen the earth and scoop it out so as to dig up the corm.

Start several centimetres away from the main stem and go all around it to avoid cutting into the roots, and absolutely do not nick or bruise the corm itself.
As soon as the corm is exposed, scoop out the rest of the earth with your gloved fingers and work out the corm.
If necessary, prise it out using the trowel.
Repeat this step for all the corms.
2) Cut The Stems
Cut off the main stem 2-3cm from each corm.
Gently remove soil and dust from the corms; you may use a cotton cloth or soft brush to do so.
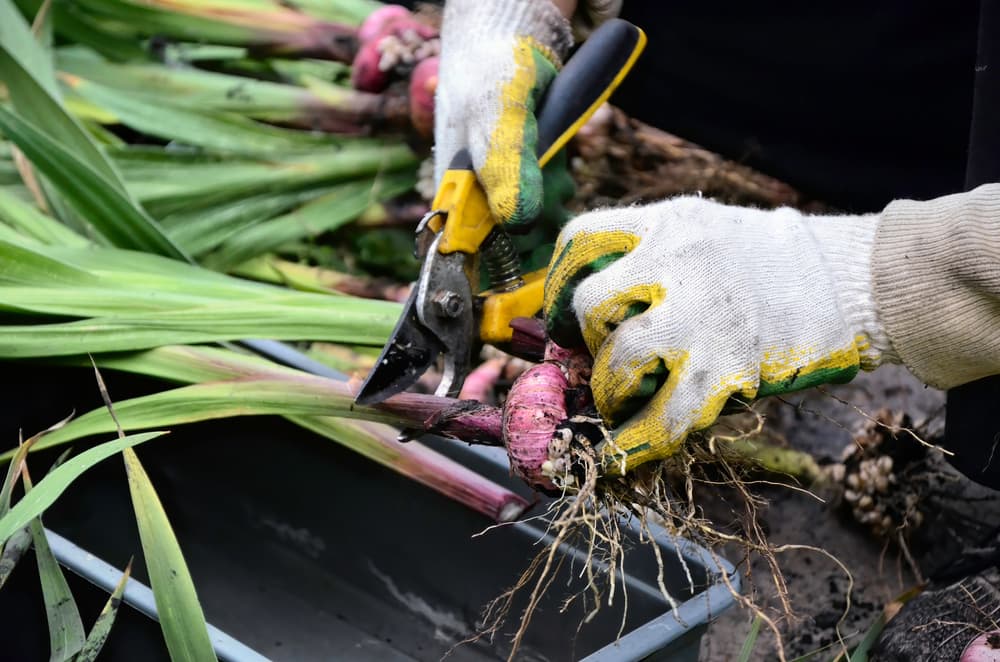
Leave the wafer-like husks intact.
Inspect the corms and throw away any that are nicked or show signs of rotting.
Lay a few sheets of newspaper on a flat surface in a cool, dark, well-ventilated shed or basement.
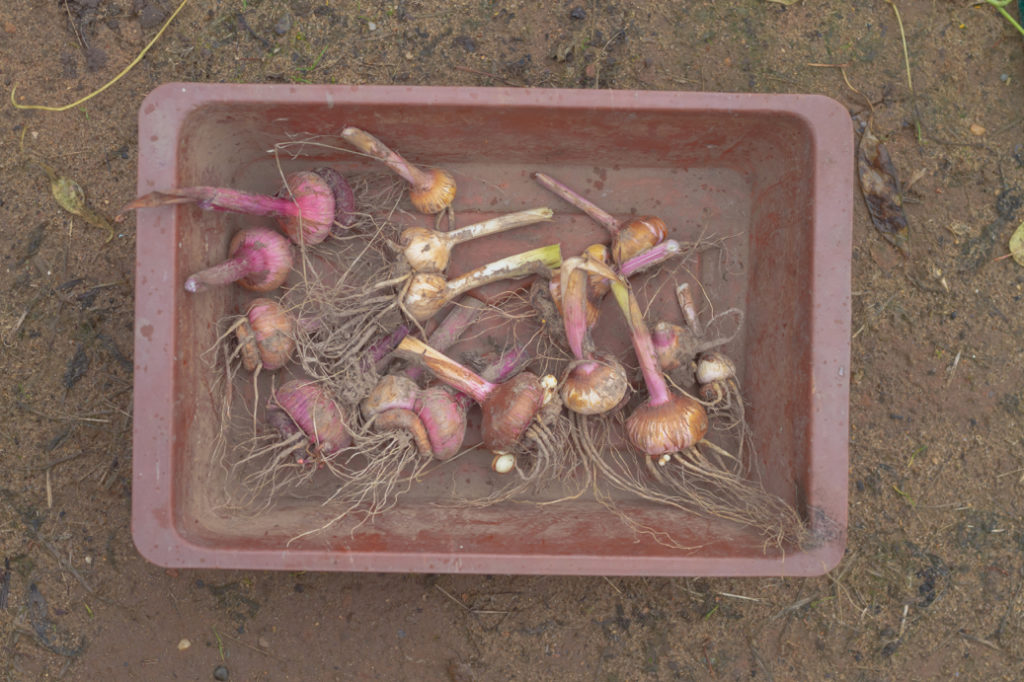
Put the corms on the newspapers to dry out and cure, but be aware that the corms should not be touching one another.
Leave the corms for 20-25 days.
3) Detach And Separate
You will notice that each ‘corm’ is actually two corms, one on top of the other.
The lower one, which will be wrinkled, is the mother corm and the one on top of it is the daughter corm.
In addition to this, there may also be 2-3 very small corms, called cormels, attached to the base of the mother corm.

Detach these stuck corms by carefully breaking them off from one another.
They should come apart using only gentle hand-and-finger pressure.
The daughter corm is the one you should plant the following spring while the wrinkly mother corm can go in the compost bin.
As for the cormels, they too should be planted the following spring but it is only in the third year, typically, that they will produce flowers.
4) Store
Sprinkle a garden fungicide powder, such as Sulphur powder, on all the corms to protect them from pest attacks over the winter.
Put the corms very loosely in a mesh bag or a loose-knit cotton bag.
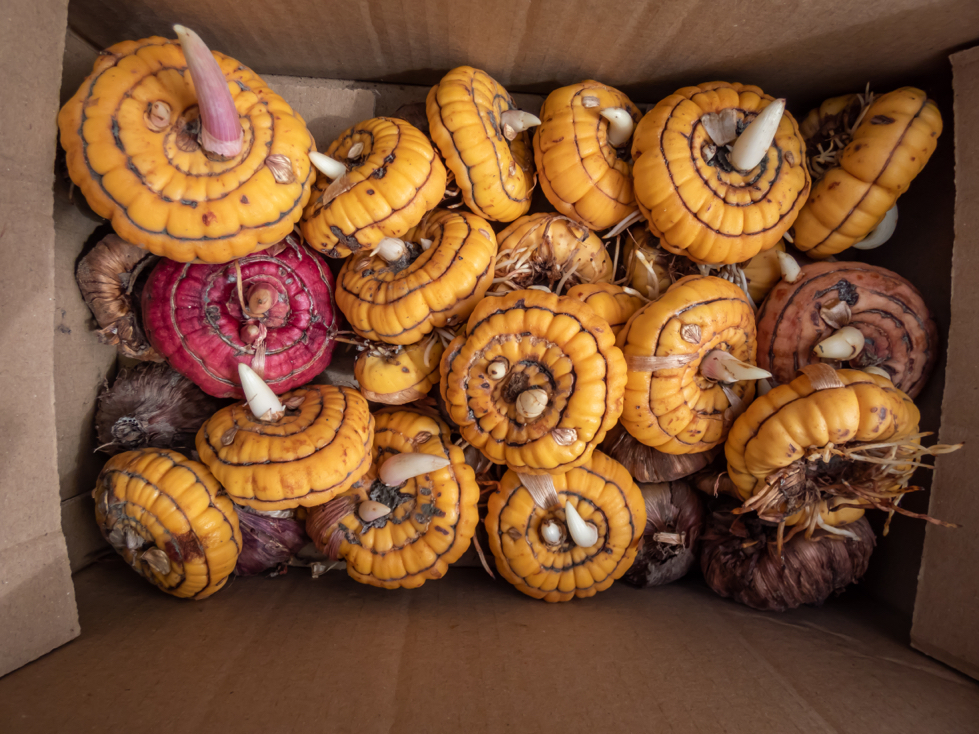
Store in a well-ventilated, cool and dark place with a temperature between 6-10°C.
It would be a good idea to inspect the corms a couple of times while they are in storage.
If you find that any have gone soft or have started to rot, throw them away.

