Gladiolus From Seed: The Plant Will Need Years To Develop Its Corm Before Flowering


Reviewed By COLIN SKELLY

Colin is a Horticulturist and Horticultural Consultant with experience in a range of practical and managerial roles across heritage, commercial and public horticulture. He holds the Royal Horticultural Society’s Master of Horticulture award and has a particular interest in horticultural ecology and naturalistic planting for habitat and climate resilience.
IN THIS GUIDE
Sought-after gladioli cultivars are almost always grown from corms since many named cultivars will not usually grow true from seed.
Moreover, if you grow this plant from seed, you will not see flowers for anything from 2-5 years as the plant will develop its corm first.
However, if you have collected or come by some gladioli seeds and want to give it a go, it is possible!
“Gladiolus species grown from seed are a good option, particularly if you want to grow large numbers,” Horticultural Consultant Colin Skelly explains.
“You could try harvesting seed from a cultivar and see what offspring arise from them, as long as you don’t mind waiting at least a couple of years until flowering!”

You can grow gladiolus from seed by following these steps:
- Choose the right container and growing medium to grow your gladioli.
- Sow the seeds into the container, making use of a seed starter mix.
- Water and wait for germination, which will typically take place within 2-4 weeks.
- Harden off the seedlings by placing them outdoors for short periods of the day.
- Grow the young plants outdoors, being patient as the plant grows its corm.
- Lift up the corms when ready, overwintering indoors and planting out the following spring.
This process is explained in more depth below:
| Difficulty | Hard |
| Equipment Required | Seeds, containers, seed starter mix, trowel, cling film (optional) |
| When To Sow | April-May |
| When To Plant Out | June |
1) Choose A Container & Compost
Use a wide bowl or pot for starting gladiolus seeds.
It does not need to be deep and a depth of only about 15cm will do.
The chosen container should have several drainage holes.
If you use a bowl or pot instead of a seed tray you can eliminate the step of potting on the seedlings and disturbing them when they should best be directing their energies only to developing corms.
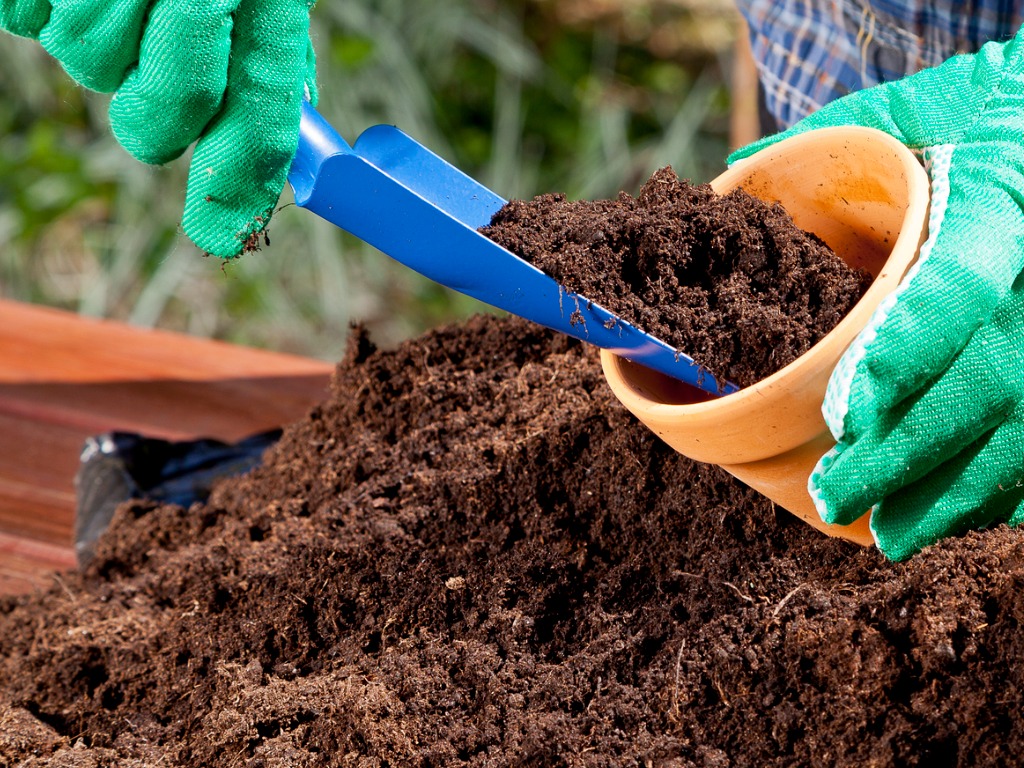
Gladiolus seedlings require well-draining and fast-draining media.
Use a seed starter mix that has excellent drainage or make your own medium.
Dampen it thoroughly before the next step.
2) Sow The Seeds
Fill the bowl or pot with the seed starter mix.
Place the seeds on the surface of the mix and cover them with a fine layer of the same mix.

They should be spaced about 7-8cm apart. Water the seeds and gently pat down the soil.
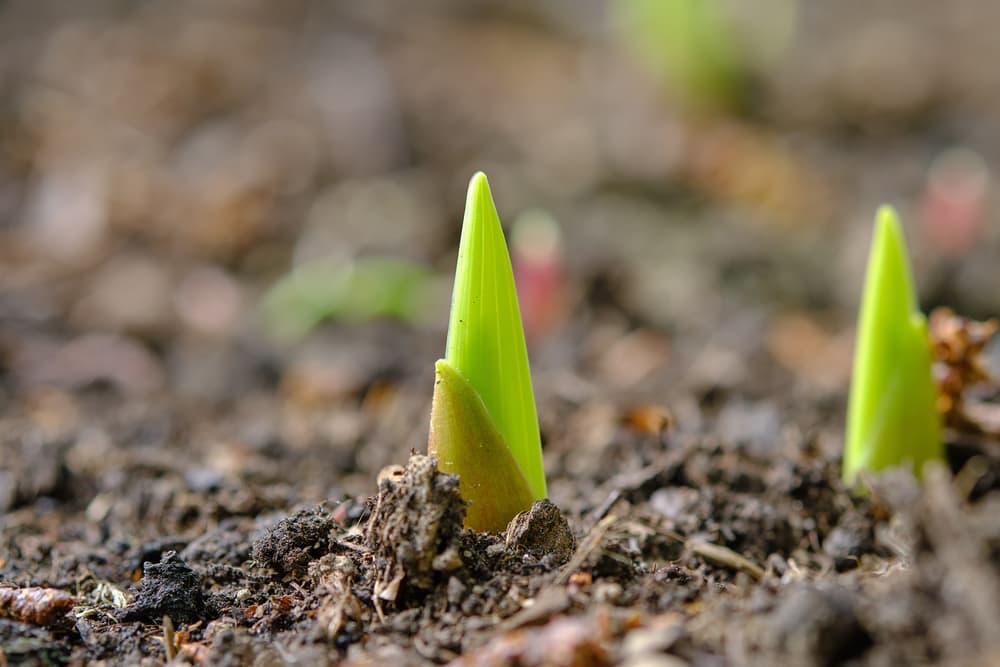
3) Water & Germinate
Loosely cover the bowl or pot with a clear, thin plastic sheet (such as cling film) to conserve humidity, and place it on a sunny windowsill.
If you have started the seeds in spring, the window should be kept closed at all times unless it is unseasonably warm.
Water in moderation daily so that the soil is damp throughout.
The seeds should germinate in about 3 weeks, but germination can take anything from 15-30 days.
4) Harden Off
After the seedlings sprout, remove the plastic sheet and continue watering as before.
After the seedlings are about a fortnight old, start to harden them.
Put the pot or bowl outdoors in the late morning for one hour initially.
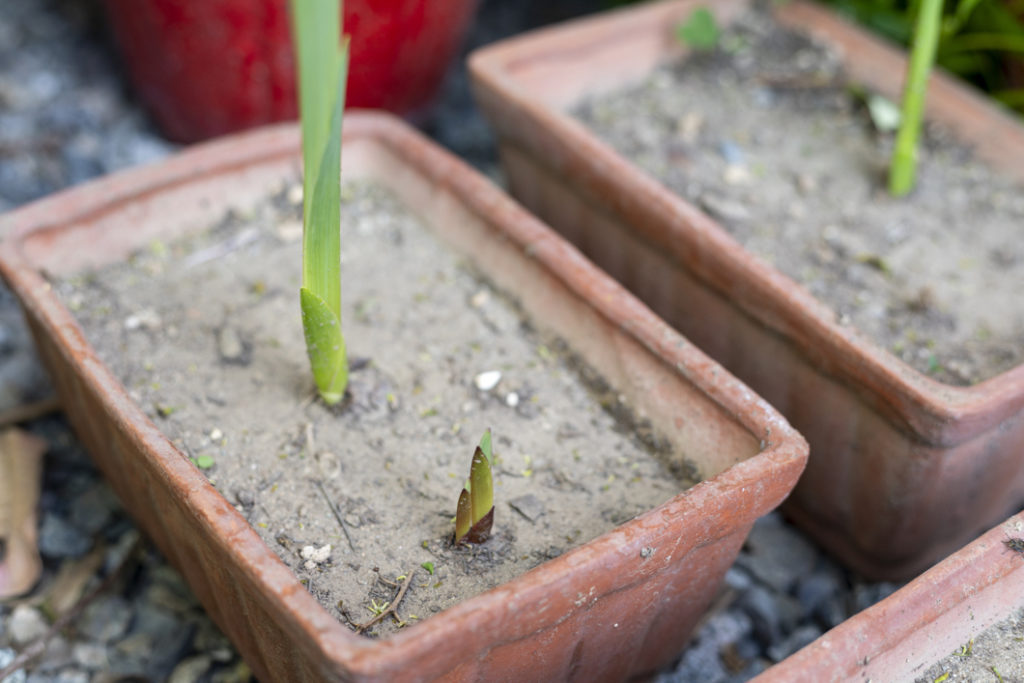
Increase the duration by an hour every day, and also put out the pot or bowl a little earlier in the morning.
The pot or bowl should be placed in a sheltered spot and protected from cold or stiff winds.
Also, if the sunlight is too strong it may scorch the young plants, so make sure to keep them under dappled sunlight.
5) Grow The Young Plants Outdoors
After about 10 days you can keep the bowl or pot outdoors in a sheltered spot in full sun.
If at any point you see the young plant somehow getting shorter, do not worry.
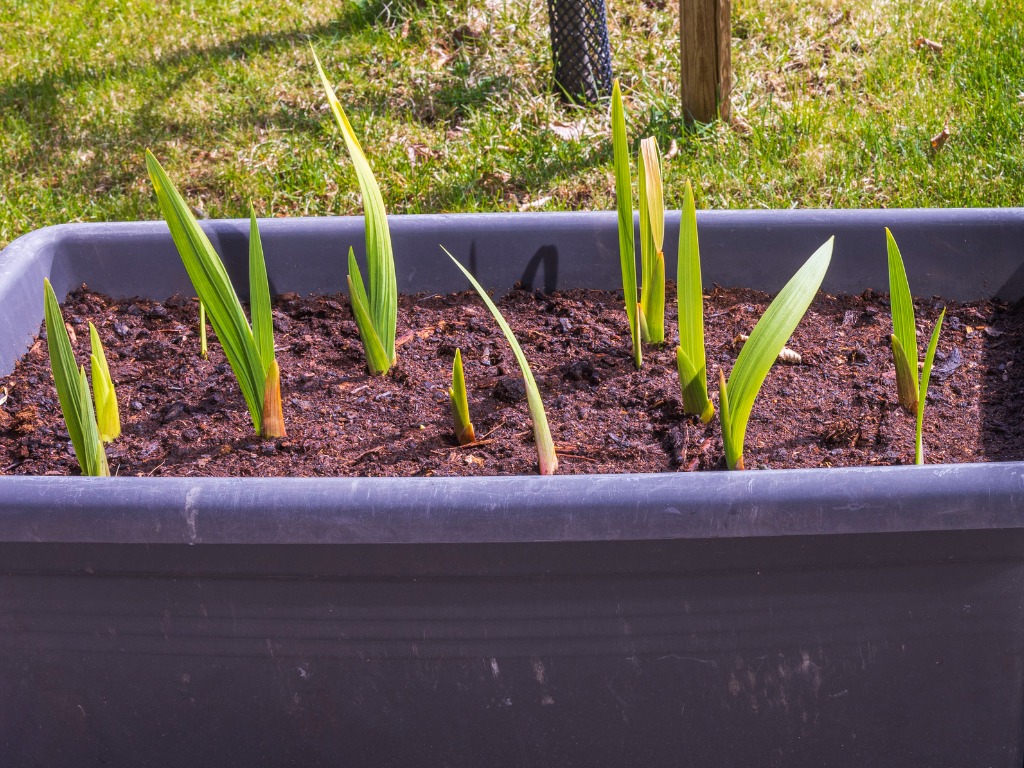
This sometimes occurs as the young plant develops its corm.
Be sure to pull out any weeds on a regular basis and thin the seedlings if and when necessary.
6) Lift Up The Corms
In autumn, 1-2 weeks before the first expected frost, stop watering the plants.
A couple of days later, loosen the dry soil from around each plant, move it away so as to free the plant, and gently lift out each of the little plants with its tiny corm.

These first-year corms will vary in size from about that of a pea to that of a large marble.
The main stems should be cut 3-4cm from where they are attached to the corms.
The corms should be cured and then overwintered indoors, and then planted the following spring, when you can plant them in pots, planters, or open ground.