This Is How To Make A Homemade Hanging Basket As A DIY Low-Cost Option


Reviewed By ROY NICOL

Roy is a Professional Gardener and Horticultural Consultant, specialising in large garden year-round maintenance and garden development. He is an RHS Master of Horticulture and uses his research in the application of no-dig methods in ornamental garden settings. Roy has been a Professional Gardener for more than six years and is a member of the Chartered Institute of Horticulture, Professional Gardener's Guild and Association of Professional Landscapers (Professional Gardener).
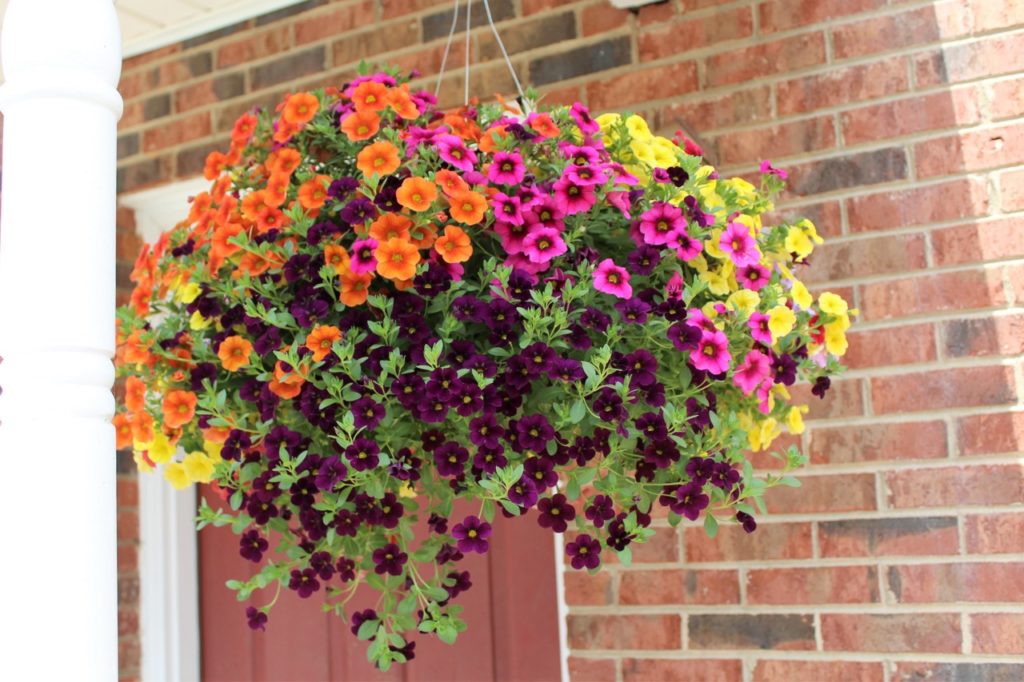
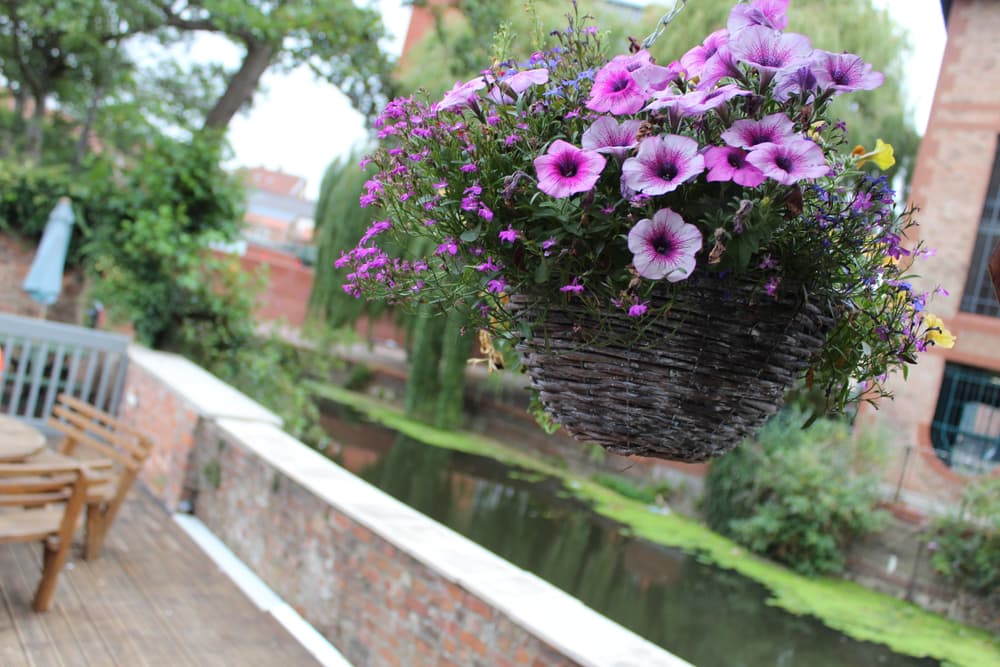
A homemade hanging basket can brighten up porches, walls and other outdoor areas with a touch of unique charm.
There are many reasons why hanging baskets are hugely popular across the UK and beyond.
For starters, they’re a quick and easy way to add colour and vibrancy at eye level, transforming porches, balconies and exterior walls with their stunning displays.
What’s more, their self-contained nature makes them an ideal solution for when space is at a premium, since they don’t even require their own plot of land.
This aspect of hanging baskets also means they can be moved around at will to brighten up drab areas of the garden or to reposition them so that they receive more sun exposure.
Finally, their elevated position keeps them safe from the prying paws and the attention of cats, rodents, insects and other unwanted pests.
It’s no surprise, then, that homeowners up and down the country have a hanging basket or two outside their property.
While ready-made baskets can be obtained for a reasonable price from garden centres everywhere, there are a handful of advantages to fashioning your own.
Firstly, doing so gives you the freedom to tailor the design of the basket (and the floral arrangement inside it) to your exact preferences.
It also gives you greater flexibility in terms of its size, structure and positioning and, best of all, the sense of achievement and connection with something you’ve created with your own two hands is not to be beaten.
1) Preparing The Basket
Before you do anything else, it’s necessary to select the type of frame you want to form the basis of your basket.
As a general rule, it’s a good idea to choose the largest one you can find and which will be supported by the structure to which you are going to attach it to, since bigger dimensions accommodate more flowers and retain more water.
Next, you’ll want to consider materials.

There are a variety of options available here, including wood, vine, wicker, willow, ceramic, terracotta, plastic and wire, among others.
Many people prefer a natural aesthetic and so opt for one of the first 4 options, but the choice is entirely yours.
Whichever material you do go for, just be sure that it will be strong enough to support all the soil, flowers and moisture within it when full.
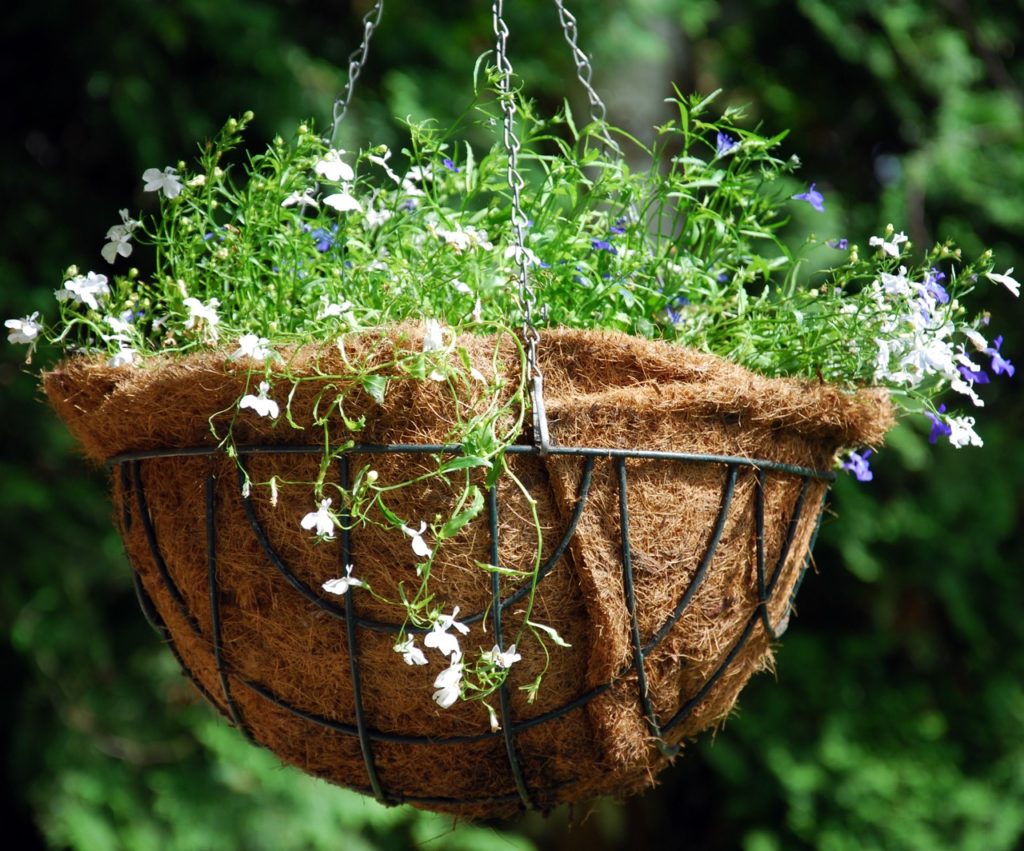
2) Choosing The Liner
The next step is deciding which type of liner you’d like to use to prevent the soil (and the water) from spilling out of it.
Again, this will come down to personal preference, with many people preferring to go au naturale once more.
Sphagnum moss, hessian fabric and coir (or coconut fibre) are hugely popular choices since they are made from organic materials and don’t look out of place.

Plastic and pressed paperboard are less porous than the options mentioned above, meaning they’re more effective at retaining moisture.
You will, however, need to drill drainage holes before putting them into position.
Meanwhile, some gardeners swear by the qualities of using an old woolly jumper.
Not only does this repurpose an item that would otherwise be discarded, but it’s also stretchy, supportive and permeable, all at the same time.
Try not to use a material that is going to leave your plants sat in waterlogged conditions that can cause issues such as root rot.
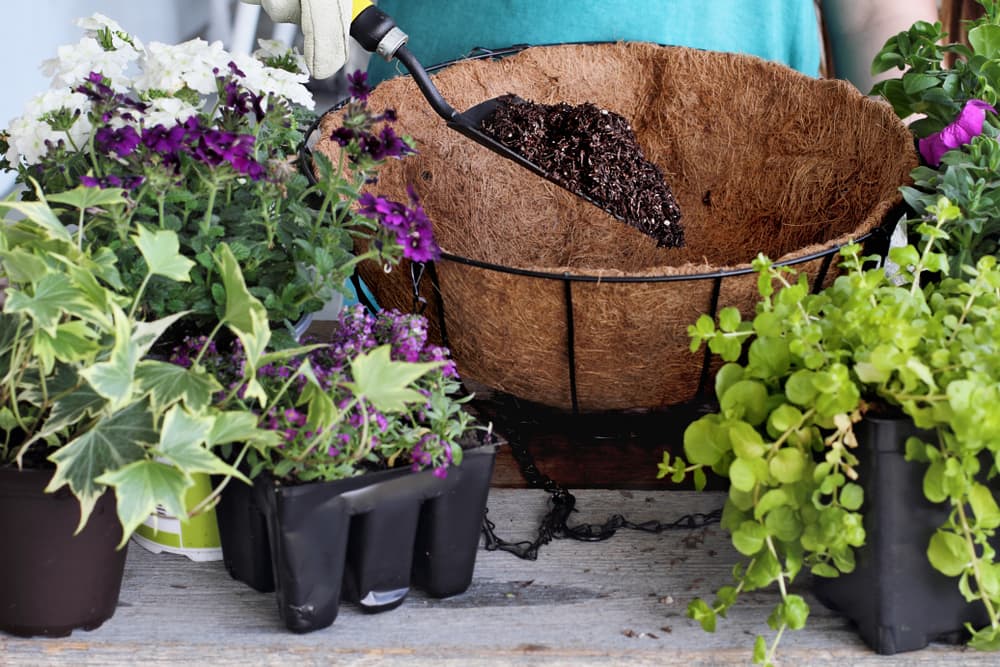
3) Adding The Soil
When it comes to choosing the soil, there are options available that have been specifically engineered for hanging baskets.
This targeted compost already contains plant food and water-retaining crystals in its composition, making things easier when it comes to maintaining the basket going forward.
However, it’s not necessary to get hold of such a niche product if you find it too difficult or expensive to obtain.
Instead, multi-purpose compost is a perfectly acceptable alternative.
Again, it’s possible to buy both food and crystals separately and mix them into the soil yourself, but it’s not a deal-breaker.
“It’s also worth considering setting up a drip irrigation system in conjunction with a timer so the daily task of watering is removed,” shares Master Horticulturist Roy Nicol.
“As well as providing cover for holidays, automated watering systems are inexpensive and relatively easy to set up.”

Omitting them simply means you’ll have to water and feed the plants inside on a more regular basis.
Fill the basket with your chosen soil up until the first set of holes and tamp it down.
4) Place Your Plants
Now comes the fun part – picking your floral selection!
Some people prefer to keep things uniform with all plants of the same genus, while others prefer a more contrasting display.
If you’re in the latter camp, one useful mantra to keep in mind is “thrill, fill and spill”.
This is a popular gardening method for use with hanging baskets.
Thrill with architecturally interesting plants, fill with taller specimens that look good and command attention, then spill over the edges of the basket with trailing species.
Whichever aesthetic you plan to aim for, you should keep in mind the position of your basket.
If it’s in full sun, opt for geraniums, petunias and pansies, but if it’s a shadier part of the garden, think hostas, busy Lizzies and begonias.
You should also consider the combination of plants you pick, since some are thirstier than others.
For example, geraniums don’t need as much watering as fuchsias, so it’s advisable to keep them separate.
See our list of plants for hanging baskets for more inspiration.
“If planting a summer basket in the spring, garden centres generally sell plants before the risk of frost has passed,” explains Roy.
“So, remember to keep plants protected until the middle or end of May, depending on your location in the UK, when frost risk has passed.”
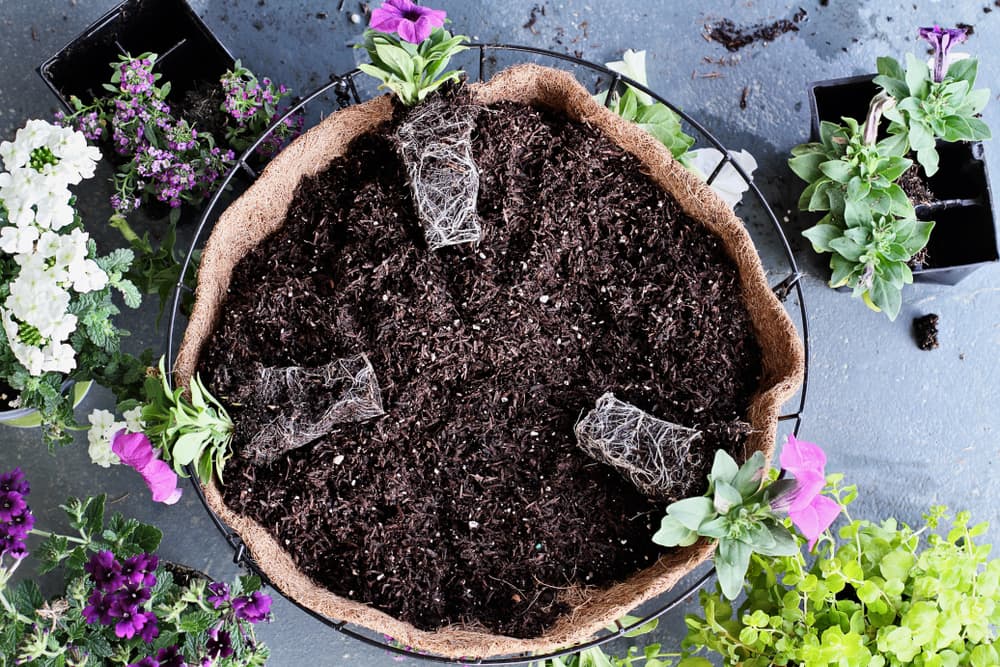
5) The Arrangement
Just like the seating plan at a wedding, it’s absolutely crucial you get your arrangement spot on before you put your plants into the soil, otherwise, you could end up with a sparse, lop-sided or clashing display.
One tip is to pop the plants into place while still in their pots, giving you the opportunity to view how they’ll appear once the basket is complete.
It’s also a good idea to undertake this stage of the process with the basket on an upturned bucket since you can rotate the bucket and view the basket from all angles without damaging the plants.
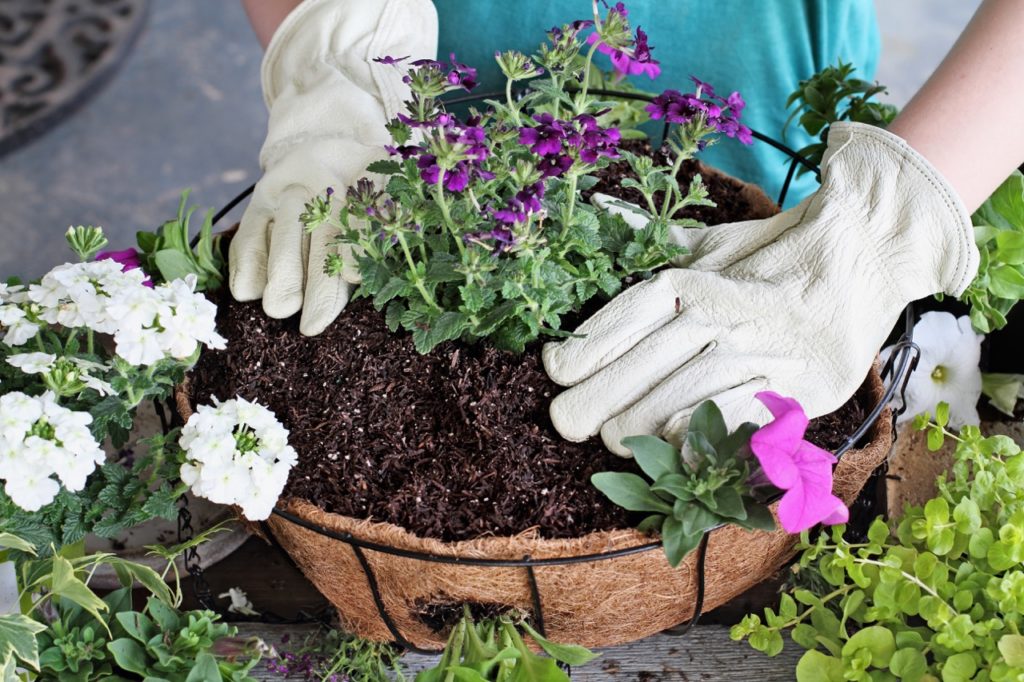
It should go without saying that taller and more eye-catching plants should be situated in the middle of the basket, while trailers and creepers can provide texture, colour and levels of intrigue at the perimeter.
Once you’ve settled upon your chosen arrangement, ease the plants out of their pots, then use the latter to make a hole in the soil.
This way, the plants will slide right into position, and then it’s simply a case of filling in the gaps with more compost, leaving at least a half-inch gap below the rim of the basket to prevent water overflow.
6) Plant Care & Maintenance
Once planted, you’ll want to give the entire basket a good drink to make sure the soil is nice and moist.
Thereafter, it’s a good idea to water it at least once a day for the first few weeks to ensure the plants take root, perhaps even more often in the height of summer.
Use a watering can rose to sprinkle the soil rather than soak it, since the latter is more likely to result in the water running right through and leaking out the bottom without offering good coverage of the whole basket.
If you do find the basket has become totally dried out (with a crusty layer of soil atop it), don’t be tempted to resort to the hose.
Instead, take down your basket and soak it in a basin of water to really allow the soil to become saturated.
This course of action is more likely to bring back plants who appear done for.
If you aren’t using soil which already contains food, fertilise your baskets regularly according to the packet instructions.
Deadhead them frequently to encourage repeat blossoms and bring them into a sheltered space for the winter.