How To Stake A Leaning Or Newly-Planted Tree With Tips From Peter Lickorish


Reviewed By PETER LICKORISH

Peter is a Horticulture Lecturer and self-employed Horticulturist, with a passion for diverse areas of the industry - from garden design to the science behind plant growth and propagation. He has completed the Royal Horticultural Society’s Master of Horticulture (MHort) Award and lectures on RHS courses at Bedford College.
There are lots of reasons why you should stake a tree.
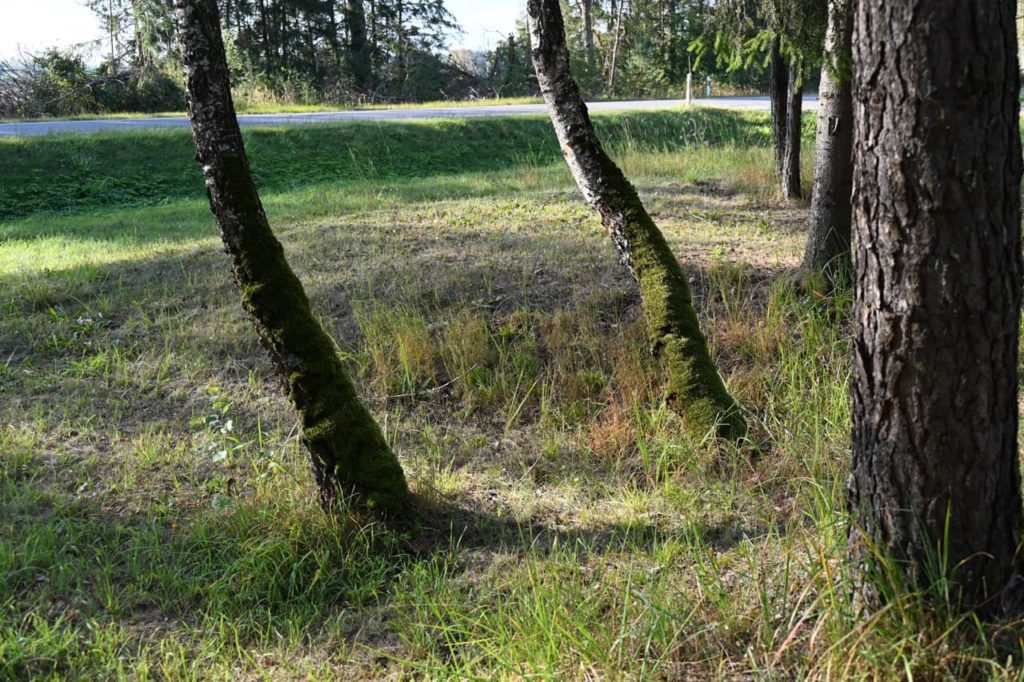
If a young tree is developing a lean, it is wise to stake it after straightening it as much as possible.
If a young tree is sited in a windy, blustery spot and is swaying a little too much, the young roots could be torn.
Alternatively, if a sapling is planted in an exposed location, you may stake it just in case it needs additional support.
If a young tree is sited on a slope, is rooted in loose soil or in a growing medium that is often wet, there is a good chance that it will develop a lean and should be preemptively staked.
The climate should also be considered, as heavy rains or snow can cause young trees to grow awry.
Any of these risk factors are good reasons to stake a tree, so we explain how to below.
| Difficulty | Hard |
| Equipment Required | Gloves, stakes, ties, a mallet, rope, hosepipe, tarp or burlap, guy lines |
| When To Stake | Spring (or when necessary) |
The Do’s And Don’ts
There is no single correct way to stake a tree, as a few different techniques can be employed and the equipment used often also differs.

However, there are a few things you should definitely try to avoid:
- Do not put synthetic material, cords or ropes in direct contact with the trunk for an extended length of time.
- Do not put hard or abrasive material, synthetic or natural, in direct contact with the trunk for an extended length of time.
- Do not stake the tree so as to make it totally rigid.
- Do not drive stakes into the ground close to the tree without evaluating or knowing the extent of the root system.
- Do not neglect to check for slippage of the padding or over-tightness of the ties due to growth.
And, after the ‘Don’ts’ a ‘Do’:
- Do make sure you check thoroughly for underground services first. This may involve consulting relevant authorities and plans of properties.1Tracing and Avoiding Underground Services, Domestic Properties. (n.d.). JW Clark Ltd. Retrieved December 4, 2023, from https://www.jwclarkltd.co.uk/how-to-guides/tracing-and-avoiding-underground-services-domestic-properties/
Different techniques naturally involve variables.
These variables include the number and length of the stakes, whether you use commercial ties or straps, the positions of the stakes and the placements of the ties.
Different factors may suggest you opt for different techniques or make suitable modifications.
Finally, a word about tree lean and wind direction is in order.

Do not try to draw an inference as to the direction of the wind from the direction of the tree’s lean.
Trees do not always develop a lean in the direction of strong or prevailing winds.
Underneath we outline one method that should stand you in good stead for staking an already leaning tree.
Staking A Tree That Is Already Leaning
If the tree you want to stake has a spreading, well-developed root system or if it is growing in hard or stony ground, it will be very difficult to straighten it to any appreciable degree, if at all.
On the other hand, if a tree has a big canopy, a poorly-developed root system and is growing in sandy ground, any attempt to straighten it could partially uproot it or even topple it.
If the two deterrent factors outlined above do not apply, you can attempt to straighten the tree.
Attempts should only be made on relatively small or young trees.
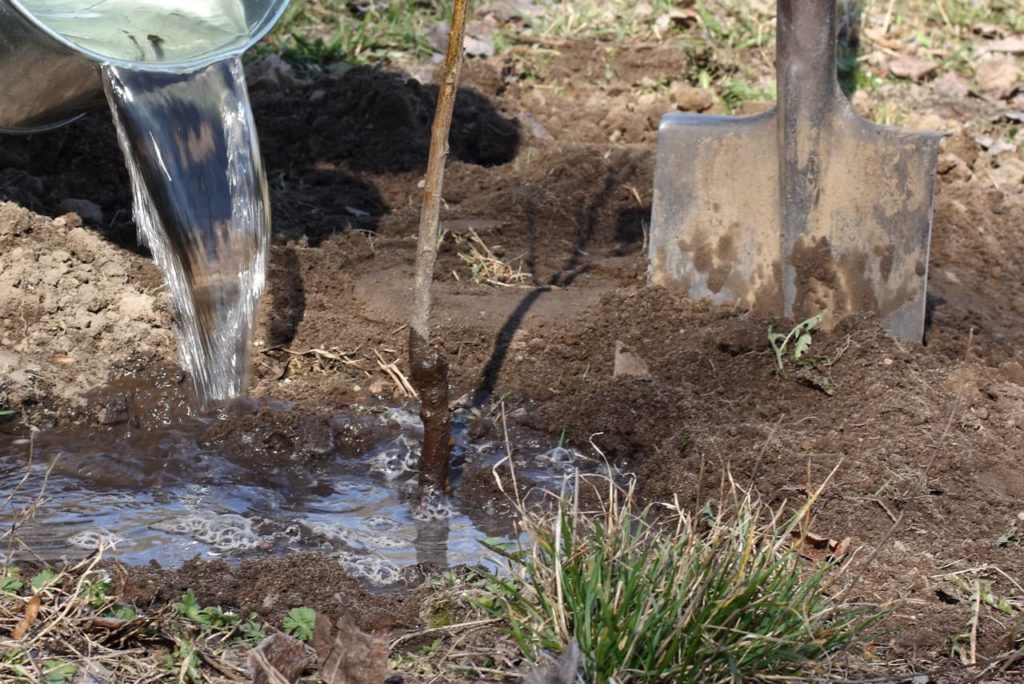
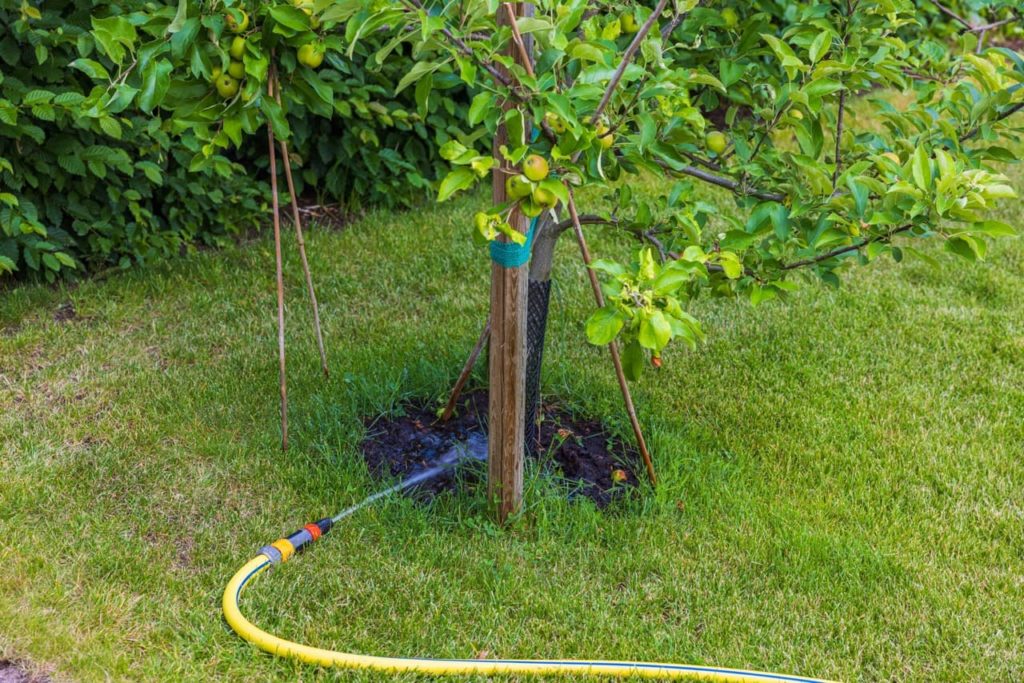
1) Water The Ground Well
If the tree is rooted in normal ground, then the evening before you intend to straighten the tree and again early the next morning, soak the ground.
Loosening the soil in this way will ease the subsoil movement of the tree and will also reduce the likelihood of the roots tearing.
On the other hand, if the tree is rooted in loose earth or damp ground, this step should be skipped.
The idea is that the primary roots should not be totally locked underground.
2) Secure The Tree
If you have any doubts as to the stability of the tree, play it safe and secure the tree with two guy lines that are anchored to a strong architectural artefact.
A pillar, beam or boundary could work or you could opt for a couple of army tent pegs driven into the ground.
These guy lines should be at right angles to the direction the tree is leaning in.
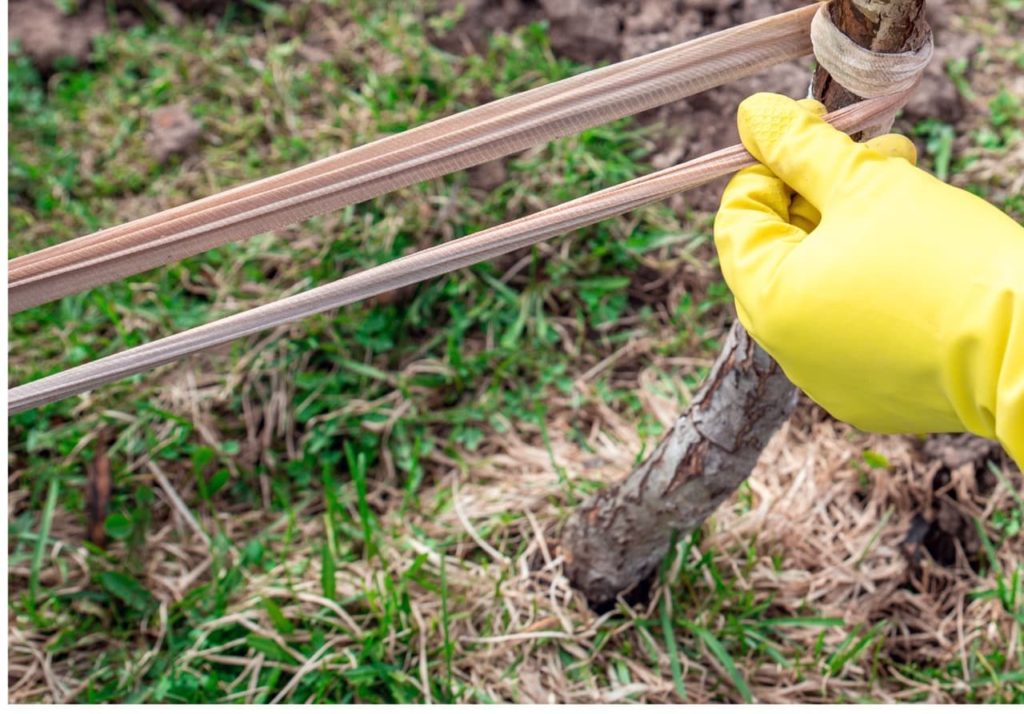
3) Pull & Push On The Trunk
Pull and push the tree, exerting firm and steady pressure, without any sudden jerking, to straighten it.
While the tree can be pushed with gloved hands, it will be easier to pull it with a rope, though the rope should not go directly around the trunk.
If you can get hold of a small canvas tarp, fold it and run ropes through the reinforced eyes to make an excellent means by which to pull the tree.
Things will be easier if you use a winch, though you’ll need to anchor it first.
Pressure should not be exerted more than halfway up the incipient trunk as that will cause it to bow and possibly even break.
Pressure should be exerted at a point around one-third of the height of the tree’s trunk, even though that will require more effort than it will if pulling from points further up the tree.
4) Know When To Stop
No matter how you proceed, keep your ears open for any disturbing tearing or cracking sounds which, should they occur, are alarm signals that should prompt you to go easy or stop altogether.
If the tree has only a slight lean, you may well be able to make it completely straight, but this should not be your do-or-die aim.
If the tree has a significant lean, reducing it should be your realistic aim.
Stop when you achieve this.
Proceed to the following section, which has one conditional instruction related to a tree that is already leaning.
Staking A Newly-Planted Tree
1) Procure The Stakes & Mallet
Buy stakes and a mallet if you don’t have one.
A tent mallet will be fine, but don’t use one that is made for games!
Buy hardwood or metal stakes.

For length, aim for between half of the height of the tree, plus about 50cm to be driven into the ground. They should be a minimum of 5cm thick: ideally nearer double this thickness
I suggest that you file a shallow groove around each stake at the level where the ties or ropes will go to guard against slippage.
If you do so, position them so that they are at about the halfway point of the part of the stake that will project above the ground.
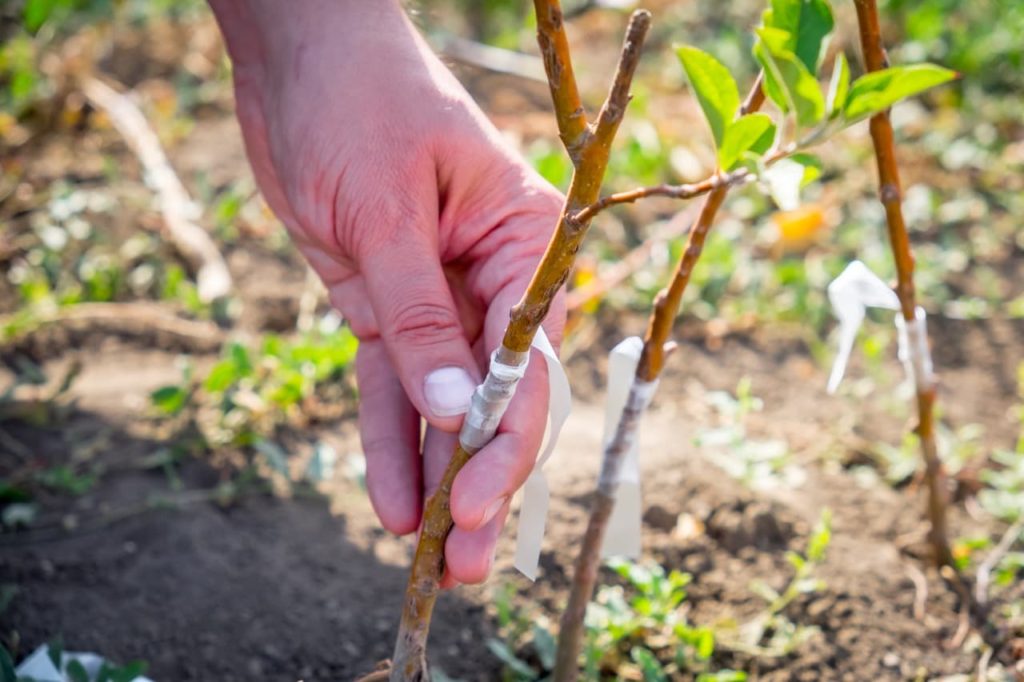
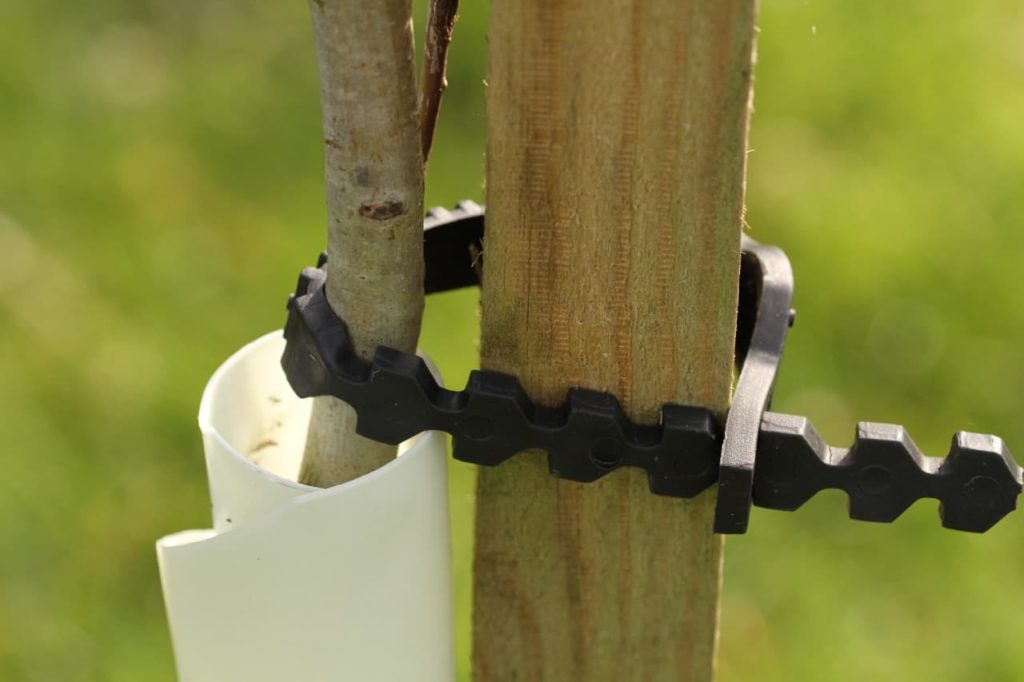
2) Choose Your Ties
Though you can make your own tree ties with canvas, burlap, hosepipe, inner tubes, strapping, rope, backpack strap buckles and such, I’d recommend that you use quality commercial tree ties.
Usually, tree ties are designed in the form of cinches that are meant to double back on themselves to form an ‘8’ shape.
They usually have a spacer to prevent tree-to-stake rubbing.
They also have built-in sprockets or buckles.
Commercial ties are used to fasten a sapling to a single vertically-driven stake at the time of planting.
However, they can very well be used with angularly-driven stakes meant to support or straighten a newly-planted tree.
We suggest that you buy the longest length available unless you intend to stake and tie a sapling at the time of planting.
If you want to stake a sapling, short ties can be used and the stake can be driven in quite close to the sapling, which can be planted after the stake is driven in.
If commercial ties of a sufficiently long length are not available for your needs or if you prefer to make your own you can do so.

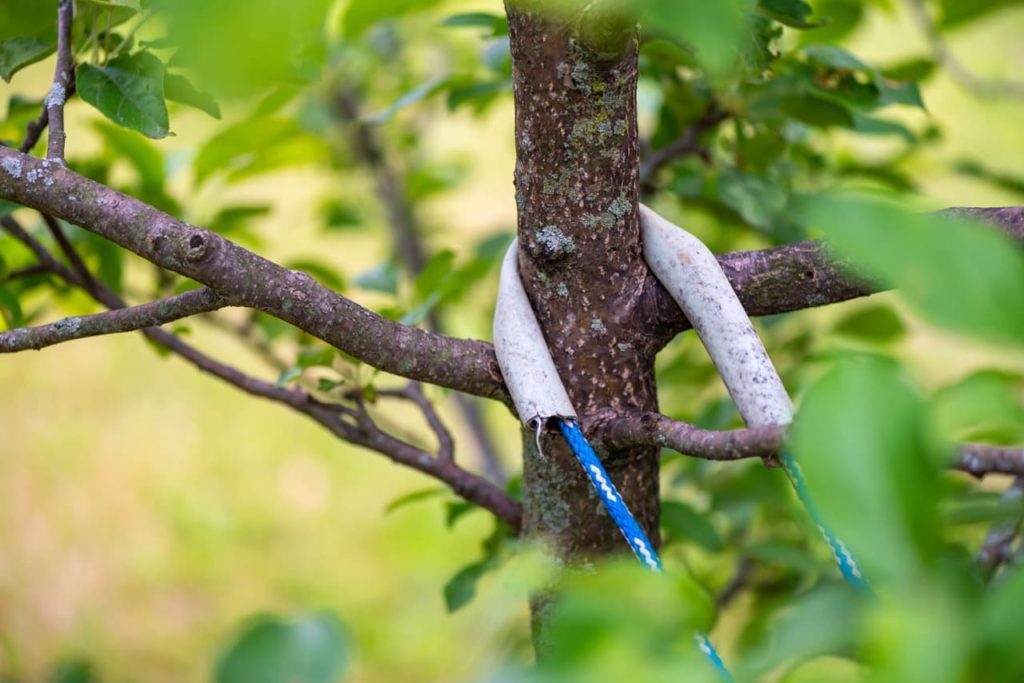
Fasten 2-3 layered straps of thick canvas, burlap or horti-fleece to the centre of a length of rope, then pass the rope through a piece of rubber hosepipe.
Alternatively, you can thread the rope through the reinforced eyes of a small tarp that has been folded appropriately.
Only that part of the rope that will go around the trunk needs to be padded with canvas.
Either way, tree ties should be broad, adjustable and flexible, and the part that touches the trunk should be non-abrasive.
3) Determine The Root Spread
As a general rule, the nearer the stakes are to the tree, the better.
Positioning them close to the tree is not always possible, especially as they need to be driven into the ground at an inward angle, which is right where the roots are.
For staking a tree at the time of planting, insert the stake before back-filling soil around the tree, so that you can see the root system.
If you have recently planted the tree you want to stake, you should have a very good idea as to where its root system lies.
Otherwise, evaluate the extent of the root system before choosing the distance from the trunk at which to drive in stakes.

You could scrape away the soil, starting from a little beyond the canopy’s drip line and working your way inward, digging deeper as necessary.
If you opt for this method, once you have completed your evaluation, you will need to backfill and pack in the soil.
An easier way to determine the staking positions is to use the canopy’s drip line as a guide.
For a young tree, a good distance at which to drive in the stakes is just a little outside the drip line.
Even if there are any roots at this distance, they will be deeper underground and any damage done to 1-2 outer tertiary feeder roots will have no or negligible impact.
For an already leaning tree, position one stake on the side of the lean and the other on the opposite side, regardless of other factors.
For a newly-planted tree, fasten one stake to the windward side if there is one, and the other one on the opposite side.
With the correct angle and direction, the stake should still pass within 15cm of the trunk, at a point a third of the way up the trunk.
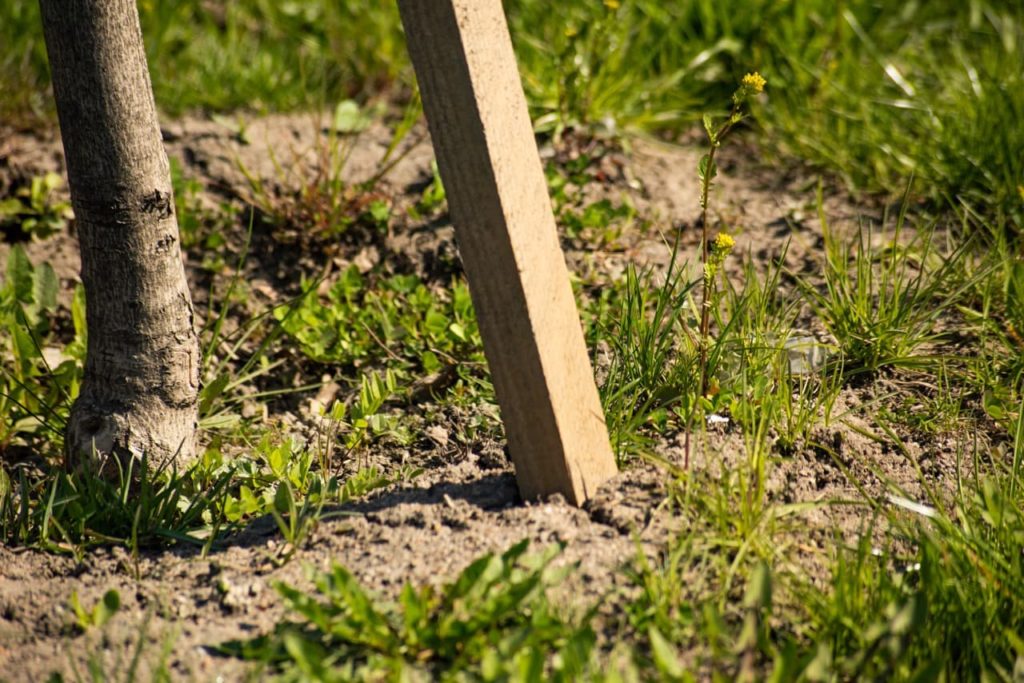
4) Drive The Stake Into The Ground
The top of the stake should face into the prevailing wind. For a site without obvious shelter, and in a flat landscape, this will usually mean the top of the stake faces the south-west, in the UK.
If there are other obvious wind-funnelling effects, such as between two buildings, place the stake on the upwind side, so the stake reduces the amount the tree can flex downwind.
For an already leaning tree, place the stake on the side away from the lean.
It will need to pass the trunk closely enough to be secured, which will usually be within 15cm – or closer for some ties. However, it must not touch the tree directly.
Drive a stake inward so that it goes into the ground at a 45° angle.
Stakes should be driven 50-70cm deep, so, if you use a 2m stake, you will have 1.3-1.5m in length left above ground.
Make sure that the stake is set very firmly.
It would be a good idea to fill in any gaps and tightly pack in the soil around each stake, tamping it in with a spade.
5) Attach The Tie(s)
If the tree is already leaning, tie the tie gently, so that only minimal pressure is exerted on the tree. This can be periodically tightened to straighten the tree, or the stake can be repositioned later.
However, ensure that it does not have any strong pulling action that appreciably bends or bows the trunk.
Whether or not the tree is leaning, the tie should be positioned around one-third of the way up the trunk. This should not be within 10cm of the top of the stake and ideally is nearer the middle of the stake.

If using a commercial-style tie, pull back the tie and loop it in through the insertion slot. There is usually a spacer that should go between the tree and the stake.
Tighten it to the desired degree with the buckle or by pulling it to the appropriate sprocket.
If you have made your own ties, secure the ropes to the stake at the grooves.
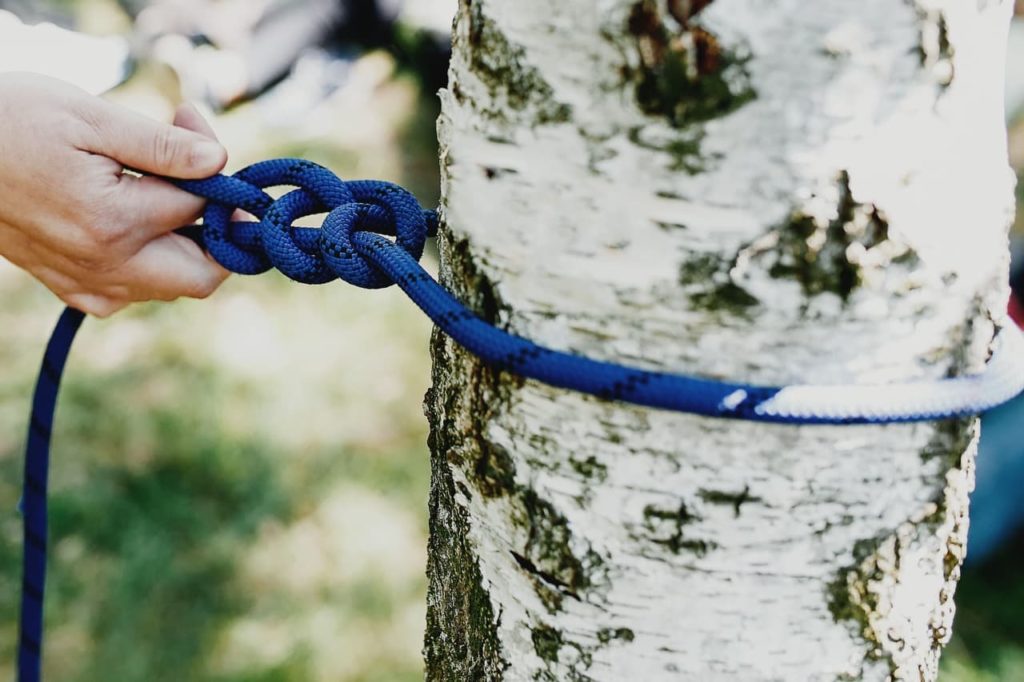
Be sure to use a reliable knot; a rolling hitch will serve the purpose well.2Rolling Hitch – How to tie a Rolling Hitch. (n.d.). NewKnots.com. Retrieved March 27, 2023, from https://www.netknots.com/rope_knots/rolling-hitch
Tie the knot around the stake and not the tree. Ideally, a figure-of-eight shape looping the two together will prevent any rubbing between the tree and the stake.
Using a figure-of-eight shape also means that a little slack can be included in the loop around the tree, allowing for growth.
Staking Aftercare
Water the tree after putting it through the stress of staking it.
Initially, for the first couple of months, check the tree very frequently for any ill effects that may have been caused by the staking.
Examine the bark where the ties contact it for any abrasion or wound and pay attention to the foliage for warning signs.
Thereafter, all you need to do is check the ties every 1-2 months for over-tightness and tension which will be an outcome of the growth of the tree and the increasing girth of the trunk.
Slightly loosen the ties as and when needed to maintain the same constant tightness and tension.
If straightening a leaning tree, gradually tighten the ties over the course of a year. Then, as the tree grows, they can be gradually loosened.
Stakes may be removed after a couple of years, but with regular inspection, can be left in place for longer on exposed sites.
“Staking is only part of the solution for dealing with a leaning tree and pruning is the other important jigsaw piece,” explains Master Horticulturist Peter Lickorish.
“Pruning is generally best carried out in the dormant season for deciduous plants, and in the summer on evergreens. Heavy branches that are pulling a tree in one direction can be pruned, removing up to a third of the growth.
“Sometimes trees will visibly spring back a little.
“Choose buds which point in the opposite direction to the lean and make cuts just above these, as this will usually encourage the tree to grow in a way that corrects the lean.”