Tiny Lobelia Seeds Are Best Sown In Trays – You Might Want To Mix Them With Sand

Elizabeth is a Permaculture Garden Designer, Sustainability Consultant and Professional Writer, working as an advocate for positive change. She graduated from the University of St. Andrews with an MA in English and Philosophy and obtained a Diploma in Applied Permaculture Design from the Permaculture Association.
Reviewed By DAN ORI

Dan has over 27 years’ under his belt caring for plants and gardens. Working as a Horticultural Instructor and Consultant, he draws on a diverse range of experience that includes working as a Head Gardener, Tree Surgeon, Garden Centre Trouble Shooter, and writer of academic papers. Dan has a Level 3 Diploma in Horticulture and is currently a candidate for the RHS’s most prestigious award – The Master of Horticulture.
IN THIS GUIDE
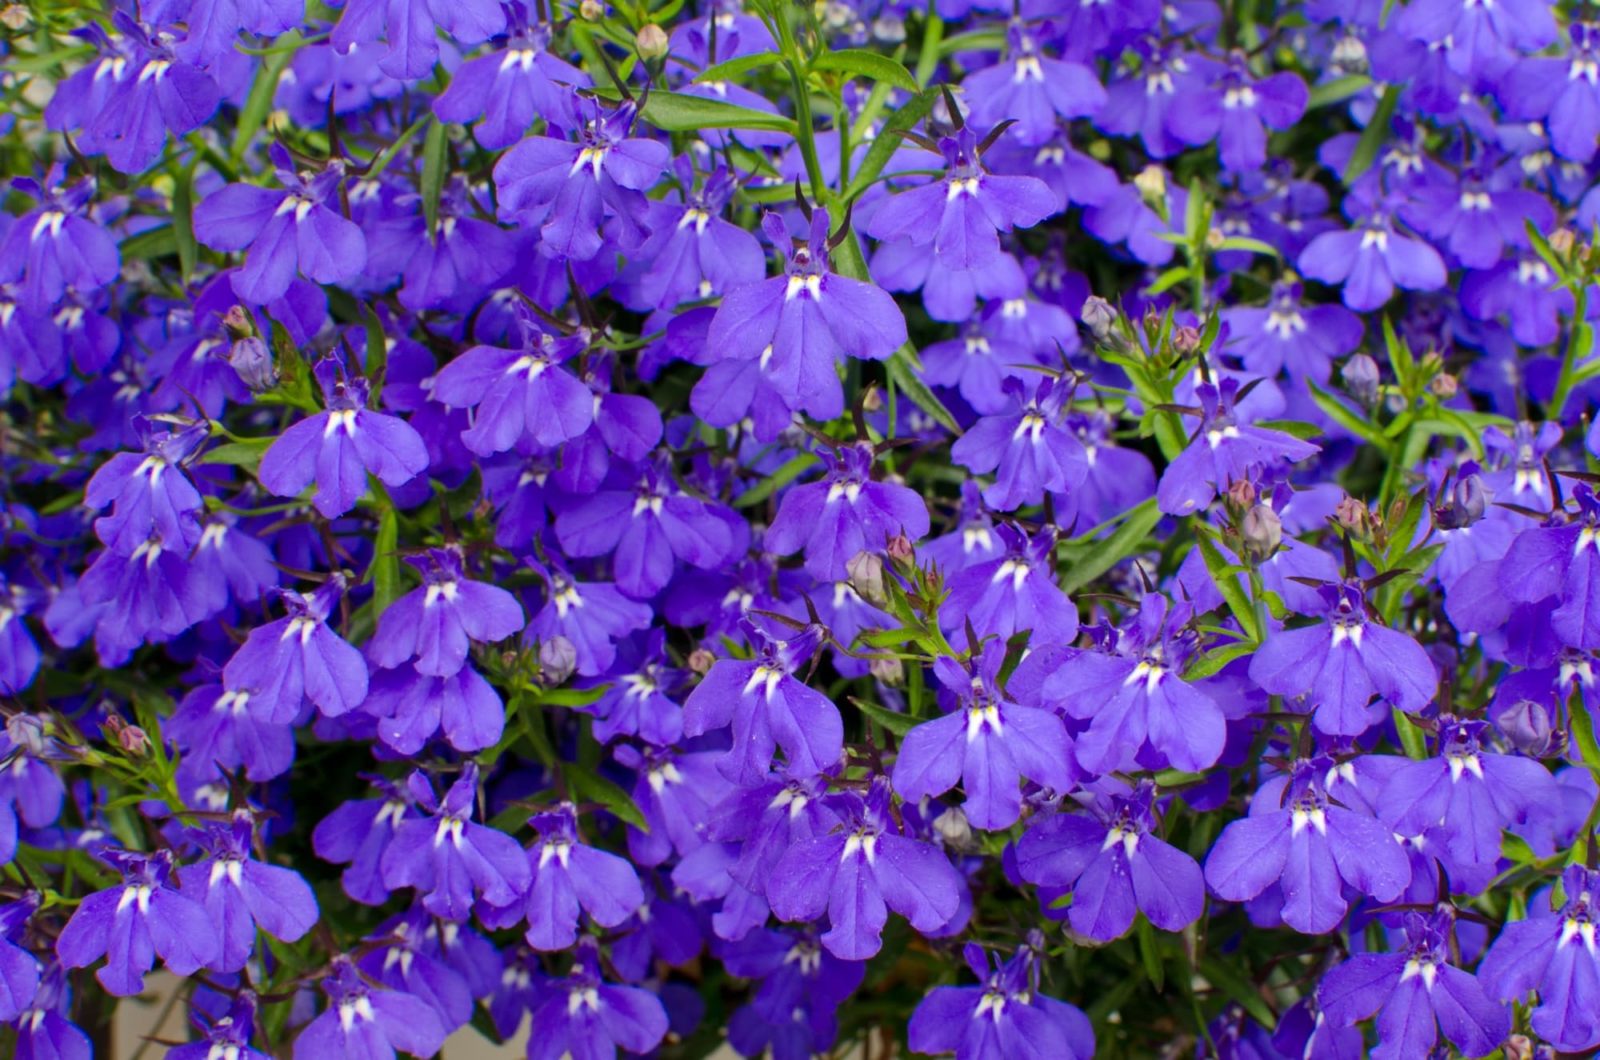
Lobelia can be annual or perennial, so there are a range of different types to choose from.
However, no matter which type you opt for, it is possible for you to grow these attractive flowering plants from seed.

To grow Lobelia from seed:
- Mix the tiny seeds with some sand to make the job of sowing them a little easier (this step is optional).
- Sow the seeds onto the surface of a seed tray, plug planter or into pots filled with seed-starting compost; cover lightly with compost.
- Place the trays or pots in a heated propagator or warm spot to germinate.
- After germination takes place prick out the seedlings and pot them on.
- Harden off the seedlings and plant out in late May.
I demonstrate each step below, having grown Lobelia ‘Crystal Palace’ – a half-hardy annual – using seeds from Thompson & Morgan.
| Difficulty | Medium |
| Equipment Required | Seeds, seed trays or pots, growing medium, propagator |
1) Mix The Tiny Seeds With Sand (Optional)
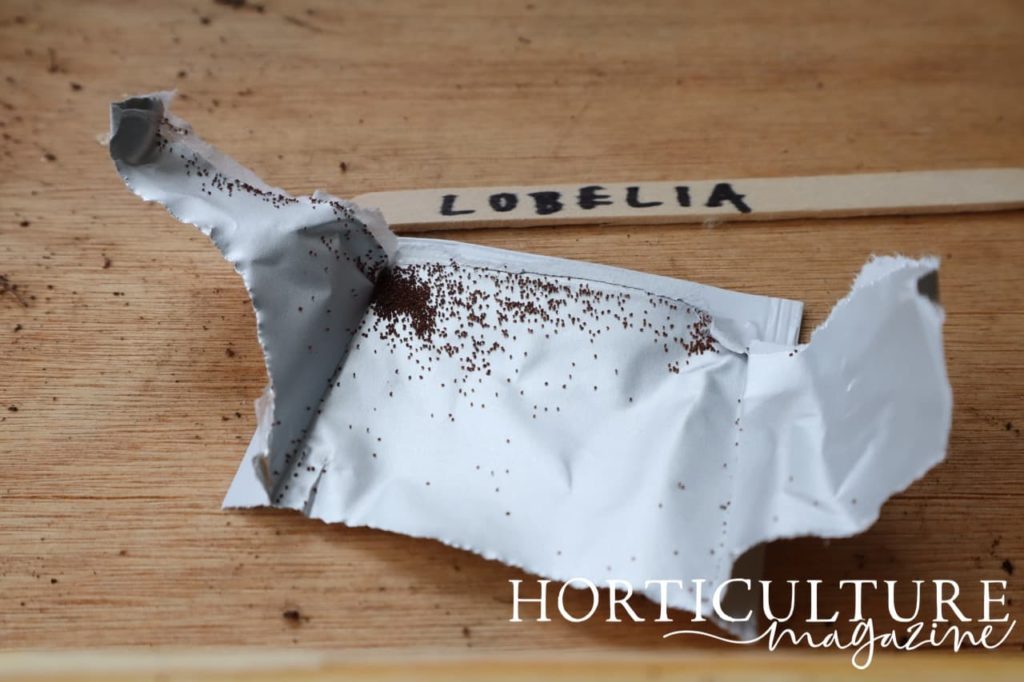
Lobelia seeds are extremely small so you may find them challenging to handle.
You can see from the image above just how small these seeds are.
I found that sowing individually is near-impossible and you will inevitably need to thin out your seedlings soon after germination.
To make sowing easier, you can consider mixing the seeds with some fine horticultural sand.
2) Sow Your Lobelia Seeds
Sow the seeds on the surface of a seed tray or into pots that have been filled with seed-starting potting mix or a suitable light and free-draining medium made at home.
“I suggest sowing into trays to give you the best chance of even seed distribution,” says Gardening Expert Dan Ori.
“When handling the seed, I recommend placing the seeds in the palm of one hand, then placing your other hand on top, slightly tilting your hands and rubbing them together moving them across the tray.
“It’s similar to how you would spread flour on a surface before making pastry and you can then thinly cover them with compost or vermiculite in the same way.”
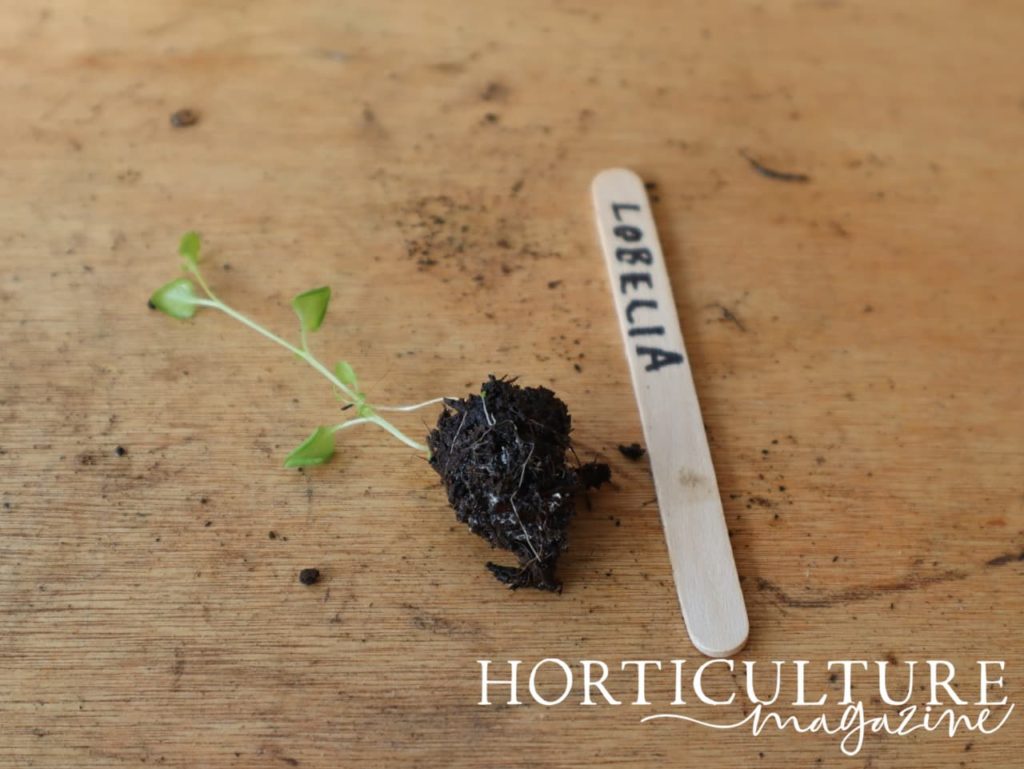
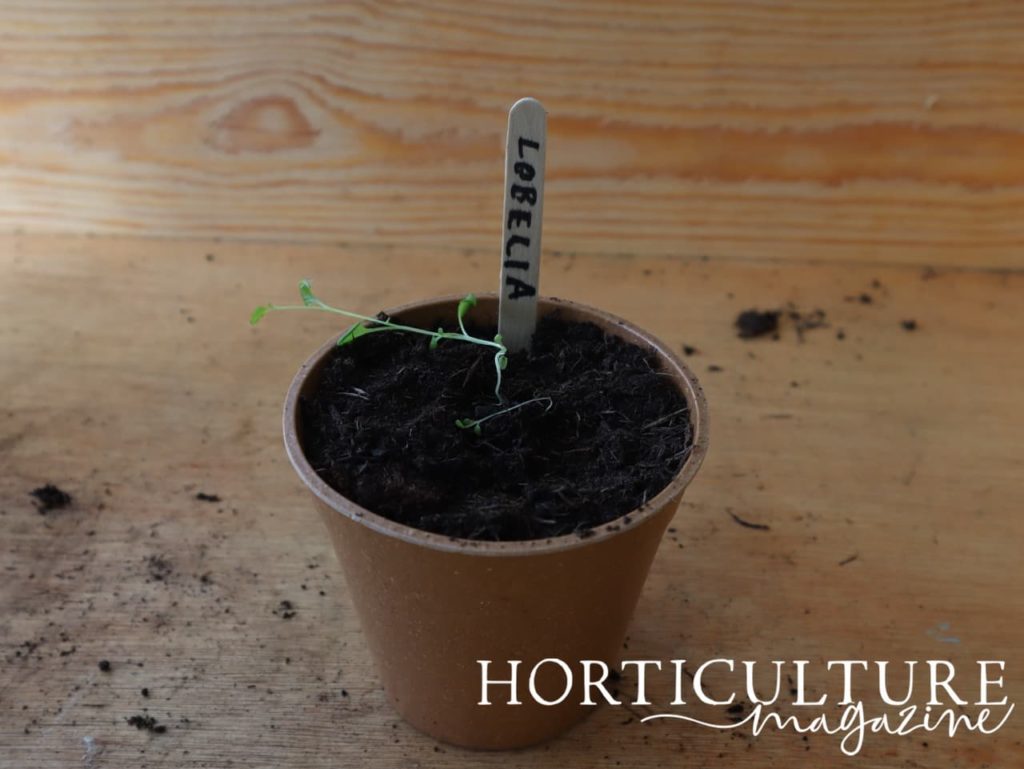
As I was growing a lot of plants all at once in a heated propagator, I decided to use a plug planter. You can see the resulting Lobelia plug seedling below.
Remember: if buying the potting mix, be sure to choose a peat-free option.
Cover the seeds over lightly with a little of the medium you have chosen and firm it gently into place.
It is best, because of the size of the seeds, to make sure the medium is moist before sowing and to water from below.
3) Grow In A Warm Spot
Lobelia seeds require temperatures between 18-24°C for germination to take place, so I have found it best to use a heated propagator – to make sure that you provide the right temperatures.
If you do not have one, a sunny windowsill may suffice, but you will see better results if you place some sort of cloche or cover over the top (I find cling film works well) to retain heat.
4) Prick Out Lobelia Seedlings
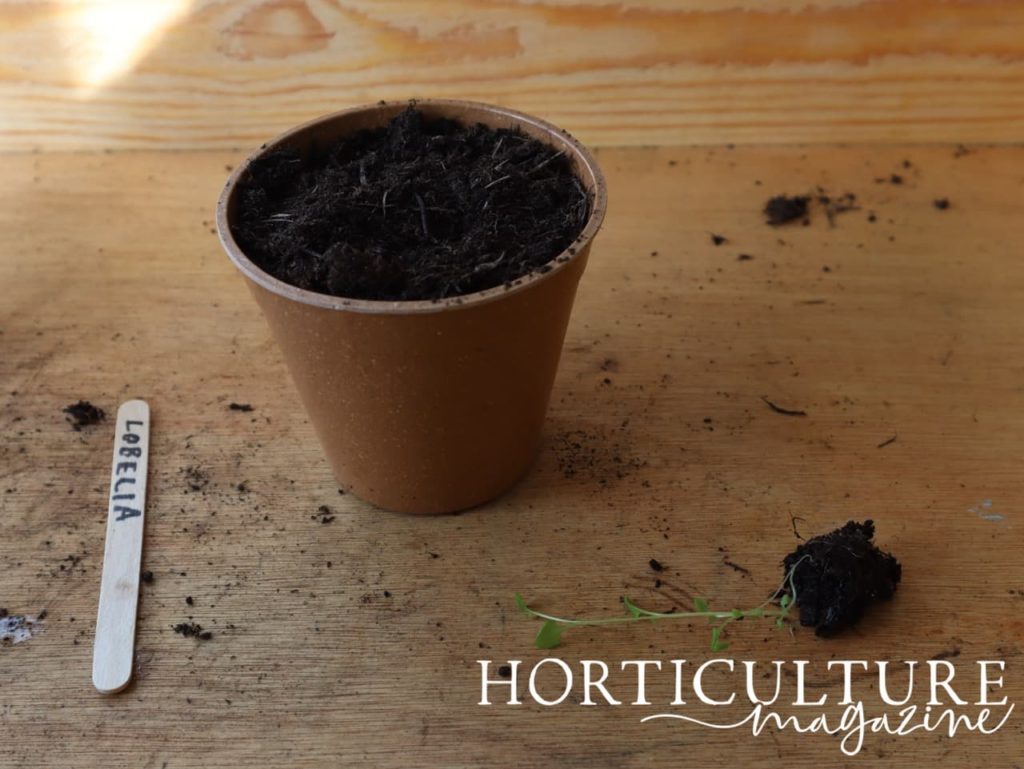
Once the seedlings are large enough to handle, prick out each one and carefully place them into an individual pot filled with a peat-free multipurpose potting mix or homemade equivalent.
“The best time to prick out is when they have two sets of true leaves,” shares Dan.
“To avoid damaging the stem, make sure you handle the plant by a leaf as it is easier to grow a new leaf than a stem.”
5) Harden Off & Plant Out
You should keep the potted seedlings in a frost-free location and only plant them out into your garden once all risk of frost has passed and the weather has begun to warm.
I planted mine out in early May and the plant had no problems establishing itself.

Flowering should start in early summer and in my case lasted for months – you can see from the image above that the results were beautiful and highly rewarding.