Sow African Daisies In Mid-April To Give Them Plenty Of Time To Germinate

Reviewed By ROY NICOL

Roy is a Professional Gardener and Horticultural Consultant, specialising in large garden year-round maintenance and garden development. He is an RHS Master of Horticulture and uses his research in the application of no-dig methods in ornamental garden settings. Roy has been a Professional Gardener for more than six years and is a member of the Chartered Institute of Horticulture, Professional Gardener's Guild and Association of Professional Landscapers (Professional Gardener).
Contributions From EMILY CUPIT

Emily is a Gardening Writer, Photographer and Videographer from Derbyshire, UK. She is the Founder of Emily's Green Diary - a community of more than 75,000 people who share in her gardening journey.
IN THIS GUIDE
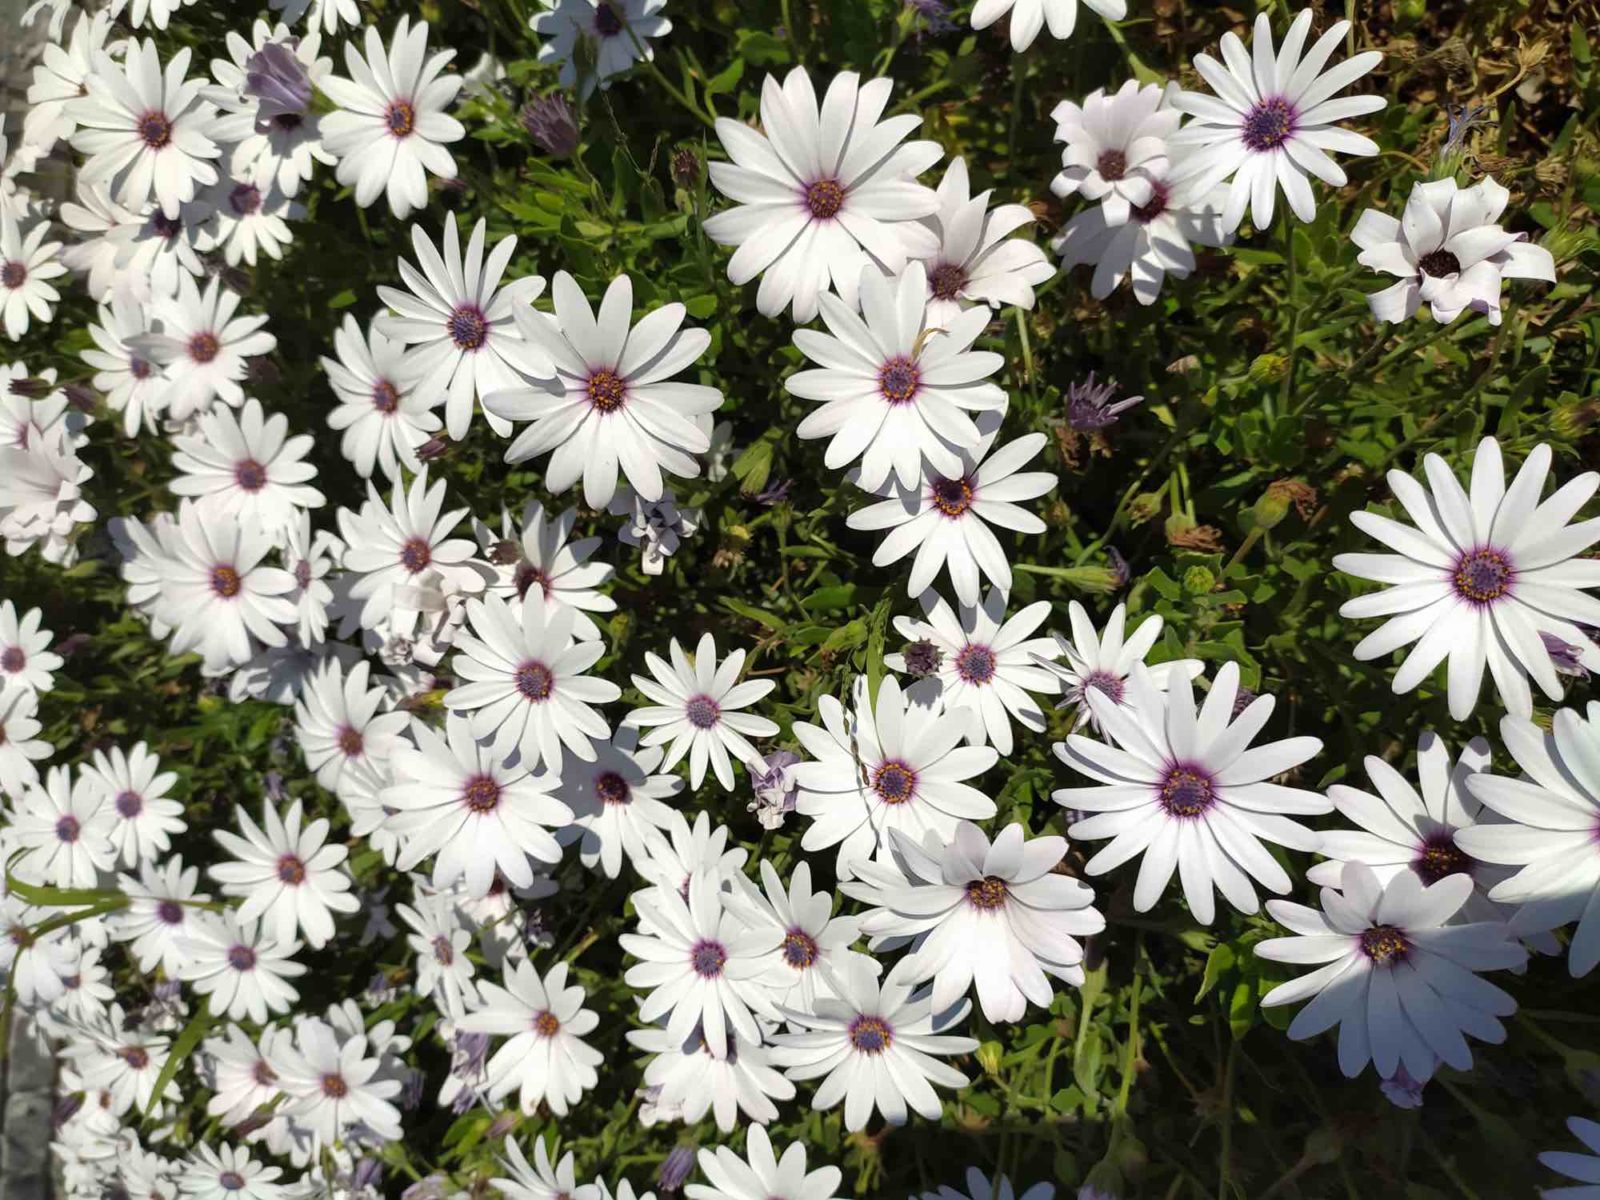
Also known as the African daisy, Osteospermums are an ideal choice for brightening up borders with their long-lasting blooms right through summer and into autumn.
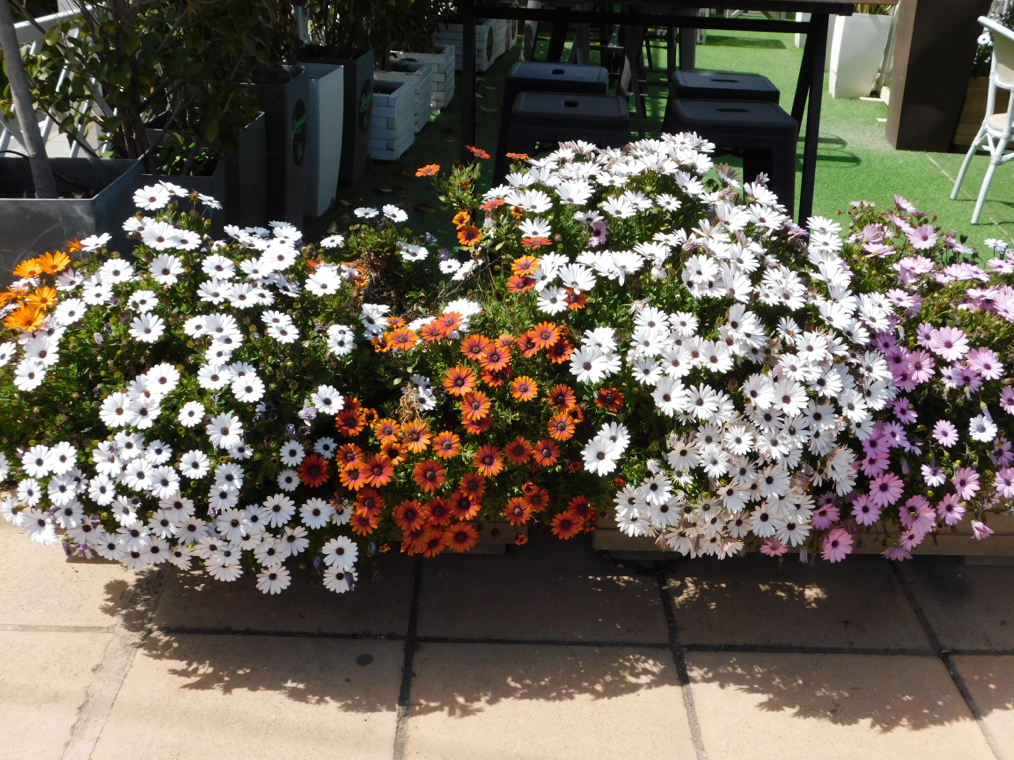
Available in a wide variety of colours, sizes and petal shapes, they’re also adept at bringing bees and butterflies to your garden.
Plus, they’re minimal fuss to coax into life from seed, providing you follow these simple steps:
- Prepare the seeds and compost for sowing.
- Plant in pots or a sowing tray indoors – usually around 6 weeks before the last frost in your area.
- Cultivate your seedlings.
- Transplant them outdoors after the last frost has passed.
- Follow ongoing care guidelines, like keeping them well watered during periods of drought.
If you require a little more in-depth information on each of those steps, we’ve laid them out in greater detail for your convenience below.
| Difficulty | Easy |
| Equipment Required | Individual pots or seed trays, seed compost, trowel |
| When To Sow | April |
| When To Plant Out | June |
When To Sow African Daisies
Although it’s theoretically possible to plant osteospermum seeds directly into your garden, their African origins and the Great British climate means it’s not recommended.
For best results, allow them to establish themselves in a greenhouse or inside your home before transplanting outdoors.
Seeds sown into indoor containers can be done in mid-April, which will give them plenty of time to germinate and grow.
They can then be transplanted outdoors from late May to early June.
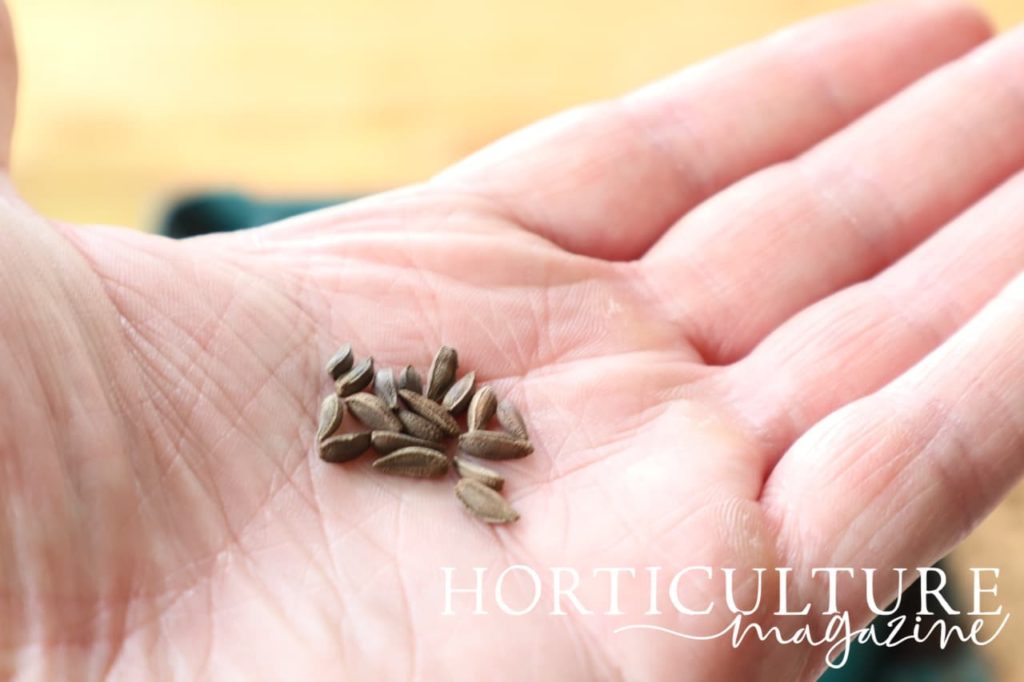
1) Prepare The Seeds & Soil
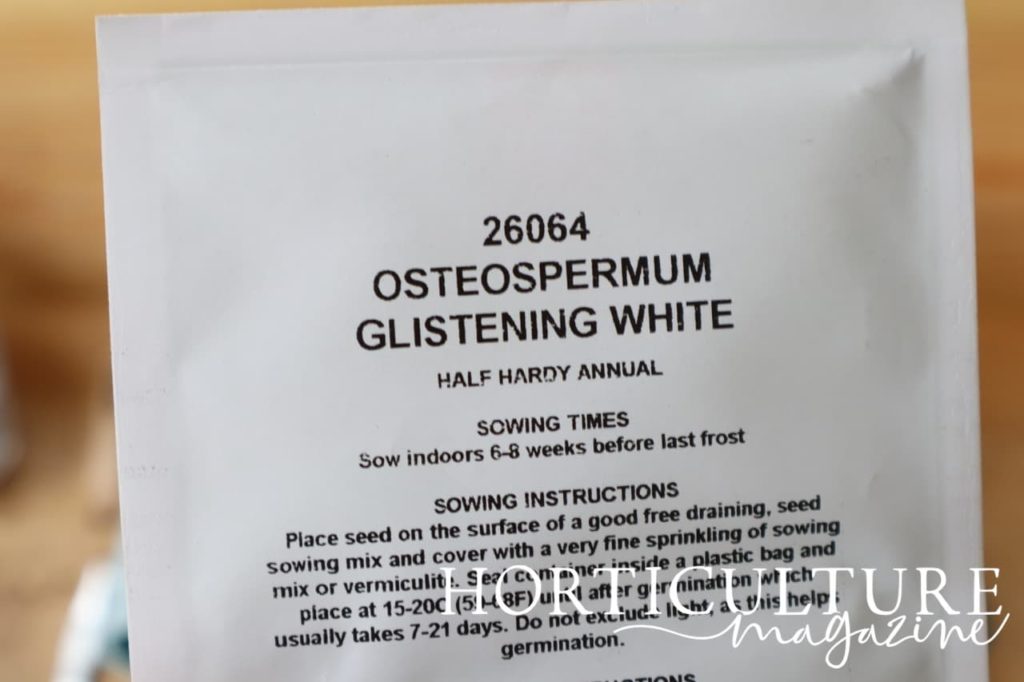
To ensure the seeds are fully hydrated, place them on a wet paper towel or cloth for several hours prior to planting.
You can also submerge them in a glass of water if you prefer as the seeds are not too small, but be careful not to leave them too long or they may drown.
Meanwhile, fill your containers with seed compost, making sure the mixture is not too densely packed.
2) Plant In Pots Indoors
Place the seeds onto the surface of the seed compost and cover very lightly with vermiculite or sieved seed compost.
You can sow more than one seed in a pot, but picking them apart at a later date may damage the roots and as such, individual potting is preferable.
You can see in the image below that I used a propagation tray, with room for 8 separate plug plants to grow:
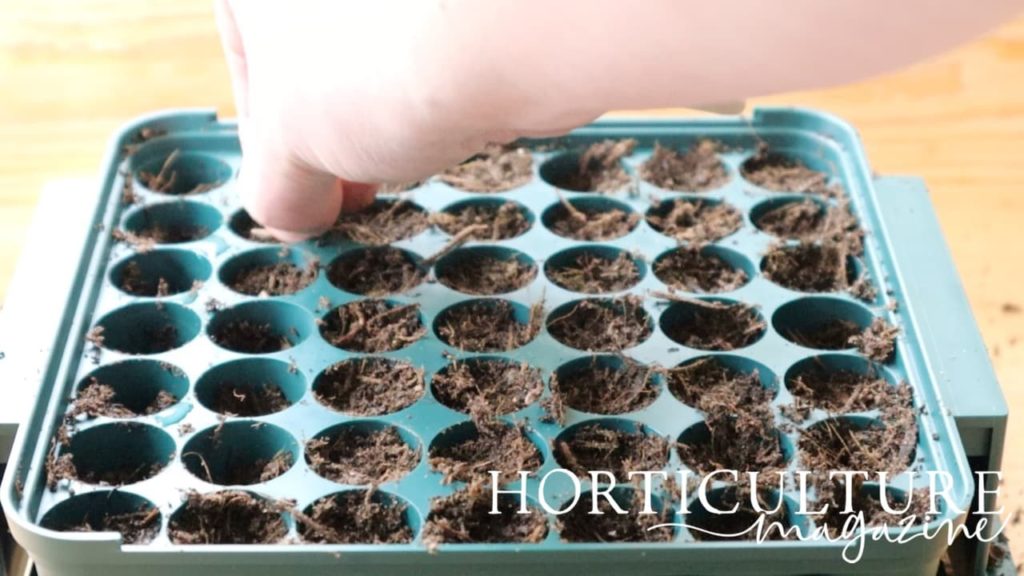
Cover the pots or trays with the clear plastic cover that may have come with the pot or tray or use perforated clingfilm to retain warmth and moisture, but allow ventilation.
Place in a warm location, ideally 15°C, out of direct sunlight.
Water as required, ensuring that the seedlings become neither parched nor waterlogged.
3) Prepare For Transplantation
Once the seeds have sprouted and are beginning to establish themselves, the clingfilm or plastic cover should be removed and you can gradually introduce them to lower temperatures to allow them to acclimatise accordingly.
Depending on the location in which they are positioned, this could take the form of opening a window or moving them into a colder room (or even outdoors) for an hour at a time.
Take care to ensure they are not overwhelmed by the change in the thermometer.
4) Transplant Outdoors
After at least three leaves of foliage have emerged on your osteospermum, the plant is ready to move completely outdoors.
If more than one specimen has been planted in a single pot, exercise extreme caution when untangling their roots and separating the plants.
Choose a sunny spot with free-draining, fertile soil and at least some shelter from the elements.
“To avoid issues such as root rot, it’s beneficial to improve the soil structure by mulching around the plant as over time, earthworms and other soil life will incorporate this into the soil and create a well-structured free-draining soil,” shares Horticultural Consultant Roy Nicol.
Plant them at intervals or 20-25cm to allow their roots to spread out and water abundantly at first.
5) Osteospermum Aftercare
Several days after transplanting outdoors, you can pinch the stems to stimulate growth laterally rather than vertically.
You can also administer a layer of mulch to improve the soil and prevent weeds from growing in the vicinity of the plant.
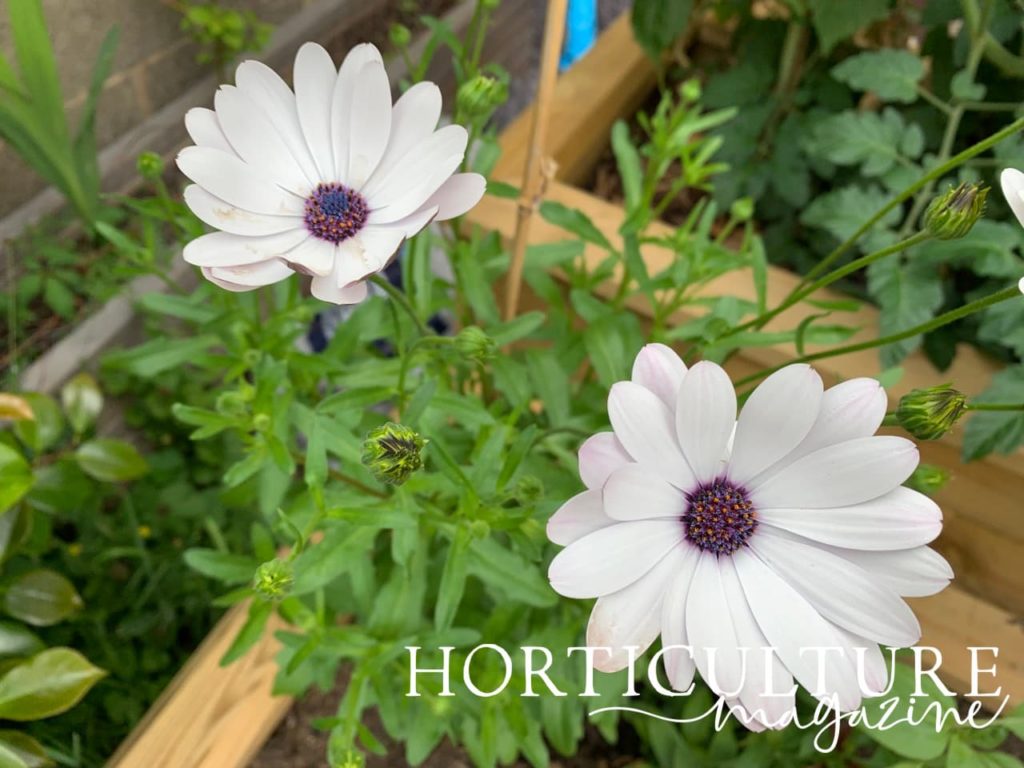
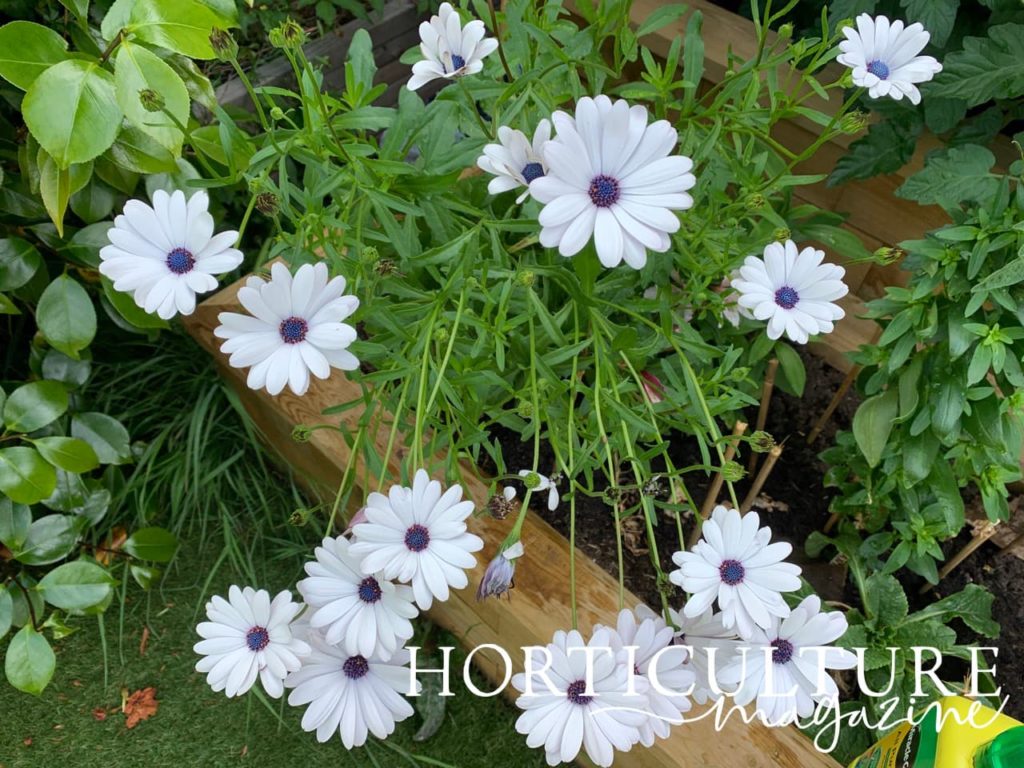
Check out some of the beautiful flowers I was able to grow from seed in my outdoor beds:

Once established, osteospermums are fairly hardy plants (although generally won’t surviving hard frosts) and shouldn’t require too much maintenance if you’re happy for them to die back at the end of Autumn.
Water them only in prolonged periods of dry weather and deadhead to prolong blooms for as long as possible.