Plant Bare Root Phlox For Quick Cultivation – It’s Best Done In Late Spring


Reviewed By COLIN SKELLY

Colin is a Horticulturist and Horticultural Consultant with experience in a range of practical and managerial roles across heritage, commercial and public horticulture. He holds the Royal Horticultural Society’s Master of Horticulture award and has a particular interest in horticultural ecology and naturalistic planting for habitat and climate resilience.
Contributions From EMILY CUPIT

Emily is a Gardening Writer, Photographer and Videographer from Derbyshire, UK. She is the Founder of Emily's Green Diary - a community of more than 75,000 people who share in her gardening journey.
IN THIS GUIDE
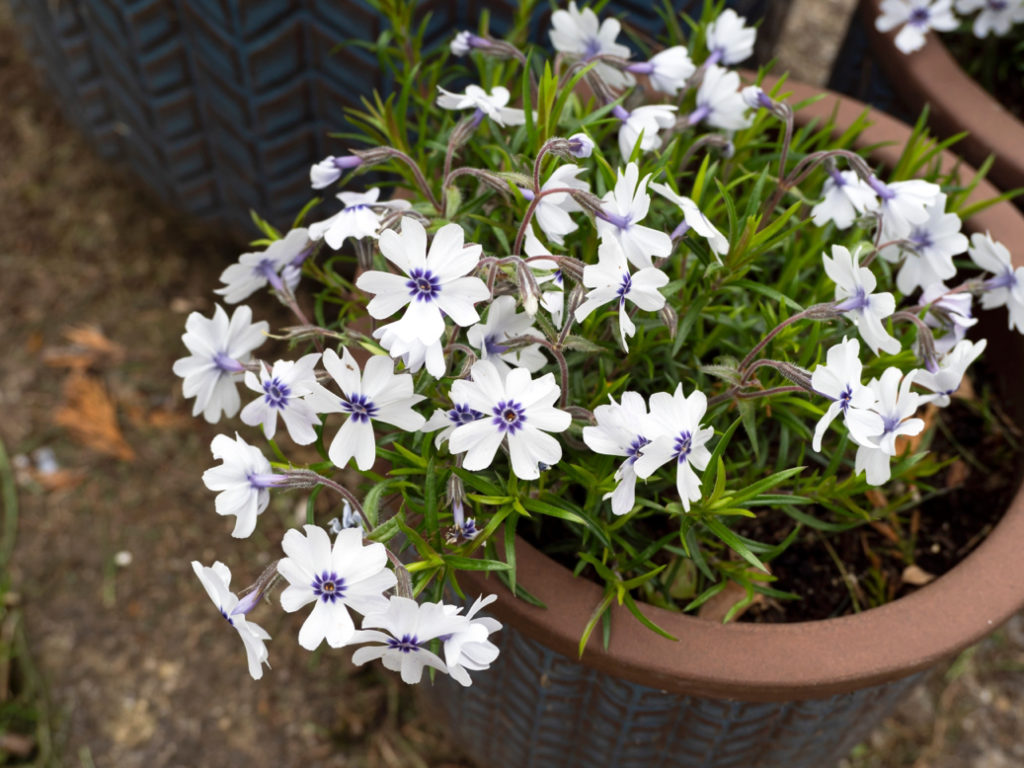
Reliable, resilient and ravishing on both the eyes and nostrils, phlox is a low-maintenance favourite of gardeners all across the country.
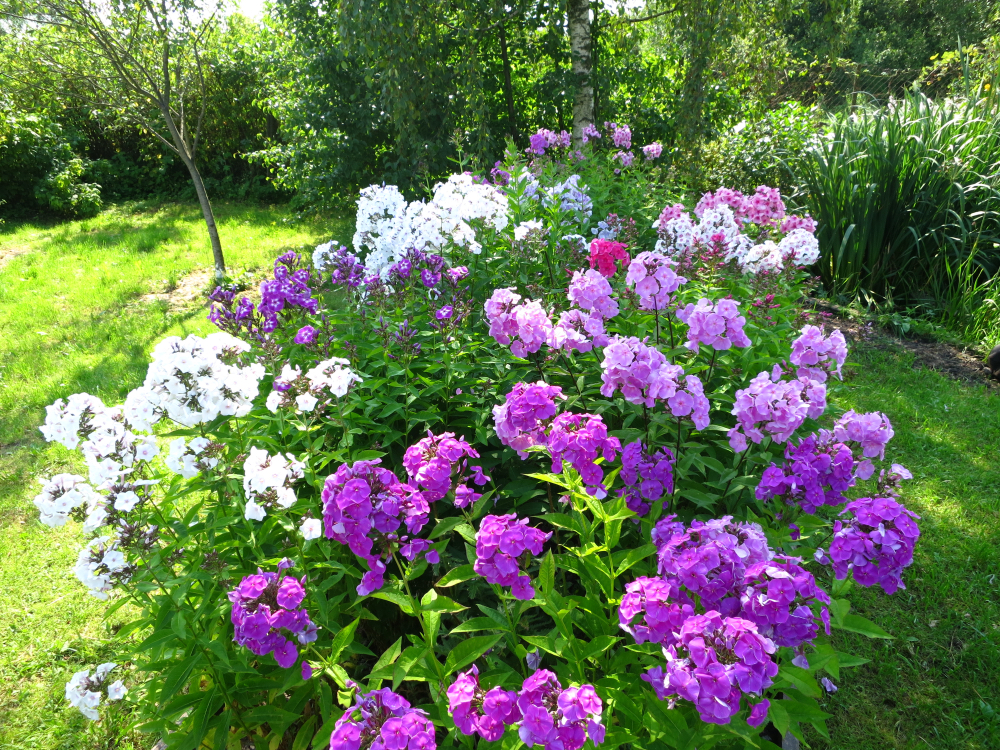
With long-lasting blooms in a variety of colours, it’ll brighten up any display it adorns.
There are two main ways to cultivate phlox from scratch in your garden: planting from seed, which is dealt with in another helpful how-to guide on this site, or planting from the bare root.
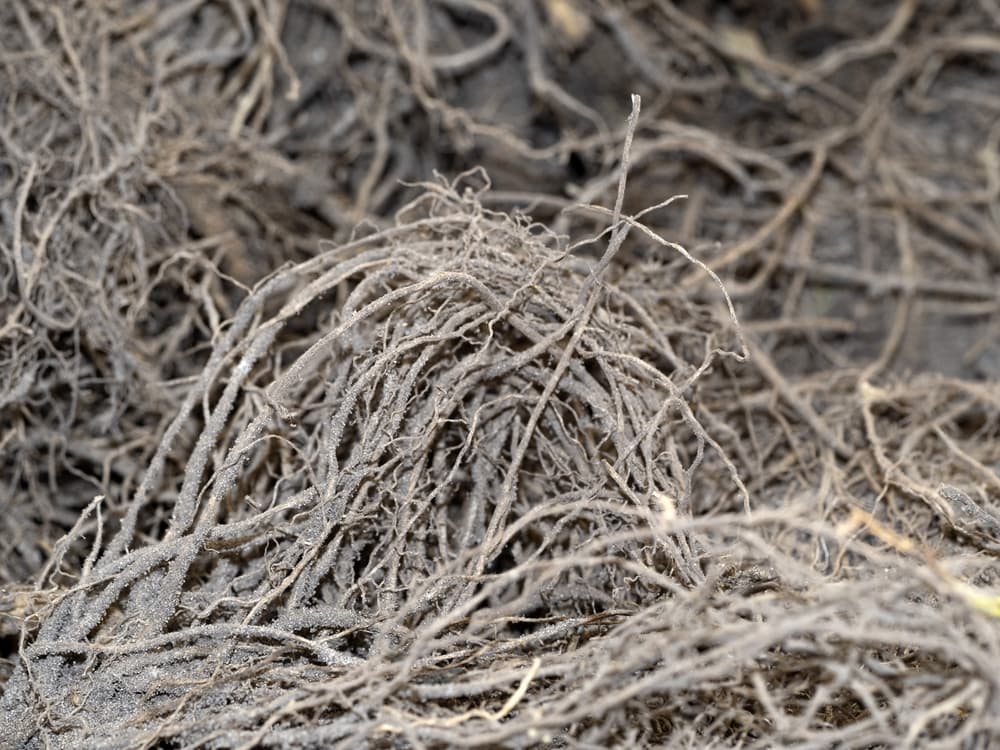
For those unsure what this latter term means, it simply refers to dormant plants that are cultivated in nurseries and distributed to buyers in time for planting.
“Bare root plants used to be the main way that plants were provided before plastic pots became widespread,” says Colin Skelly, a Master Horticulturist.
“It is now making a comeback due to the environmental benefits versus growing in plastic but is still small compared to plastic-grown stock. Search online for bare-root suppliers near you.”
Fortunately, both methods of cultivation are extremely easy, thanks to the fact that phlox is one of the most straightforward flowers you can add to your selection.
Here’s a simple process for planting bare root phlox plants:
- Source your bare roots for planting
- Choose an appropriate location in your garden – ideally somewhere in full sun
- Prepare the area, spacing at least 30cm apart
- Plant your roots after untangling with water
Each of those stages is covered in more detail below, alongside a little more information on when is best to undertake the task.
| Difficulty | Easy |
| Equipment Required | Gardening gloves, bucket of water, trowel, organic mulch, general-purpose fertiliser |
| When To Plant Out | April, May, June |
When To Plant
Phlox will fare best when planted in the late spring.
This is because all chance of the last frost should have passed, placing no undue strain on the fledgling plants.
It will also give them the entire summer and autumn to establish themselves before the next winter sets in.
1) Source Your Plants
It’s important to source your plants from a reputable garden centre, nursery or another experienced supplier.
This ensures that they will take all adequate precautions when sending the plant, such as wrapping the roots in sphagnum moss (or a similar substance) to retain moisture.
Ideally, you will plant the roots immediately upon arrival.
This means that you should look to order them no earlier than spring (unless the source you’re buying from stipulates that arrival will take several weeks).
If you do buy them ahead of time, consider refrigerating them or planting them in containers until the ground is ready for them.
2) Choose An Appropriate Location
Once you’ve located the phlox plants you want, the next step is figuring out where they will go in your garden.
Phlox are generally undemanding plants, but their two non-negotiable requirements are plentiful sunshine and well-draining soil.
For that reason, it’s advisable to choose a spot which receives full sun exposure, though partial shade can also work if need be.
If the soil does not drain well, improve it with organic matter, peat moss or another drainage-enhancing substance.
If that doesn’t work, consider moving them somewhere more suitable.
3) Prepare The Area
It’s imperative that your planting area is good to go before you unwrap the roots and expose them to the air, since this may cause them to dry out and die.
We advise placing the phlox in a bucket of water for a couple of hours before planting to allow the roots to fully hydrate.
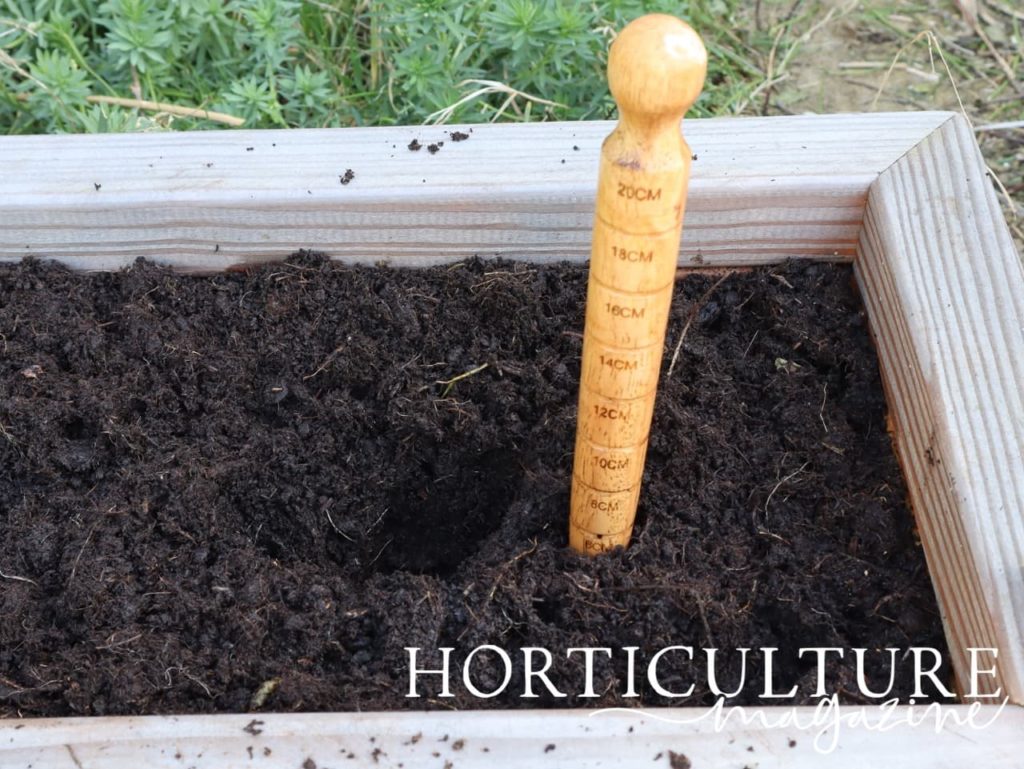
Dig a hole about the same height as the root ball and twice its width.
For creeping phlox, space plants a minimum of 30cm apart, while garden phlox will require more room (between 45-60cm).
4) Plant Your Phlox
Gently swirl the phlox plant in the bucket of water to disentangle its roots and allow any dead ones to fall away.
Then, lift it into the hole and place it down gently so that its roots are splayed out away from each other.
You can use your hands to help in this process.
Keeping the plant upright with one hand, use the other to fill the hole with compost and/or organic matter.
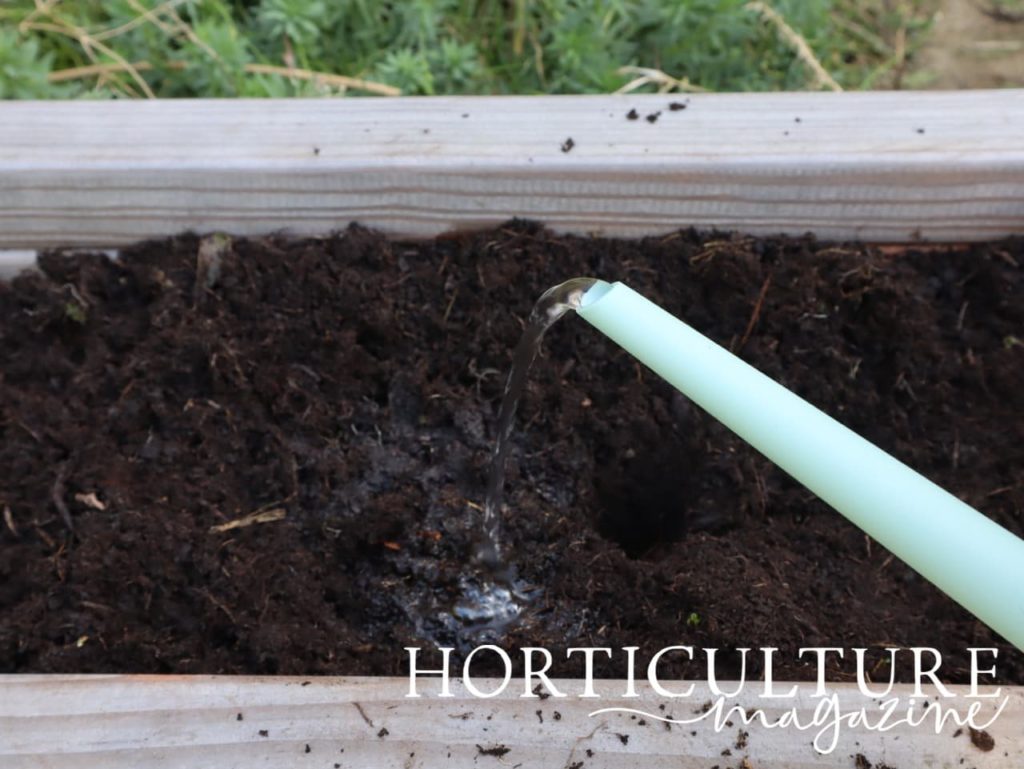
Try to make sure the crown of the plant is aligned with the top of the hole and firm it down with your hands, not your feet, since this can compact it too much.
Water thoroughly.