Phlox Can Be Propagated At Any Time Of Year – Just Follow One Of These Two Methods


Reviewed By COLIN SKELLY

Colin is a Horticulturist and Horticultural Consultant with experience in a range of practical and managerial roles across heritage, commercial and public horticulture. He holds the Royal Horticultural Society’s Master of Horticulture award and has a particular interest in horticultural ecology and naturalistic planting for habitat and climate resilience.
IN THIS GUIDE
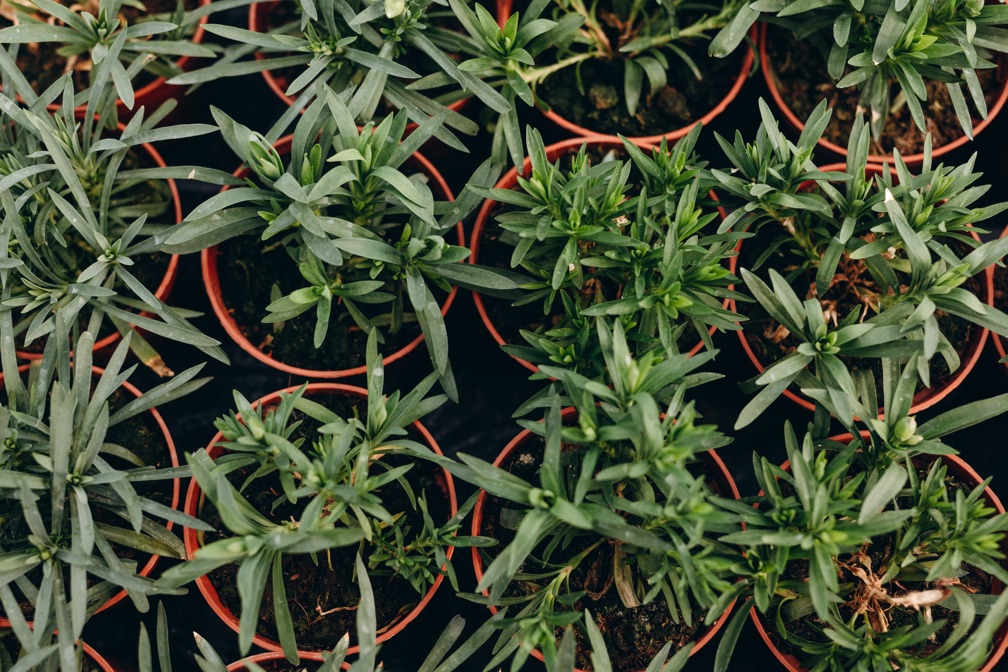
If you like purples and pinks, phlox is for you.
This immensely-popular flowering plant produces abundant blooms through summer into early autumn.
Versatility is a special trait of this plant: its wide variety of habits and heights permit it to be used for a large number of garden purposes, from filling a nook in a rockery to creating a tall rear-bed backdrop.
But Phlox plant’s versatility extends to how they can be propagated.
| Difficulty | Easy |
| Equipment Required | Gardening gloves, shovel, gardening trowel, gardening fork, sharp knife |
| When To Propagate | Spring or Autumn-Winter (depending on method) |
You can get new phlox plants through propagation during all four seasons of the year in two different ways:
- Taking stem cuttings
- Taking root cuttings
These methods are explained in more depth below.
1) Taking Stem Cuttings
Propagating Phlox from stem cuttings is best done in spring.
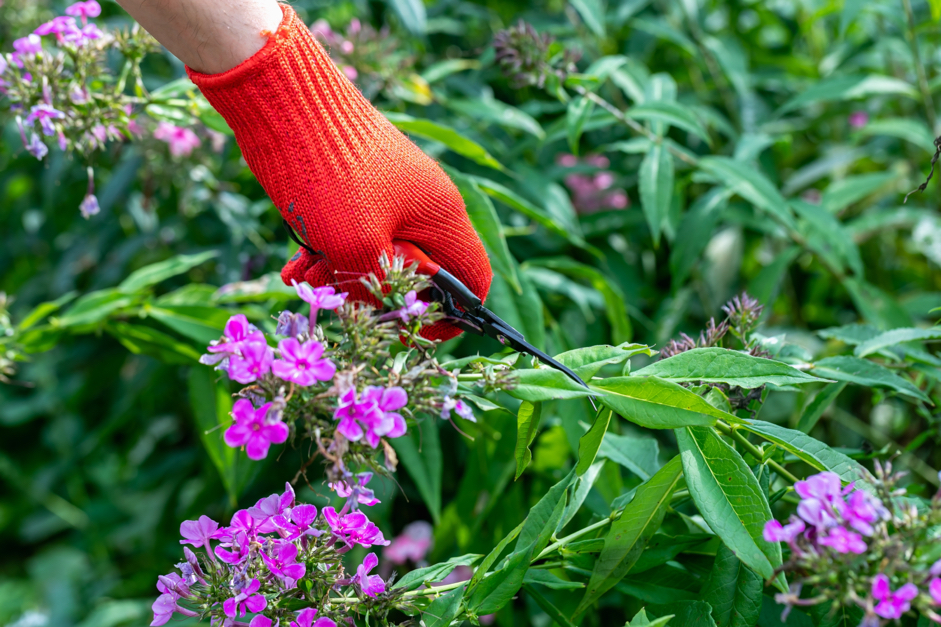
A basal cutting of about 10cm without any buds will serve the purpose well.
- Trim the lower leaves leaving behind a few fresh or emerging leaves at the top.
- Prepare a small pot with a medium of light, sandy loam, and wet it thoroughly.
- The pot should have drainage holes.
- Insert the cutting up to a good 4cm or so into the medium and firm up the loam around it.
- Water the cutting.

The pot should be sited where it gets plenty of indirect light but not any direct sunlight.
Water the cutting daily in moderation for about five weeks by which time the cutting should have taken root.
A week or two later it should be transplanted to appropriate soil in a location where it gets partial sun.
2) Taking Root Cuttings
This technical method of propagating phlox is carried out from mid-autumn to early winter when the plant has gone into dormancy.
“A clump of Phlox can produce hundreds of root cuttings,” says Master Horticulturist Colin Skelly.
“I can definitely be guilty of propagating more plants than I need and can use. This is great if you can give them away to friends and family, but there are limits!”
New plants created from root cuttings will produce flowers after two years:
- Prepare small pots with John Innes No. 1 or young plant compost to plant the root cuttings in.
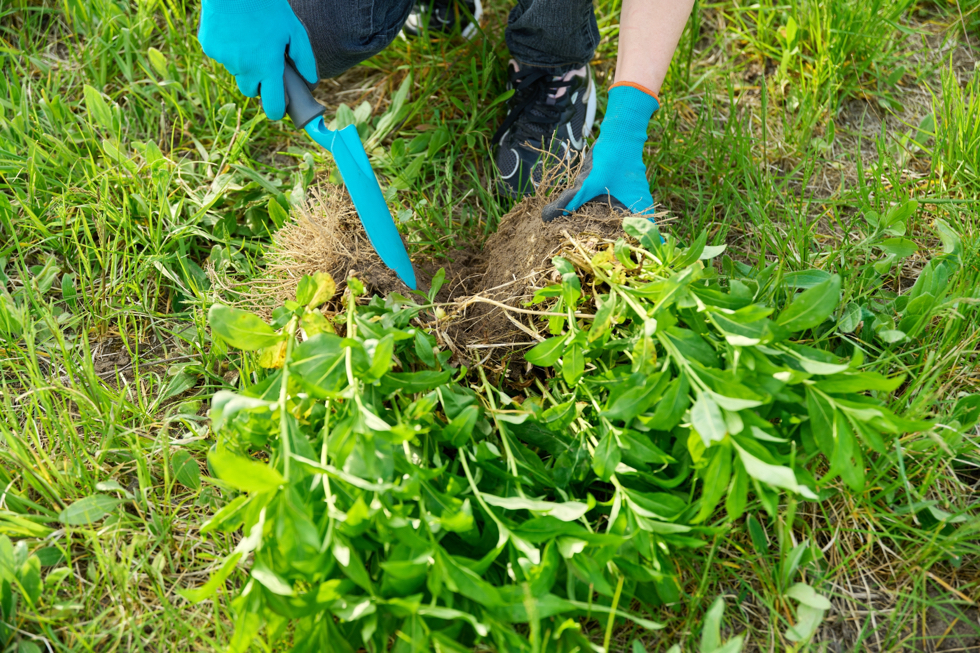
- Choose a mature, healthy plant and carefully dig it up.
- It is a good idea to wash the roots.
- Choose 2-3 roots that are fleshy and vigorous, and that are half a centimetre in thickness; cut them close to the crown.
- As soon as you do so, re-plant the dug-up plant without undue delay and water it.
- Keeping the correct vertical orientation of the roots, cut them into sections of 5-8cm with the cut at the lower end being at an angle (45-60° to the horizontal).
- Insert the roots into the prepared pots, angled cut downwards and the upper end just underneath the soil surface.
- Lay a very thin layer of grit and give the pots a light watering.
- Place the pots in a cold frame in partial sun and continue to water lightly.
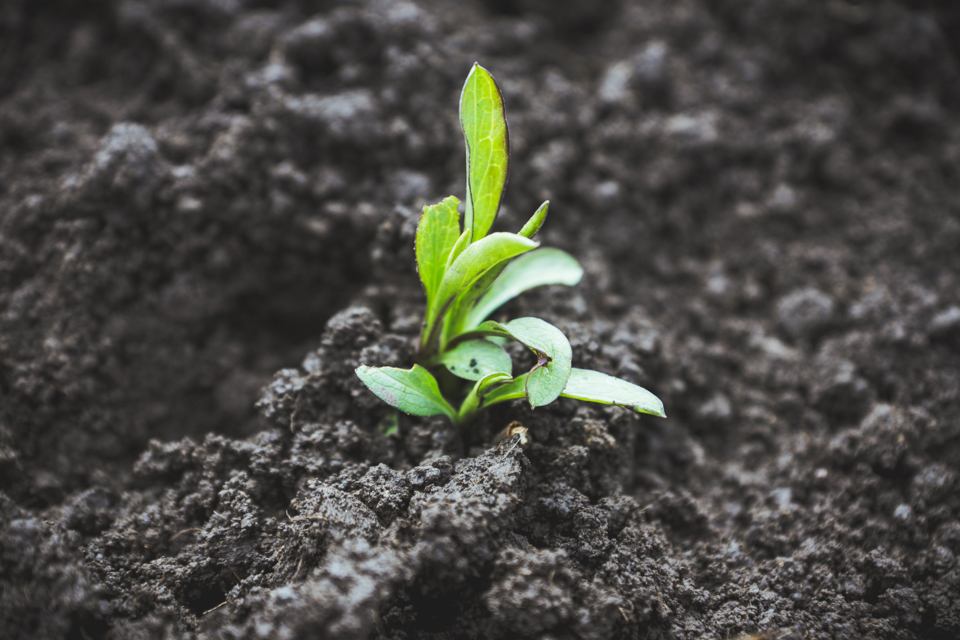
In late spring you should see shoots emerging from the root cuttings.