Transplant Perennial Phlox In Spring (After The Last Frost) Advise Horticulturists

Reviewed By COLIN SKELLY

Colin is a Horticulturist and Horticultural Consultant with experience in a range of practical and managerial roles across heritage, commercial and public horticulture. He holds the Royal Horticultural Society’s Master of Horticulture award and has a particular interest in horticultural ecology and naturalistic planting for habitat and climate resilience.
IN THIS GUIDE
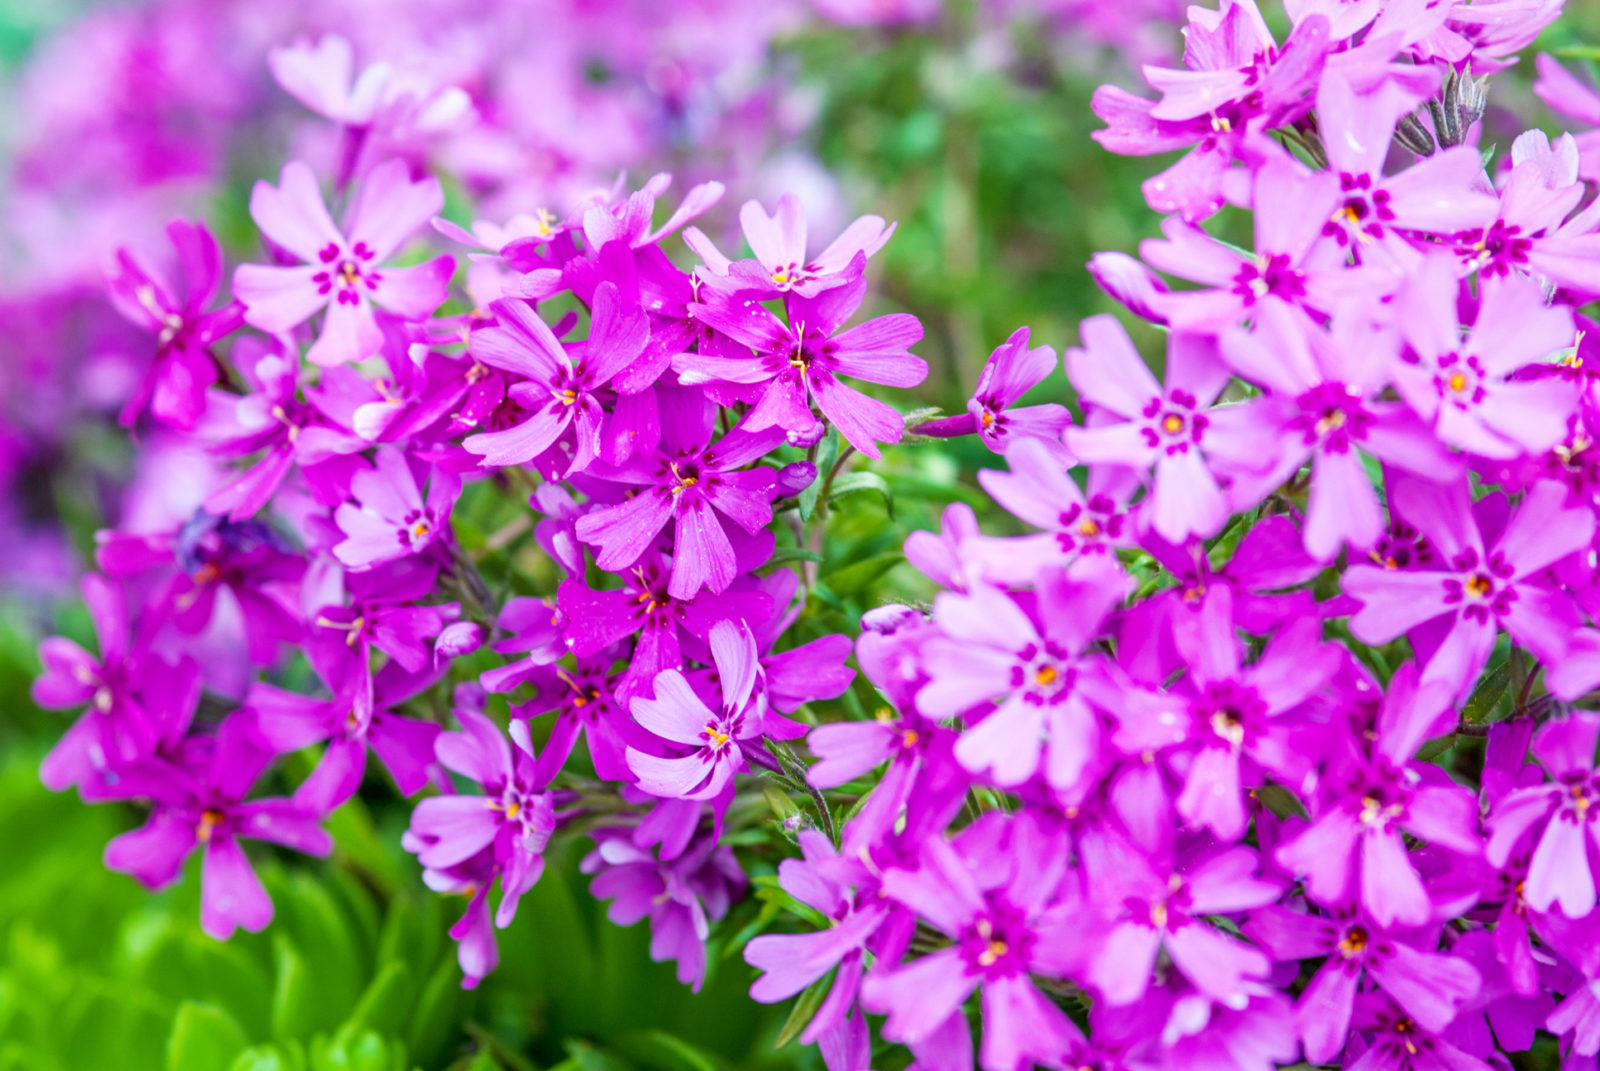
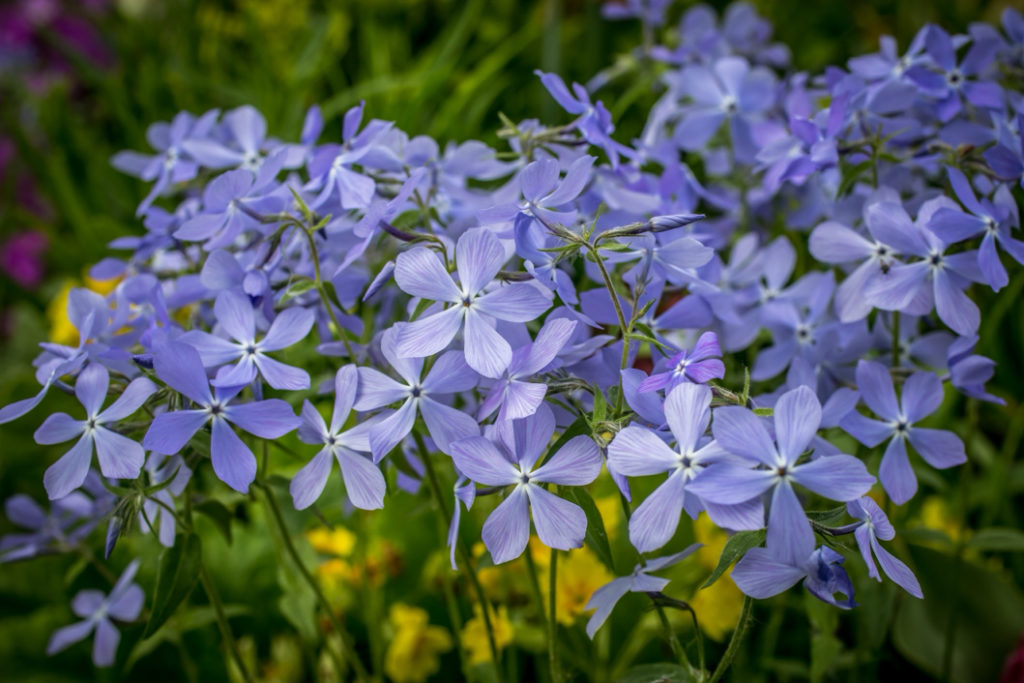
Phlox are among British gardeners’ favourite garden standards and there are as many reasons for this as there are varieties of the plant.
No matter what the reasons and the variety, phlox produces oodles of little flowers in terminal clusters for three months or more.
The salver-shaped five-petalled flowers radiate a simple, uncomplicated charm and the plant itself is uncomplicated, requiring little care.
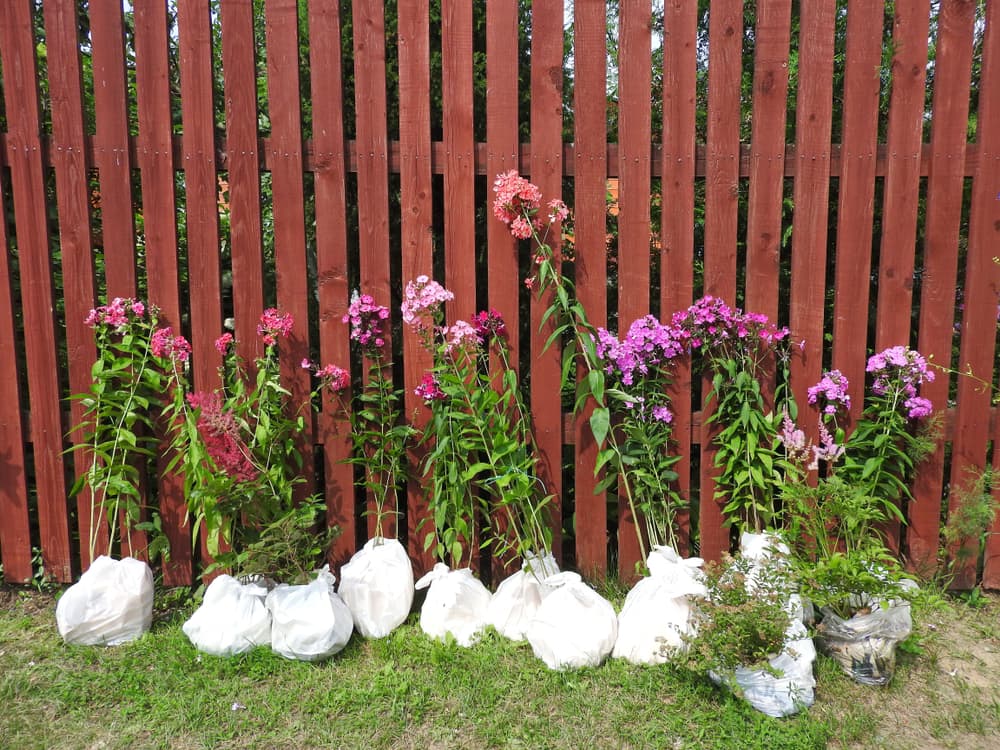
Phlox plants are most commonly bought in bare-root form or as potted plants from both brick-and-mortar garden centres and online nurseries, which means that after you get your little companions you’ll need to set them up in your garden.
It’s not difficult at all but I’d advise that you transplant phlox in spring after the last frost.
“Typically, you’ll find perennial Phlox for sale in the spring rather than autumn as it enters dormancy,” says Horticultural Consultant Colin Skelly.
“You can plant any divisions from existing Phlox clumps in autumn or you can pot them on and follow the instructions given in this article in spring.”
You can transplant phlox by following the steps outlined below:
| Difficulty | Medium |
| Equipment Required | Gardening gloves, shovel or spade, flat plastering trowel |
| Preferred Aspect | Full sun, sheltered or exposed |
1) Choose A Suitable Location
Regardless of the variety, it is best to site phlox in full sun.
Though partial shade will do as well for some varieties, several hours of sunlight are required for these plants to produce a profusion of blooms and also for them to stay healthy.

Though phlox is fully hardy, avoid northern exposure if you can help it.
2) Make The Soil Mix
Unfussy Phlox will do well in any type of moderately-fertile loam mix that drains well.
Different forms and habits of the plant have their own particular preferences but a loam composed of roughly equal parts sand, chalk, and clay amended with some organic compost will work very well.
Phlox’s flexibility extends to soil pH.
Though slightly acidic to neutral soil is preferred, most phlox will make do in any soil pH except extreme acid or alkaline.
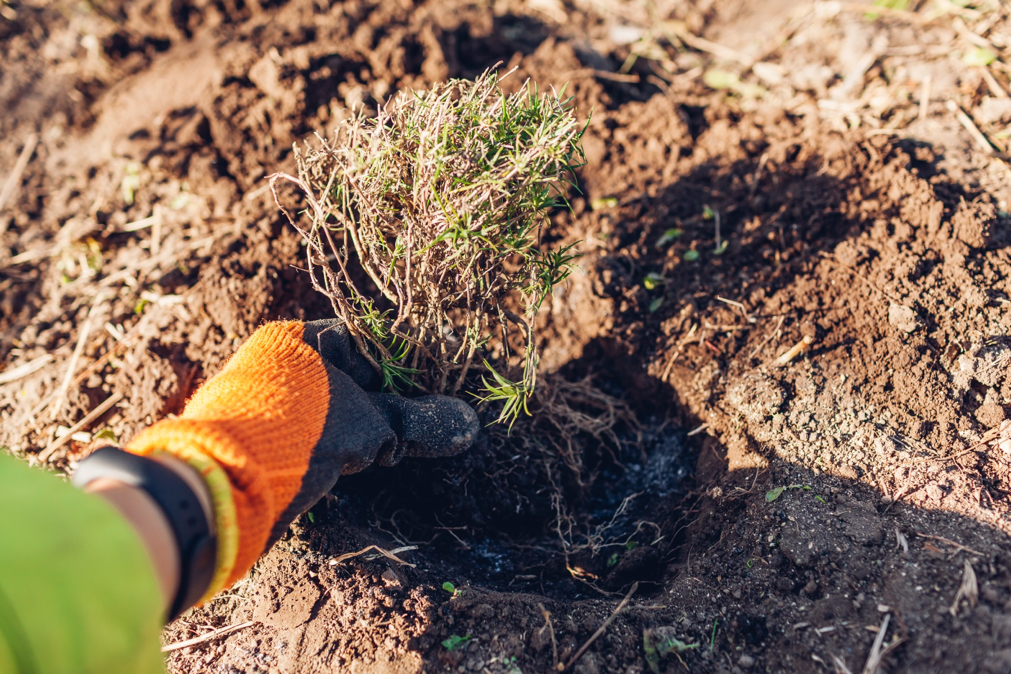
3) Dig A Planting Hole

Eyeball the bare-root plant or the size of the pot of the potted plant, as the case may be.
Dig a hole that is about as deep as the plant’s root system, and about one-and-a-half times as wide.
Use the soil mix partially to fill in the hole.
Pre-water this planting area.
4) Prepare The Plant
Remove the potted plant, soil and all, by trying to loosen the soil and inserting a flat trowel around the inner edge of the pot and pushing from the drainage hole.
Removal of the whole soil ball sometimes becomes easier if you thoroughly pre-soak it, otherwise, you can simply break the pot.
Remove the covering or wrapping from the bare-root plant and soak the roots in water for 5 minutes.
If the plant has been in a pot too small for longer than it should have been, it will have become root-bound or the roots will be constricted.

If this is the case, shake out the soil and spread out the roots.
For a bare-root plant, gently shake out the roots to loosen them.
5) Move To New Location
Grasping the plant from the base of the main stem, place it in the hole such that the top of the root system is at the same plane as the ground.
Try to spread out the roots.
Backfill the hole with the prepared soil.
Make sure that the soil level is the same as it was for the potted plant (or a touch lower).
Firm up but do not pack in the soil, and give the plant a good watering.
Treat your new phlox to a helping of balanced granular fertiliser, but be careful to avoid the central roots of the plant.