Divide Phormium Regularly To ‘Maintain A Healthy, Vigorous Plant’ Says Colin Skelly

Elizabeth is a Permaculture Garden Designer, Sustainability Consultant and Professional Writer, working as an advocate for positive change. She graduated from the University of St. Andrews with an MA in English and Philosophy and obtained a Diploma in Applied Permaculture Design from the Permaculture Association.
Reviewed By COLIN SKELLY

Colin is a Horticulturist and Horticultural Consultant with experience in a range of practical and managerial roles across heritage, commercial and public horticulture. He holds the Royal Horticultural Society’s Master of Horticulture award and has a particular interest in horticultural ecology and naturalistic planting for habitat and climate resilience.
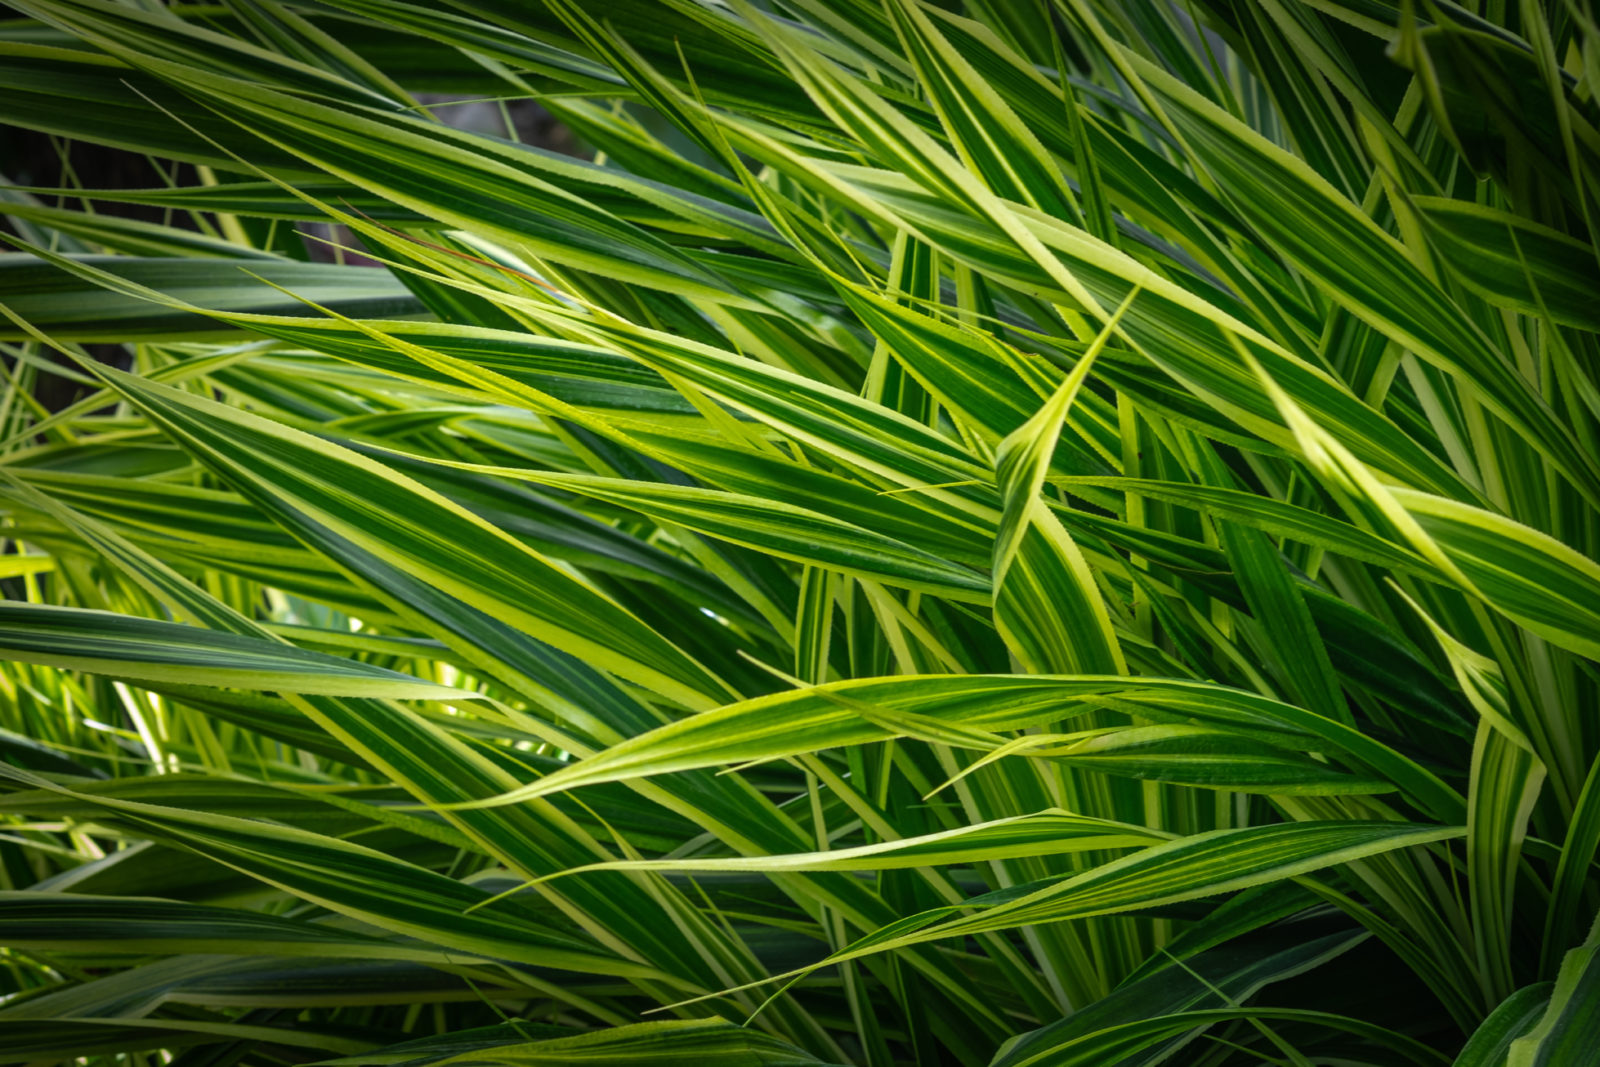
Phormiums are attractive and dramatic foliage plants that can add architectural interest and colour to your garden.
Generally speaking, they are easy, relatively low-maintenance, and straightforward plants to grow.
One job you will need to think about if you successfully grow phormiums in your garden is lifting and dividing your mature plants.
There are two reasons to lift and divide phormiums.
The first reason is to tackle a plant that has become too large to prevent overcrowding or congestion, which can cause a range of issues for these plants.
“I have found that a lot of large Phormium tenax which have not been divided tend to accumulate brambles near their centre that are hard to remove,” shares Colin Skelly, a Master Horticulturist.
“Regular division will help to maintain a healthy, vigorous plant but also provide the opportunity to get to the roots of any perennial weeds.”
The second reason to lift and divide phormium is to obtain new plants from an existing specimen, as this is by far the easiest way to propagate these plants.
To lift and divide a phormium plant:
- Lift the existing phormium from the ground using a spade, or remove it from its pot.
- Pull or cut apart the plant to create sections with fans of leaves leaving a section of root attached.
- Replant or pot up the divisions.
See more information on each of these steps below.
| Difficulty | Easy |
| Equipment Required | Mature phormium and a spade |
| When To Divide | Spring |
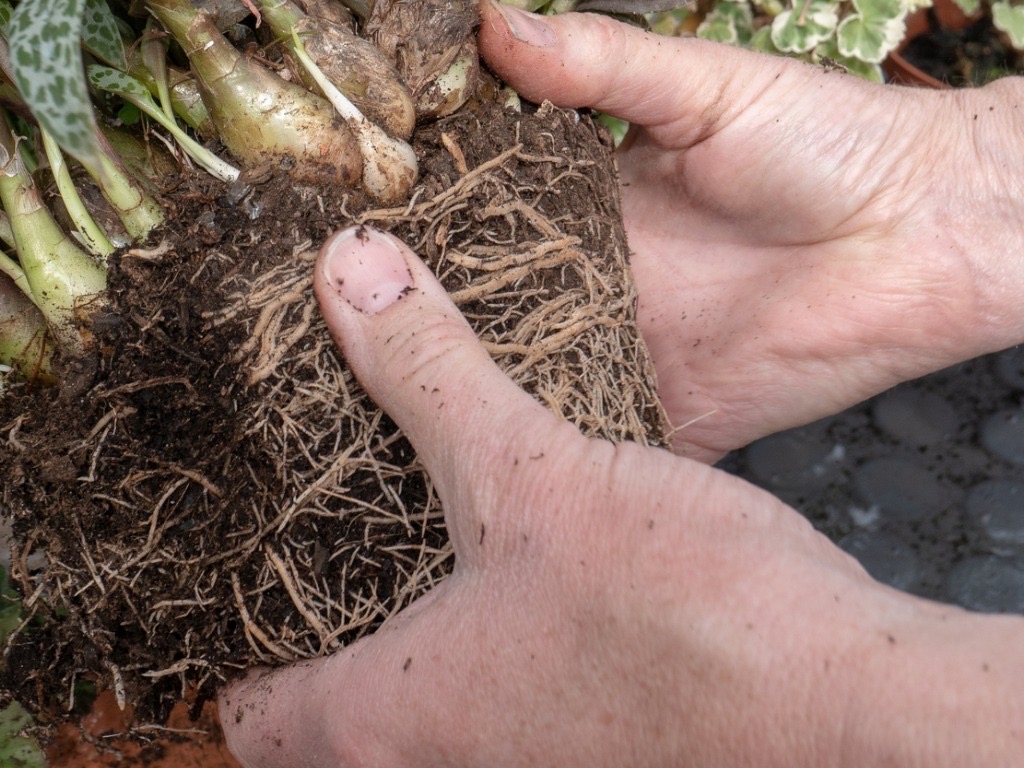
1) Lift Existing Plant
Extricate the phormium from its existing position.

Either gently ease it up out of the soil with a spade, or remove it from its pot.
Shake off any excess soil so that you can see things clearly.
2) Divide Into Sections
Next, you need to decide whether you just want to remove a little of the plant to make the existing plant smaller before repotting it, or whether you would like to make a number of smaller divisions to obtain new phormiums for your garden.
You can make as many divisions as you wish, as long as each one has a fan of leaves and some root beneath.
The larger your divisions are, the more quickly they will re-establish.
Larger divisions can be replanted right away into your garden.
Smaller divisions are best potted up and then planted out once established.
3) Replant The Divisions
Remember, phormiums like a position in full sun, though many can also cope with partial shade.
They also need free-draining conditions.
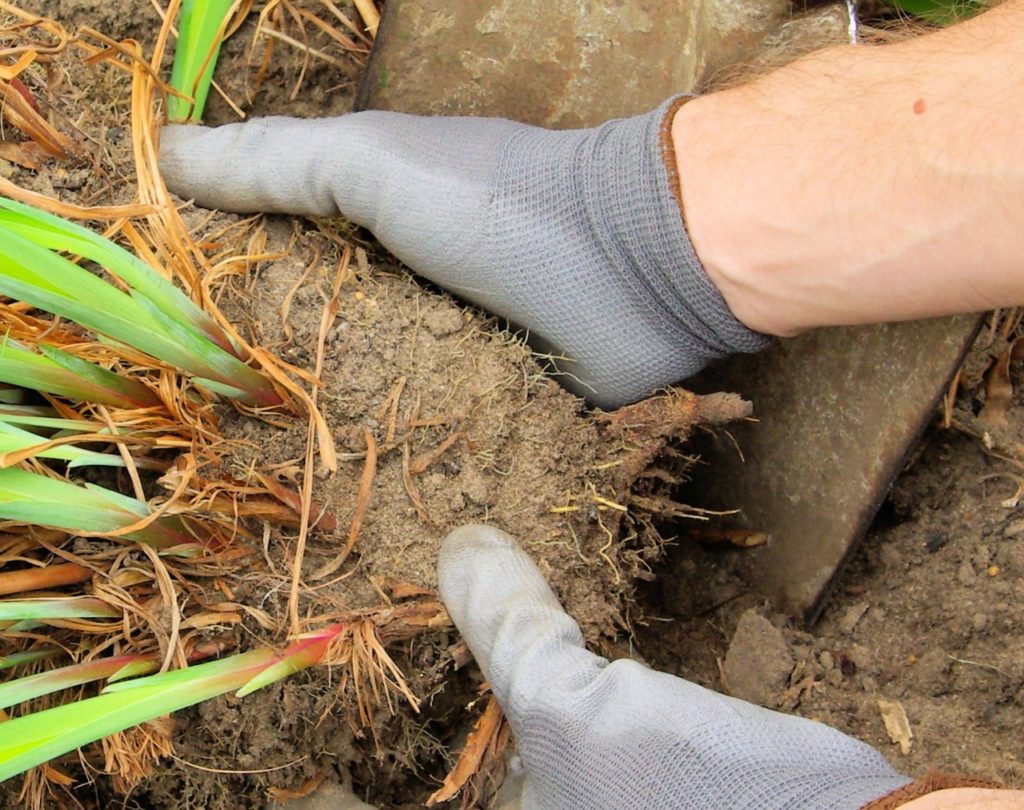
Replant or pot up your divisions, watering well but making sure that excess water drains away.
Soon, these new divisions should be growing well and rivalling the original plant.