Try These Approaches When Propagating Photinia – Including How To Grow An Exact Cultivar


Reviewed By COLIN SKELLY

Colin is a Horticulturist and Horticultural Consultant with experience in a range of practical and managerial roles across heritage, commercial and public horticulture. He holds the Royal Horticultural Society’s Master of Horticulture award and has a particular interest in horticultural ecology and naturalistic planting for habitat and climate resilience.
IN THIS GUIDE
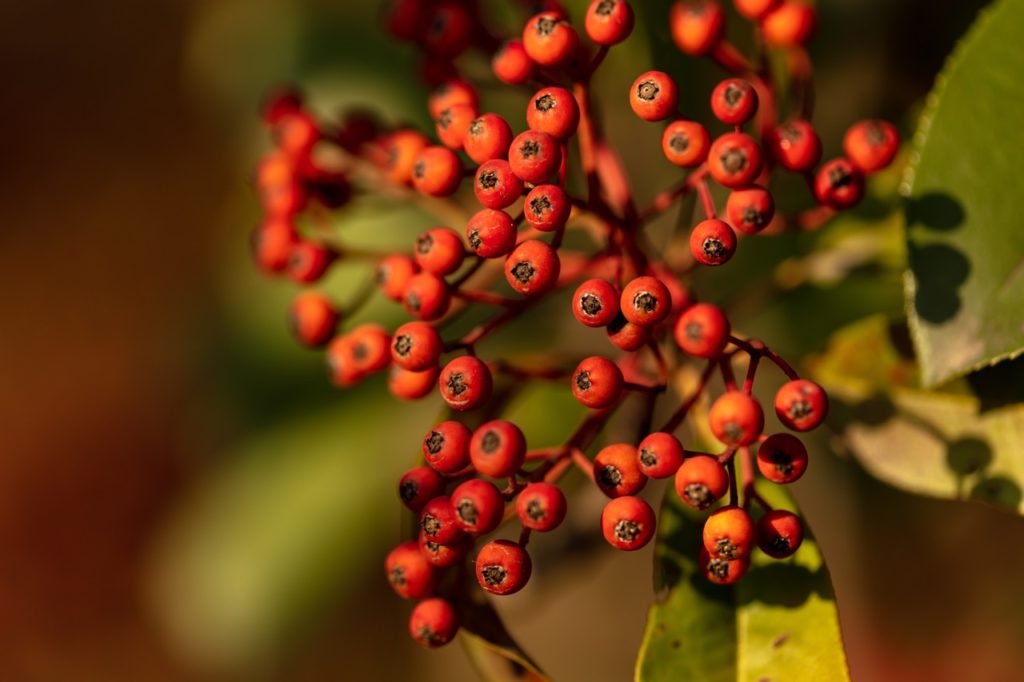
Amongst all shrubs, photinia is one of the most prized for its red or pink leaves that provide rich colour in the spring and summer months.
If you like photinias, you will be happy to hear that these evergreen shrubs are quite easy to propagate from stem cuttings.
However, there is a preferred method for propagation depending on the variety in question and also on your region, so make sure you check which one you are growing first.
That said, you can attempt to propagate photinia by cuttings any time from late spring to late summer.
“If you want to grow an exact cultivar, such as Photinia ‘Red Robin’, then seed growing is not the method to choose as they will not come true,” explains Colin Skelly, a Master Horticulturist.
“You will need to propagate from cuttings as these will be genetically identical.”
Although this might be the most common way of propagating these plants, there are actually 3 different ways to do this in the UK, which are:
- By seed.
- From softwood cuttings.
- From semi-hardwood cuttings.
Each of these three methods is explained in more thorough detail below.
| Difficulty | Easy |
| Equipment Required | Secateurs and gardening gloves |
| When To Propagate | March-April or July-August |
1) Propagation From Seed
Photinia seeds should be sown in mid-spring but to increase the chances of germination they will need preliminary chilling.
In mid-February, put the seeds into a clear zip-lock bag, seal it, and put it in the fridge.
The optimal temperature for the seeds is between 0-5°C.
A week or two after the last frost, you can sow the seeds in pots or on the open ground.
After removing the seeds from the fridge, put them in a bowl of water for 12-24 hours before sowing.
Seeds may be sown in potting mix in small pots and transplanted later or even sown directly outdoors in moderately rich loamy soil.
In either case, the soil should drain very well.
The pots or planting site should be in full sun or partial shade and, at least initially, in a sheltered spot.
Sow seeds in the morning by nudging them into the soil and gently patting down the soil onto the seeds.
Water well and keep the soil consistently moist until seedlings sprout.
2) Propagation From Softwood Cuttings
From late March to early April, prepare a small pot with potting mix and sand.
When rooting cuttings, I like to layer the media in the pot, with pebbles and grit for the lowest layer, organic compost, well-rotted manure, and sand in the middle, and sand and vermiculite at the top where the cutting will initially root.
This technique allows the cutting to develop into a small plant before you need it to pot up.
By mid-morning sometime in late March to early April, select a vigorously-growing fresh green shoot or branch.

Cut a length of 10-15cm, making the cut just beneath a leaf node, obtaining the uppermost three leaves and trimming the rest.
You may dip the base of the cutting in rooting hormone powder, but this is not necessary because photinia cuttings root so readily and reliably.
Make a hole in the medium and insert the cutting from a quarter to a third of its length in it and firm up the medium around it.
Put the pot in a place where it will get ample indirect sunlight and will not be exposed to the cold or the wind then water it well.
Water the cutting moderately every day such that the medium stays moist.
3) Propagation From Semi-Hardwood Cuttings
This method is similar to propagation from softwood cuttings except for a few details.
It is best attempted in the late July to early August timeframe.
Select a branch that is green at the growing end but brownish or greyish, but not entirely woody, at its attachment.
Cut a length of 15-20cm, making the cut just beneath a leaf node.

For this method, you only need to retain the upper 2 leaves and you can remove the rest.
If you do not want the cutting itself to shoot up as a leader, trim the tip of the cutting, but if you do, leave this.
The other steps are the same as those shown in Method 2.
By using one of these methods, you should be able to propagate your own photinia plants – even early or late in the year.