Planting Pineapple Tops – Why You’ll Need 2-3 Years For This Long Term Challenge


Reviewed By PETER LICKORISH

Peter is a Horticulture Lecturer and self-employed Horticulturist, with a passion for diverse areas of the industry - from garden design to the science behind plant growth and propagation. He has completed the Royal Horticultural Society’s Master of Horticulture (MHort) Award and lectures on RHS courses at Bedford College.
Some people like a challenge, others like a long-term project.
Planting pineapple tops is both; it’s a long-term challenge!
If you’re someone who is looking for a challenging project and you have plenty of time to spare, this post is for you.
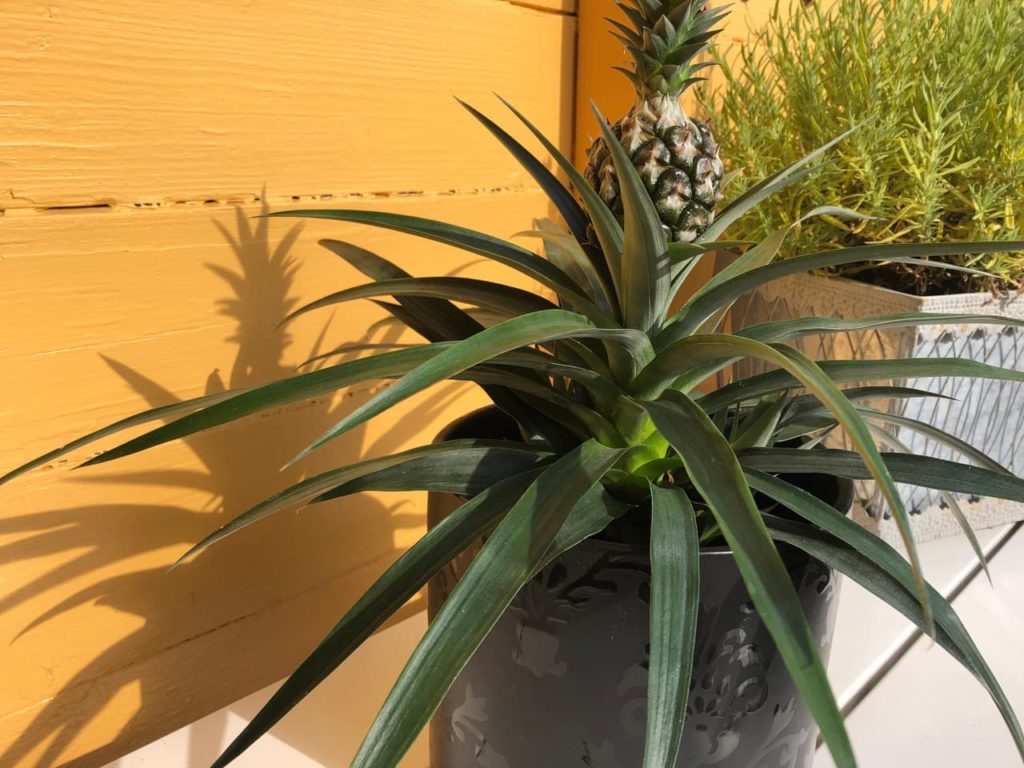
Growing a pineapple plant from its top rosette in the UK is difficult, but the payoff is amazing and you might be rewarded with home-grown pineapples.
Pineapple plants require temperatures of at least 16°C and above and need full sun to fully thrive.

So, if you have a greenhouse, you’re good to go, otherwise, a well-positioned window in your home will serve you well.
Grow it right by following these steps, and you’ll have your own pineapple plant:
- Select a pineapple plant to grow, prioritising vigorous fruits that show little signs of wilting.
- Prepare the top for planting by cutting the top 4cm from the rosette.
- Dry the pineapple top for 4-5 days in a warm, dry spot.
- Select the perfect spot (ideally south-facing in full sun) to grow your plant.
- Choose a container for your pineapples – I would suggest a 25L pot with a diameter of 40cm would suffice.
- Prepare the compost, using pebbles and gravel at the base to allow for a free-draining medium.
- Plant the pineapple top into the container and firm it around the top.
- Water and feed the growing pineapple plant when needed. It will take 2-3 years to see fruits from your plant.
This process is explained in more depth in the steps below.
| Difficulty | Hard |
| Equipment Required | Gardening knife, thick gloves, plant pot, growing medium |
| When To Plant | March to July |
1) Select A Pineapple Plant
Yes, you do have to select a pineapple, as the plant will be grown from its foliage rosette, also called the crown, which needs to have sufficient vigour.
Take a pass on fruits that have greyish, brownish or wilting crowns or ones that look less than fresh.
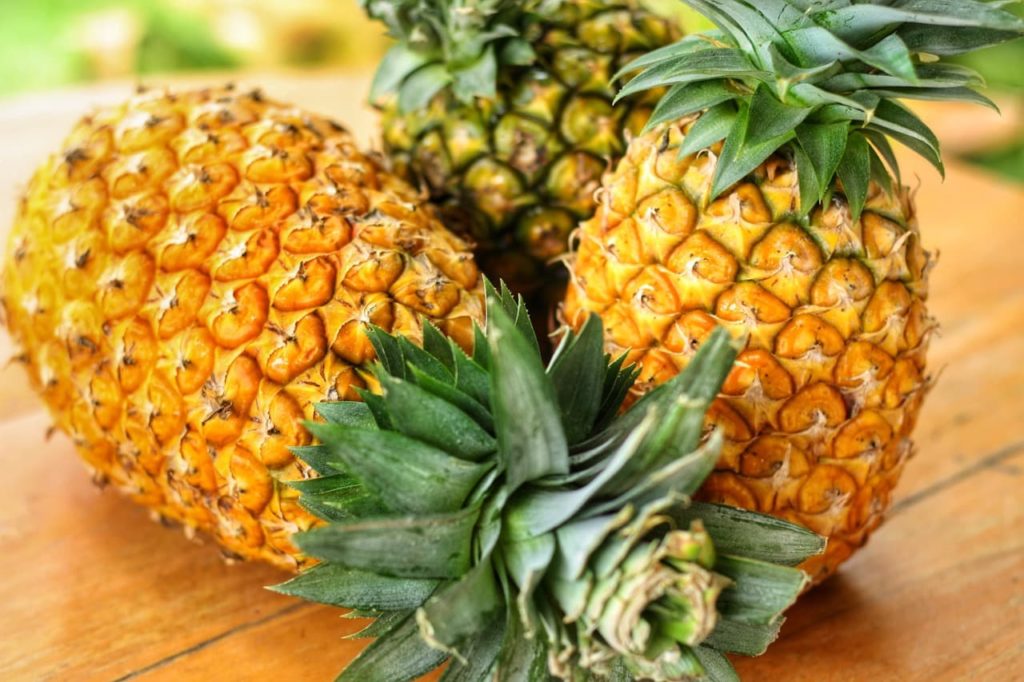
Choose a top that has full and rigid foliage, looks fresh and is of a deep green hue.
Another indicator is the scent, as a fresh but ripe pineapple will exude a very pleasant fragrance.
It may sit for a few days before you proceed to the next step but make sure to avoid undue lengthy delay.
2) Prepare The Top
You’ll need a wide-bladed sharp knife and a thick glove to wear on the hand you’ll hold the pineapple with.
Cut off the top part of the pineapple at a point about 4cm down from the foliage rosette.
Cut away the fruit around the outer part of that top section to expose the smooth-looking, pale-yellow core.
Now, using your hands, peel down and tear off several of the lowermost and outermost leaves.
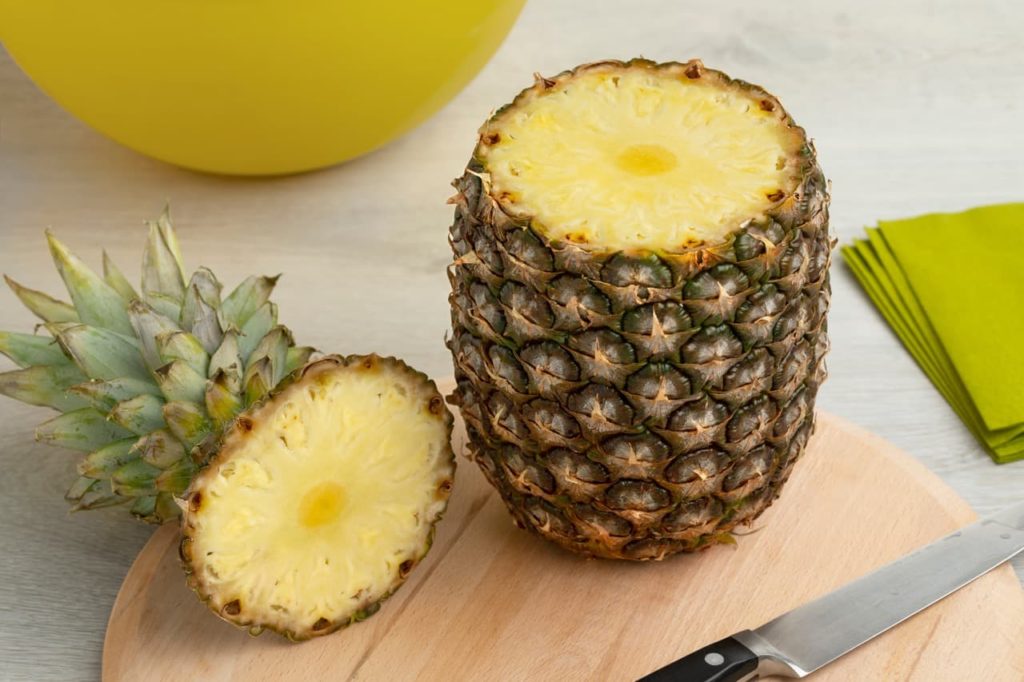
This will expose a yellowy-white section: the stalk. It will have a rough, corrugated appearance.
Finally, trim a little of that pale yellow core at the basal part with one clean slicing action so as to leave a flat bottom surface.
All of the rough, corrugated-looking, cylindrical parts underneath the rosette should be left as is.
3) Dry The Crown Out
From the most technical step, we proceed to the easiest.
Put the prepared top on its side on top of a newspaper in a well-aired and dry spot where it will get a couple of hours of sunlight daily.
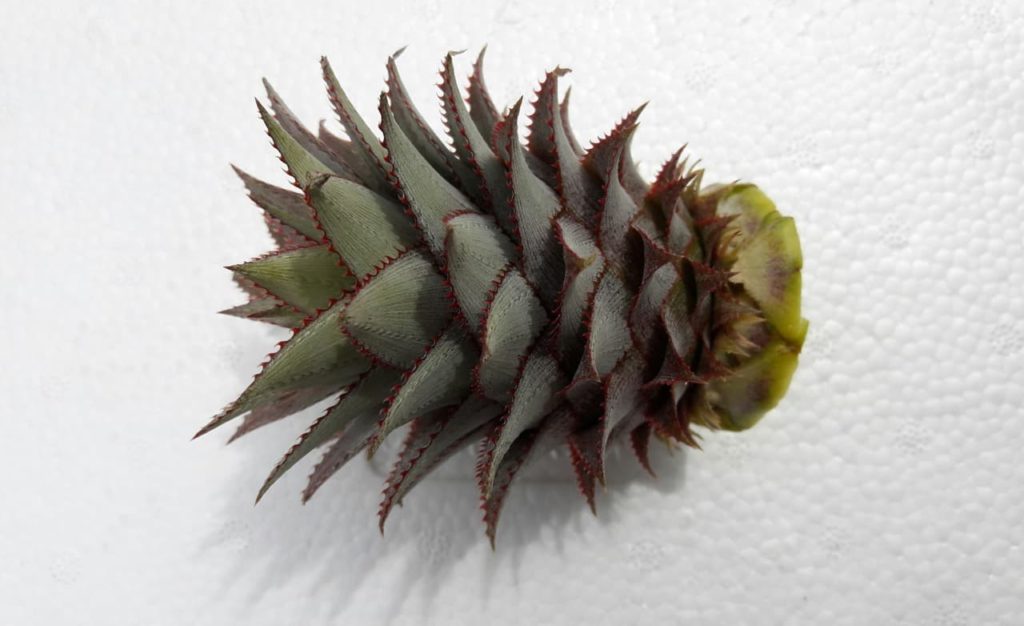
Rotate it at a half-turn after a couple of days.
Let it sit for a total of 4-5 days to dry and callus before planting it.
Don’t worry about leaving it, you’ll have a lot to do in the meantime!
4) Select A Suitable Spot
Pineapple plants thrive in a sheltered, south-facing location that is in full sun and is relatively humid.
If you have a hobbyist greenhouse, then that is the perfect spot.
Otherwise, choose the sunniest spot indoors that is well-ventilated but not completely dry, as a humid environment is preferable.
If you have French doors or bow windows that let in sun, you are probably all set.
A pineapple plant should get full sun all through its life cycle.
A south-facing window can be ideal, but you will have to try to maximise the sunlight that comes through it.
The temperature should stay at 20°C and above and stoop no lower than 16°C.
Even though somewhat lower temperatures will not kill the plant, your pineapple will struggle and growth will be compromised.
5) Choose A Container
You can, if you wish, start with a 5L pot and keep potting up the plant periodically, but be aware that this is not actually needed.
Unlike some flowering plants, pineapples do not need to be grown in a pot that is only just large enough for their roots and it is actually fine if their roots are lost in the pot.
Remember, those who live in tropical and subtropical regions grow pineapples in the open ground!
If you plant it in a small pot and intend to keep potting up, its growth will be adversely affected if it becomes pot-bound in any way, which will not be easy to correct.
Eventually, to a lesser or greater extent, the plant will be stunted, the flowers will be fewer, and the fruit will be smaller than it would have been otherwise.
Therefore, I’d recommend planting the pineapple top in the container in which it will complete its lifecycle.
My recommendation would be to opt for a container that has a capacity of 25L and a diameter of roughly 40cm.
Whatever pot you opt for, it must have drainage holes.
“To get rooting, you can also try the crown in water for a few weeks,” adds Peter Lickorish, a Horticultural Consultant.
“Separate the crown of leaves from the fruit, leaving all but the tiniest coin-shaped disc of fruit at the base. Peel off the lower leaves, up to a third of the way from the fruit end.”
6) Make The Compost
Firstly, place a layer of pebbles and gravel in the base of the container.
Make a moderately fertile, but not overly rich, friable and loose soil that is very well draining.

One-part balanced loam, one-part grit or perlite, one-part potting soil, and one-part ericaceous compost will be perfect.
Ericaceous compost is a very important component because the optimal soil pH for pineapple plants is in the range of 4.5-5.5.
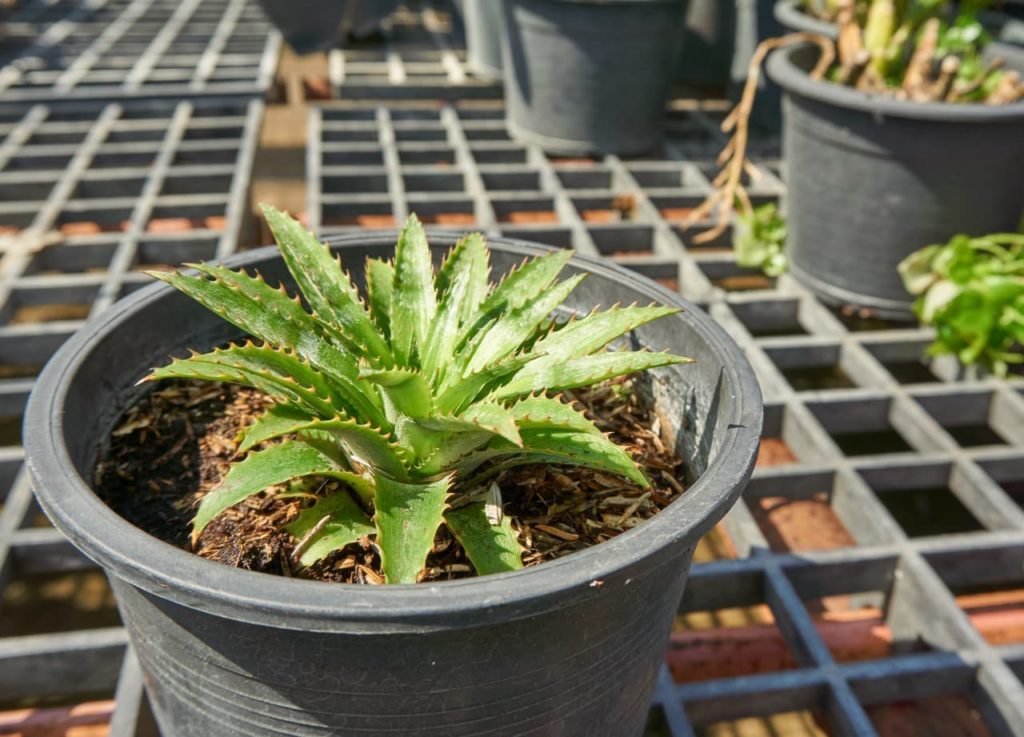
7) Plant The Pineapple Top
Fill the container with the soil mix but do not pack it in, let it remain loose.
Make a small, shallow depression with your hand in the centre of the container.
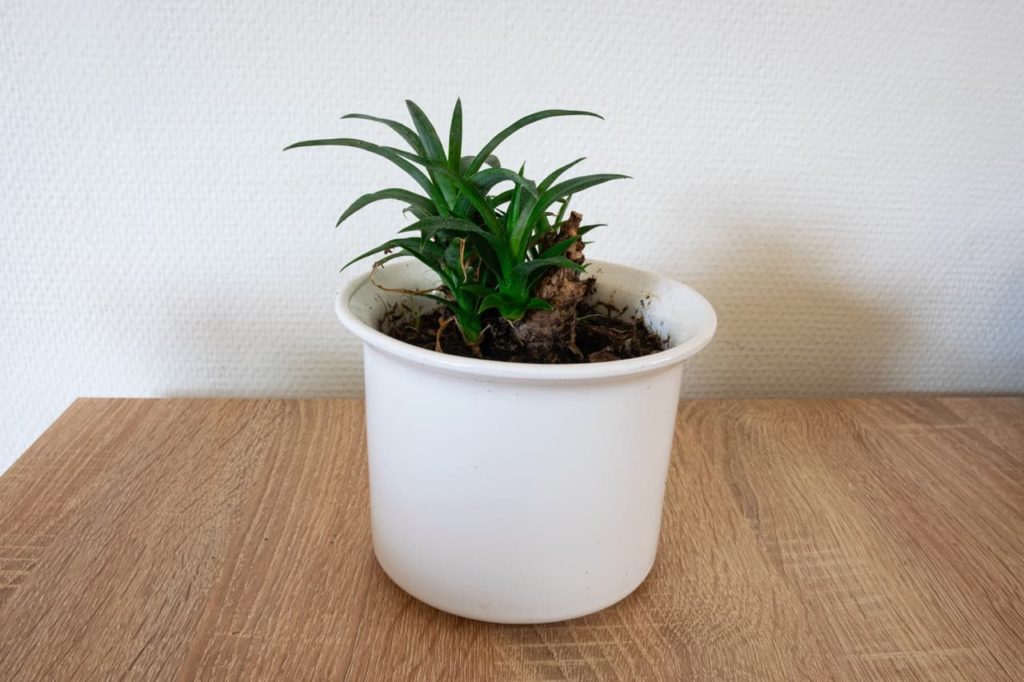
Take the pineapple top and insert it into the hole, adjusting as necessary so that the corrugated-looking cylindrical part is beneath the soil and all of the foliage is above it.
Level up the medium and firm it up around the top; water in the planted top.
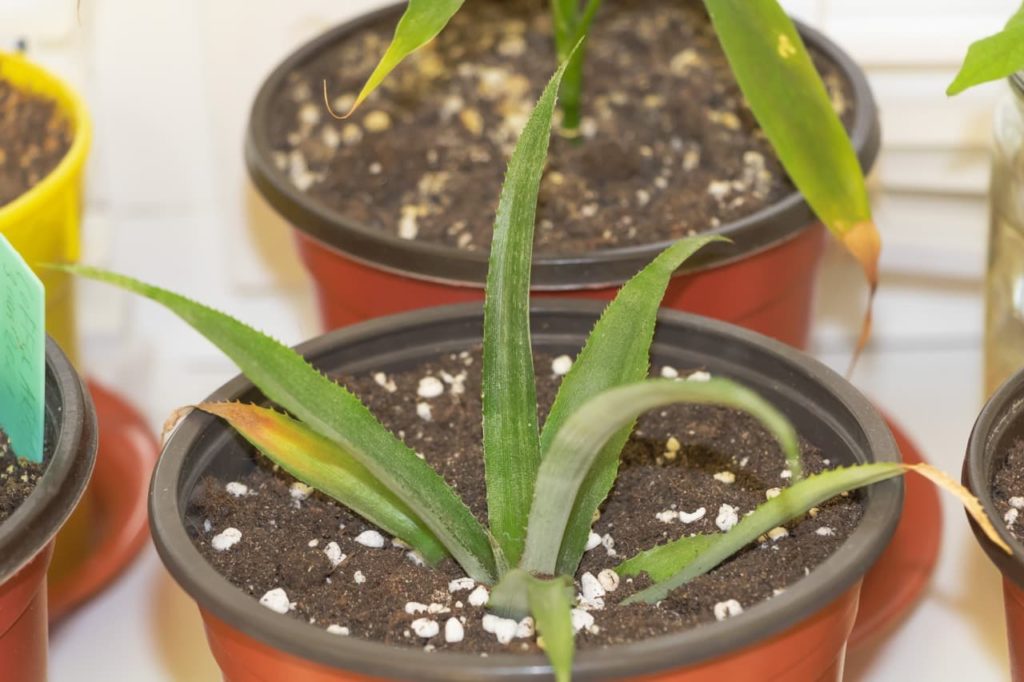
8) Water & Feed As Required
In the initial stages water liberally, aiming to keep the medium continuously moist, watering every few days.
After you see fresh foliage sprouting, you can ease off a bit on the watering, allowing the medium down to 1-2cm to dry out before you water again.
As the plant grows, keep an eye on the foliage – all of it should be green and turgid.
If the outer leaves are not turgid and are limp or wilting, then the plant is not getting sufficient water.
On the other hand, do not at any time soak the soil or keep it damp, as pineapple plants can contract root rot and succumb to it.
Reduce watering a little, allowing the soil to dry out some more during the winter months, picking it up again in April.
Water the plant with a rose-fitted watering can from above so that the water catches in the foliage rosette as well as falls in the growing medium.

After a flower stalk develops, you may still water into the rosette, but do not allow any water to fall on the stalk, the buds or the flowers.
Pineapple plants do best when the humidity is high (say from 50-70%).
If, at any time of the year, the humidity stays low (generally any level below 40%), mist the plant’s foliage every week or two.
If you are not sure of the humidity, go ahead and mist – it won’t harm the plant.
After the first new foliage emerges, you can begin to fertilise the plant, doing so every 30-60 days and less often during winter.
For the first 1-2 years, I’d suggest that you use a balanced formula and after this time, switch to a potash-rich mix.
Dilute the fertiliser to about 60% of the recommended strength and feed in moderation, especially when the plant is young.
Water the plant before and after fertilising, and pour fertiliser around the edges of the container.
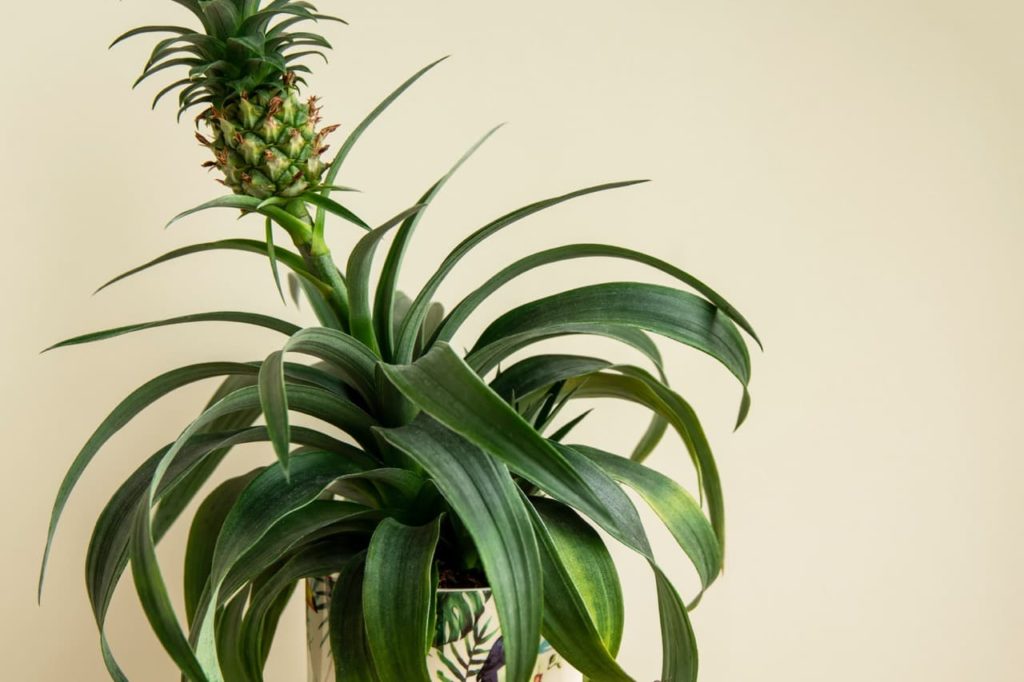
At some point in around 2-3 years, the plant will send up a stalk which will bear many flowers, from which you will see your tangy, juicy reward gradually form before your eyes.