Salvia Propagation: ‘Taking Semi-Hardwood Cuttings Is A Great Way To Ensure Continuity’


Reviewed By COLIN SKELLY

Colin is a Horticulturist and Horticultural Consultant with experience in a range of practical and managerial roles across heritage, commercial and public horticulture. He holds the Royal Horticultural Society’s Master of Horticulture award and has a particular interest in horticultural ecology and naturalistic planting for habitat and climate resilience.
IN THIS GUIDE
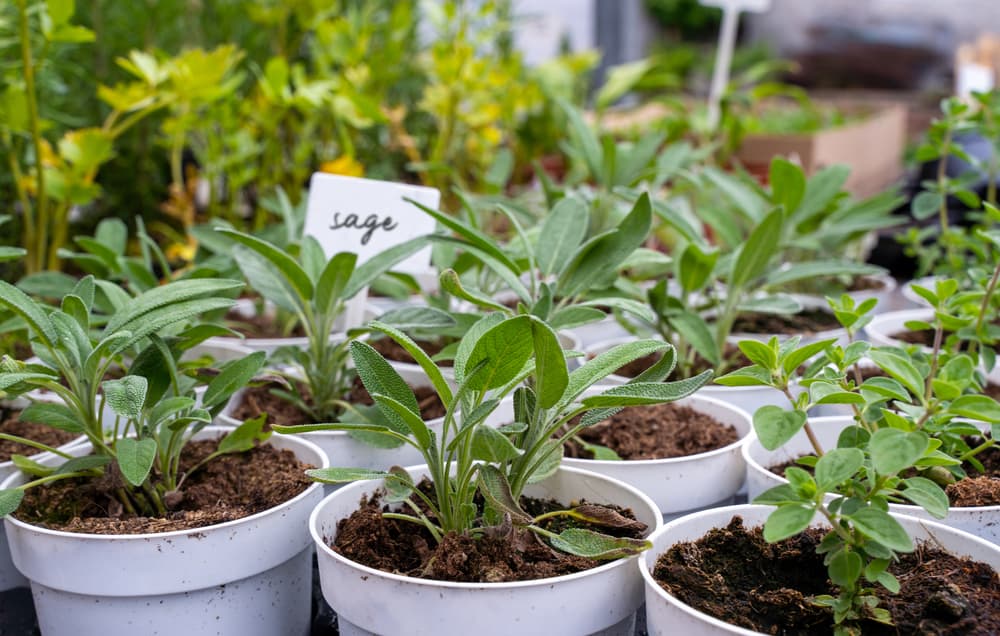
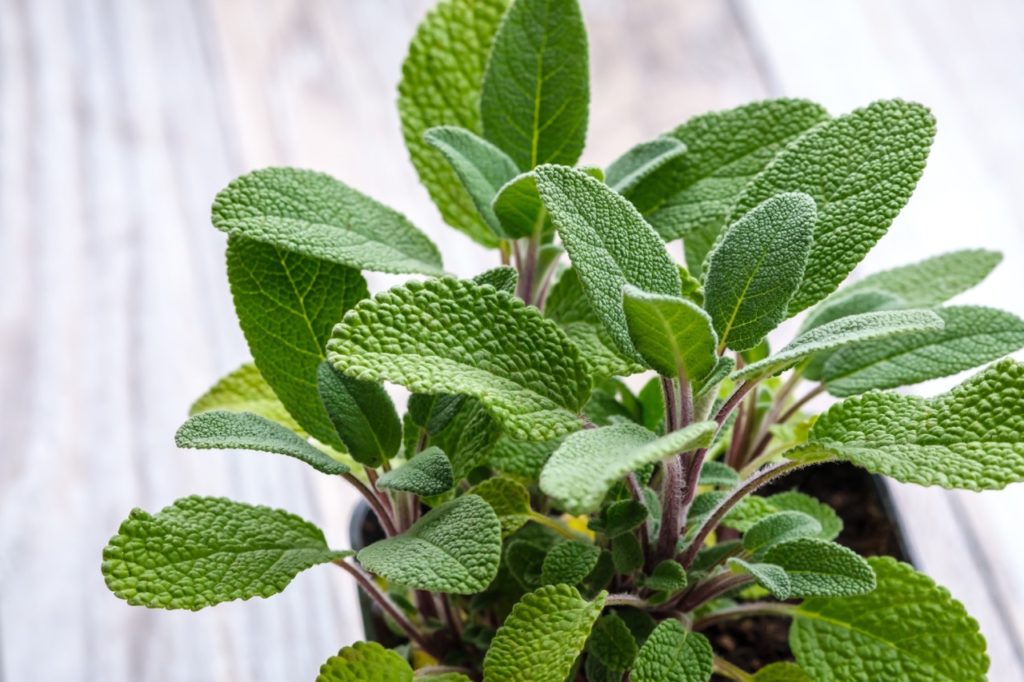
Salvia plants are herbaceous annuals or perennials with many species and innumerable cultivars.
They boast both ornamental and culinary value, so you will surely want to make use of these wonderful plants.
“Many Salvia species are borderline hardy in the UK, so planting out in May and then taking semi-hardwood cuttings in summer is a great way to ensure continuity,” shares Master Horticulturist Colin Skelly.
“Once the cuttings have taken, I am happy to remove and compost the previous year’s plants once they have died back from frost damage.
“With hardier Salvia, I will often use the same tactics every 2-3 years to keep them vigorous and compact.”
Luckily, they are fairly easy to propagate.
In this post we focus on propagation via cuttings, of which there are two methods:
- Propagating via semi-hardwood cuttings in summer.
- Propagating via softwood cuttings in late spring.
These methods are explained in more depth below.
| Difficulty | Easy |
| Equipment Required | Secateurs, gardening gloves, perforated polythene bag |
| When To Propagate | May or July-August |
1) Semi-Hardwood Cuttings
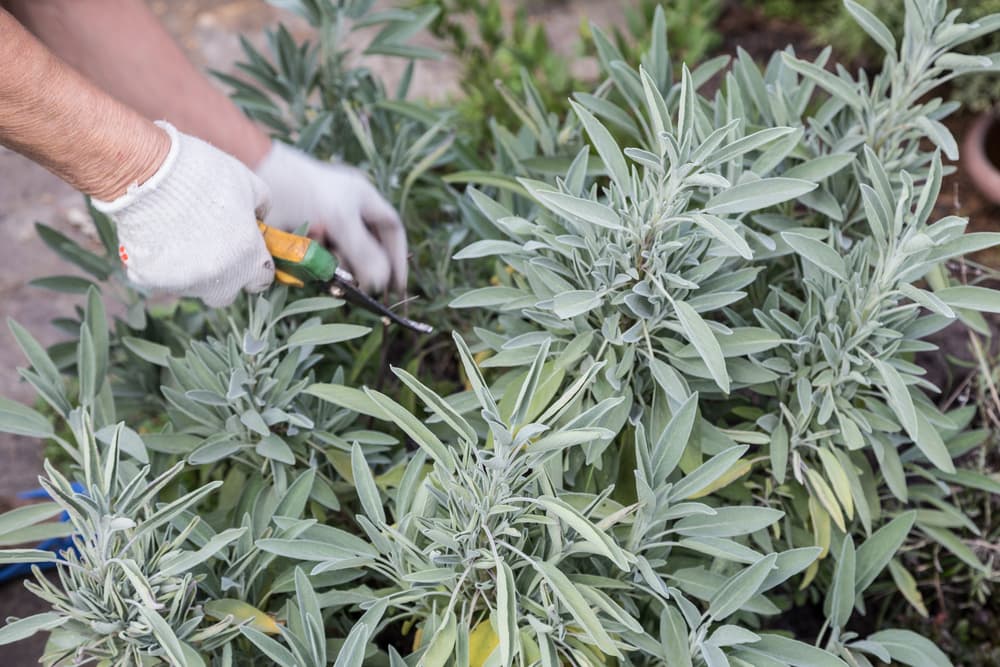
In late July or early August, prepare a small clay pot with a mix of approximately half perlite or grit (or both), and half cuttings compost and water it well.
Inspect your Salvia plant and choose a stem near the bottom that is from the current year’s growth but which has no buds, then:
- Cut off this stem then trim it down so that it is 10-12cm long when measured from its tip.
- Make the cut just below a leaf.
- Carefully twist and pluck off the lower leaves, leaving behind the top 4 leaves.
- Though salvia cuttings will almost always root without any special treatment, you can dip the base of the cutting in rooting hormone powder.
- Make a hole using a dibbler or pencil in the soil and insert the cutting from a quarter to a third of its length in the soil.
- Gently firm up the soil around the cutting and give it a good watering.
- To lock in humidity, cover the cutting with the polythene bag which should be large enough not to touch the cutting.
- You can insert 3 canes into the soil at the edge of the pot to support the polythene bag.
- Put the pot indoors or outdoors in such a place where it gets ample indirect sunlight but no direct sun.
- If you have a heated propagator, keep the cutting in it and turn on bottom-heating, as this will significantly increase the odds of the cutting taking root.
- Water the cutting daily so as to dampen the soil all through.
- Remove the plastic bag every other day for 20 minutes or so.
- Keep an eye on the cutting and if it starts to bend, support it with a stiff twig or pencil.
In my experience the cutting will take 2-4 weeks to root.
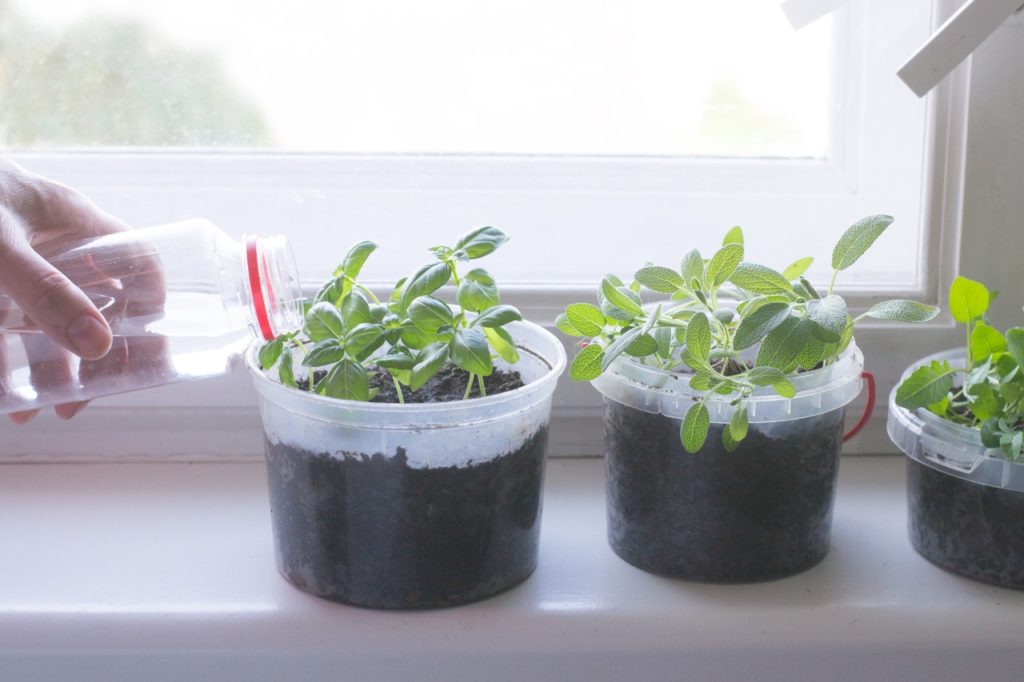
After the cutting develops roots and shows fresh green growth, I would recommend you allow it to grow in the same pot but remove the plastic bag, gradually reduce the frequency of watering, and slowly increase exposure to direct sunlight.
After a few weeks pot on the cutting to a bigger pot.
You may transplant it to a spot in your garden if that variety is sufficiently hardy for your region, otherwise pot it on so that it can be overwintered indoors.
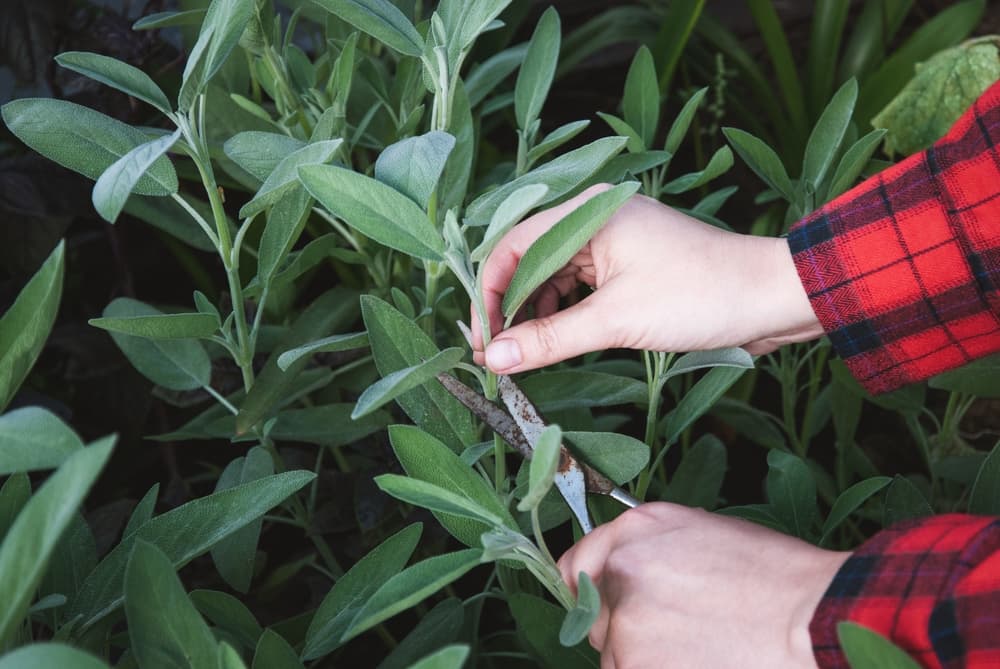
2) Softwood Cuttings
Anytime during May, prepare a small clay pot with a mix of approximately half perlite or grit (or both), and half organic compost.
Water this soil so that it is damp through, then:
- On the donor plant, choose a young green stem or shoot; this may be anywhere on the plant.
- It should be at least 10cm long and have fresh, young leaves but no buds.
- Using your secateurs, cut off an 8-10cm length of this stem, cutting it just below a node.
- To prep and plant the cutting, follow the same directions as outlined from step 3 in method 1 (Semi-Hardwood Cuttings).
- After setting up the cutting in the pot, you will need to keep it cosy because of the temperatures during May in most regions of the UK.
- As such, if you have a heated propagator, then it would be best to place the pot in it.
- If not, cover the pot with a polythene bag and place the pot indoors in a warmish place where it can get ample indirect sunlight but not direct sun.
- Keep watering the cutting and be patient.
If the existing leaves have not shrivelled and fallen off and if the stem has not browned and withered, it means good things are happening underground!