Repotting Begonias Is A Very Simple 4 Step Process Illustrated By Emily Cupit


Ed is a horticultural therapist, professional gardener and writer. Ed has a BSc in Occupational Therapy from Coventry University and a Diploma in Social and Therapeutic Horticulture (DipSTH) via Thive, the RHS and Pershore College. Ed runs a community kitchen garden in West Sussex, where he leads horticultural therapy sessions.
Reviewed By DAN ORI

Dan has over 27 years’ under his belt caring for plants and gardens. Working as a Horticultural Instructor and Consultant, he draws on a diverse range of experience that includes working as a Head Gardener, Tree Surgeon, Garden Centre Trouble Shooter, and writer of academic papers. Dan has a Level 3 Diploma in Horticulture and is currently a candidate for the RHS’s most prestigious award – The Master of Horticulture.
Contributions From EMILY CUPIT

Emily is a Gardening Writer, Photographer and Videographer from Derbyshire, UK. She is the Founder of Emily's Green Diary - a community of more than 75,000 people who share in her gardening journey.
IN THIS GUIDE
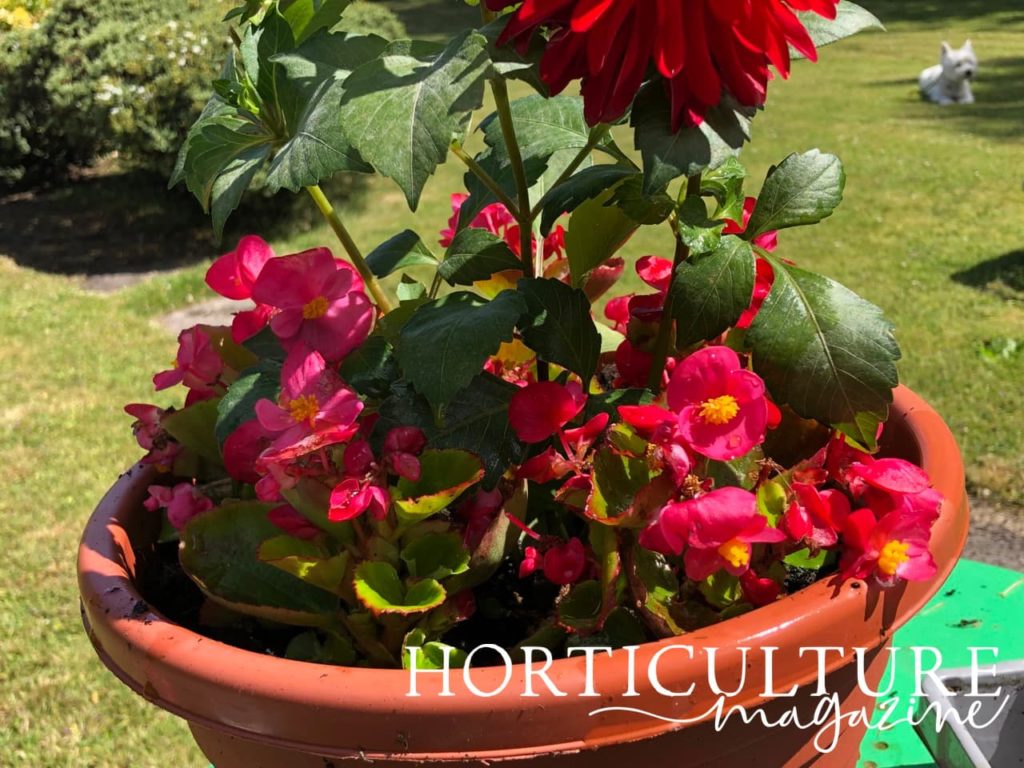
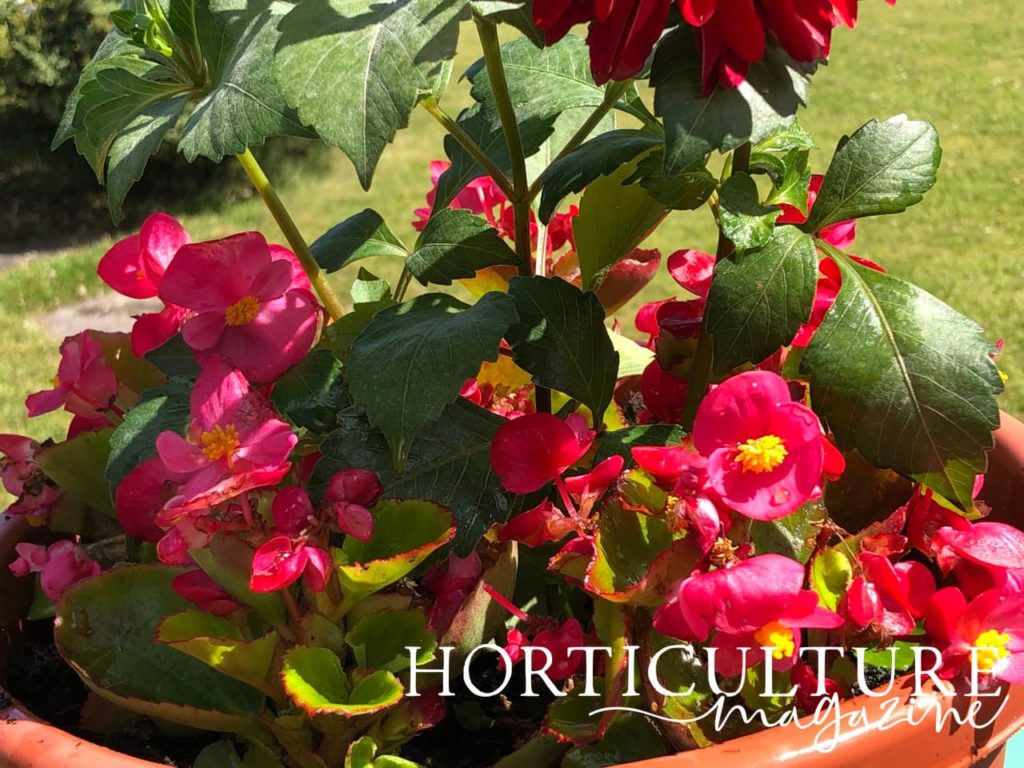
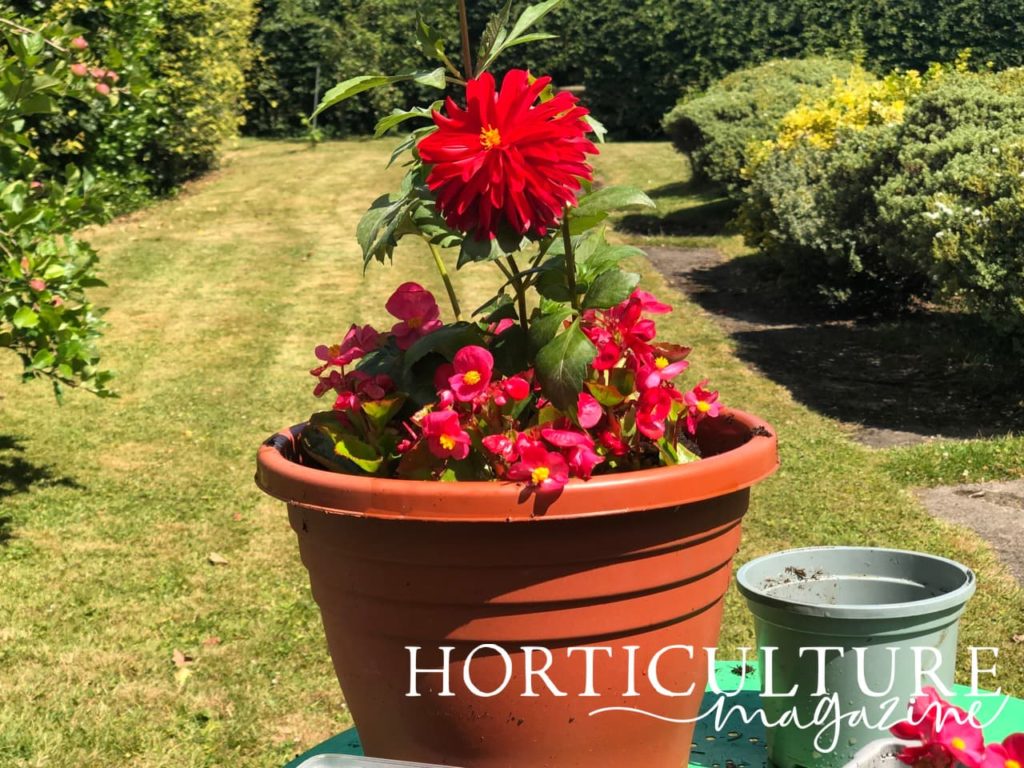
Begonias are often grown in containers or pots due to their fondness of being slightly root-bound and so that they can be easily moved to a pride of place when looking their best.
A group of tender flowering perennials, begonias are often grown as container or hanging basket half hardy annuals or as houseplants here in the UK.
| Difficulty | Easy |
| Equipment Required | Gloves, larger container, potting compost, perlite or horticultural grit |
There are certain tell-tale signs that your begonia may need repotting:
- Roots trailing from drainage holes of your pots
- Failure to thrive after historically growing well
- The plant has visibly outgrown its current pot
Repotting begonias is usually a straight-forward process:
- Loosen the plant from its pot
- Choose a new container that is appropriately sized
- Prepare the soil mix
- Repot
This process is explained in more depth below –
1) Loosen The Plant’s Soil

Before repotting, it is important to loosen the soil around the plant so it can be easily removed from its current container.
If the plant has become severely rootbound or has not been re-potted in a few years, this can be easier said than done.

If a plant cannot easily be extracted from its current home, gently squeezing the sides of the pot or sliding a thin object between the soil and the pot side, such as a plant label can help.
2) Choose An Appropriate Pot

Begonias grow best when they are slightly constrained, so don’t be tempted to plant them in a huge pot, as they will often struggle.
Instead, choose a new pot just one or two sizes up, with plenty of drainage holes so any excess water can easily drain away.
3) Prepare the Soil Mix
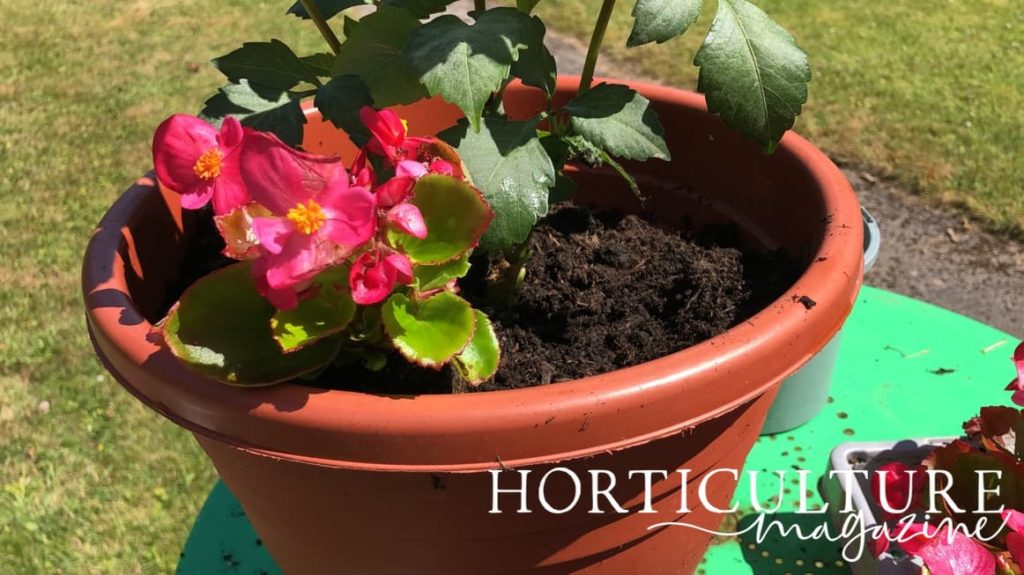
Begonias can be hungry feeders, especially when they are actively growing and flowering.
If the plant’s increasing size doesn’t require its repotting, it is still recommended to change the soil for container-grown begonias every two to three years, to avoid the compost becoming depleted of nutrients.
In general, begonias prefer a moist, but well-drained soil.
A potting compost with some perlite or horticultural grit added to increase the drainage properties is ideal.
4) Re-pot
Add a thin layer of potting mix to the bottom of the new pot and place the plant on top, ensuring that the plant sits at the correct depth in the new container.
Backfill around the plant with the compost mix and gently firm in.
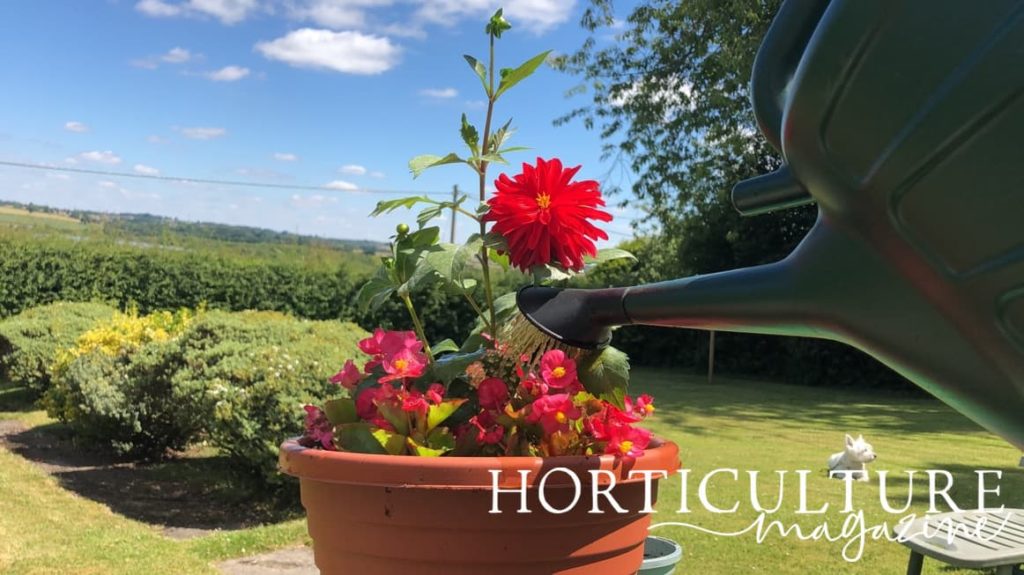
Once re-potted, water thoroughly ensuring that all the compost is moist and that any excess water can drain away freely.