Growing Chillies In Containers? Make Sure To Re-Pot In Stages For A Thriving Plant


Reviewed By COLIN SKELLY

Colin is a Horticulturist and Horticultural Consultant with experience in a range of practical and managerial roles across heritage, commercial and public horticulture. He holds the Royal Horticultural Society’s Master of Horticulture award and has a particular interest in horticultural ecology and naturalistic planting for habitat and climate resilience.
Contributions From EMILY CUPIT

Emily is a Gardening Writer, Photographer and Videographer from Derbyshire, UK. She is the Founder of Emily's Green Diary - a community of more than 75,000 people who share in her gardening journey.
IN THIS GUIDE
Pound for pound, there are few plants which pack as much punch or as much flavour as the humble chilli.
Chillies are a delicious addition to all kinds of culinary dishes, from soups to pastas to stews to, well, chillies.
Now that you’re aware of the myriad benefits that chillies bring to the table, it’s time to get growing your own.
It’s well worth the small amount of time it’ll take to do so; cultivating your own is cheaper, more convenient and grants you access to a far greater variety than the simple red/green dichotomy on offer in most shops and supermarkets.
Best of all, growing chillies in pots is supremely easy.

Container growing means you can help yourself to a plentiful supply of tasty treats all year round, especially if you freeze or dry excess produce.
This article will tell you everything you need to know about the process to make it as simple as possible.
Can You Grow Chillies In Pots?

The short answer here is a resounding yes!
Growing chillies from seed in pots is child’s play – as long as you have the requisite heat and light to allow them to germinate properly.
If your home is lacking the space or ambient conditions for you to confidently grow from seed, it’s advisable to simply buy a young chilli plant from a garden centre or online provider.
This way, you can skip the slightly tricky germination stage altogether.

Having said that, growing from seed shouldn’t pose too much of a problem if you are able to provide the three resources a chilli plant needs to thrive: warmth, light and water.
You can take a shortcut to the first of these by using a temperature-regulated propagator, set at between 20-30°C.
However, this is not strictly necessary and you can increase the temperature and humidity of your chilli plants by positioning them on a sunny windowsill and preparing the pot accordingly, as outlined below.
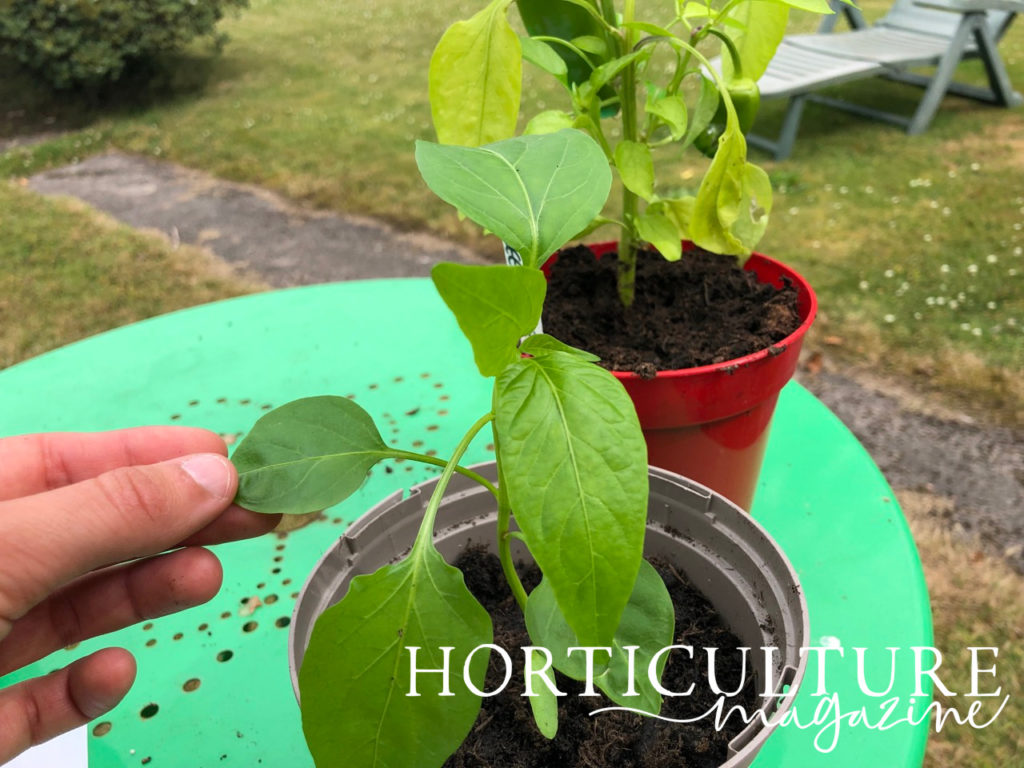
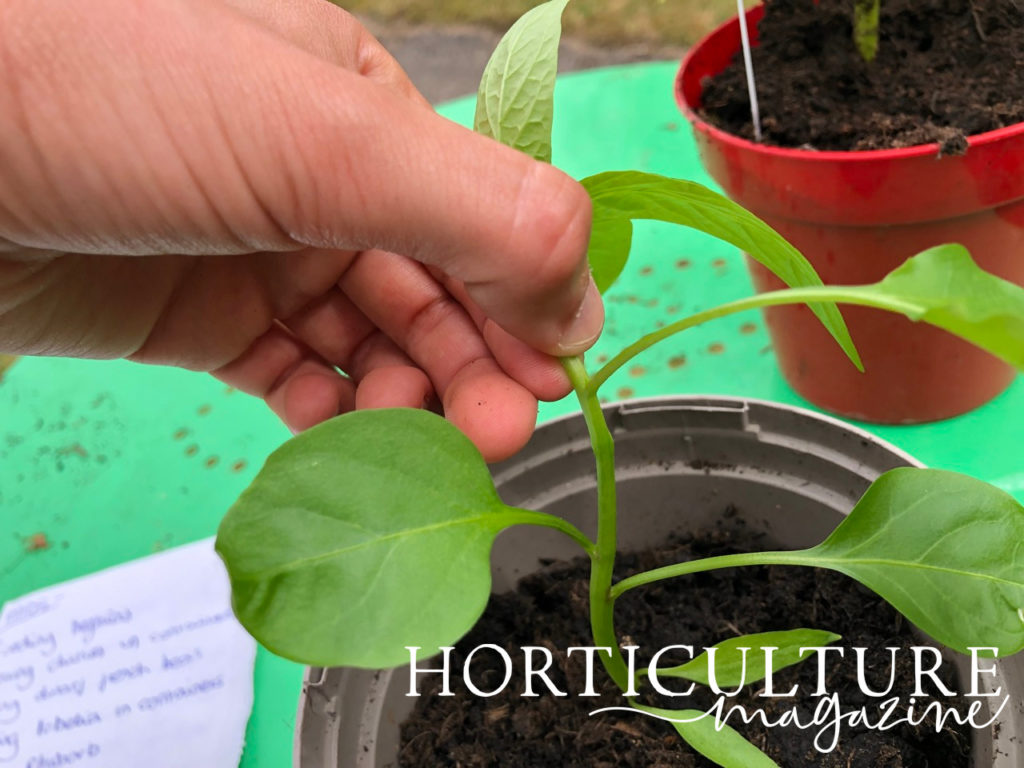
Increase Container Size Over Time
If planting from seed, it’s a good idea to use a seed tray or the smallest pot you can lay your hands on.
This will help to regulate the temperature and moisture of the soil more effectively and give the chilli seeds the best chance of germinating.
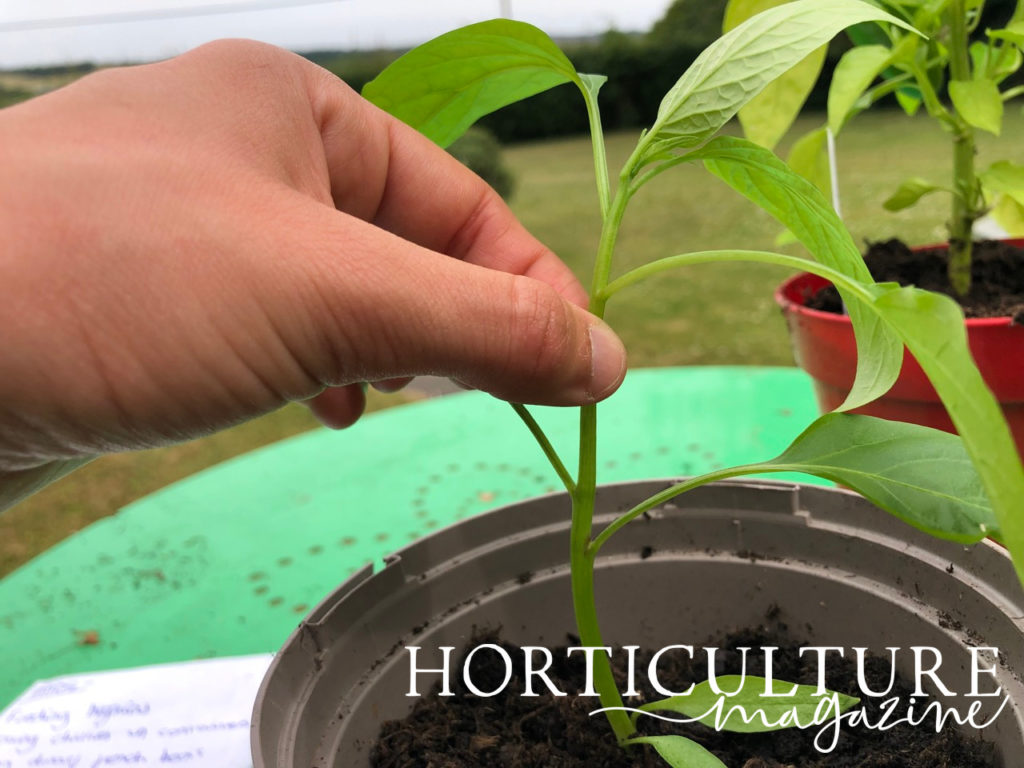
However, once the seedling has sprouted and begun to produce “true leaves” (by which we mean the second tier of foliage on the stem), it can be transplanted to a bigger pot.
It’s advisable to re-pot in stages; rather than go from a tiny pot to a large one, increase its space incrementally.

At the outset, you can increase the humidity levels of your chilli seedlings by placing a clear plastic bag or clingfilm over the pot and securing it in place with an elastic band.
Once shoots begin to appear above the level of the soil, remove the plastic (or take the plants out of your propagator, if using one).
It should also go without saying that good drainage is imperative to maintaining a healthy chilli plant.
Make sure you select a pot with enough holes in the base and also make sure the soil mixture is right.
More advice on that particular aspect is available below.
Compost For Tomatoes Works Well
It might sound counter-intuitive, but chilli seeds actually prefer soil which has poor nutrient levels at the outset.
That’s because soil which has too many nutrients can hinder seedlings of a young age.
Once the plant has become established and active, it will then require compost that is more suited to its development.
This means using a soil product that has been specifically designed for chilli plants, or making up your own mix composed of enough nutrients and drainage additives.
As a general rule, a compost composed of three-quarters tomato soil, 10% perlite, 10% vermiculite and 5% fine gravel or sand will serve your needs well.
The nutrients contained in this initial mixture should meet the plant’s requirements for the first six weeks or so, but afterwards it’s advisable to fertilise it regularly.
The exact type and frequency of feeding will vary between different types of chilli plants, so always check the label or the grower’s instructions to make sure you’re following the right path.
Chilli-specific fertiliser, seaweed or diluted Epsom salts are all popular options.
Potting Up Chillies
When initially planting chilli seeds, you should fill your seed trays or small pots about half-full with potting soil.
Sprinkle a few more seeds than you require to account for some failing to germinate, then layer over with more soil.
Water the medium thoroughly at the outset.

Chillies appreciate dry and wet cycles, so avoid the temptation to water your plant too often.
Instead, let it dry out (though not fully) before irrigating.
Take care not to overwater or you’ll drown your seeds before they’ve even had a chance to develop – again, good drainage is key.
How Many Chilli Plants Per Pot?
Once you are ready to transplant your seeds into pots, it’s advisable to give your plants plenty of room to stretch their legs.
This means usually only placing one seedling into its own individual pot.
One top tip for the transplanting process is that chilli seedlings can be planted at any depth, so feel free to submerge a decent portion of leggy and tall stems in the soil.
This will help them to stay upright and prevent them from becoming overwhelmed by their own height.
Caring For Chilli Plants In Containers
Aside from ensuring that chilli plants have their basic needs of light, warmth, water and fertiliser met, there are a number of other measures you can take to ensure your plant performs as well as possible.
Chief among these is your pinching, pruning and trimming habits.
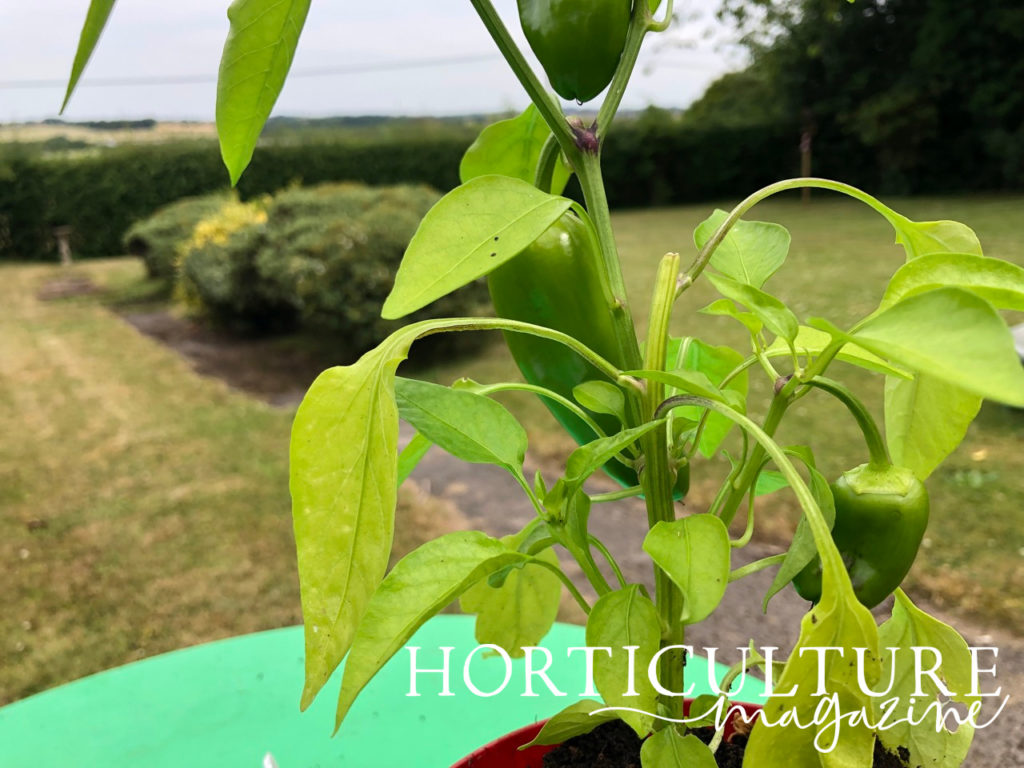
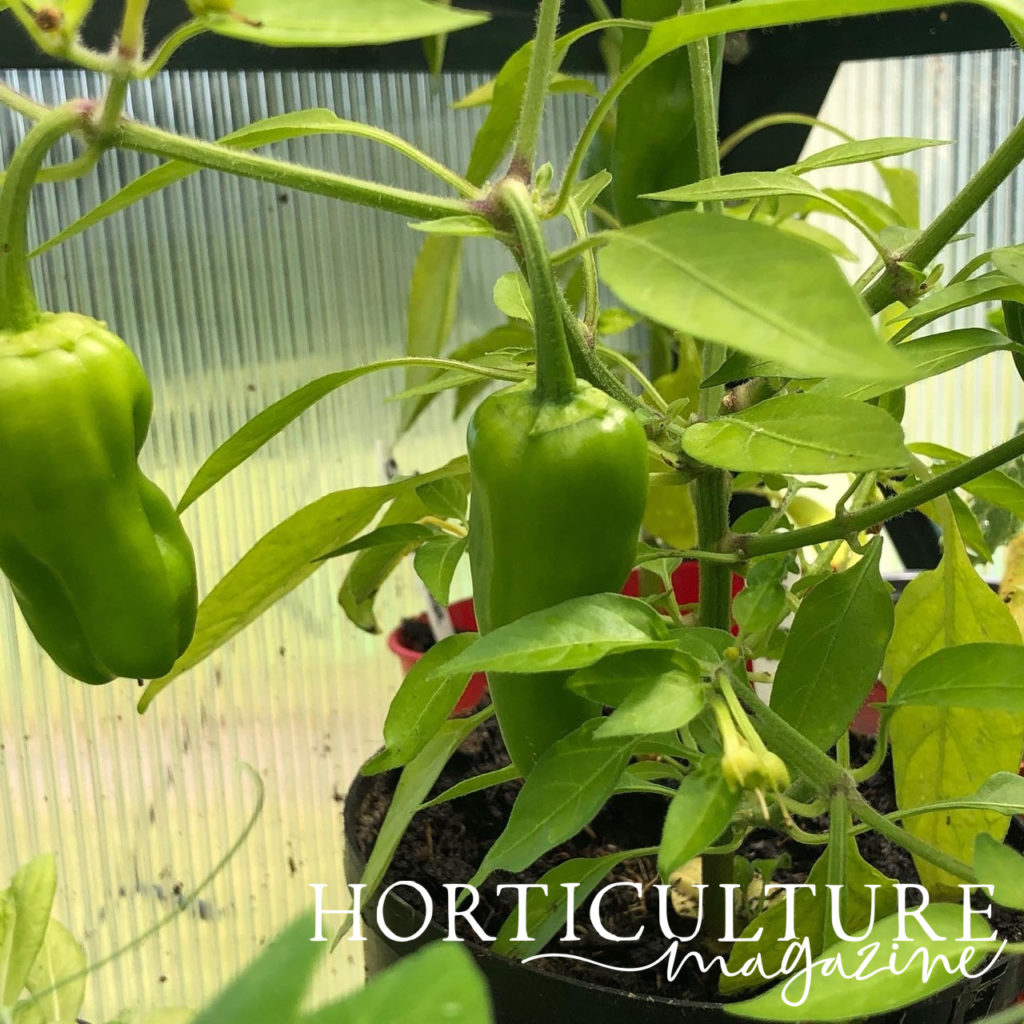
By removing excess foliage and harvesting chillies regularly, you can ensure that your plant devotes enough attention to regeneration, which results in more vigorous growth and a greater yield.
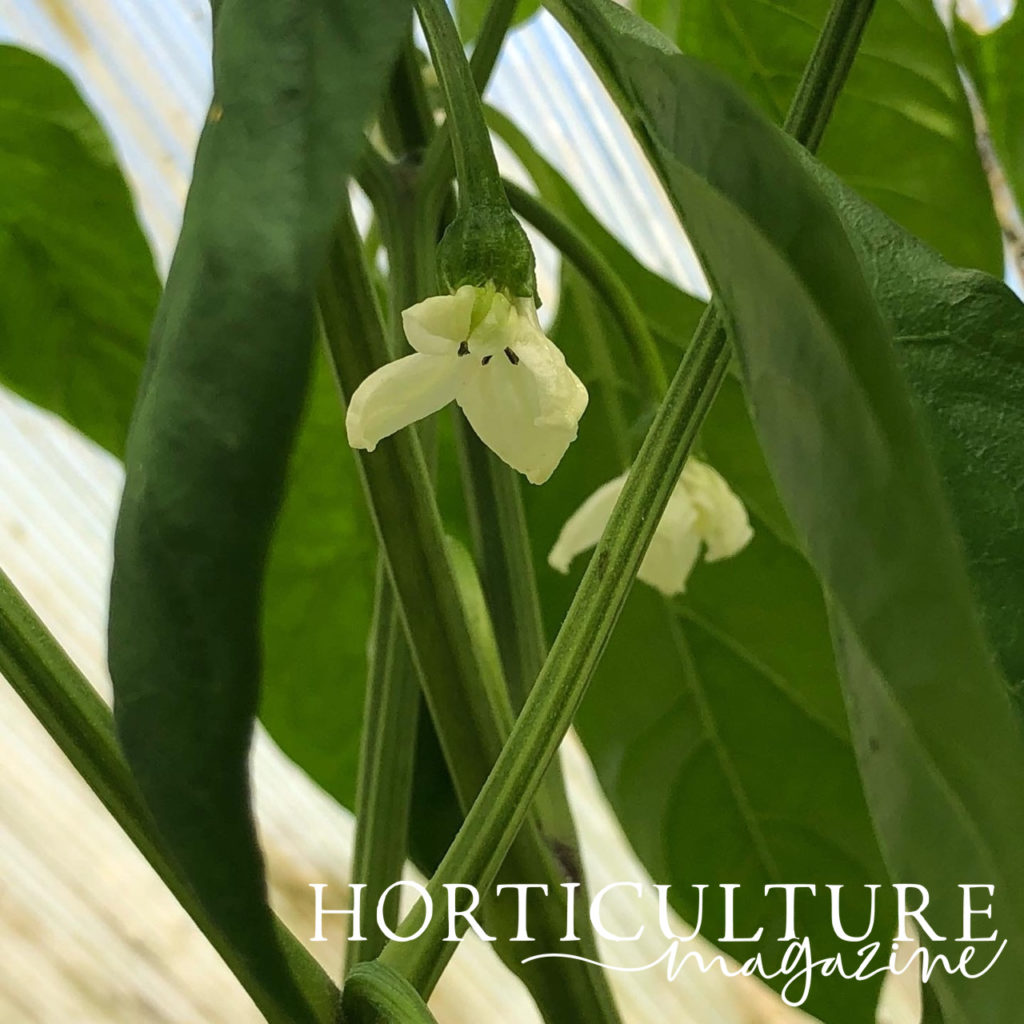
“Picking chillies whilst still green will produce a milder taste and encourage the plant to keep fruiting,” shares Colin Skelly, Master Horticulturist.
“If you prefer a hotter taste then leave the chilli on the plant to change colour.
“Check the heat of your chilli when you are choosing your seed or plant (measured on the Scoville scale – the higher, the hotter) to make sure you can eat what you grow!”
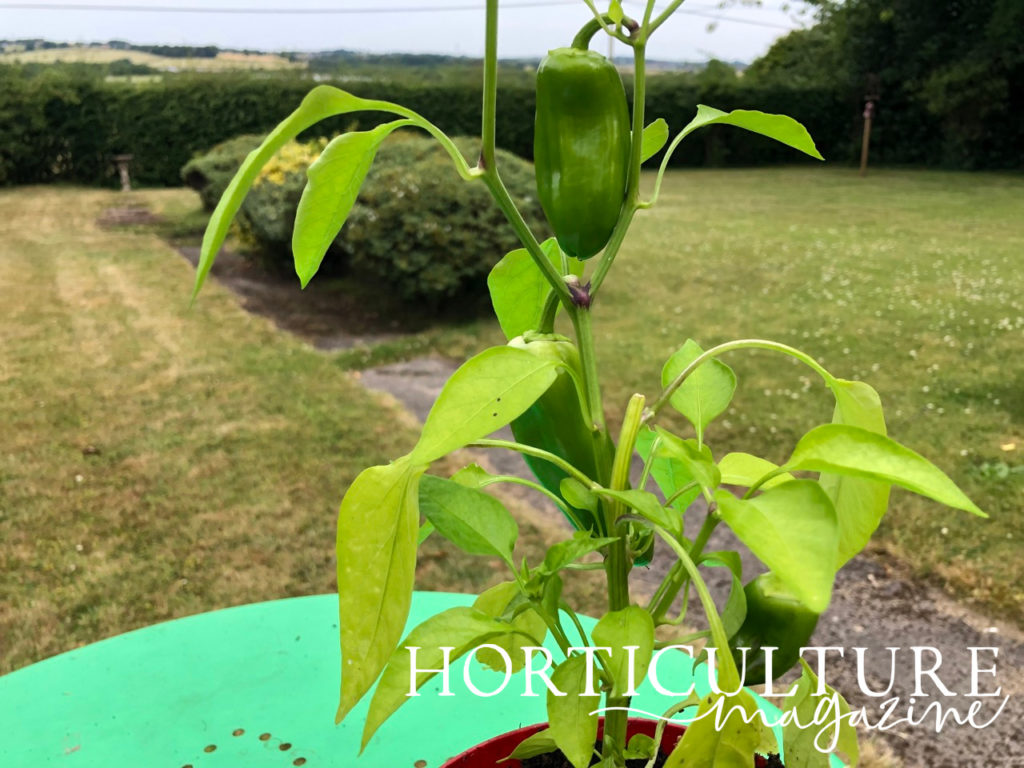
You should also not be afraid to provide support to your chilli plant once it exceeds 30cm in height (or if it simply looks like it needs a helping hand).
Staking and tying the plant will give it the encouragement it needs to reach its full potential.
Once harvested, your chillies can be used as fresh ingredients, or else frozen in your freezer or dried out.
Dried chillies can then be blitzed into very small flakes and used during or after cooking to season your dishes.