Separate Offsets To Grow New Colocasia Plants Argues Elizabeth Waddington

Elizabeth is a Permaculture Garden Designer, Sustainability Consultant and Professional Writer, working as an advocate for positive change. She graduated from the University of St. Andrews with an MA in English and Philosophy and obtained a Diploma in Applied Permaculture Design from the Permaculture Association.
Reviewed By DAN ORI

Dan has over 27 years’ under his belt caring for plants and gardens. Working as a Horticultural Instructor and Consultant, he draws on a diverse range of experience that includes working as a Head Gardener, Tree Surgeon, Garden Centre Trouble Shooter, and writer of academic papers. Dan has a Level 3 Diploma in Horticulture and is currently a candidate for the RHS’s most prestigious award – The Master of Horticulture.
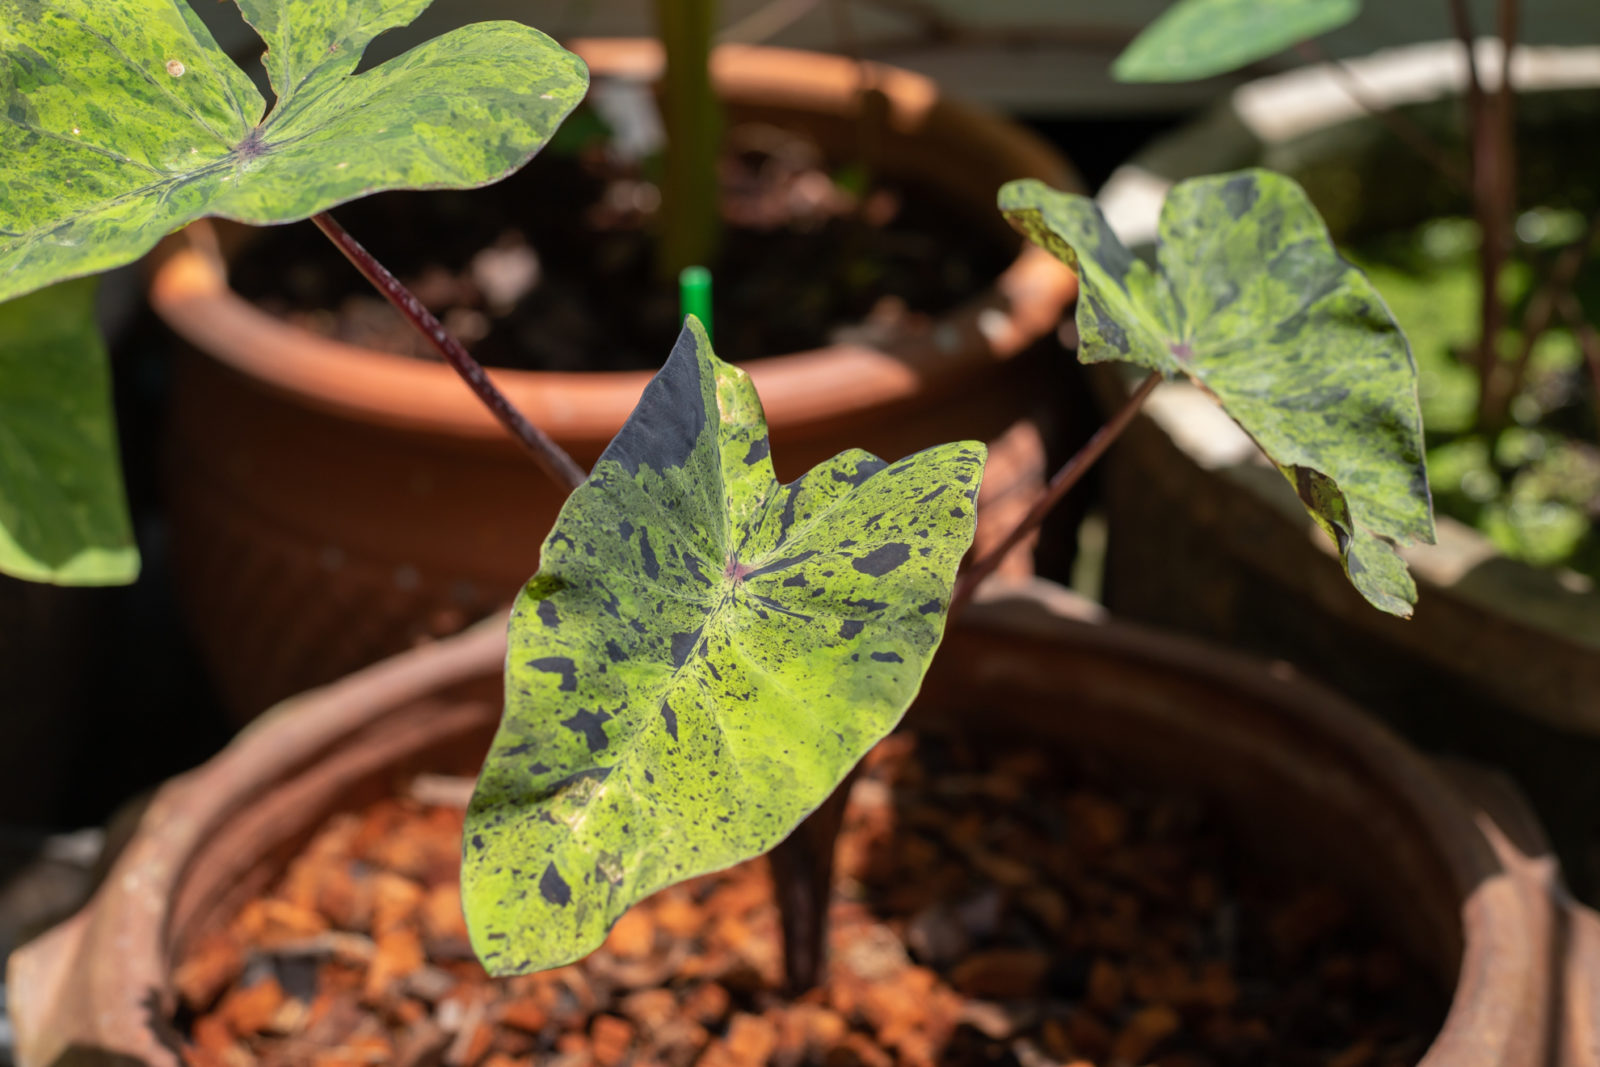
Colocasia can be grown either as an ornamental plant or an edible crop and is prized for its large leaves, which add a tropical and exotic look to its surroundings.
This is a tender plant, which can be grown outdoors in summer, but requires 21°C indoors over the winter months to remain fully evergreen.
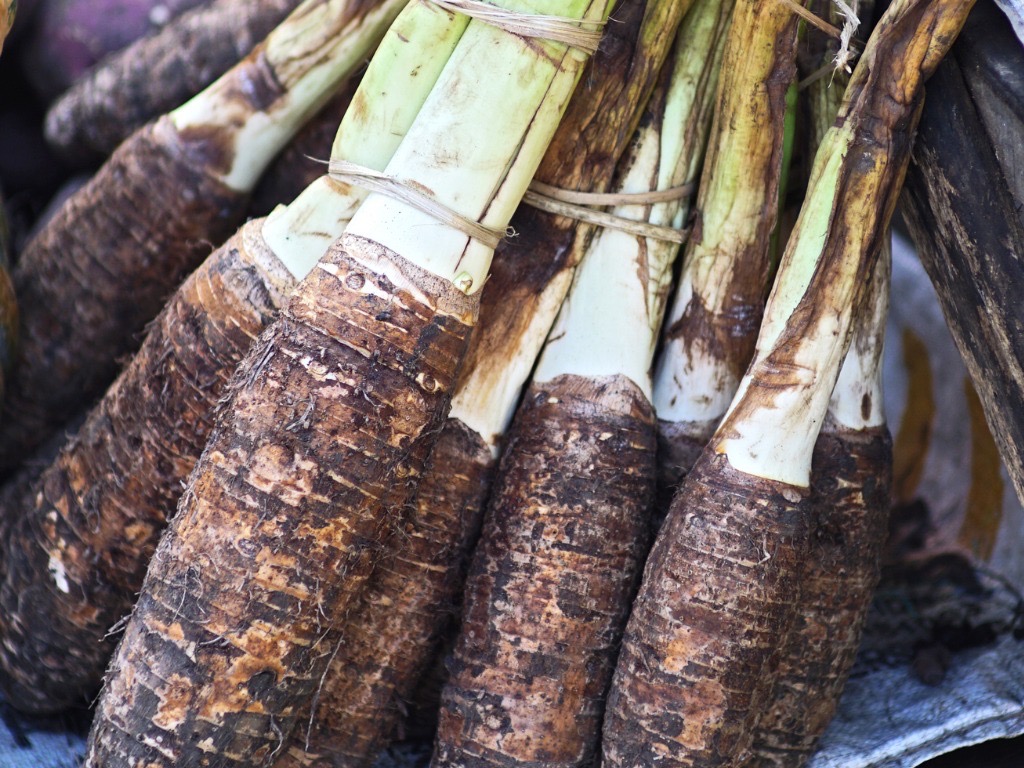
When grown outdoors in summer, the tubers are lifted and taken indoors for the winter, or, when grown in containers, taken indoors before the first frosts.
Winter is the time to propagate the plants by division.
To propagate colocasia by division of the tubers, there are 3 main options:
- Slice off the top couple of centimetres of the tuber, where the leaf stalks emerge, and replant this to grow into a new plant.
- Lift the plant and take off the small suckers of offset tubers around the main tuber, and grow these on to replant.
- You can also cut the main corm into small pieces, making sure that each one has an eye, and grow these sections on slowly for replanting.
We explain each of these methods down below.
| Difficulty | Medium |
| Equipment Required | Trowel, compost mix, pots, garden knife, propagator |
| When To Take Cuttings | Winter |
1) Cutting The Tuber
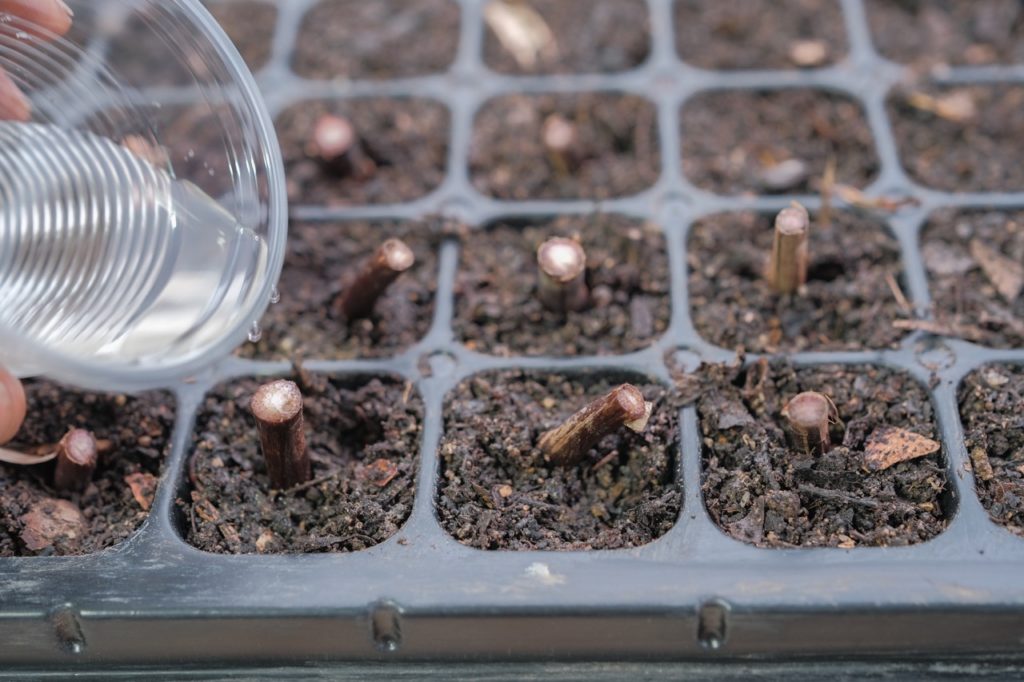
If you plan on harvesting taro at the end of the growing season, it is worthwhile cutting off the top couple of centimetres of the tubers, where the leaf stalks emerge, and replanting these sections in pots to grow on indoors over winter.
Trim back the above-ground growth to leave just 15cm or so of the stalks.
Pot these up into their own individual pots and keep them indoors at above 21°C until the following spring when they can potentially be planted back out into the garden.
2) Separating Offsets
While this method will be a little slower, you can also take the offsets or smaller corms which form around the main one on the plant.
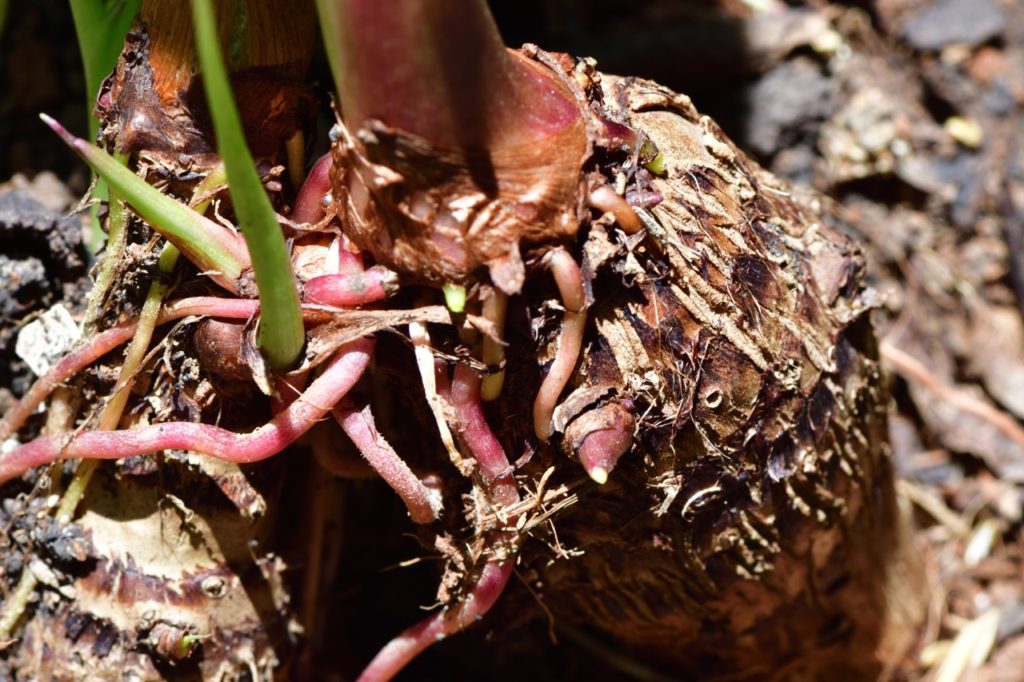
These small offset corms can be potted up into their own containers and grown indoors, ideally in a heated propagator to provide the requisite temperatures and humidity, over the winter months.
They can be planted out in the garden once they develop into larger independent plants.
3) Dividing The Main Corm
The main corm can also be cut into pieces.
As long as each portion of the corm is one with an ‘eye’, these pieces should eventually grow into new plants when appropriate growing conditions have been provided.
This option is the most challenging, however, and it will take the longest to produce viable new plants, so one of the first two options is usually best for temperate climate gardeners.
“My top tip for success, or rather minimising the chance of fungal problems on your plants, is practising good container and tool hygiene by disinfecting knives and pots before use,” shares Horticultural Consultant Dan Ori.
“I would also recommend not having the compost too damp (if damp at all), and I would try to have good airflow around them as it starts to warm up in the spring.”