How To Build A DIY Cold Frame In 4 Easy Steps – Help Half-Hardy Plants Through Winter


Chris is a gardening writer and nature enthusiast. He graduated from Oxford Brookes University in 2022 with an MA in Psychology. Chris works with the Leeds Green Action Society, helping their food cooperative by growing various fruit and vegetables on their two allotments in Hyde Park, Leeds.
Reviewed By COLIN SKELLY

Colin is a Horticulturist and Horticultural Consultant with experience in a range of practical and managerial roles across heritage, commercial and public horticulture. He holds the Royal Horticultural Society’s Master of Horticulture award and has a particular interest in horticultural ecology and naturalistic planting for habitat and climate resilience.
We’ve seen cold frames described as “a gardener’s best friend” – and we’d be inclined to agree.
Though simple – just a wooden frame with a see-through lid – these little boxes are surprisingly versatile and helpful.
Whether you want to plant crops out earlier, keep them growing for longer into winter, or harden off plants making their way from your greenhouse to your garden, a cold frame could be exactly what you’re looking for.
“The cold frame is an asset to any gardener growing plants from seeds or cuttings, or trying to coax a half-hardy plant through the winter,” says Master Horticulturist Colin Skelly.

“A simple hinged roof allows airflow and temperature to be controlled to the benefit of plant growth relative to the environment outside of the frame.
“Cheap, simple and effective.”
Then we’ll get a little bit technical, giving you a step-by-step breakdown of how you can build your very own frame.
Whether or not you’re a DIY dab hand, these instructions should have you up and running in no time.

Choosing Materials
When building a cold frame the first step is to decide which material you want to use.
In our experience wood is by far the most common, although brick and plastic are both viable options.
In this guide we’ll focus on wood, so if you want a frame made of another material you’ll need to look elsewhere!
What You’ll Need:
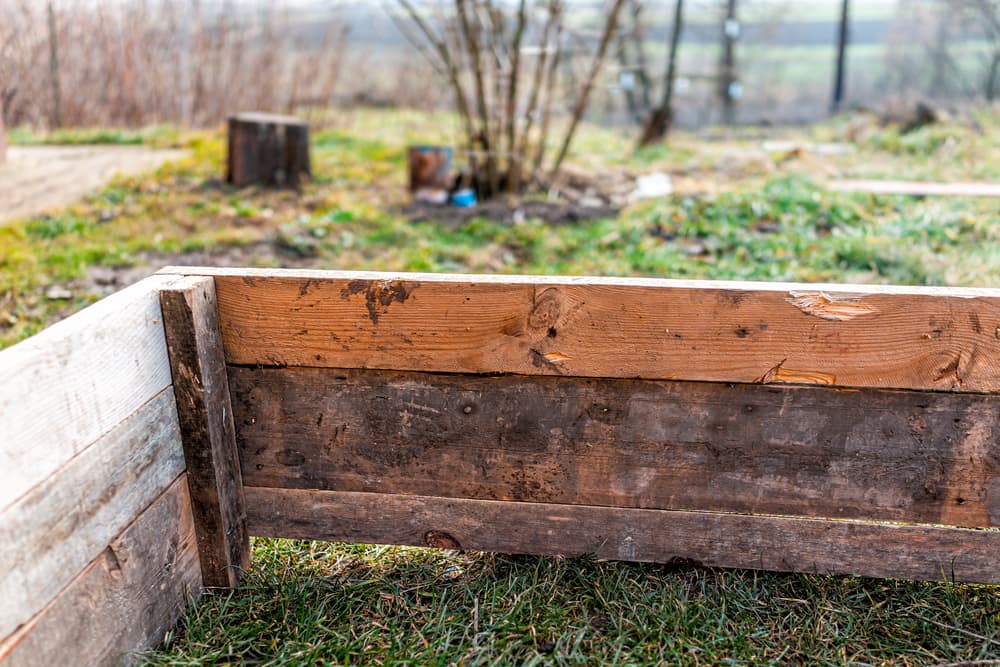
- Wooden battens: these are pieces of wood that will stand vertically, one at each corner. These should be a couple of inches thick to provide good structural integrity. Remember that those at the front will need to be shorter to give the cold frame its distinctive slope.
- Wooden planks: these pieces of wood will be fitted horizontally between the battens, making the frame itself.
- Optional extra wooden battens: these will let you prop the cold frame open. A batten the height of the back side of the frame will prop the lid open a couple of inches, while a longer batten can be positioned to hold the lid completely open.
- Glass: always be careful when handling glass as it’s obviously fragile and potentially quite sharp!
- Clear plastic: if you can’t find or don’t want to use glass.
- Hinges: to attach the lid to the frame.
- Screws: to hold everything together.
- Screwdriver: to screw in your screws.
- A drill: to create pilot holes that make screwing a little bit easier.
When sourcing materials, you can buy directly from a hardware shop or, if you’re feeling adventurous, you can try to salvage things.
With wood and glass, look in skips or for houses undergoing renovations.
You may find wood, old windows, shower doors, cabinet doors, or similar. It’s possible that you’ll save somebody a trip to the dump too, making it a win-win situation.
And bear in mind that it’s much easier to cut wood to fit your glass than to try and find a piece of glass the right size for pre-cut wood!
Keep in mind that cold frame kits are available as well: these are a good choice if you want things to be a little easier.
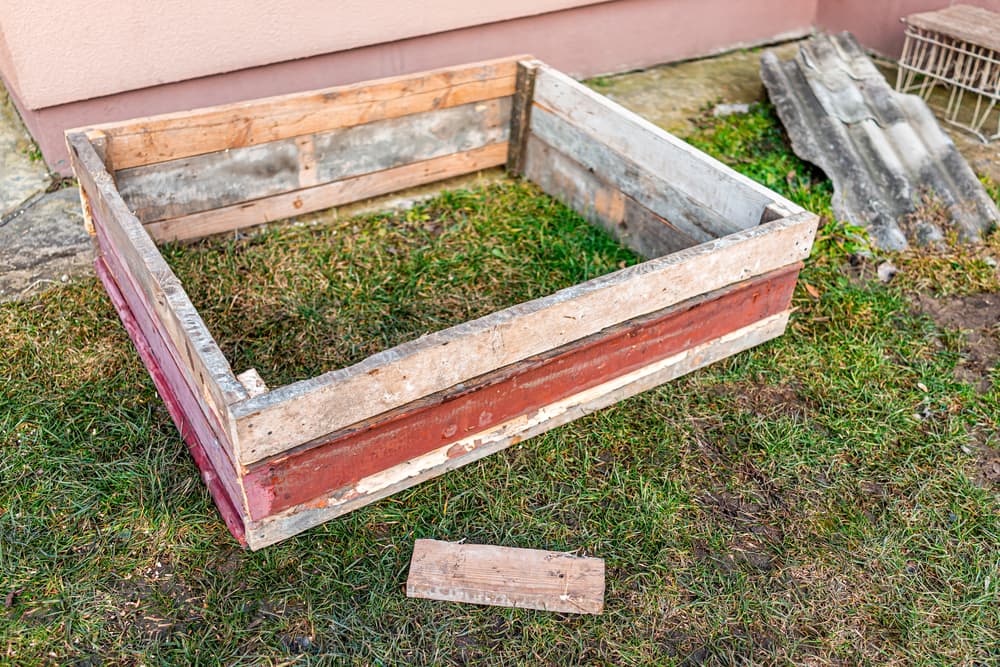
How To Build A Cold Frame
Follow the steps below and you’ll be the proud owner of a cold frame.
Always be careful when using tools, and always measure things and test they fit together before inserting the first screw!
Doing this will save you a whole lot of hassle if something doesn’t fit.
1) Build The Front Of The Frame
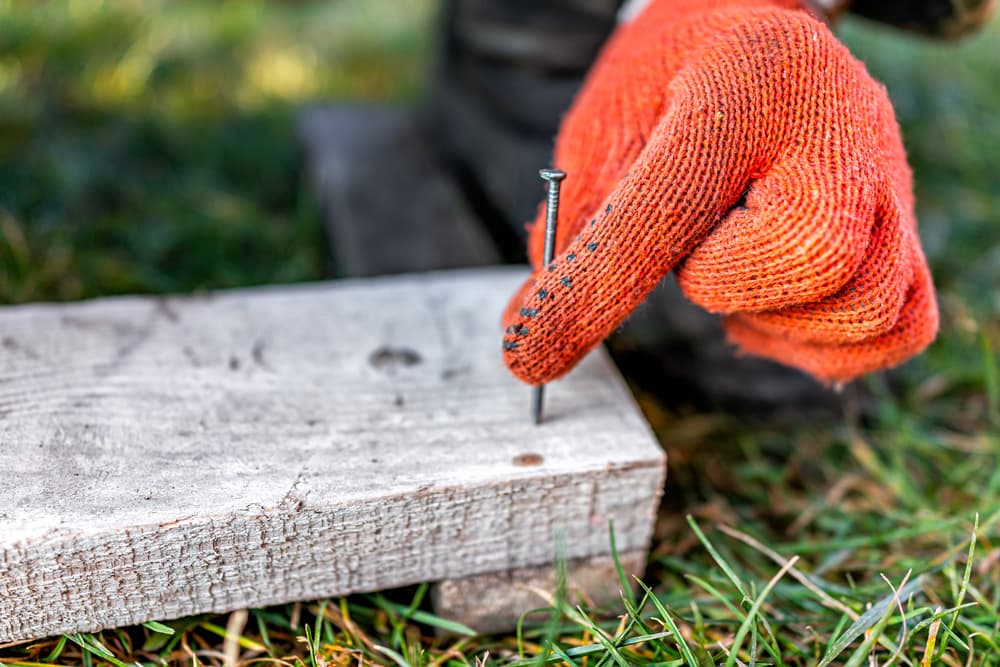
Begin building the front of the frame.
Lay the two front battens on the ground, then lay a plank across the top so that both ends are flush.
Use two screws to attach each end of the plank to a batten.
2) Repeat For Remaining Planks
Repeat for the remaining planks on the front.
When attaching planks to battens it’s easiest to drill pilot holes then insert the screws into position with a screwdriver.

Repeat steps 1 and 2 for the back of the frame.
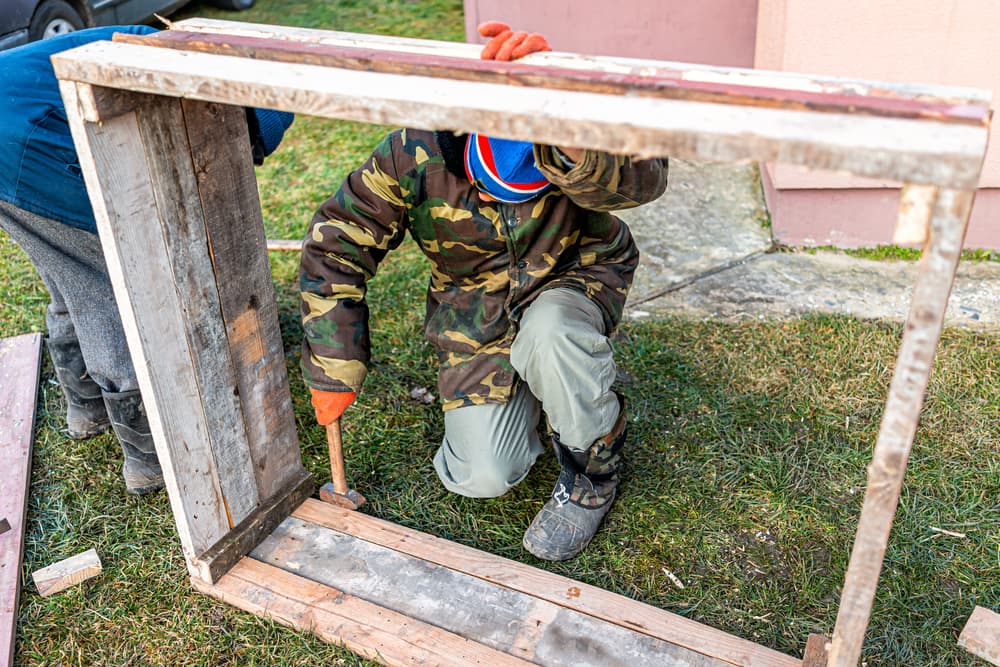
3) Attach The Planks To The Battens
Stand the front vertically and attach one of the side planks to the front batten.
Position the back of the frame into place, then attach the other end of the plank from step 4 to the back batten.
Repeat for all remaining planks until the sides are complete.
Position the angled side plank on the top of one side, drill pilot holes, then screw this in place.
Repeat then for the other side.
4) Attach The Lids

Position the lid(s) on top of the frame, again taking care that the sides are flush with the frame itself.
Screw on the hinges making sure they’re the right way round.
How To Add Support Battens
While optional, we definitely recommend installing these.
It’s not that much more work, and the added functionality will come in really handy for regulating the temperature inside your frame.
- Screw one end of the longer batten a couple of centimetres behind the front batten, with the support batten parallel to the side of the frame. The screw acts as the hinge on which the support batten is raised and lowered.
- Use a small chock of leftover wood to support the batten when it is not in use: an inch square should do the trick. Drill this into place and let the batten rest against it.
- Repeat steps 1 and 2 for the support batten on the other side of the frame.
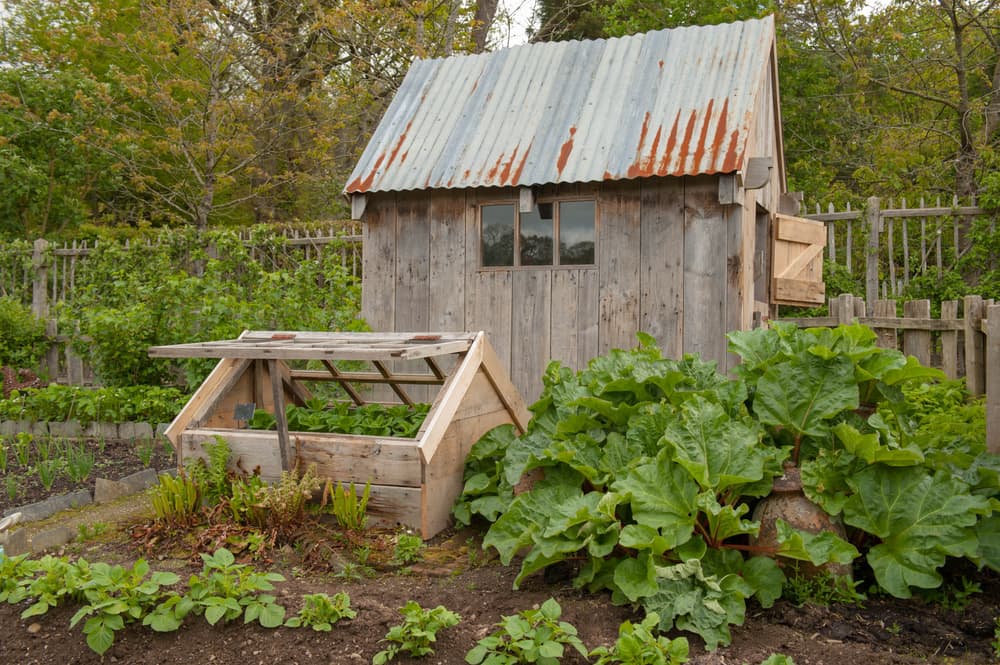
Where To Put Your Cold Frame

Once your frame is ready, you need to find the right place for it.
As one of the key roles of a cold frame is to capture and trap sunlight, it stands to reason that you’ll want a spot that’s frequently sunny.
Tucked away in the shade, your frame won’t be able to function as well as intended.
By design, the frame will shelter the plants inside from the elements, but try not to put it somewhere that will get too wet or too buffeted by winds.
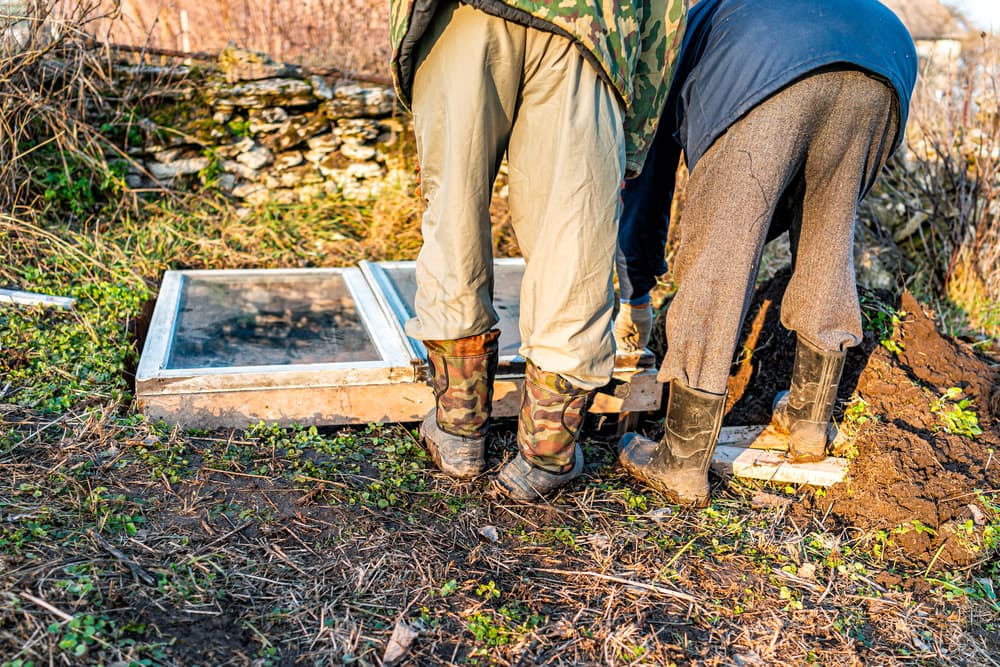
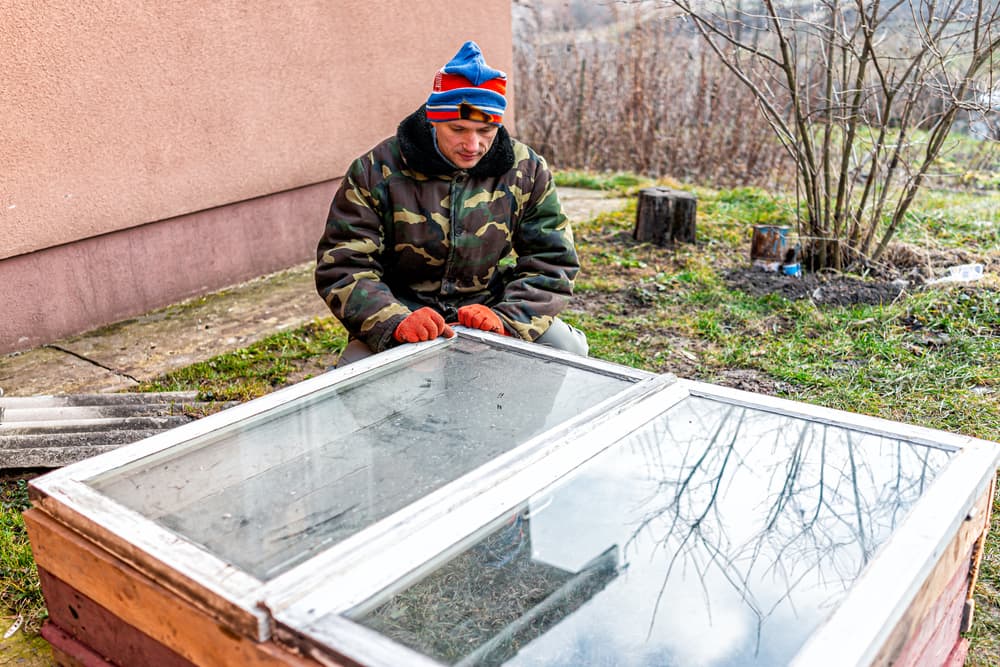
Before adding soil and plants to your cold frame it should be fairly easy to move with one or two people.
Take care to lift together and to carry carefully, then simply reposition your frame in the ideal spot.
Once in place, fill with soil and get planting!
You can treat the soil inside exactly the same as you would a normal bed: plant things out, keep them watered, keep an eye on weeds, and so on.
You should see way fewer weeds inside your frame than out in your garden, for the simple reason that seeds and spores will find it harder to get inside.
Grand Job!
Whatever brought you here, we hope the information in this guide has been helpful.
For those of you looking for more information on what cold frames are and how they work, hopefully now you’re fully elucidated and aware of the potential benefits they bring.
And if you’re a DIYer and a proud new owner of your very own cold frame, then congratulations!
It really isn’t an exaggeration that a cold frame will revolutionise your gardening.
By extending the growing season of your favourite crops in both directions you’ll be able to harvest many more fruits and veggies than you would otherwise.
And if you’re a greenhouse gardener with high traffic between greenhouse and garden, you’ve now got the option to make sure your plants are much better prepared for their journey into the big wide world.