Collect Seeds From Spent Rudbeckia Flowerheads And Sow Indoors For Next Season


Reviewed By COLIN SKELLY

Colin is a Horticulturist and Horticultural Consultant with experience in a range of practical and managerial roles across heritage, commercial and public horticulture. He holds the Royal Horticultural Society’s Master of Horticulture award and has a particular interest in horticultural ecology and naturalistic planting for habitat and climate resilience.
IN THIS GUIDE
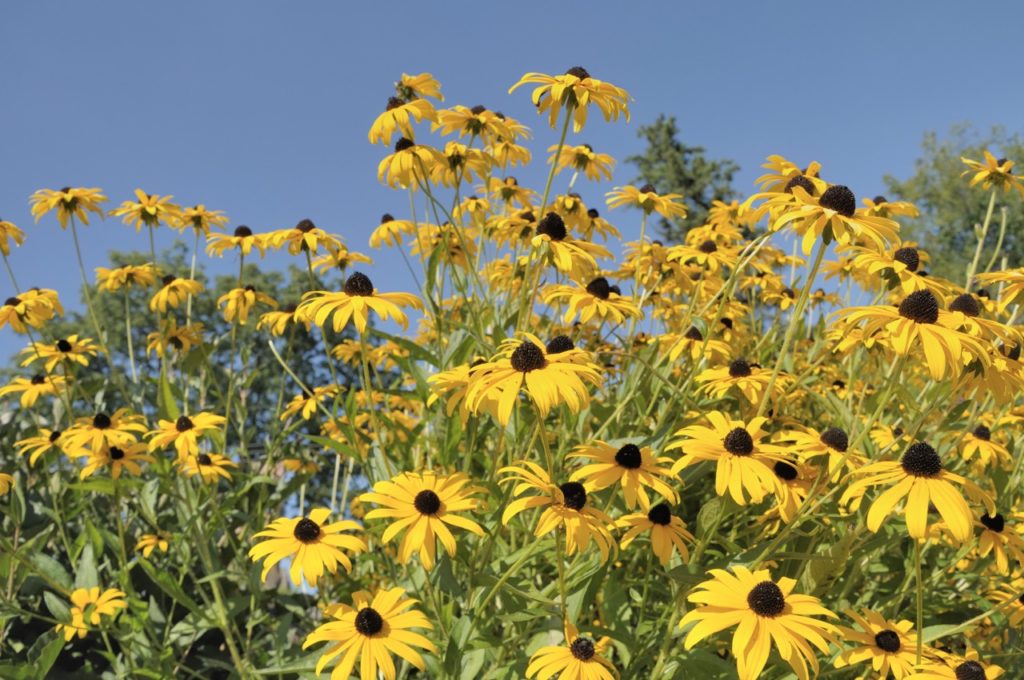
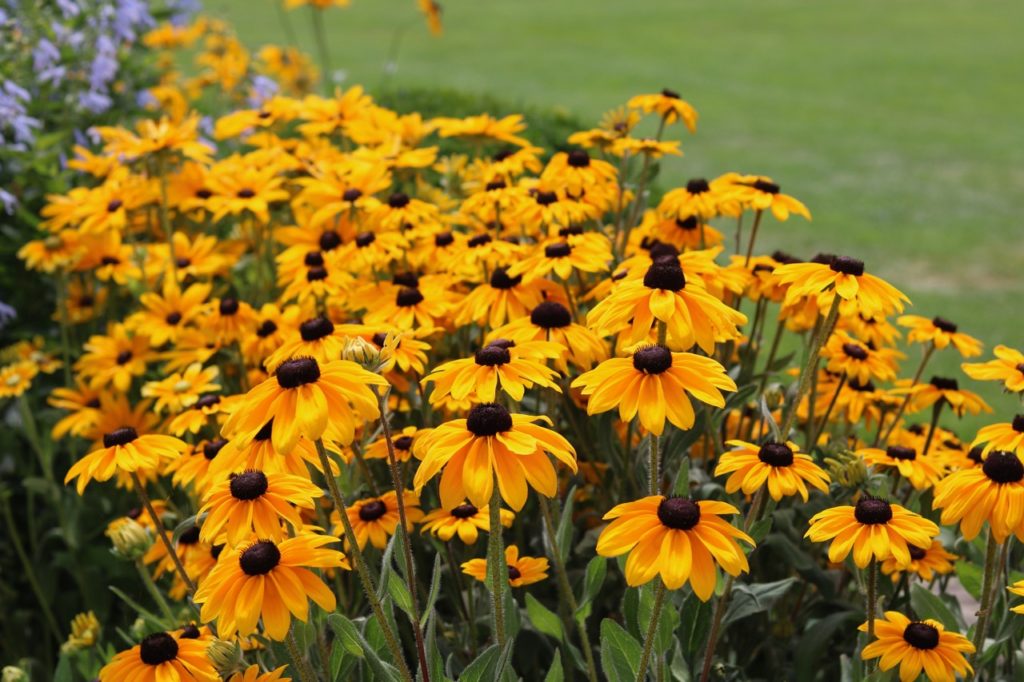
With their large, daisy-like flowerheads, bright colours and extended flowering season, it’s no surprise that rudbeckias are popular across the UK.
The fact that they’re fairly hardy, depending on the exact species, is another bonus in a country where the climate doesn’t always play nice.
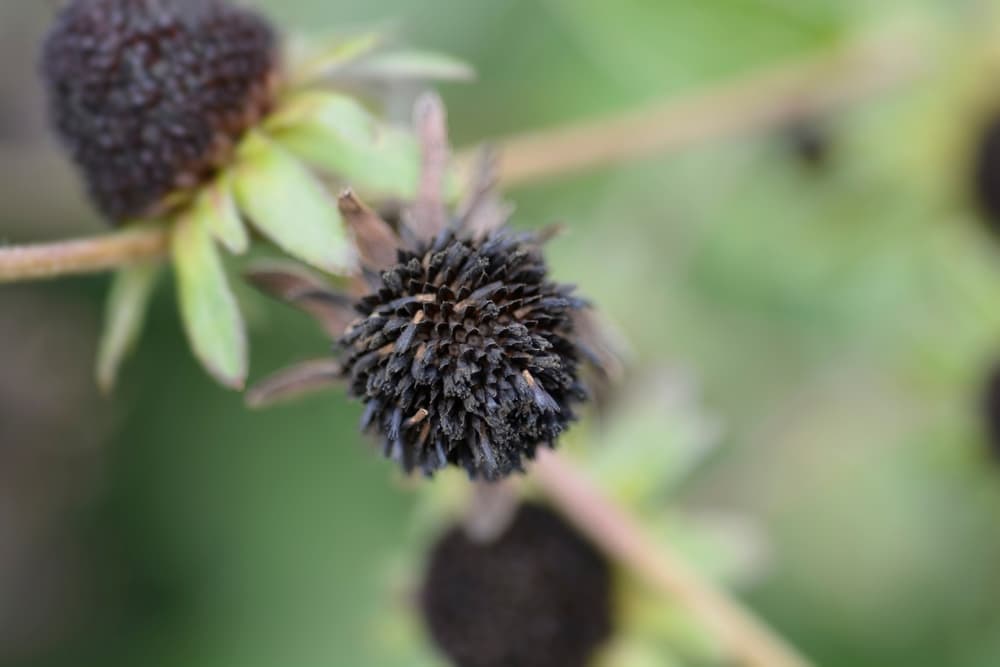
You might wish to create some insurance, however, by collecting seeds from spent flowerheads and sowing them indoors for the following season – or simply start a new collection by buying store seeds.
Either way, you should follow the same process, outlined below:
- Sow the seeds in a seed tray with a suitable growing medium.
- Separate your seedlings out into individual pots.
- Harden off your rudbeckia in a colder environment.
- Transplant outdoors from May onwards.
- Care for your plants well to encourage autumn flowering.
We understand that those steps might seem a little daunting to those with little experience in the horticultural world, which is why we’ve covered them in greater detail below.
| Difficulty | Easy |
| Equipment Required | Seed tray, individual pots, potting soil, trowel |
| When To Sow | February-April |
| When To Plant Out | May-September |
When To Sow Rudbeckia
While it is theoretically possible to directly sow rudbeckia seeds into your garden, the inclemency of the British climate makes it inadvisable.
Instead, sow them in a seed tray inside your greenhouse or home to allow for easy germination, before separating them into individual pots and finally transplanting them outside.
Sow the seeds initially in springtime, separating them out after 2-3 weeks.
Do not transplant outdoors until all danger of frost has passed.
1) Sow The Seeds
Prepare the seeds by placing them inside a damp cloth or paper towel for a few hours to fully hydrate them prior to sowing.
You can also submerge them in a glass of water, but take care to ensure they do not drown.
“Seeds might not look alive, but they are slowly respiring,” shares Master Horticulturist Colin Skelly.
“Whilst submerging them in water might allow them to imbibe water to start the germination process, this should only be brief so that they can continue to breathe.”
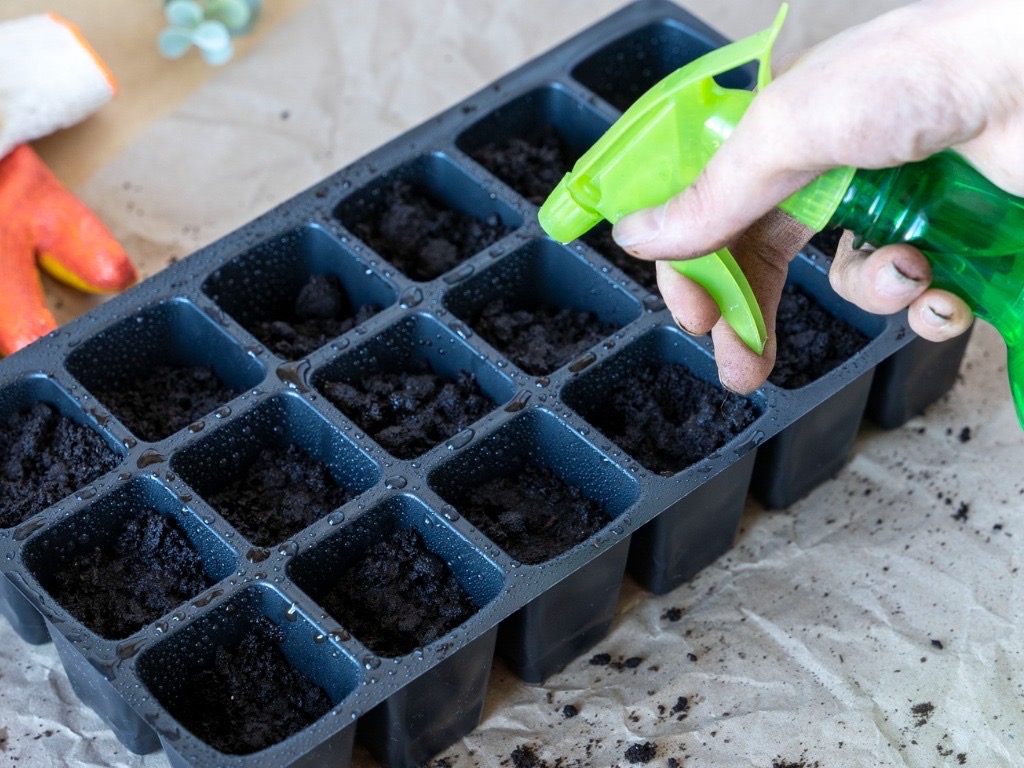
Then, using a good quality compost or potting soil that’s free from peat, sow your seeds in a seed tray at a minimal depth, since light is necessary for the germination process.
Keep them moist and warm.
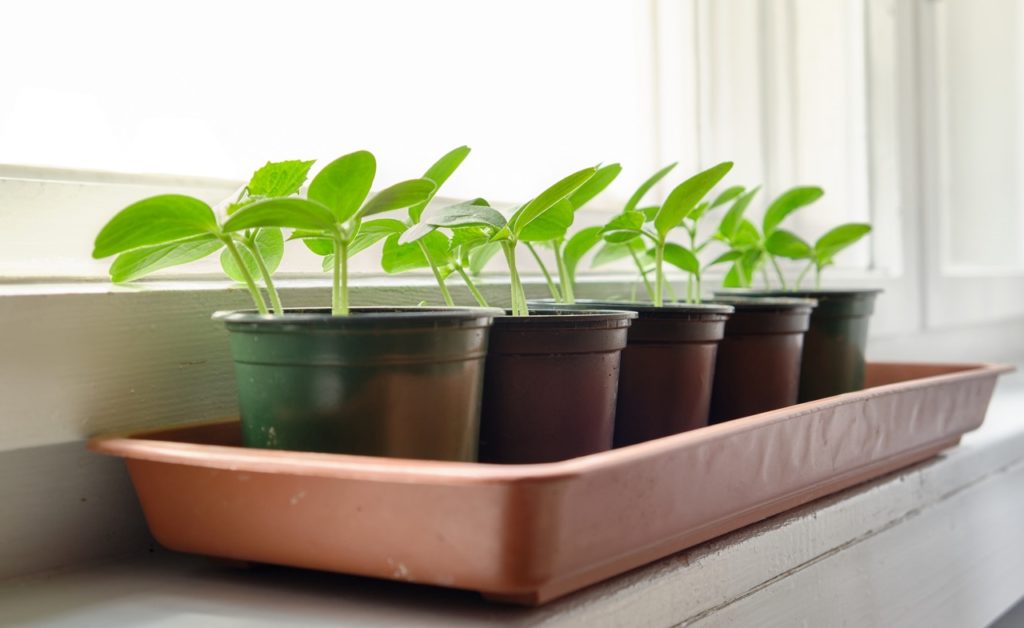
2) Separate Out Into Pots
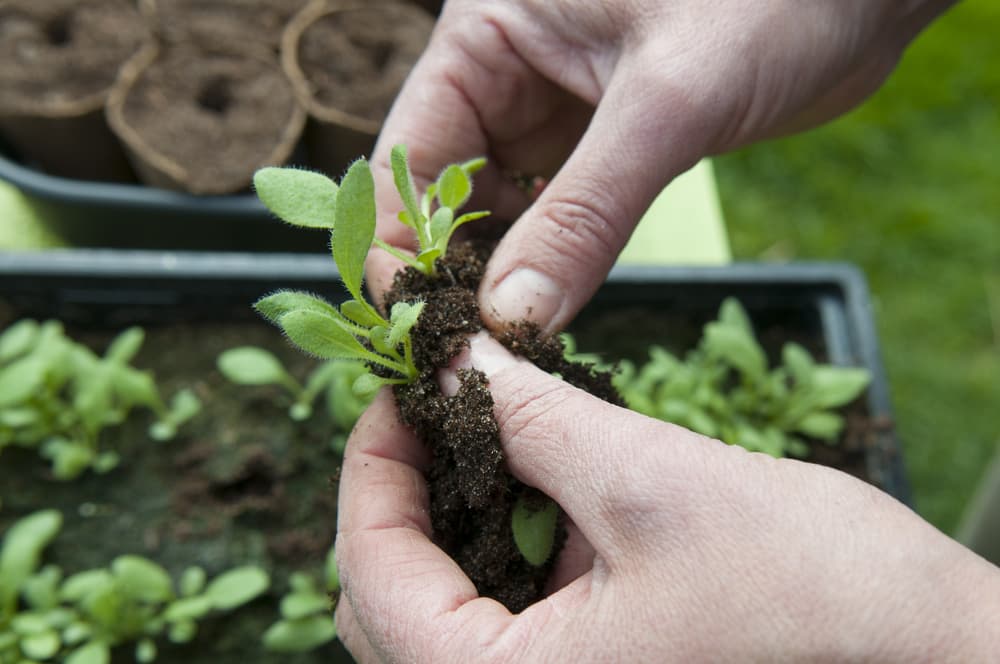
Once the seedlings have produced growth and are large enough to handle, it’s time to separate them into individual pots so that they can fully establish themselves.
Take care when separating them to ensure their roots do not become damaged.
Use pots with a diameter of between 7.5-10cm and plant the seedlings so that their shoots are level with the top of the pot.
Water thoroughly and keep in a warm, dry place initially.
3) Harden Off
After a couple of days of getting used to their new environment, it’s time to begin preparing your rudbeckia for the colder temperatures they will experience outdoors.
You can do this by removing them to a colder room or opening the window for several hours a day.
The process should be a gradual one to avoid giving the rudbeckia too great a shock to the system, which could result in early death.

Overall, expect the hardening process to take around 2 weeks, though longer is fine if need be.
4) Transplant Outdoors
Once the final frost of the year has passed and your seedling has begun to produce healthy foliage, it’s time to move them to their final position outdoors.
Choose a fertile, well-draining spot which enjoys lots of organic matter and good sunshine.
Plant your rudbeckias at least 30cm apart, but arrange them in drifts or alongside complementary flowers such as asters, echinacea or a variety of grasses for an aesthetically pleasing effect.
5) Rudbeckia Aftercare
Once your rudbeckia plant has become fully established outdoors, it doesn’t require pinching and can fend for itself for the most part.
However, you should take care to keep it hydrated during particularly dry spells, always watering the soil rather than the foliage and flowers.
Apply liquid plant food every 2 weeks.
Deadhead throughout the blooming season to prolong it and prevent unwanted propagation.
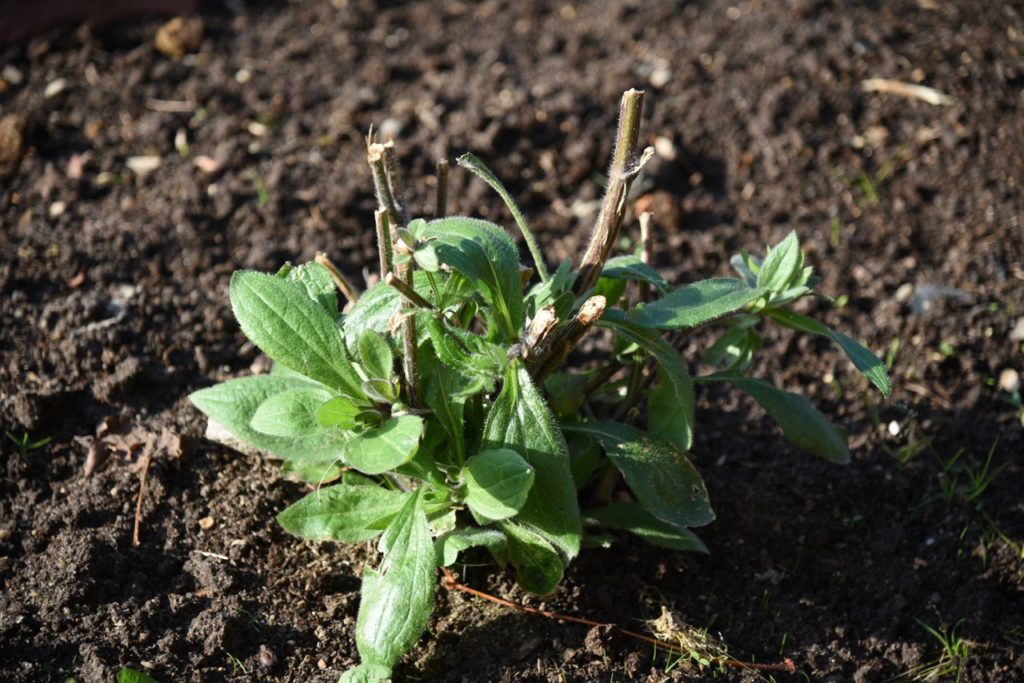
Leave the final round of spent flowers on the plant in autumn to provide food for birds throughout the winter, then cut back in spring.
Remove all fallen foliage and replace it with 2-3 inches of fresh mulch.