When Harvested Correctly, Chard Can Be Taken As Needed Throughout The Year

Reviewed By COLIN SKELLY

Colin is a Horticulturist and Horticultural Consultant with experience in a range of practical and managerial roles across heritage, commercial and public horticulture. He holds the Royal Horticultural Society’s Master of Horticulture award and has a particular interest in horticultural ecology and naturalistic planting for habitat and climate resilience.
Contributions From EMILY CUPIT

Emily is a Gardening Writer, Photographer and Videographer from Derbyshire, UK. She is the Founder of Emily's Green Diary - a community of more than 75,000 people who share in her gardening journey.
IN THIS GUIDE
Coming as it does from the southern shores of Italy, ’Swiss Chard’ is more Sicilian than Swiss but it has been welcomed and ‘naturalised’ in a host of countries including the UK.
And because it is not really Swiss, this leafy green is increasingly called (simply) ‘Chard.’
| Difficulty | Easy |
| Equipment Required | Gardening gloves, secateurs or mini secateurs |
| When To Harvest | As permitted by your region’s climate, up to all year round. |
Bear in mind that Chard is two veggies in one.
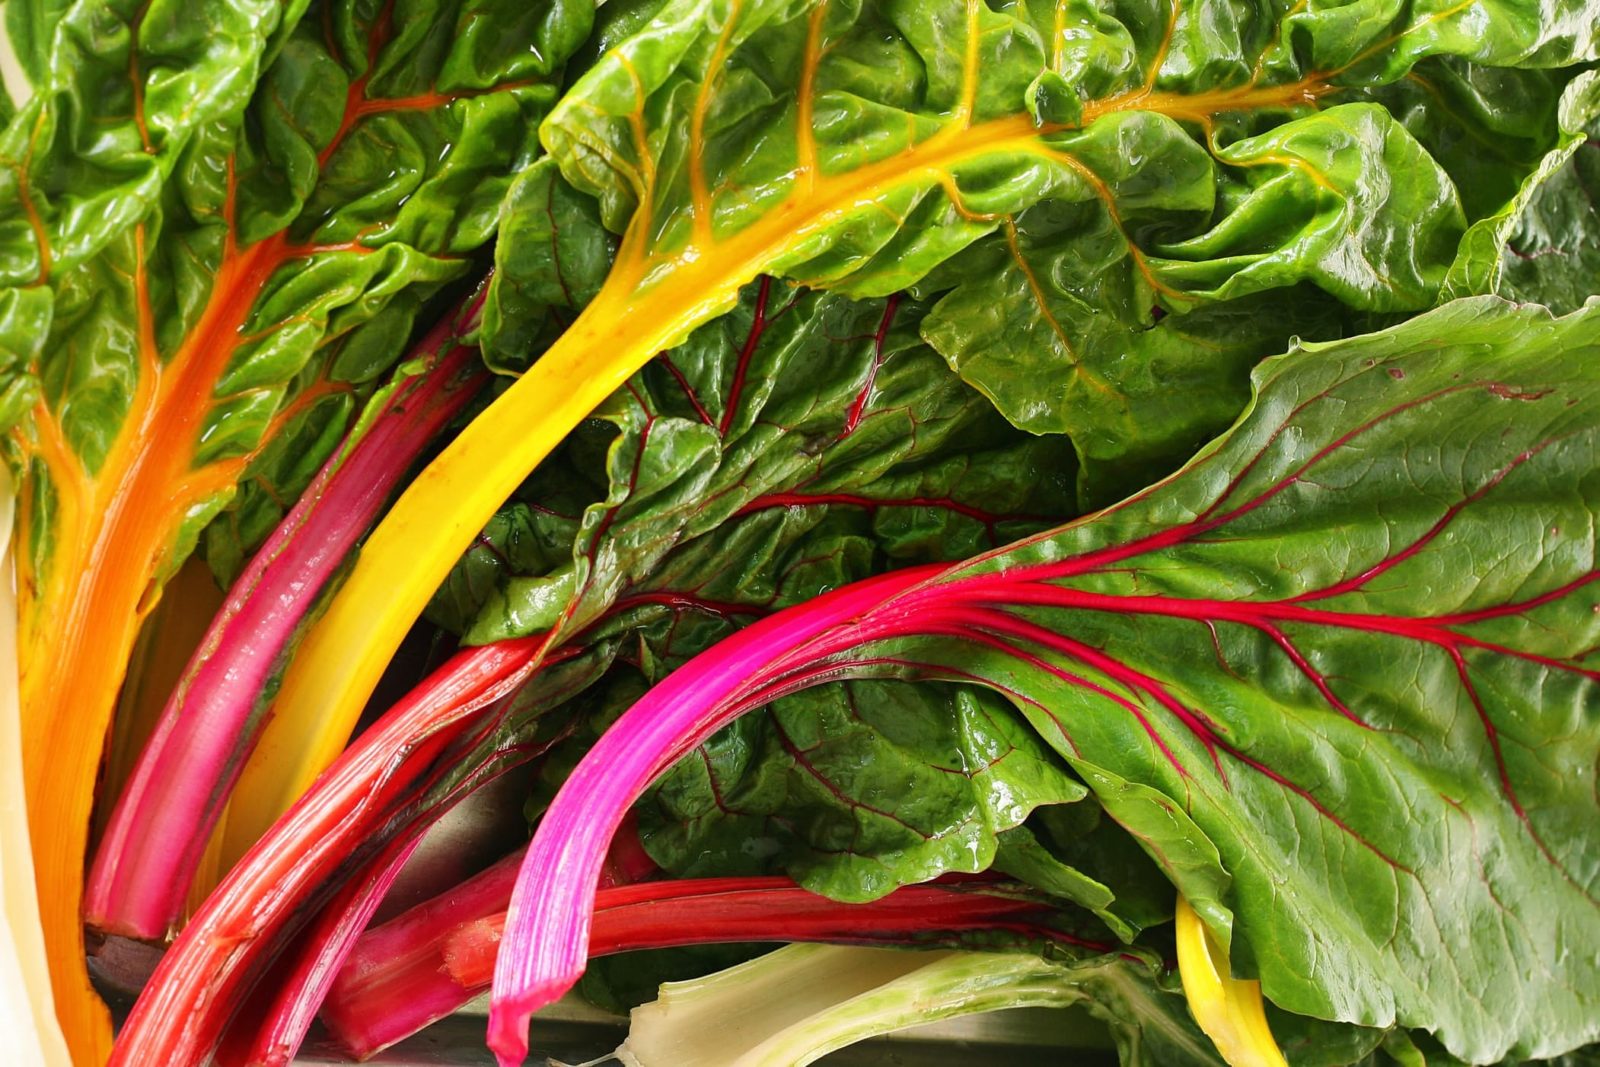
Mature leaves are a bona fide leafy green akin to spinach while the thick flavourful stalks can be treated as a substitute for celery or asparagus.
Young leaves can be tossed raw in salads like lettuce.
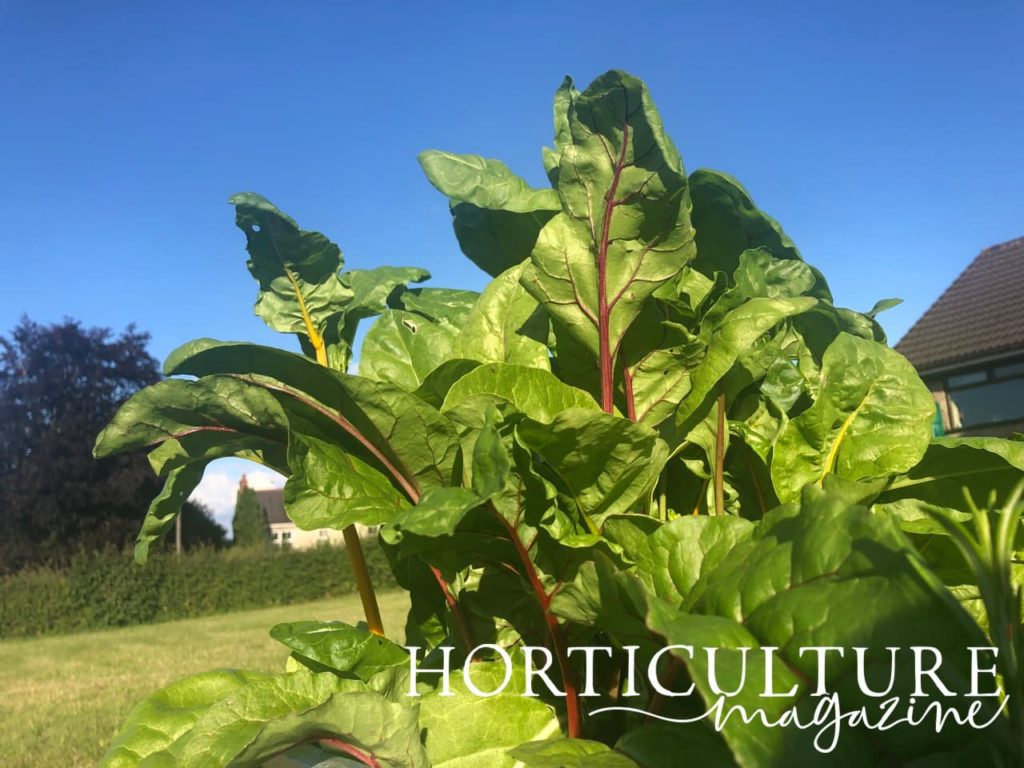
Relatively recent cultivars add a third dimension to this plant: they present an intense contrast as their dazzling rich green leaves are set off by striking deep red or bright pink stems and ribs; as a result, they triple up as ornamental plants!
Ornamental or not, you can maximise your enjoyment and also prolong the ‘pickings’ if you harvest Chard correctly.
It is important to realise that Chard is not a ‘conventional’ veggie that has a well-defined harvesting season or one that you harvest all at once within a short period of time.
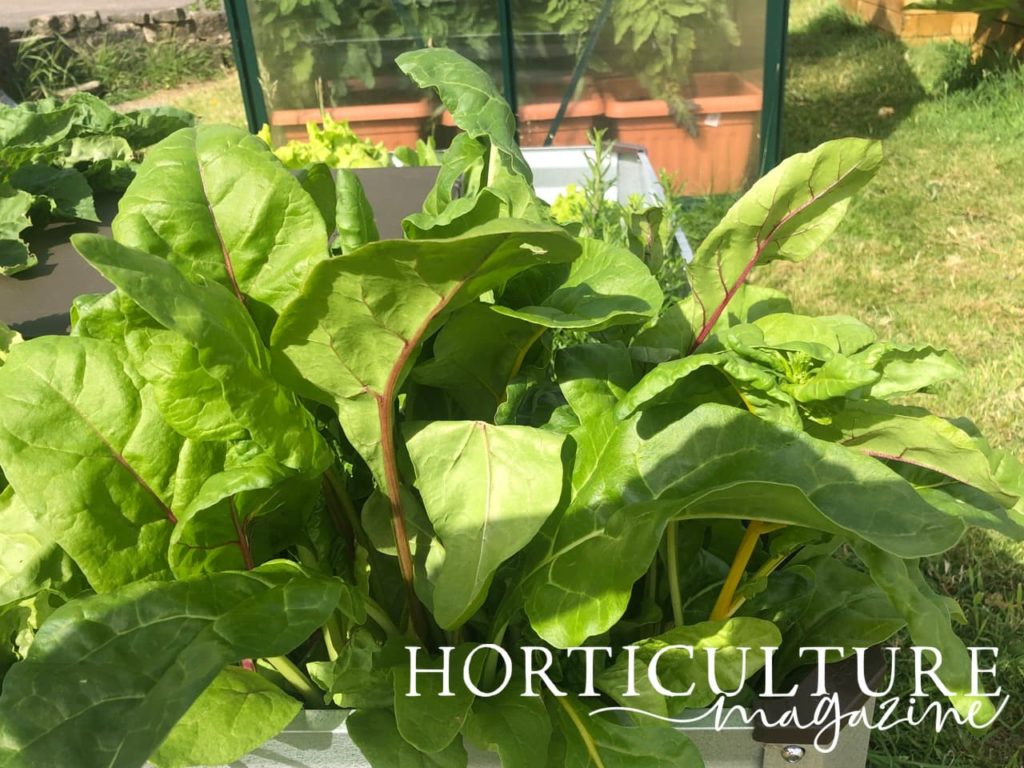
Harvested correctly, Chard can be taken (and is taken by old-hand gardeners) on an as-needed and ongoing basis for months on end including – your region’s climate permitting – all twelve months of the year.
Underneath we guide you on how best to harvest Chard.
Thinning Young Plants
Your first harvest of Chard will actually be a by-product of routine thinning of the young, growing plants.
“Harvesting crop thinnings is a great way to get an early harvest from many crops, such as lettuce, beetroot and spring onions – perfect for a micro salad,” shares Colin Skelly, a Master Horticulturist.
After you have sown Chard, the young plants should be thinned when they have grown to 5-10cm.
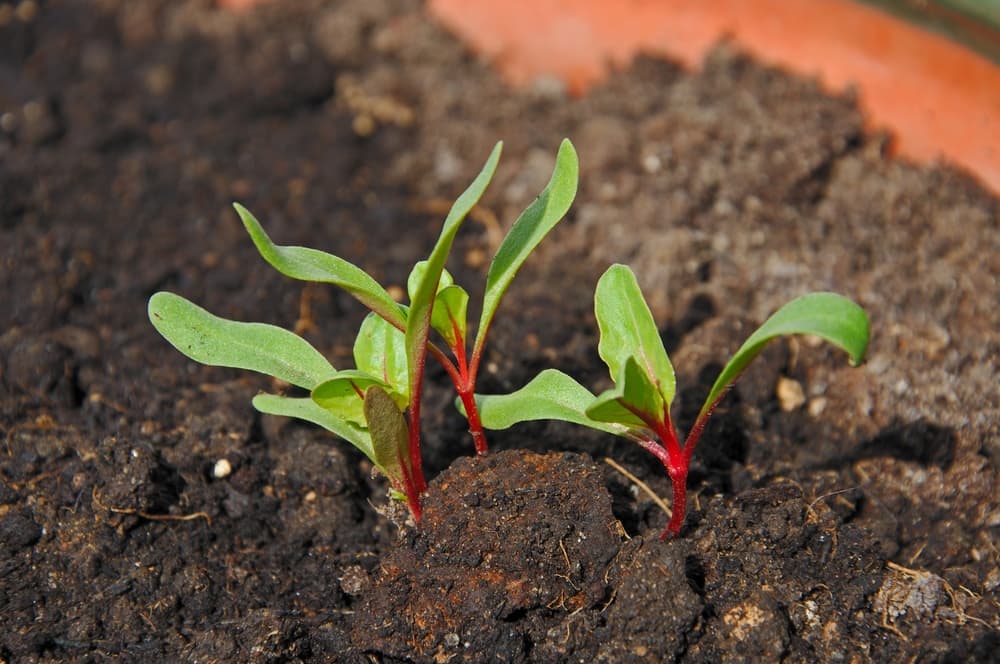
Thin such that the plants you leave behind are spaced by about 25cm.
The preferred way to thin Chard is by cutting off each plant right at the base with a pair of secateurs – we suggest you put on gardening gloves before doing so.
You may uproot the plants too but we do not recommend it as this style of thinning requires considerable care and technique because there is a real risk of disturbing the roots of adjacent plants – young Chard are very shallow-rooted.
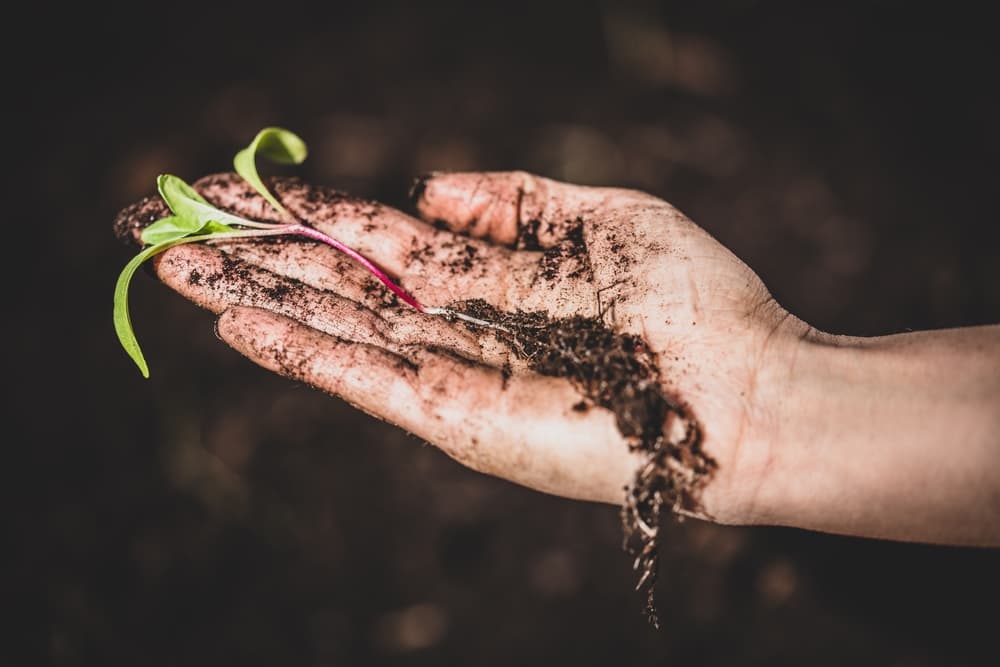
These thinned Chard plants should not be bound for the compost heap – they should be bound for your kitchen.
The tender young leaves will be perfect for salads and stir-fries while the stalks will lend flavour to soups and stews.
Harvesting Guidelines
Right around 10 weeks after sowing, Chard plants are mature for ongoing, as-needed harvesting.
You can certainly pick fresh young leaves at an earlier stage as well.
So how can you be sure you can go on harvesting Chard on a continuing basis? Here are some tips and tricks:–
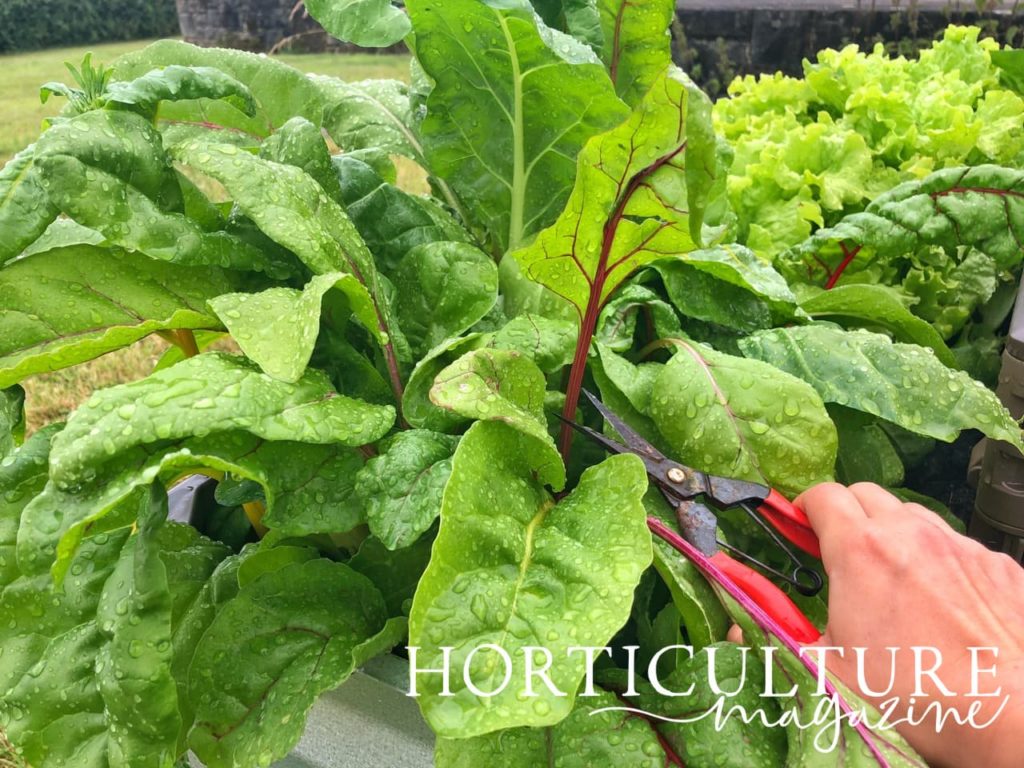
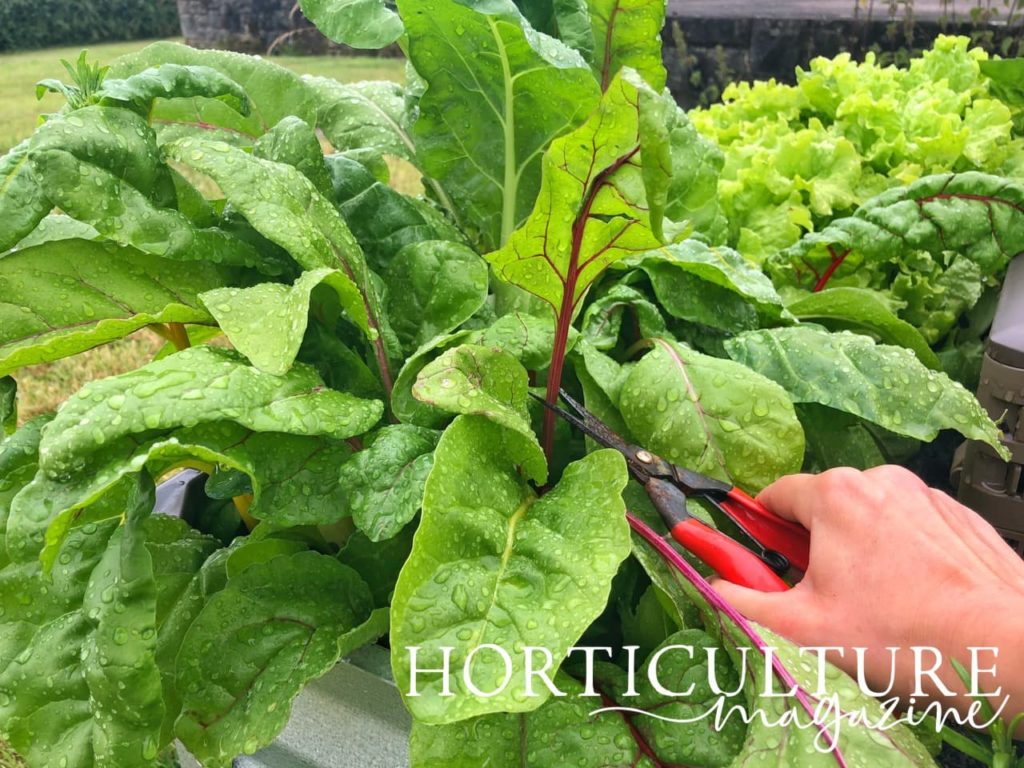
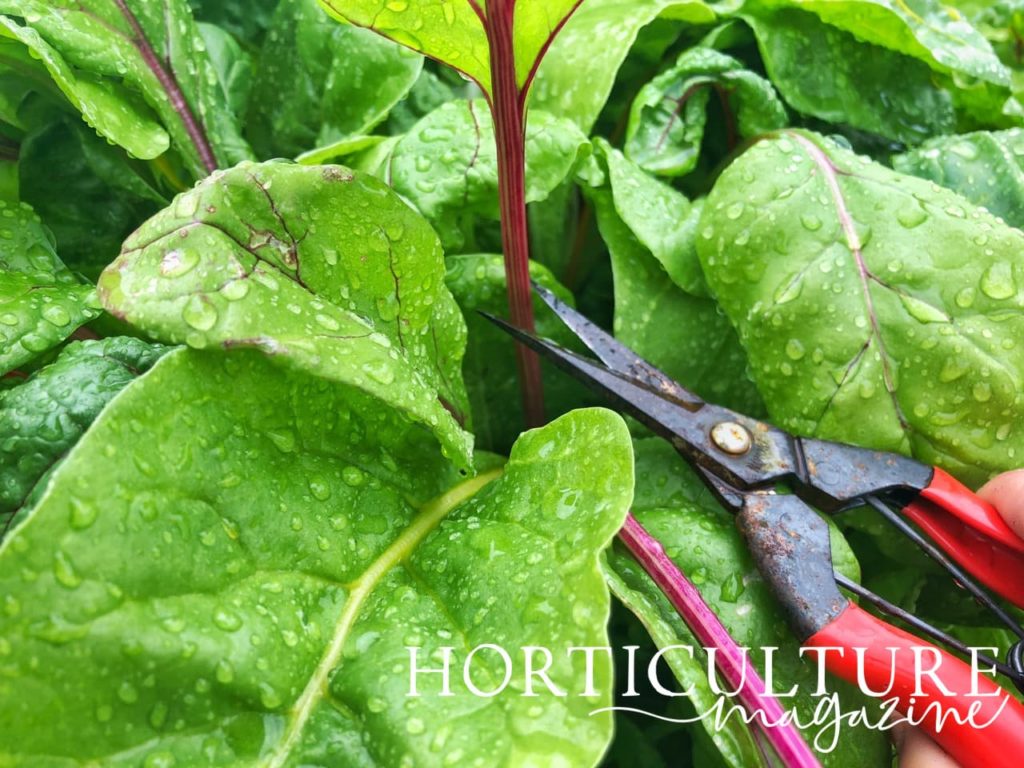
- Do not pull or tear off leaves; cut them cleanly with mini secateurs at the petiole 4-5cm off the ground. Using mini-secateurs will significantly reduce the chances of unintentionally snipping off an extra stem or two.
- Tip: only partially open the mini secateurs and slide the blades on to the petiole to be cut, not directly into the green top but at a tangent to its circumference. You are sure to easily and quickly isolate the target leaf.
- Harvest only a few leaves, and only the outer leaves, from each plant.
- Leave behind at least four leaves on any given plant.
- Do not cut the inner leaves, and do not disturb the plant’s central part or the crown.
- Do not handle the plant roughly or jiggle it around.
- For most varieties of Chard, leaves that are less than 25cm long will be succulent as well as flavourful.
- Keep on harvesting and do not let the leaves age on the plant or allow it to become dense with foliage. If your plants are producing more than you need, fresh-picked Chard accompanied with some other veggies from your garden might be a thoughtful little present for a neighbour or relative.
Under favourable conditions, Chard – and some varieties more than others – may very well re-grow even if you cut off all the leaves.
That mentioned, we advise against doing so.
If you follow these pointers for harvesting Chard, you will not only have a continuous supply of Chard but your plants will respond very well to such treatment; they will keep growing and producing fresh leaves!
Storage
Unlike root vegetables which you harvest during the harvesting season and then store, Chard – as mentioned – has no harvesting season as such, nor is it a good idea to try to store it as it loses its flavour in the fridge.
Simply harvest what you need when you need it.
Fresh Chard (like most greens) that has never been in the fridge has a taste all its own.
Now if you have harvested Chard and some sudden need pulls you away from your cooking plans, then you can certainly store it.
In such a situation, do not wash the veggie – wrap it in a sheet of newspaper or put it in a loose plastic bag, and put that in the fridge’s crisper.
It should be enjoyed within three or four days tops.