Start Dividing Your Salvias In Early Spring For More Plants, Experts Advise

Reviewed By COLIN SKELLY

Colin is a Horticulturist and Horticultural Consultant with experience in a range of practical and managerial roles across heritage, commercial and public horticulture. He holds the Royal Horticultural Society’s Master of Horticulture award and has a particular interest in horticultural ecology and naturalistic planting for habitat and climate resilience.
IN THIS GUIDE
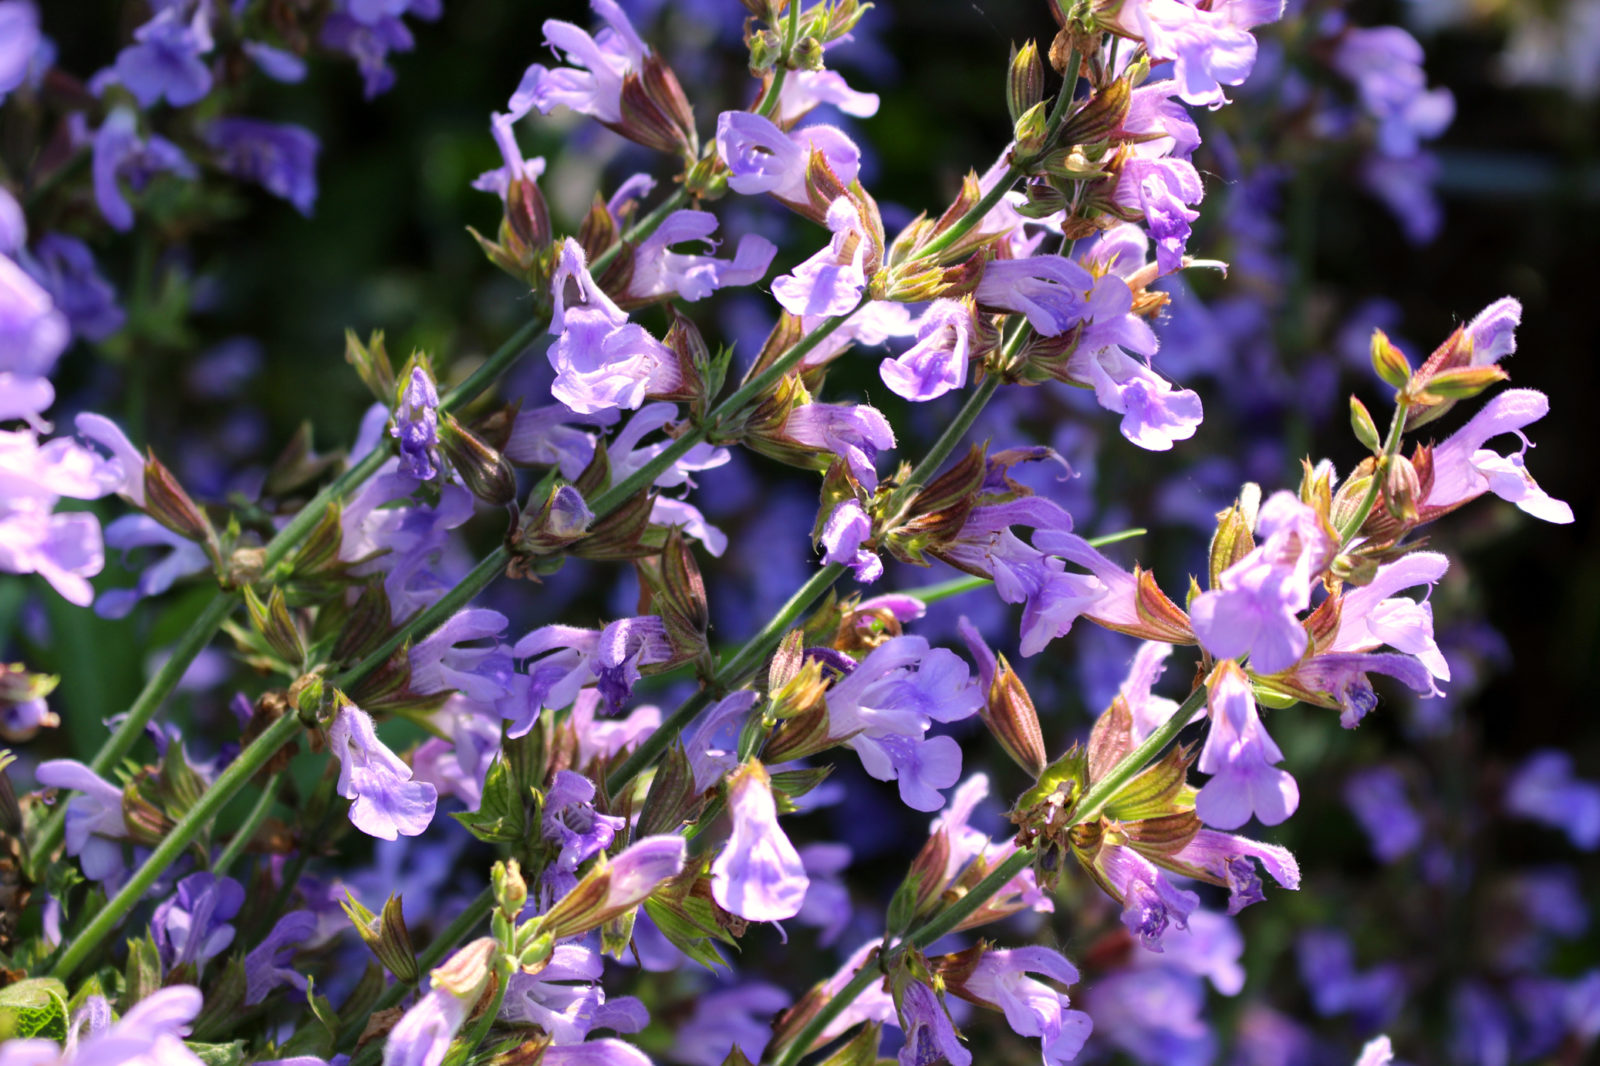
Salvias come in many shapes, sizes and habits and no matter which kind you have, you will surely want to propagate these plants for their ornamental value in the garden.
Luckily, many salvia plants have clump-forming habits and will basically self-propagate; all you need to do is to divide the plant at the appropriate time.
You can divide salvia by following these steps:
- Prepare pots or re-planting holes for your new Salvia divisions.
- Prepare to pull up the existing plant by loosening the soil.
- Lift the plant from the ground with a shovel or spade.
- Divide the plant at the roots by separating it into clumps.
- Re-plant the new divisions into prepared pots or holes.
“I remove many of my salvias every year after I’ve rooted cuttings for the following year,” says Master Horticulturist Colin Skelly.
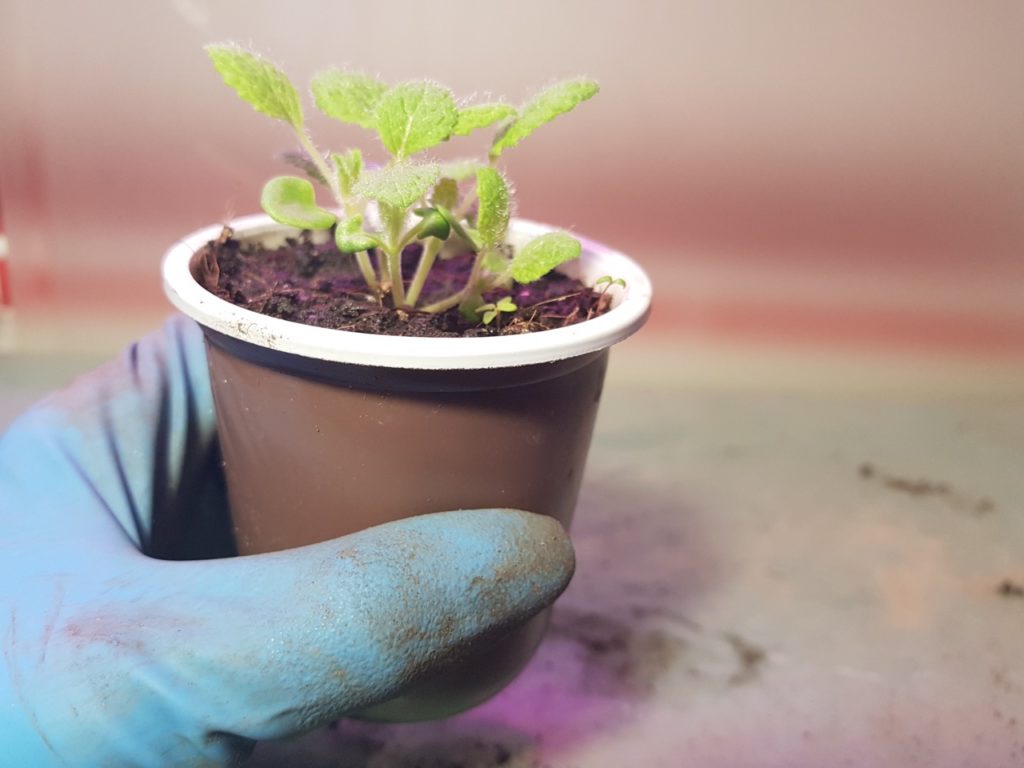
“If I want extra insurance for my cuttings, I divide clumping salvias and plant into pots.
“I do this in autumn and put the potted divisions into a cold greenhouse. They seem to put on root growth at that point and emerge strongly in spring.”
In the April-May timeframe when you see fresh green growth emerging, take the following steps.
| Difficulty | Medium |
| Equipment Required | Gardening gloves, knife, shovel, gardening fork |
| When To Divide | April-May |
1) Prepare Pots / Planting Holes
First, prepare the new re-planting holes or containers.
For each plant that you intend to divide, estimate how many divisions you will obtain and then add one to that number to know how many pots or holes to prepare.
Examining the plant and its size will give you a fairly good idea as to the number of clumps or divisions.

Salvias are happy in moderately fertile or even somewhat poor soil, so a mixed loam compost will do, but it must drain very well.
Feel free to amend the soil with organic compost.
Dig the appropriate number of holes, estimating their depths in view of the apparent size of the clumps, or prepare the appropriate number of pots.
Pots should have drainage holes.
2) Prepare The Plant
Whether the plant is in a container or in open ground, water it first, and thoroughly soak the soil if the plant is in open ground.
If the plant is in a pot, run a flattish small hand-shovel at the edge of the soil all round the pot while you push from the drainage hole so as to extract it from the container with the soil ball.
If doing so proves difficult, do not stress the plant.
Instead, simply break the container by gently cracking it with a heavyish stone.
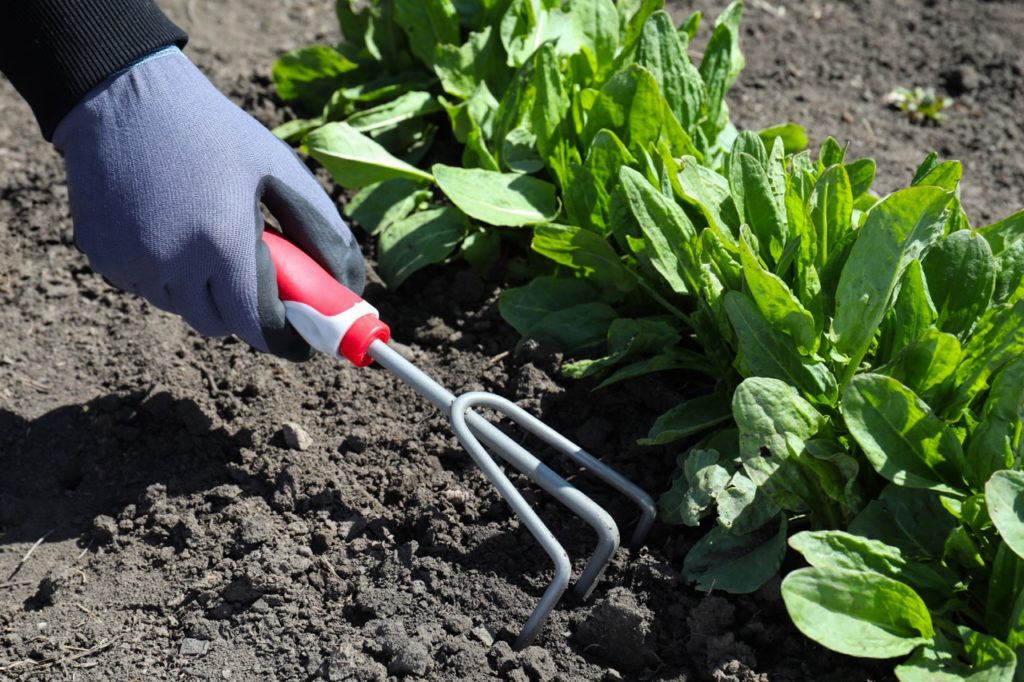
If the plant is in open ground, loosen the soil around it by jabbing into it with a hand-pick or garden mattock.
Start at a distance that is the spread of the plant plus about 10%.
As you loosen the soil, draw it away to keep exposing the roots.
Once you see the roots, using a spade or a hand-shovel dig downward, keeping a little distance from the roots to avoid needlessly severing them.
Dig down to a sufficient depth so that the outer roots are fully exposed.
3) Lift The Plant
Depending on the size of the plant, use a shovel or a spade to cut into the soil all around the plant, angling inwards.
Make sure not to cut into the roots and keep away from the centre of the crown.
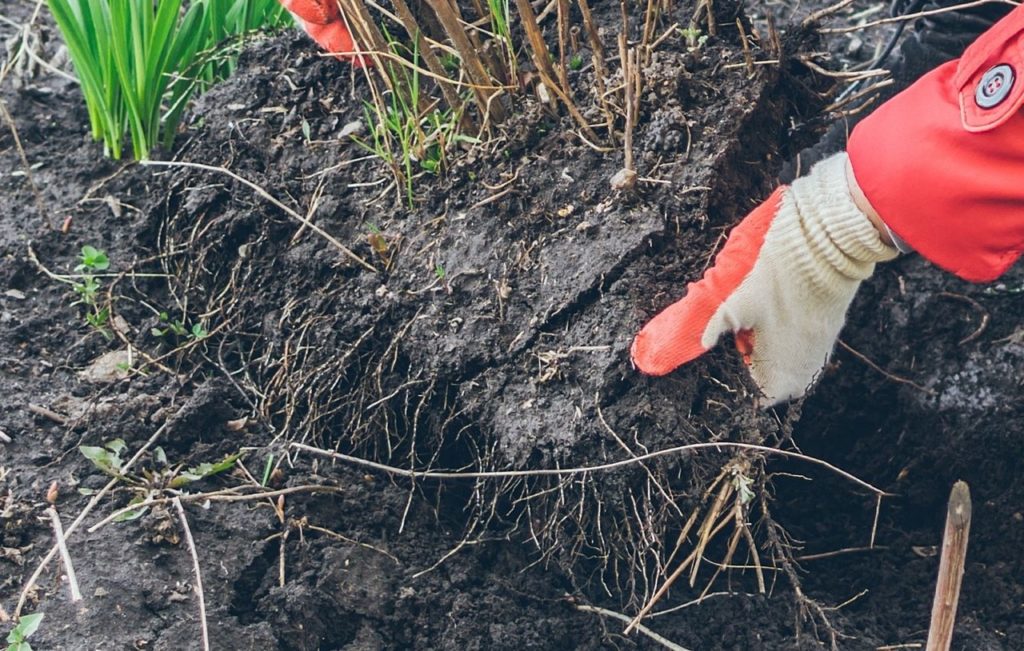
Prise up the ground with the shovel or spade and at the same time grasp the plant from the bases of the stem, and slowly pull it up as you gently jiggle it but do not force it – it should come up without undue pulling.
You may have to soak the soil again and dig deeper around the plant.
4) Divide At The Roots
Divide the plant into clumps, as will be evident to the eye at this stage.
As you take this step, try to ensure that each clump gets its own part of the root system.
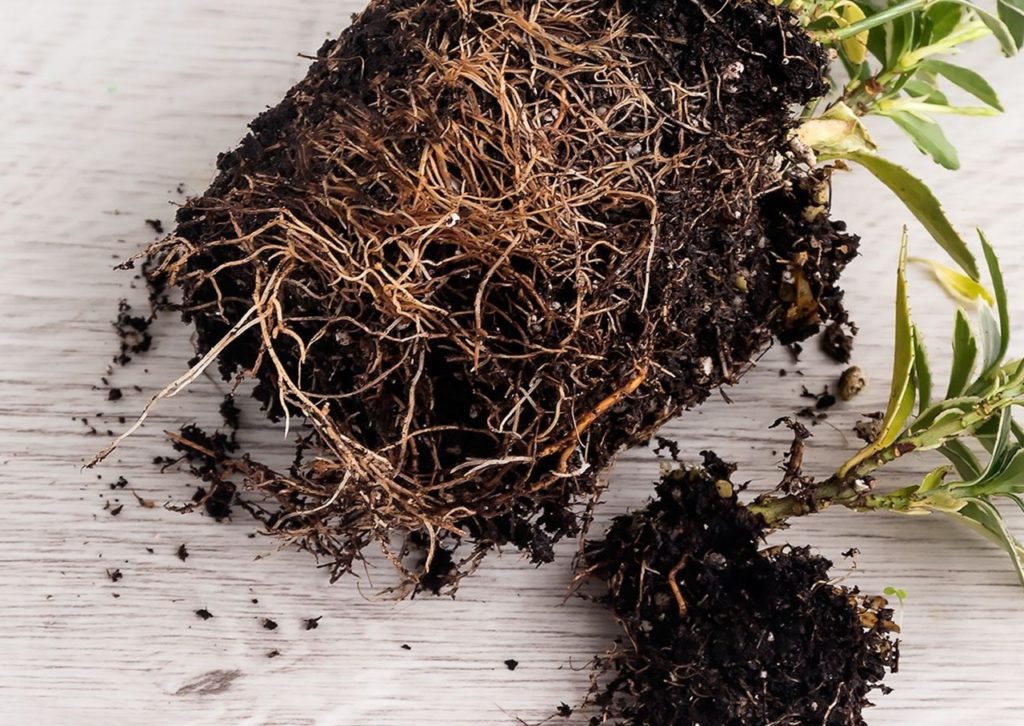
Gently pull apart the clumps holding them around the stem’s base and the crown, separating the root system with your fingers as much as you can.
Next, cut through the remaining roots, making clean vertical cuts with the knife which should be sharp.
Alternatively, drive two gardening forks back-to-back into the remaining roots and squeeze the handles inwards so that the tines pull the roots apart.
5) Re-Plant The Divisions
The divisions should be re-planted without an unnecessary lapse of time.
If the soil attached to the roots is like caked mud, you may as well wash out the roots.
Do so by dipping the root system into a tub of clean cold water, gently swishing them about, and washing the roots by hand.
Re-plant the new clumps into the prepared containers or holes.
Try to spread apart the roots to some extent as you backfill the hole.
Ensure that the soil level is at the same level as it was originally, or even a touch lower.
Water the new plant well as you firm up the soil around it.