

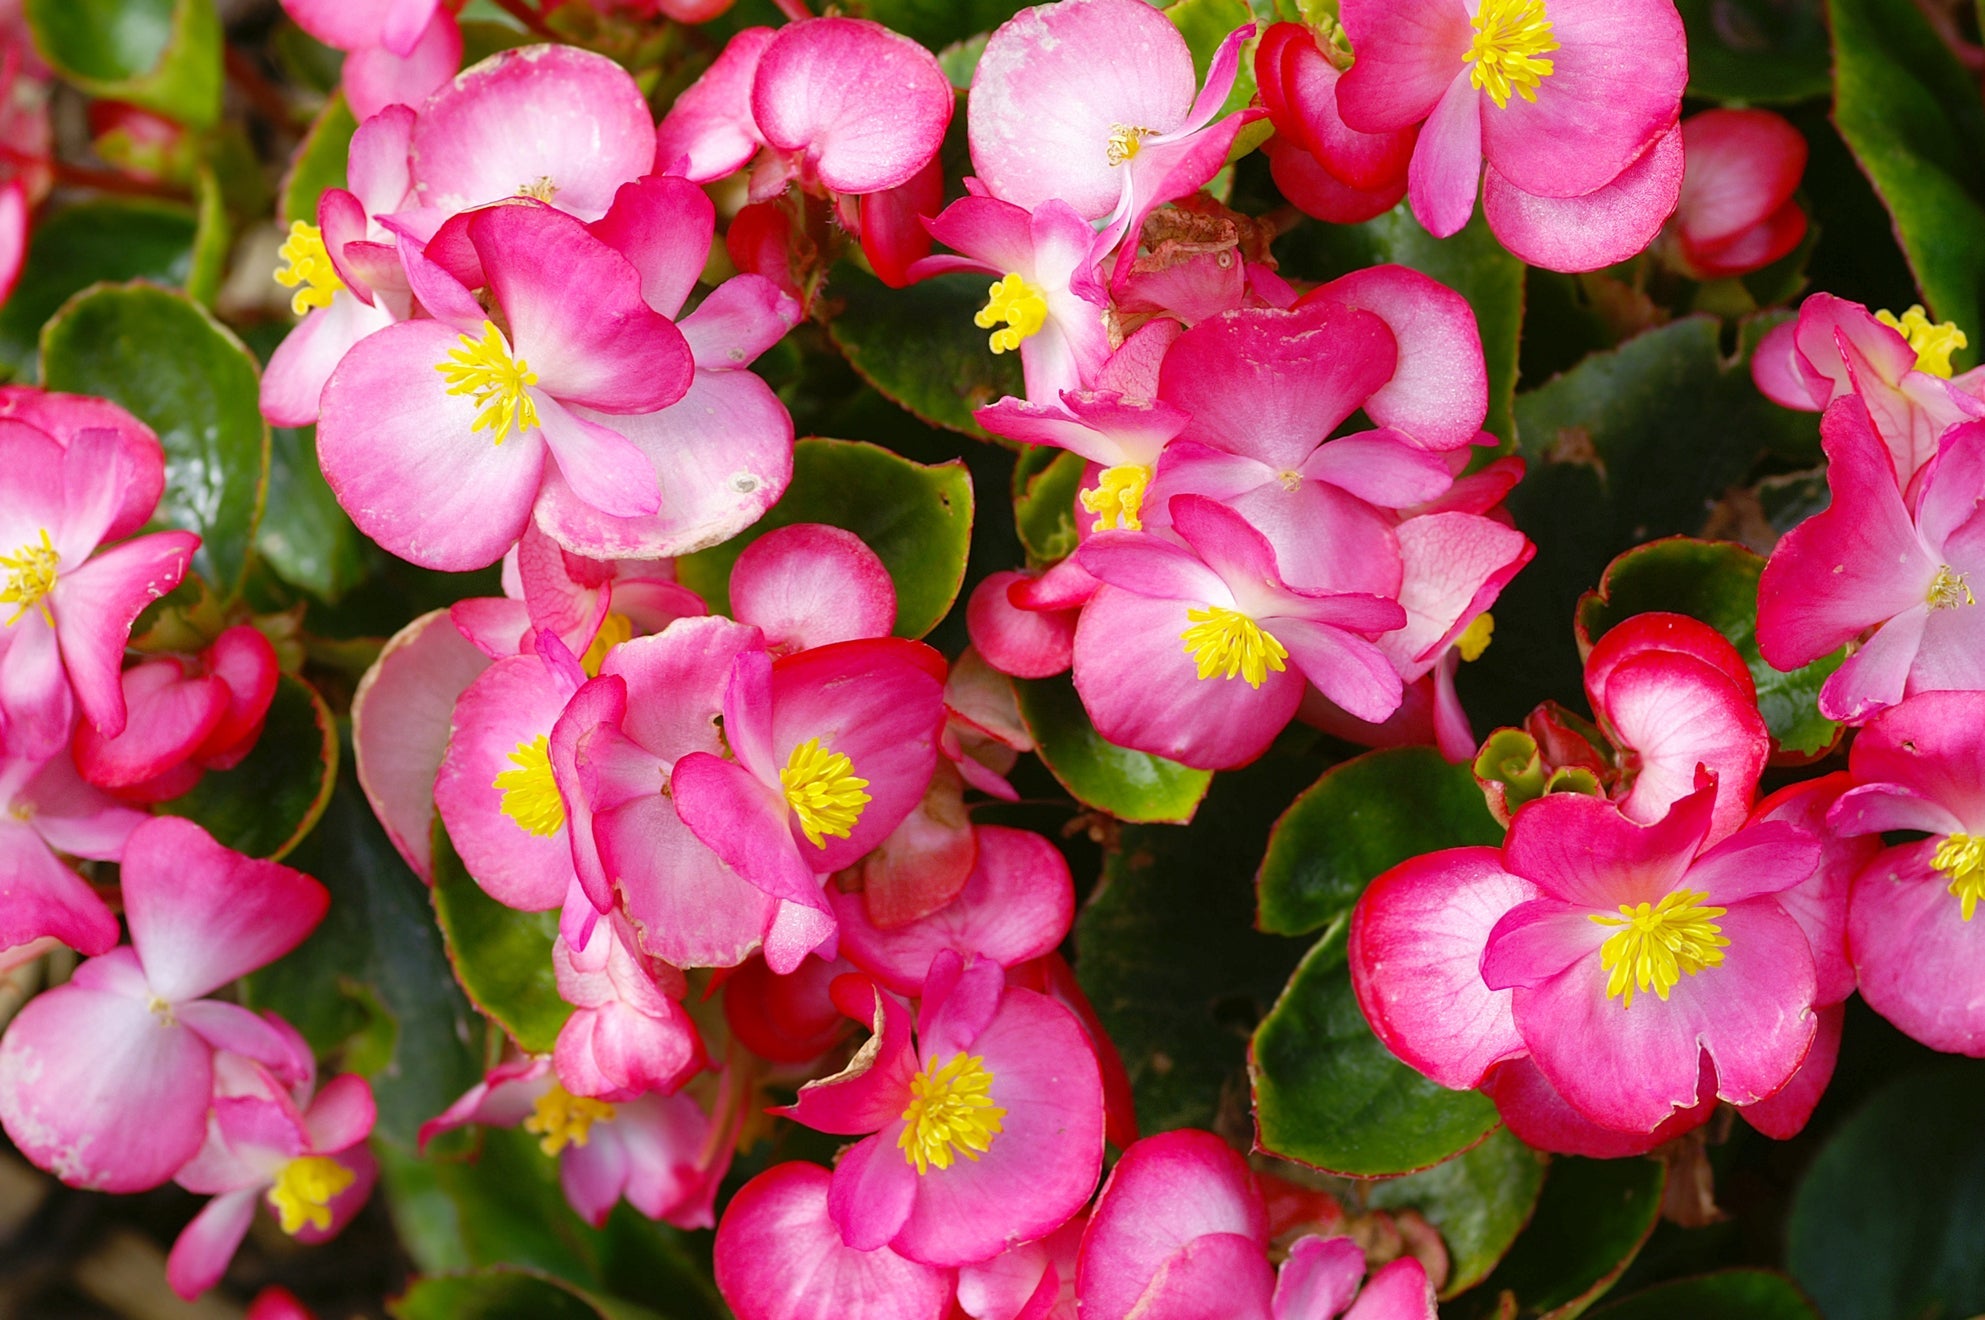
If you want bright, bold, colourful flowers in your garden then begonias are just the ticket.
Whatever you use your begonias for, growing them is easy, and in this article, we will look at how to start begonia tubers in your garden.
Tuberous begonias are called such because they grow from a tuber.

The tuber is a large organ used for storage and grows just below the surface of the soil.
Throughout the summer months, the tuber grows and stores energy which will help the plant bloom the following year.
Types Of Tubers
While most tuber begonias are of the upright growing variety, there are also types of begonia that can be used in hanging baskets.
If you are looking for trailing begonias, have a gander at the ‘Golden Balcony’ type.
Begonias also come with a wide range of flower size and style.

For single-flowered plants, check out the ‘Bertinis’.
For smaller flowers, the ‘Nonstop’ varieties won’t let you down.
There are also a few options with much bigger flowers such as the ‘Roseform’ and ‘Ruffled’ varieties which come in a few choices of colour.
When To Start Begonia Tubers

If there’s one thing begonia tubers don’t like – it’s the cold.
Pre-start your begonia tubers inside, 8 weeks before the last frost.
How To Start Tubers

As previously mentioned, begonia tubers won’t survive in cold weather so you will want to start them indoors.
Follow these easy steps to give your begonia tubers the best start in life:
- You can buy your tubers in garden centres between January and April.
- Once bought, store them in a dry place, safe from frost until you are ready to start planting.
- Fill a polybag with damp multi-purpose compost.
- Plant your tubers in the polybag and seal it.
- Place the polybag in a warm, dry place. We recommend using an airing cupboard.
- Check the tubers every day to see if their buds have started breaking.
- When the buds break, remove them from the polybag.
When the begonia tubers’ buds have started breaking, it’s time to move them outside.
Planting Tubers

Follow these easy steps to start your begonia tubers on the next leg of their journey:
- Fill pots or containers with about 15cm of multi-purpose compost.
- Leave the pots or containers in the airing cupboard or somewhere warm for at least 24 hours so the compost can warm up.
- Take the tubers out of the polybags.
- Place the tubers on the surface of the soil, making sure the side with the wispy, white roots is touching the soil.
- Push the tubers gently into the soil so that only the hollow side remains above the compost.
- Cover the pots with clear plastic for a few days to encourage root growth.
- Remove the plastic and water every couple of days and feed once a month with general feed.

You can either leave them in their pots or transplant them straight into the garden.
If you do plant them in the garden, choose a spot in full sun or partial shade.


