

Daylilies, also known as Hemerocallis, are attractive perennial flowers for your garden.
They are relatively easy to grow and care for and can be propagated fairly easily through division.
The divisions of a hybrid plant, unlike the plants grown from seed, will be identical to the parent plant.
You can divide an established clump of daylilies every 2-3 years.

Not only can you obtain new plants, but it’s also a good idea to divide your daylilies every few years as their clumps can become congested, as Steve Amy from The American Daylily Society explains:
“Daylilies can create a large plant when healthy and build many divisions in the clump.
“When there are too many divisions (fans) the entire clump can end up vying for the nutrients and water and, if not enough is available, the clump will suffer”.
This job should be successful at any time of year, but the best times to divide a daylily is in spring or autumn.
To lift and divide daylilies:
- Ease a spade into the ground and gently remove the plant from the soil.
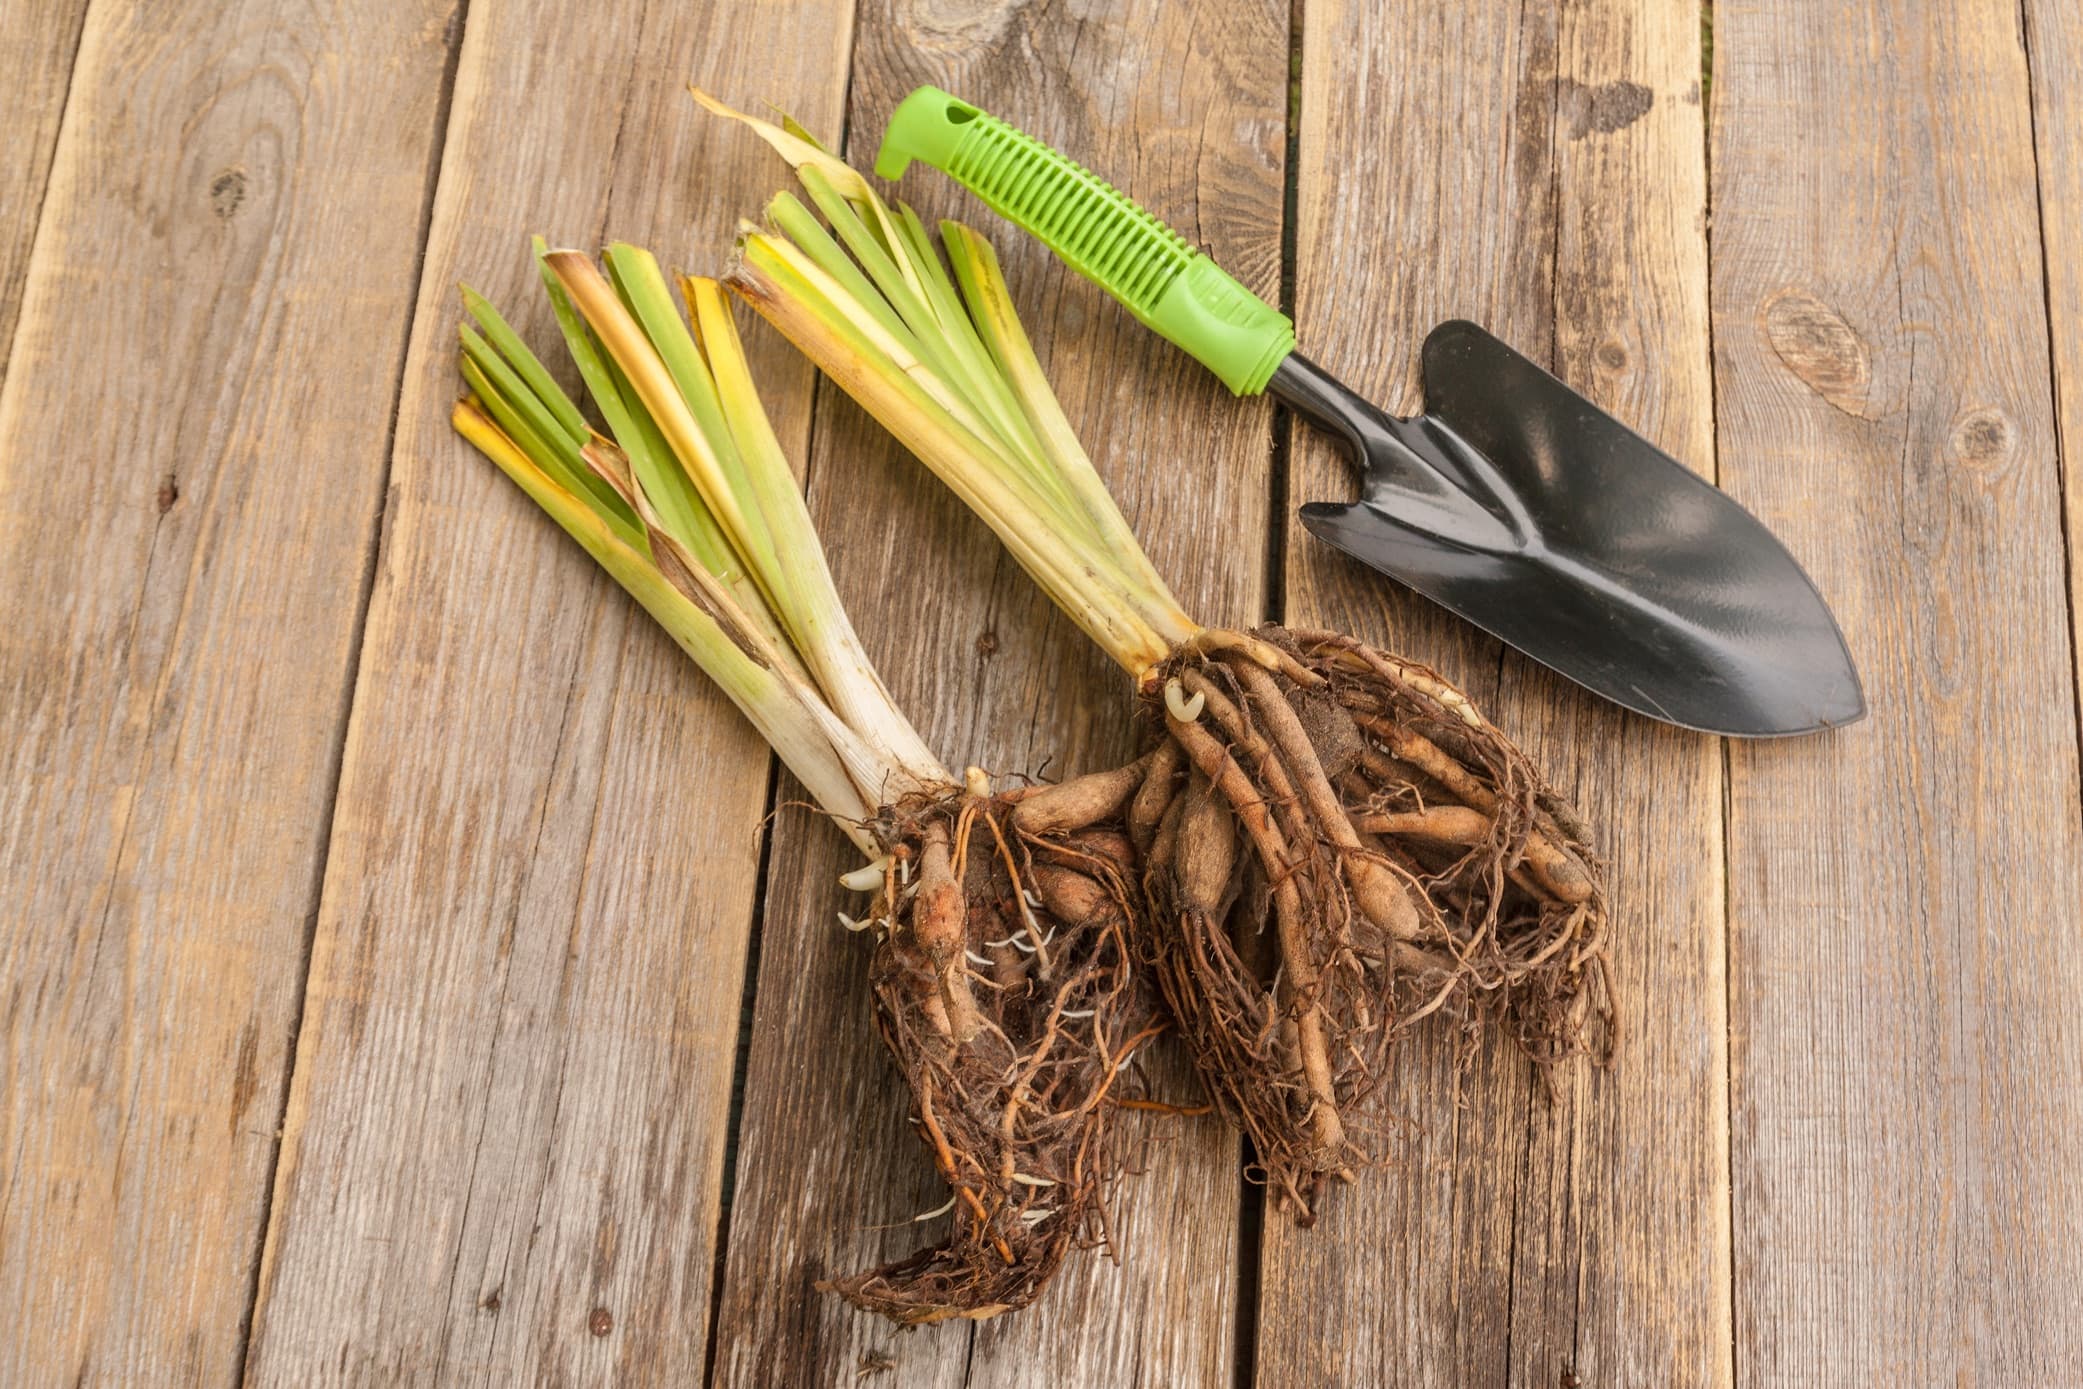
- Shake or wash off the soil so you can see the tubers and fibrous roots more clearly.
- Split the clump into smaller sections.
- Replant the divisions into suitable locations.
| Difficulty | Easy |
| Equipment Required | Mature daylily, spade, garden fork |
| When To Divide | Spring or autumn |
1) Lift The Mature Clump

Place a spade or fork into the soil around the edge of a mature clump and ease it gently up out of the soil.
Make sure that you go deep enough to lift the tubers and fibrous roots to keep them as intact as possible.
2) Clean Off Soil

It can be helpful to shake or clean off the roots a little so that you can see more clearly what you are doing.
3) Divide The Root Mass

Since daylilies are large, fibrous-rooted perennials, the tangled mass of tubers and roots at the base of the plant can be challenging to divide.
It can be a good idea to put two garden forks back to back down the centre of the clump, then lever outwards to break the root mass in half.
Once you have done this, you should then be able to pull apart the remaining halves to make more divisions as desired.
“An established clump of Hemerocallis will produce many potential divisions,” shares Master Horticulturist Colin Skelly.
“As well as regeneration of the clump, this can also produce many additional plants that can either be replanted elsewhere or potted on for friends and neighbours.”
“It is good to keep the clump to a few fans of perhaps 3-5 in order to have a good display of blooms”, Steve Amy suggests.
4) Replant Divisions

Once you have separated your divisions, you should get these back into the ground, or into containers.
Daylilies need reasonably free-draining conditions, with some moisture in spring and summer.

However, they are adaptable and can cope with a wide range of soils.
They can perform well in full sun or in light or dappled shade, but be aware thar deeper shade will lead to poor flowering.

Choose a suitable spot and your new plants should reward you with their flowers for many years to come.


